MordhaU - Frontline_Concealed - UE4
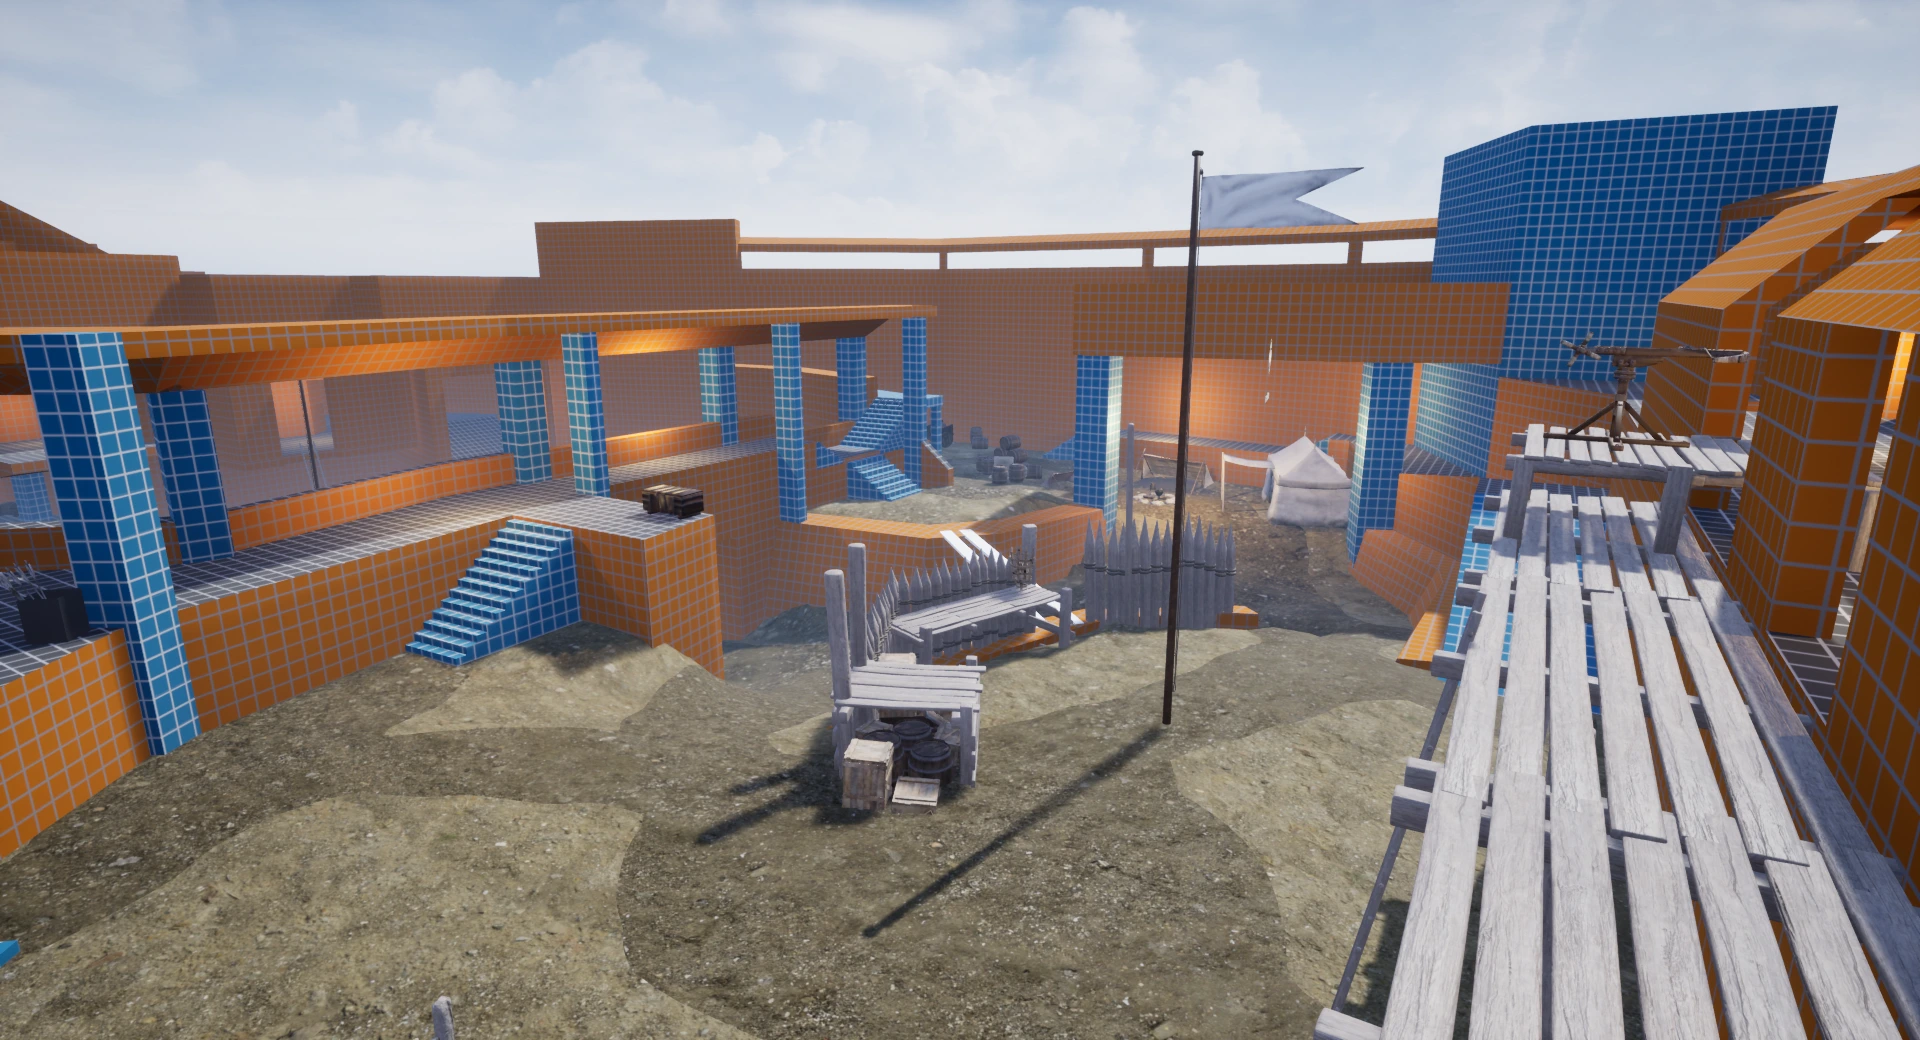
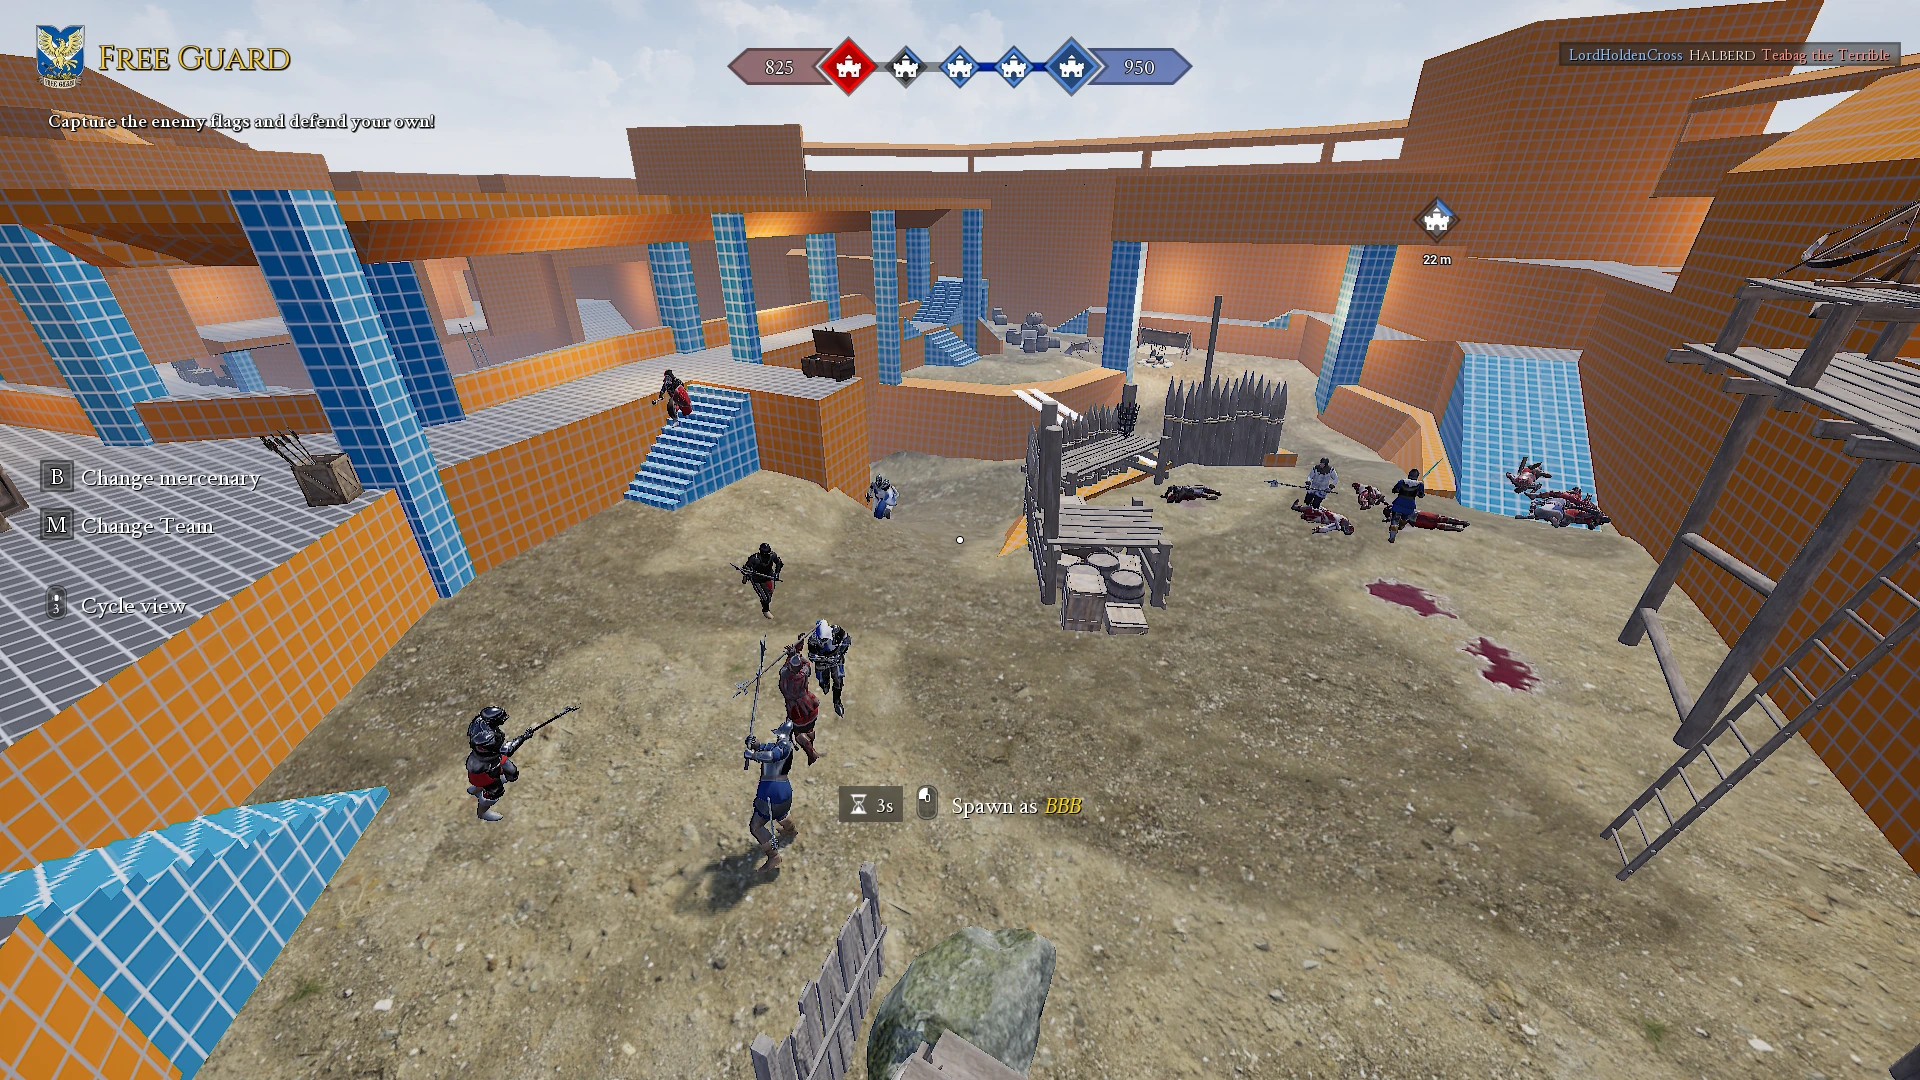
This is a Custom Mordhau level blockout I made called Frontline_Concealed. Frontline is a tug of war like mode where opposing teams have to take and defend objectives. Completing objects and capturing all control points or the first team to reduce the enemys spawn tickets to 0 (starting at 1000 each) results in a victory.
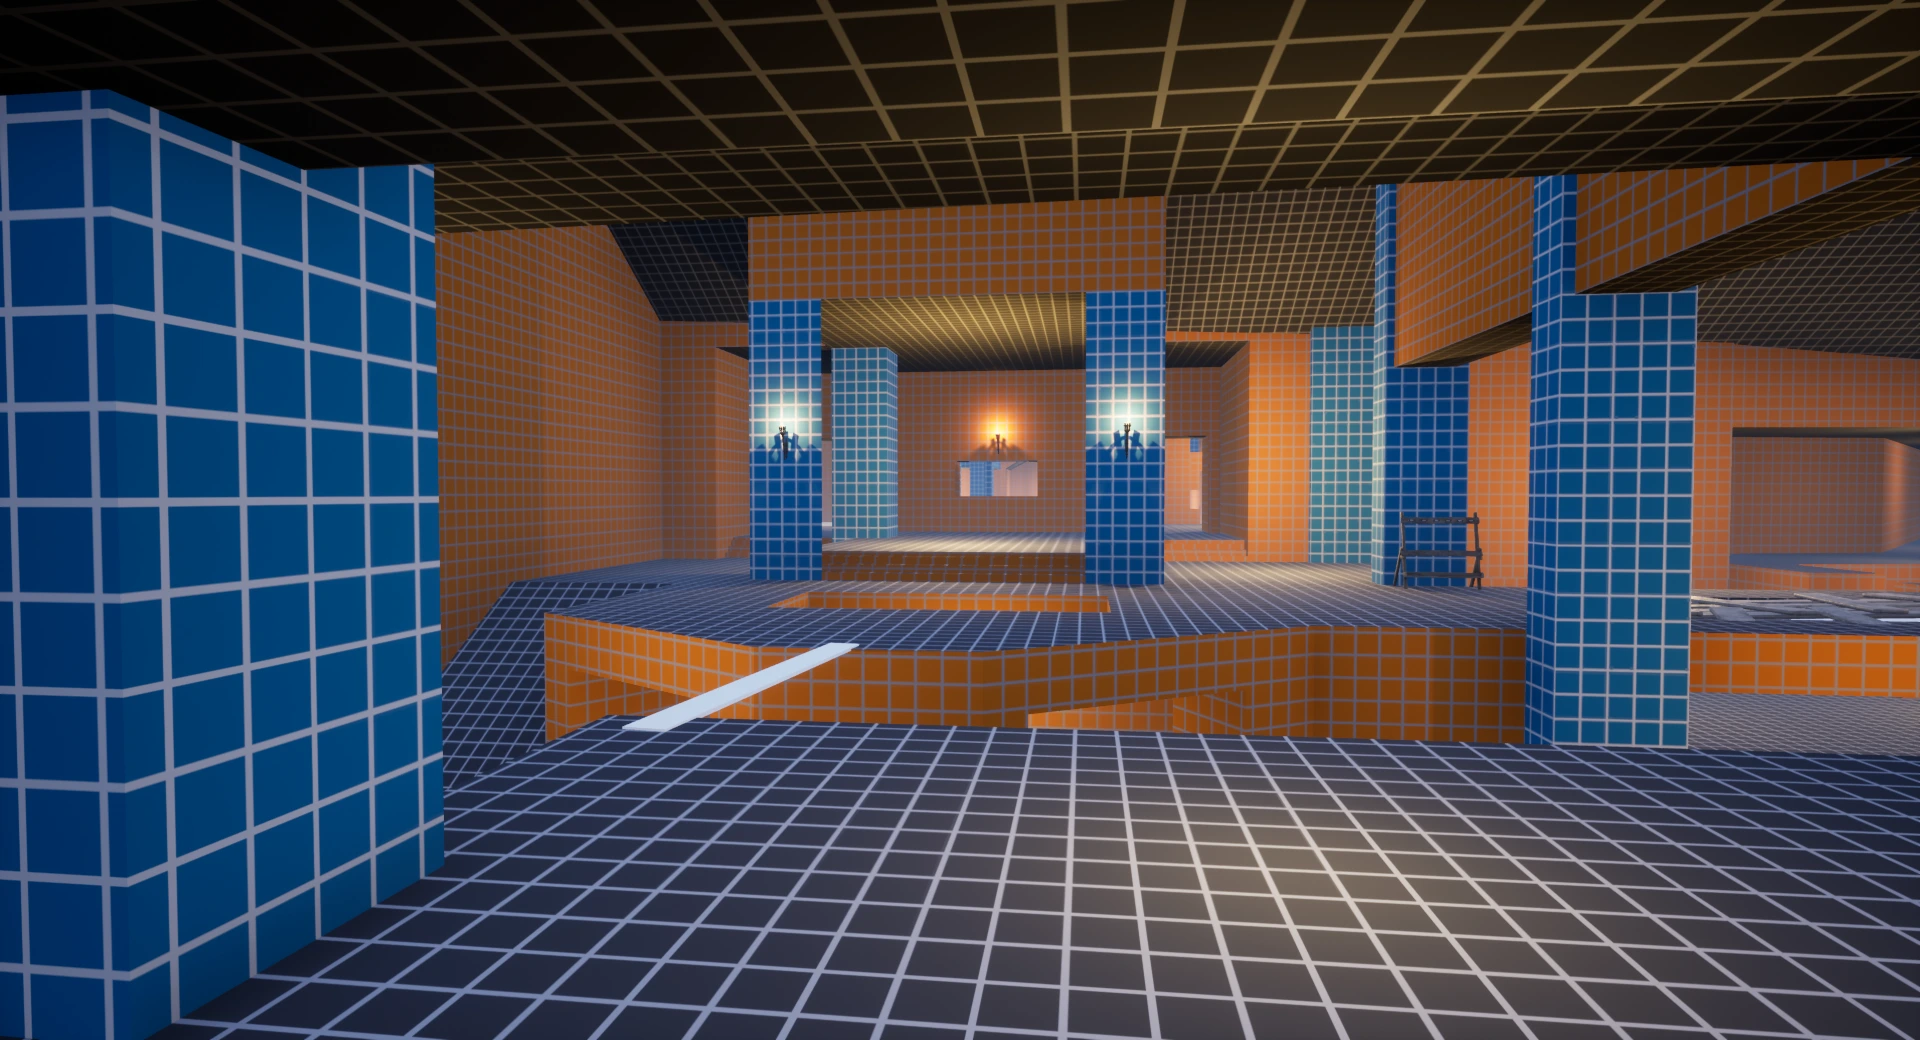
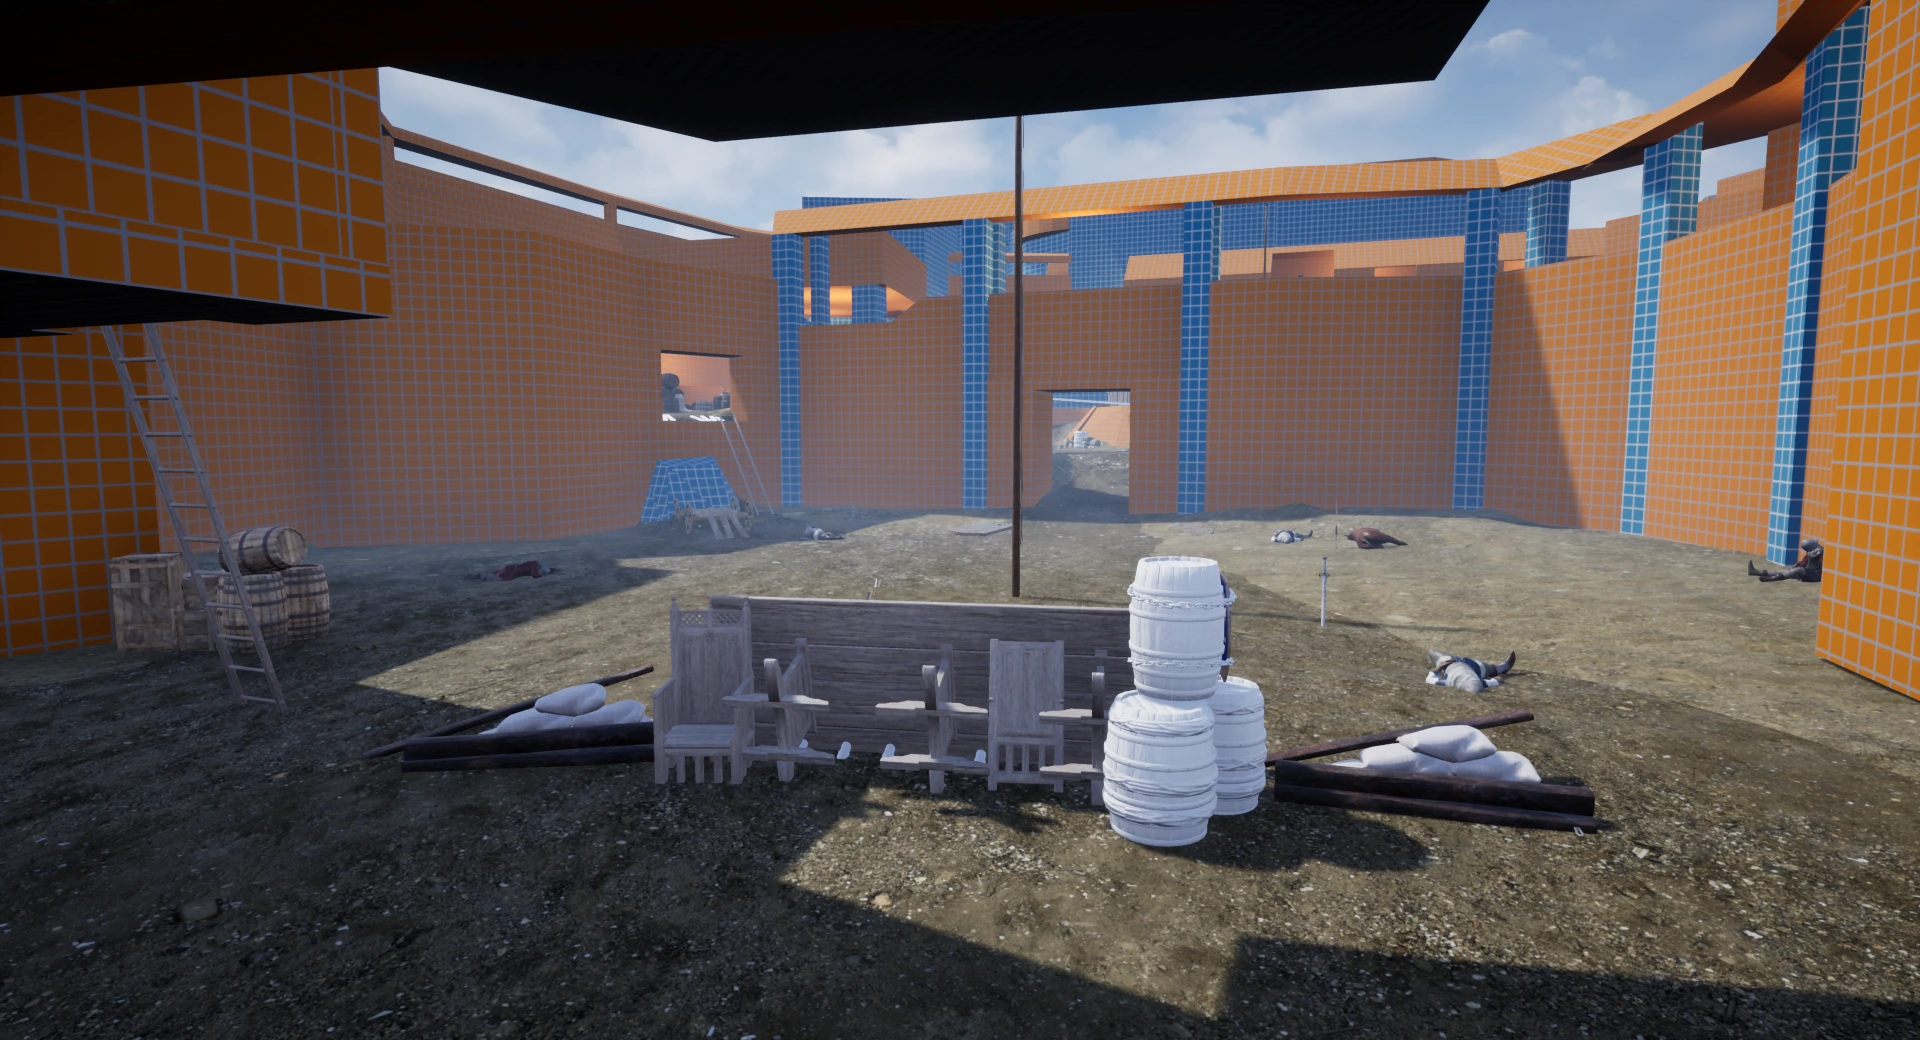
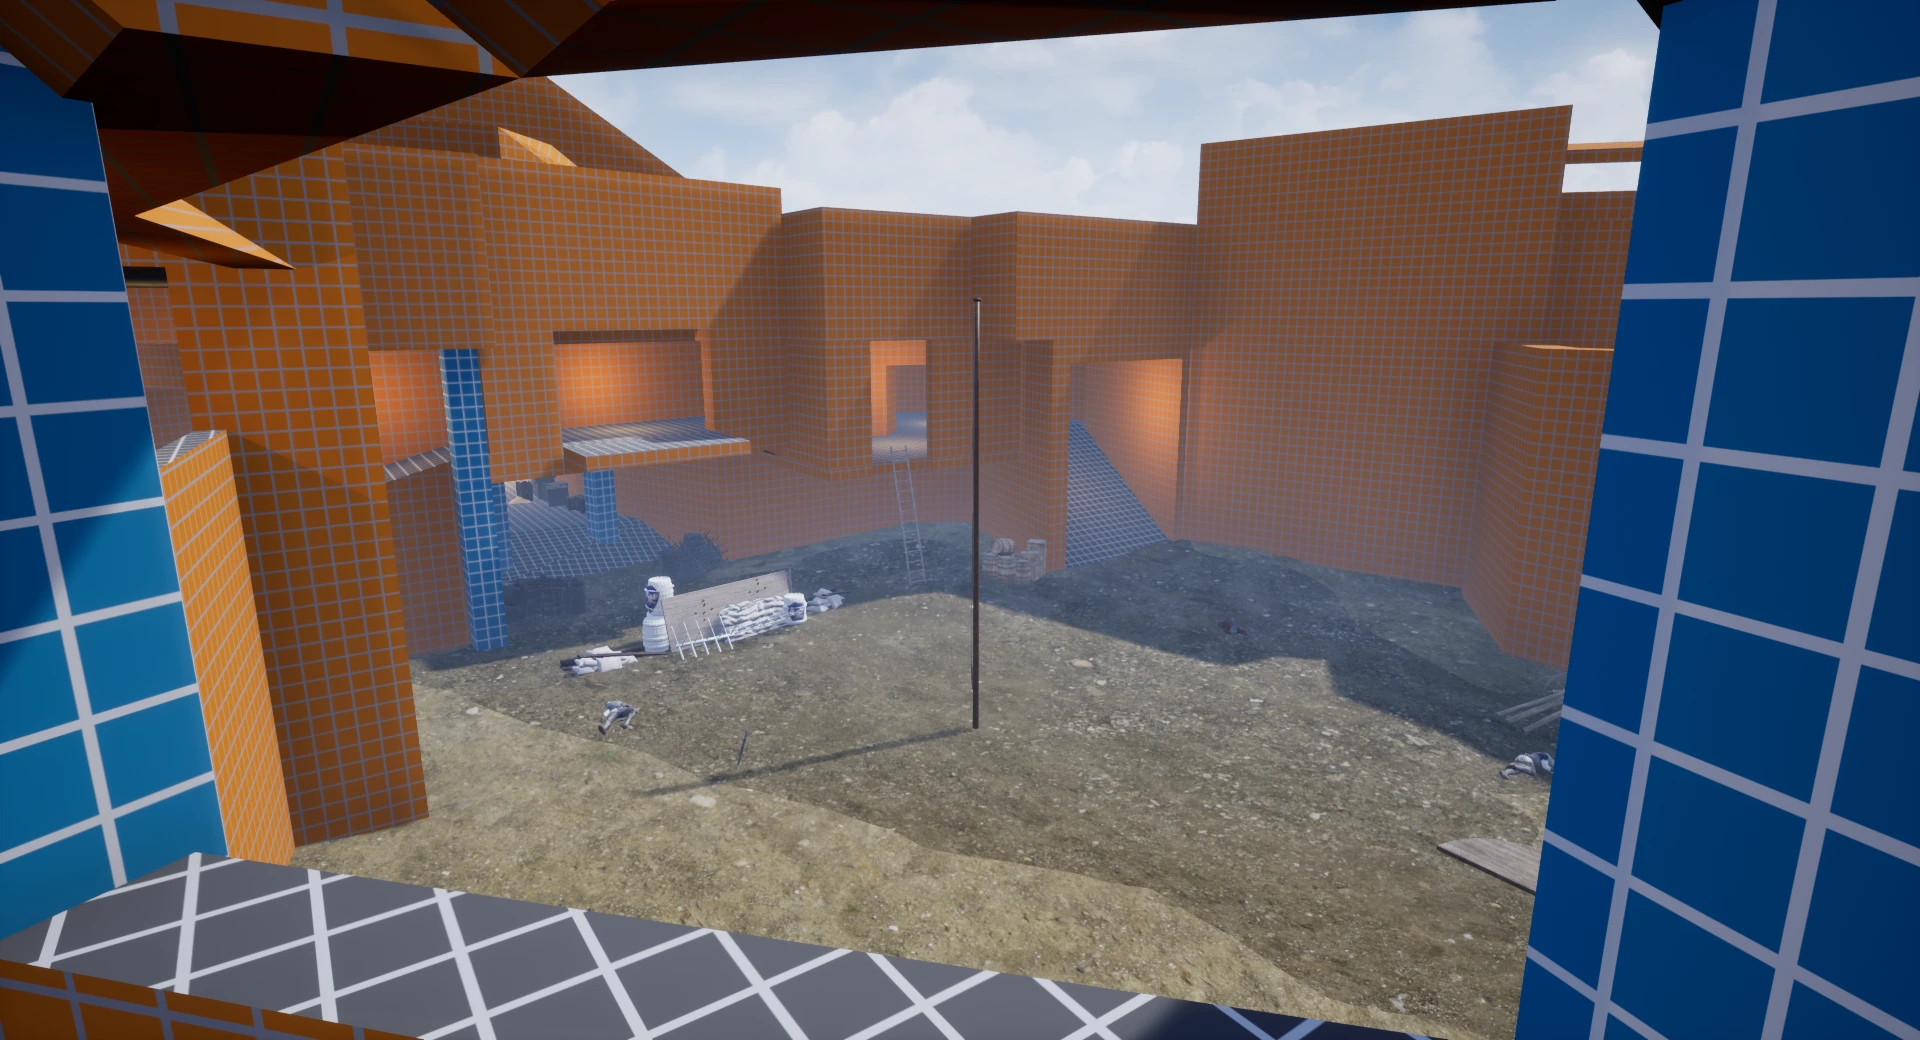
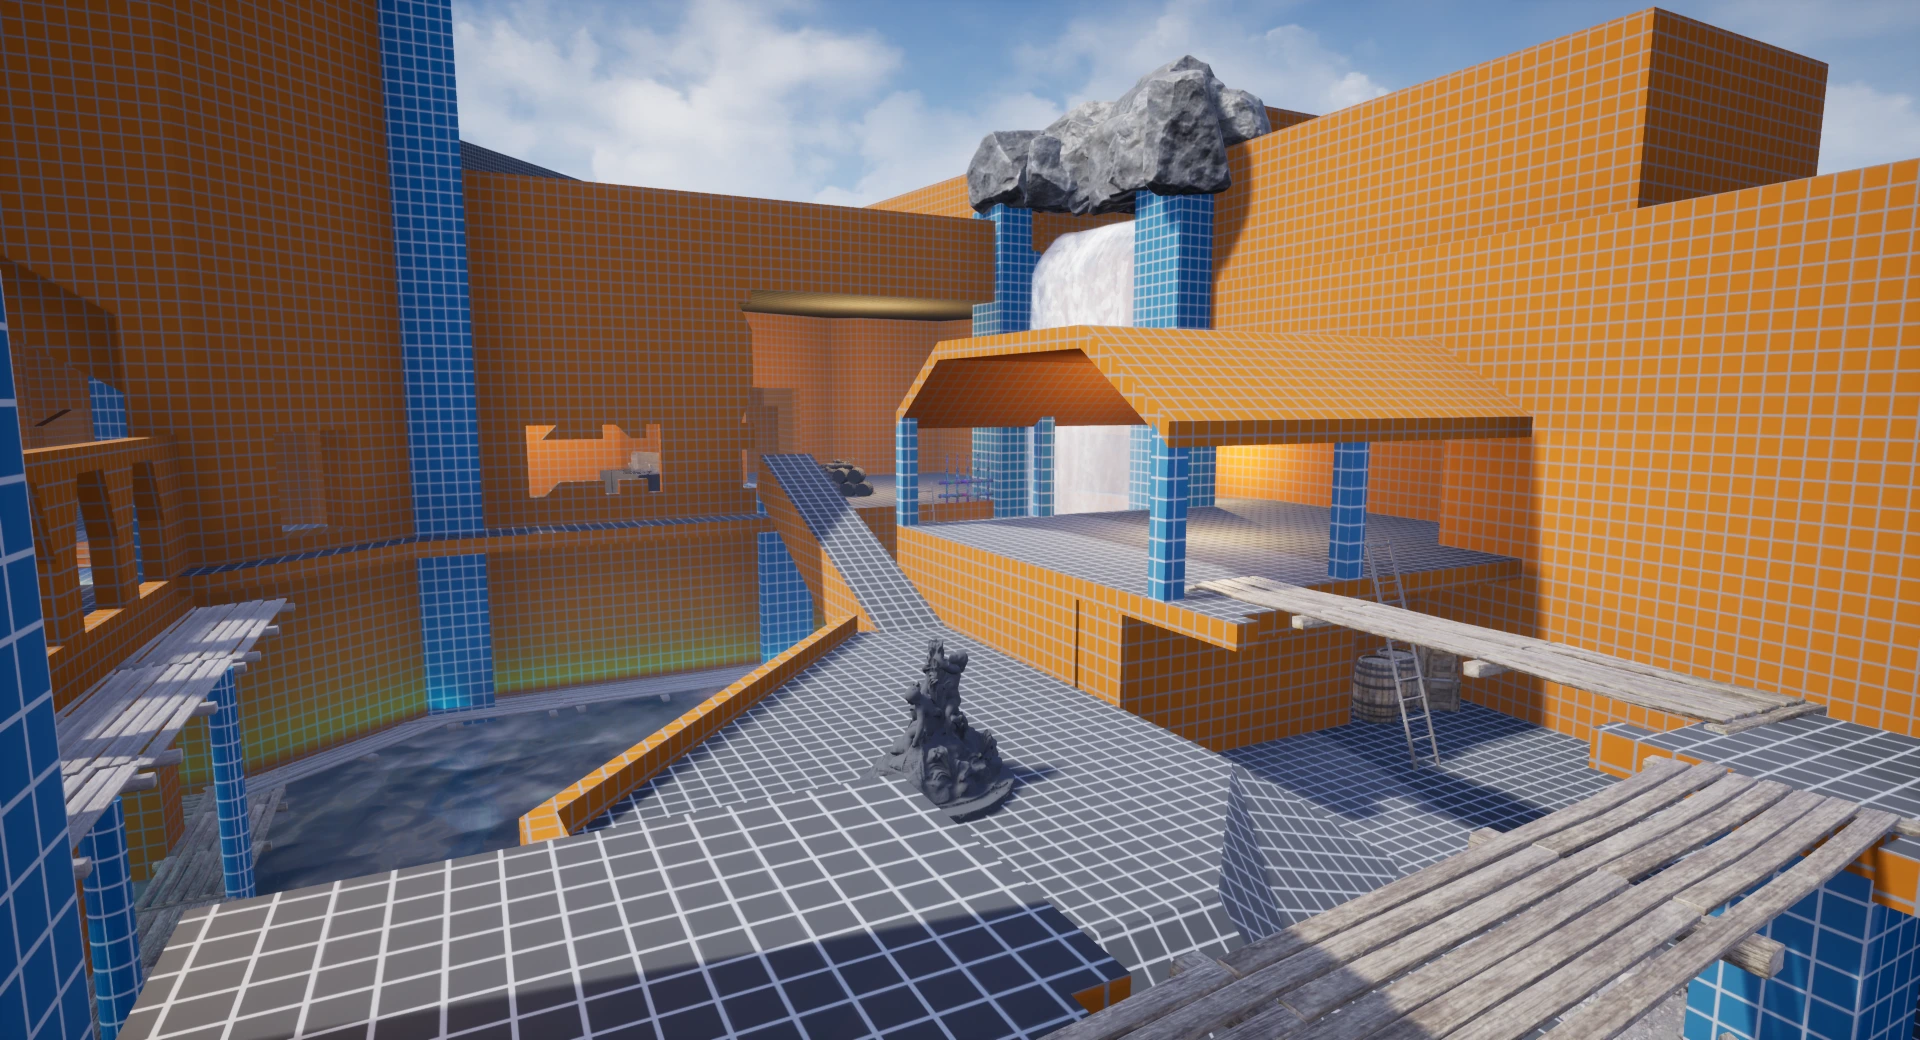
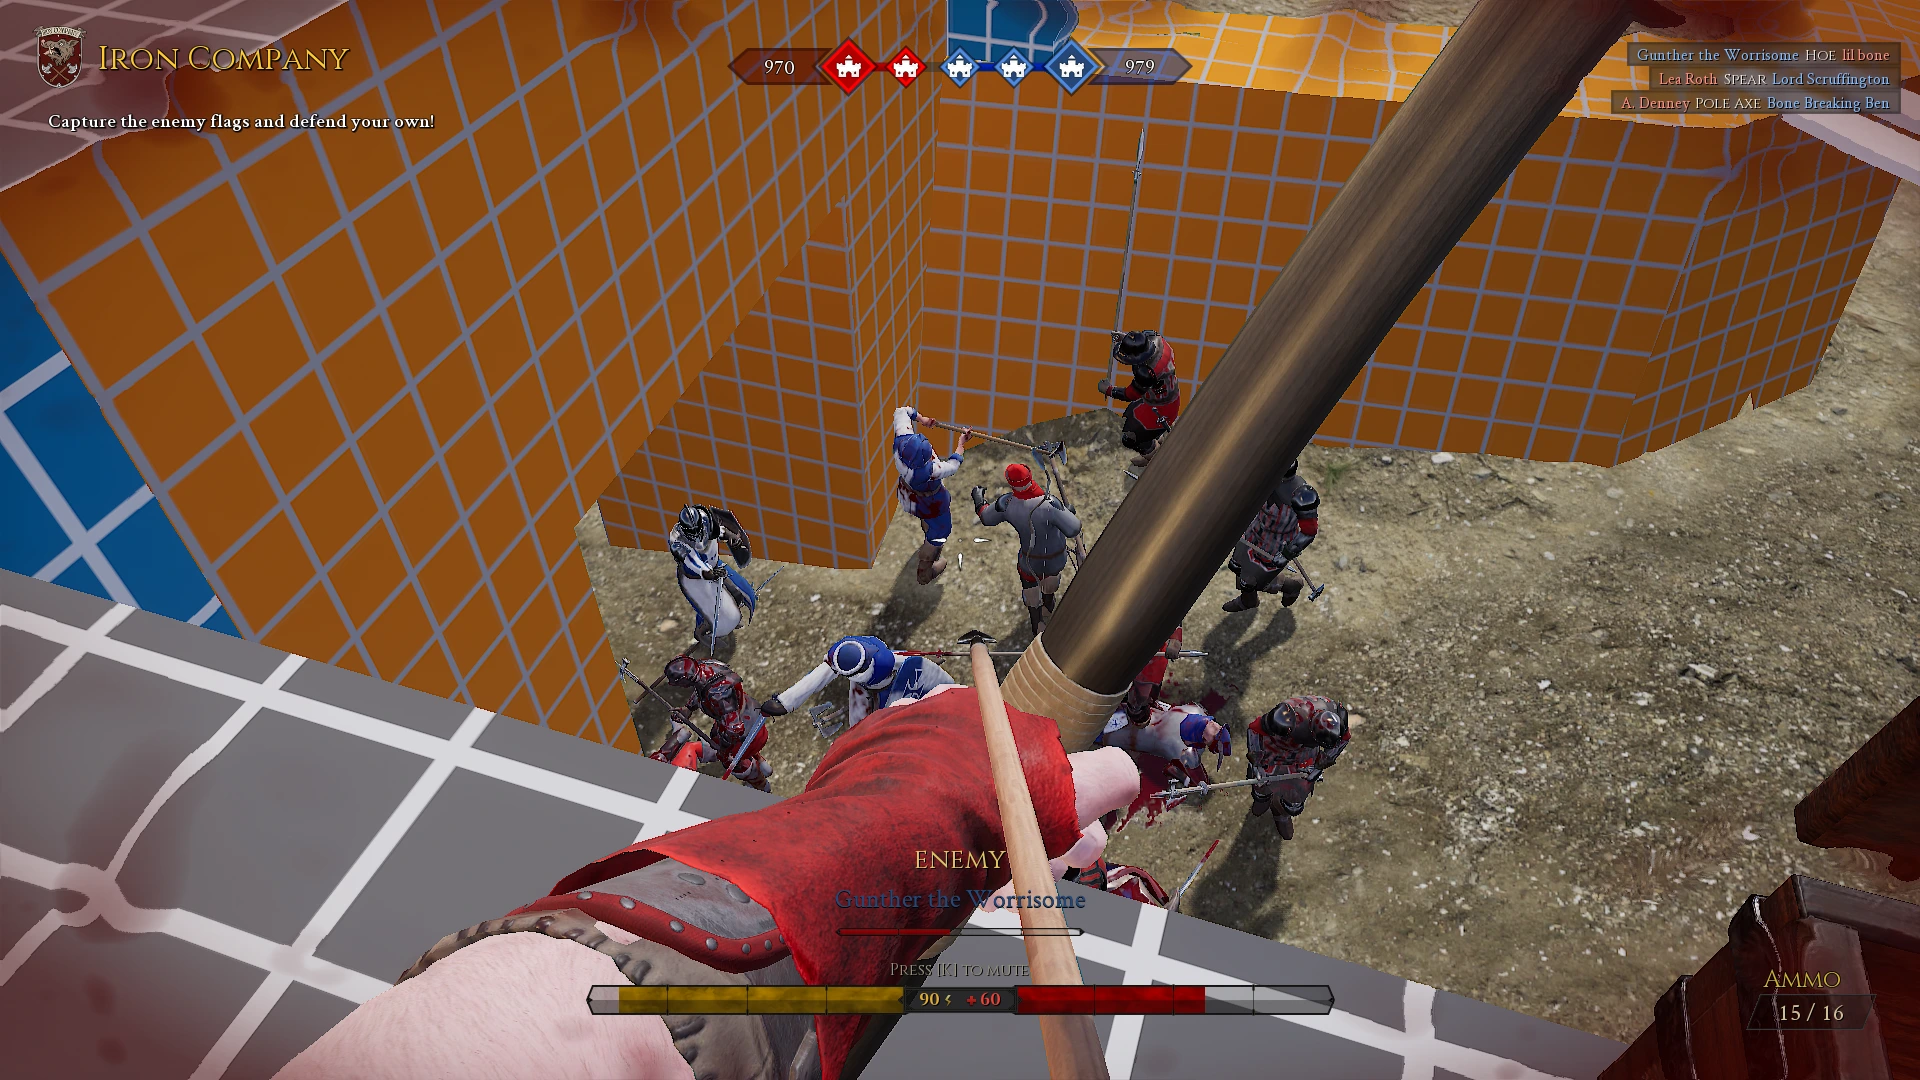
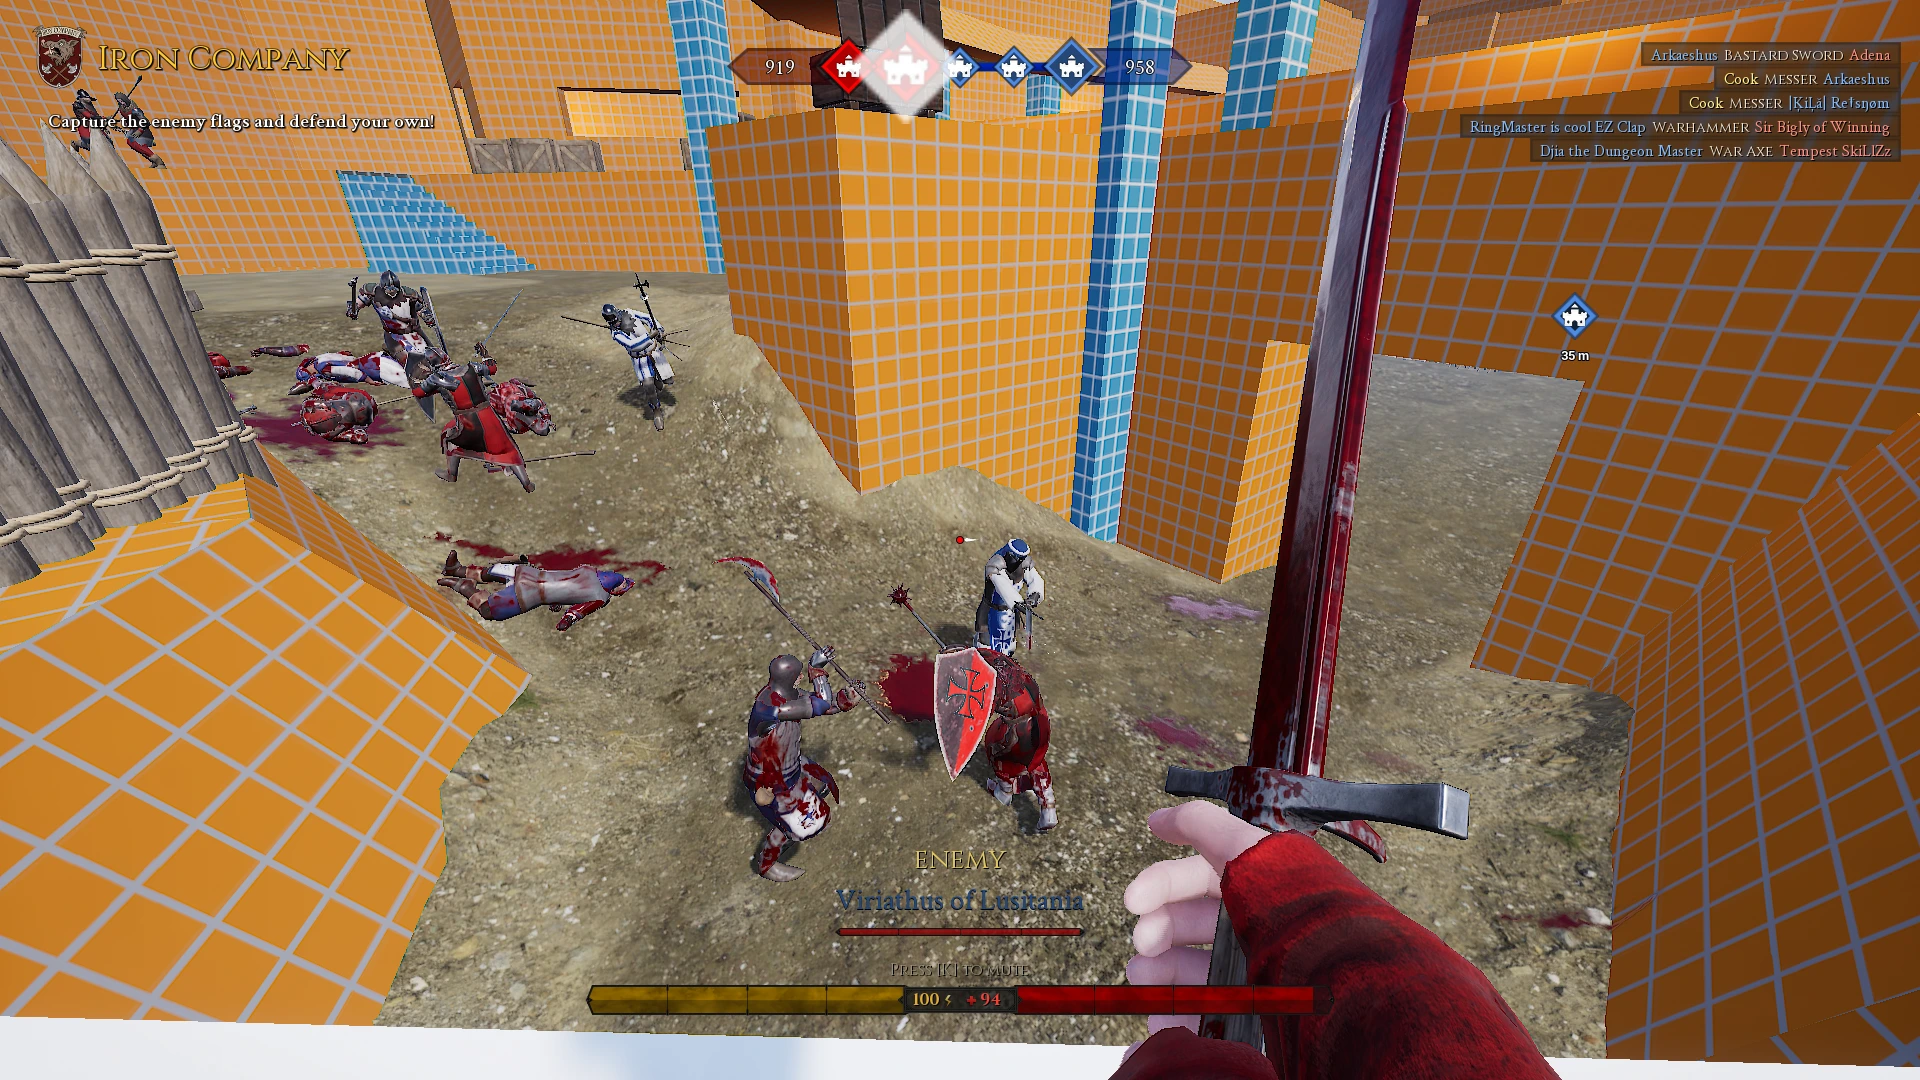
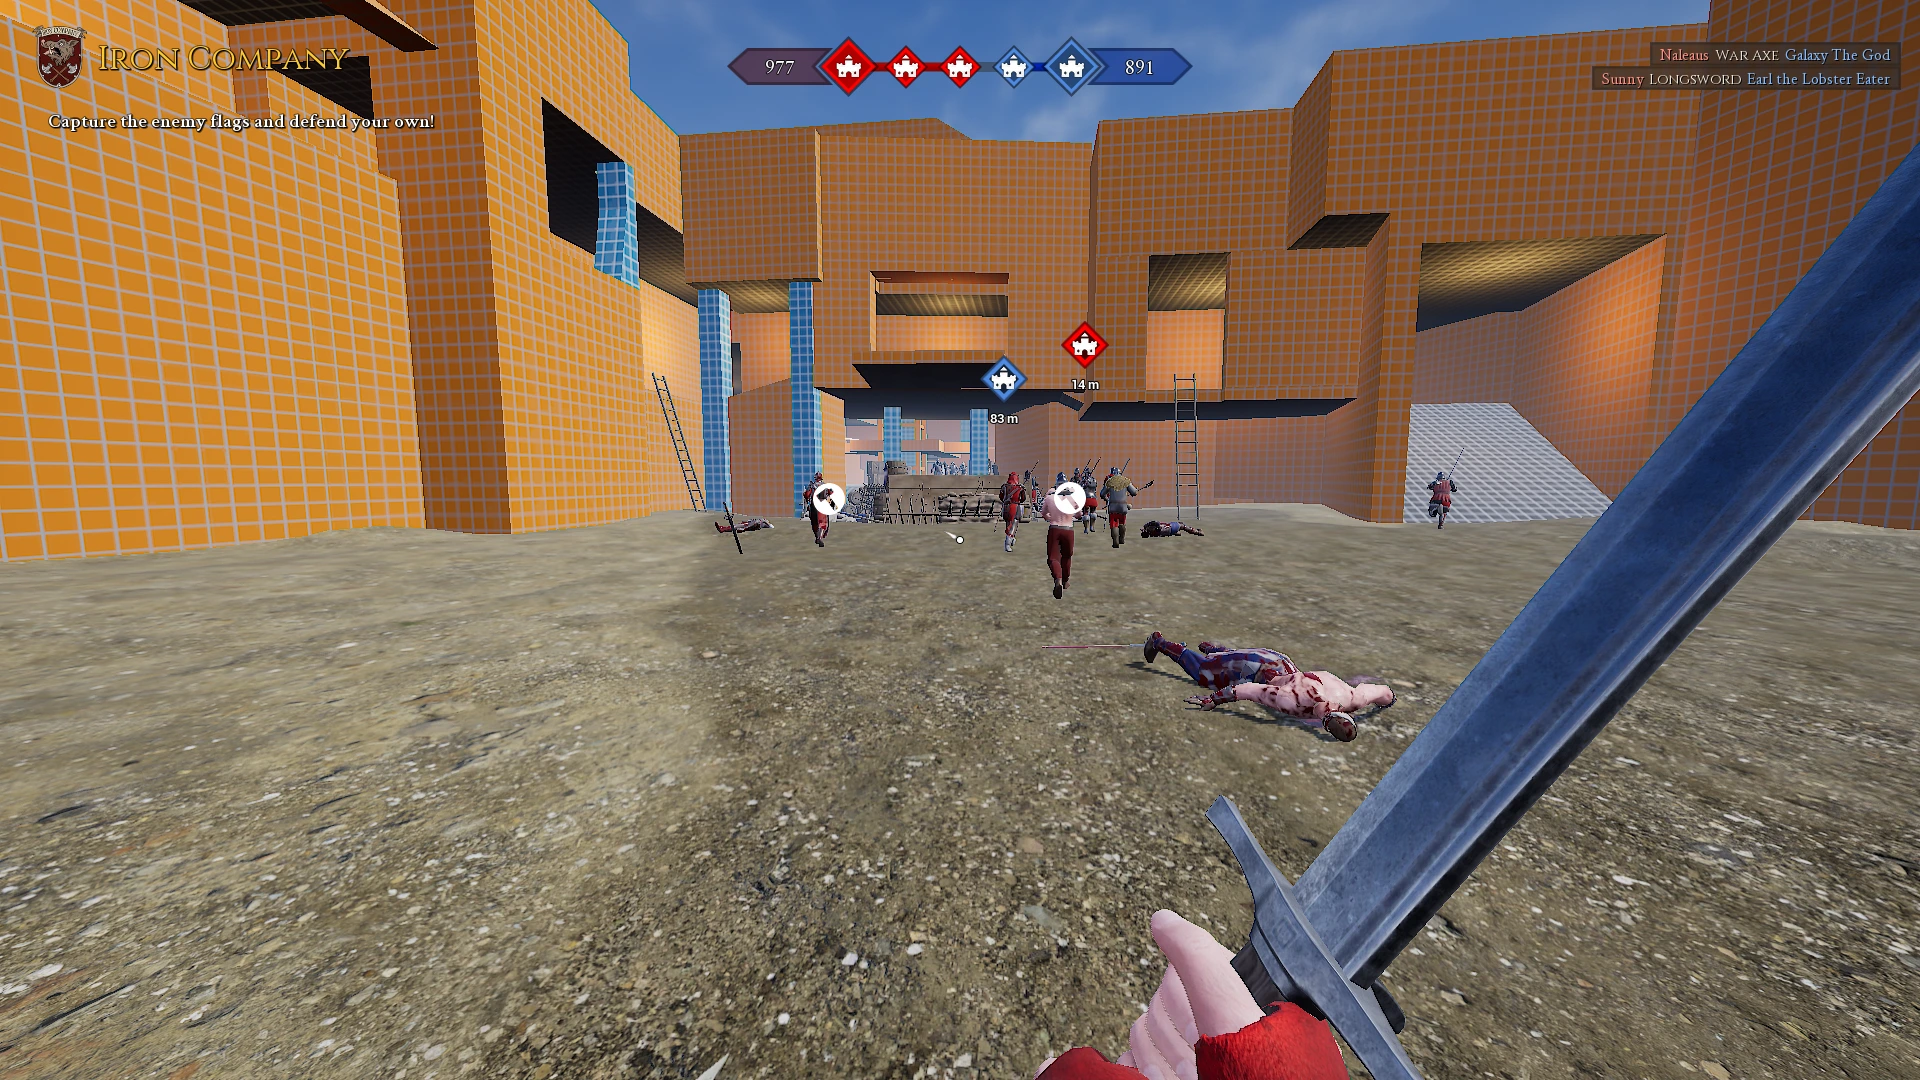
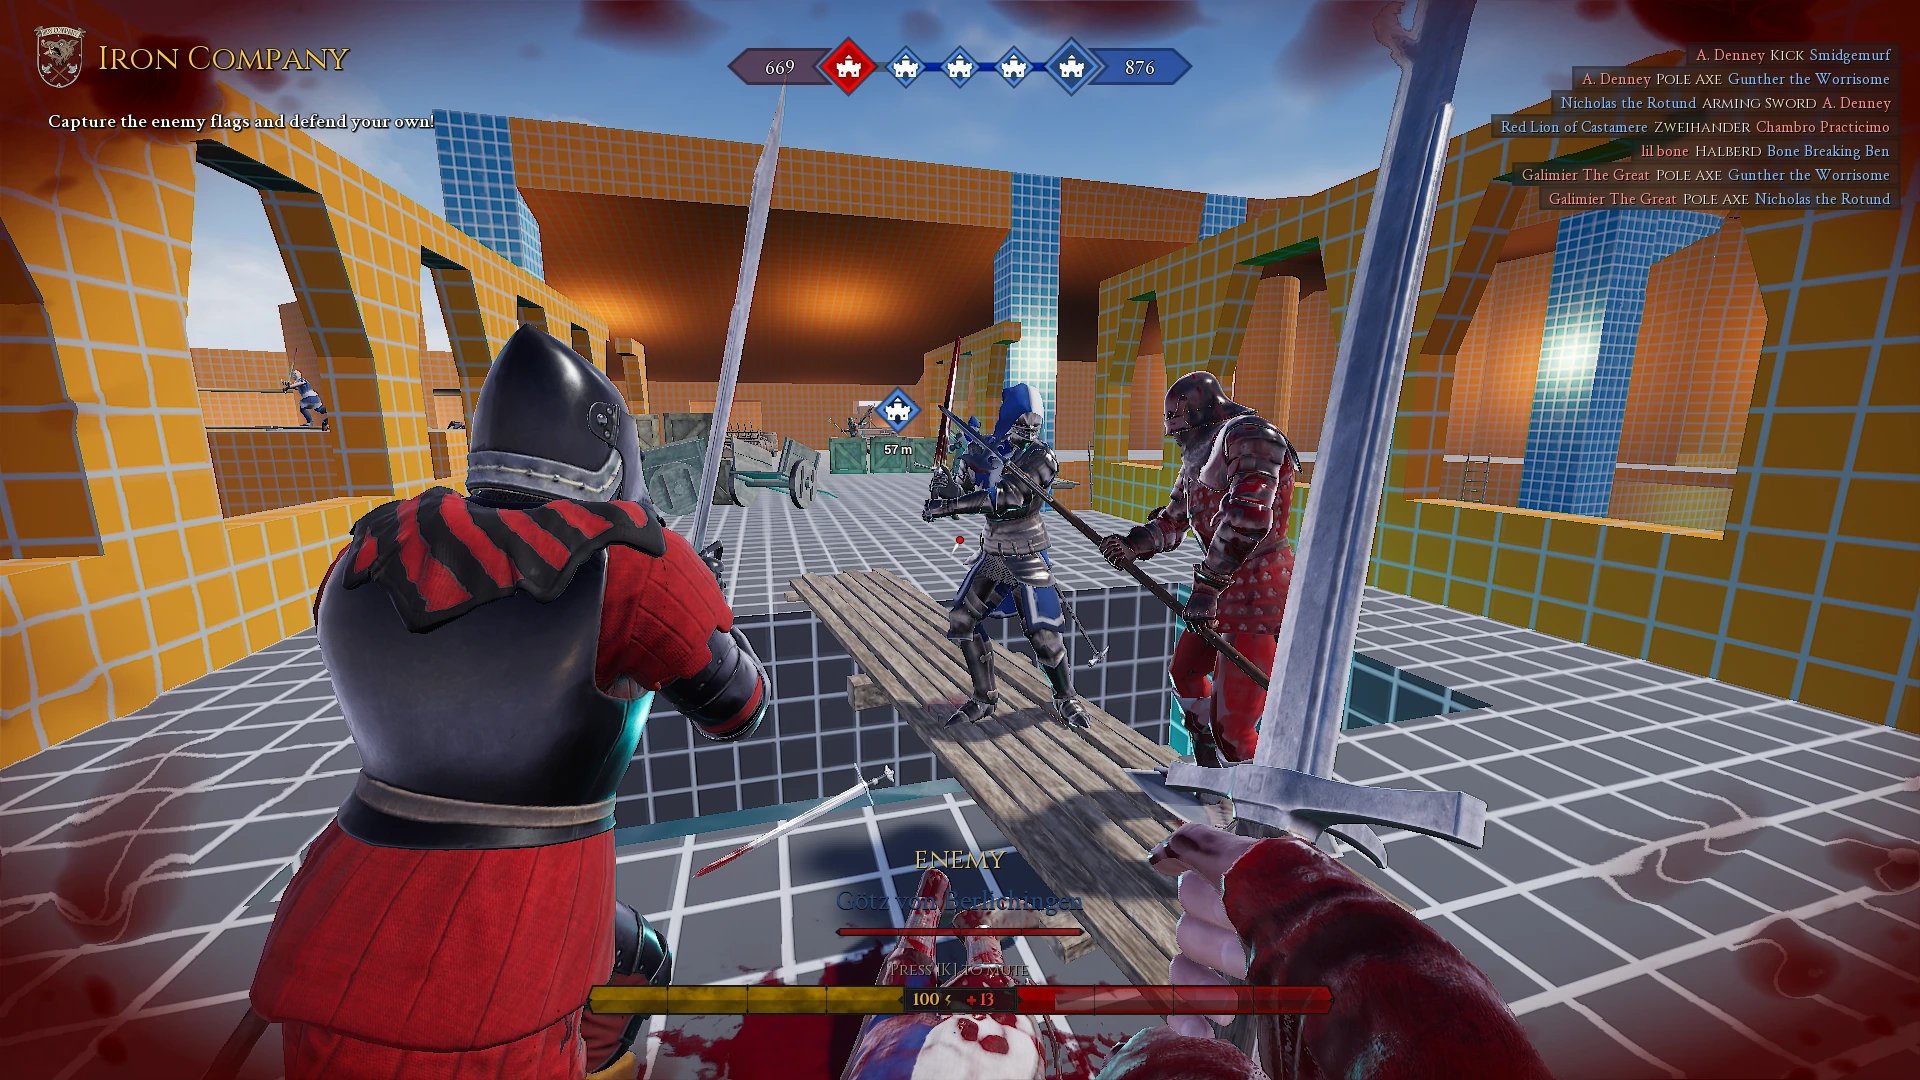
Design Process
To begin with I brainstormed a few ideas for the theme of the level, and also made a reference board. I liked the idea of fighting in ruins that haven’t been inhabited in a while with overgrown foliage throughout the level. My only issue with this idea was that the look of the level could be quite repetitive and given that this level will have multiple control points I didn’t want each point to look too similair. For this reason I decided on having a mixture of indoor and outdoor areas to break parts of the level up and ensure each zone would be easily identifiable. I came up with the idea of having a man made cave to split the map up - I liked the idea that this was quite a hidden place that they had to find and are fighting over the treasures/resources of the ruins.
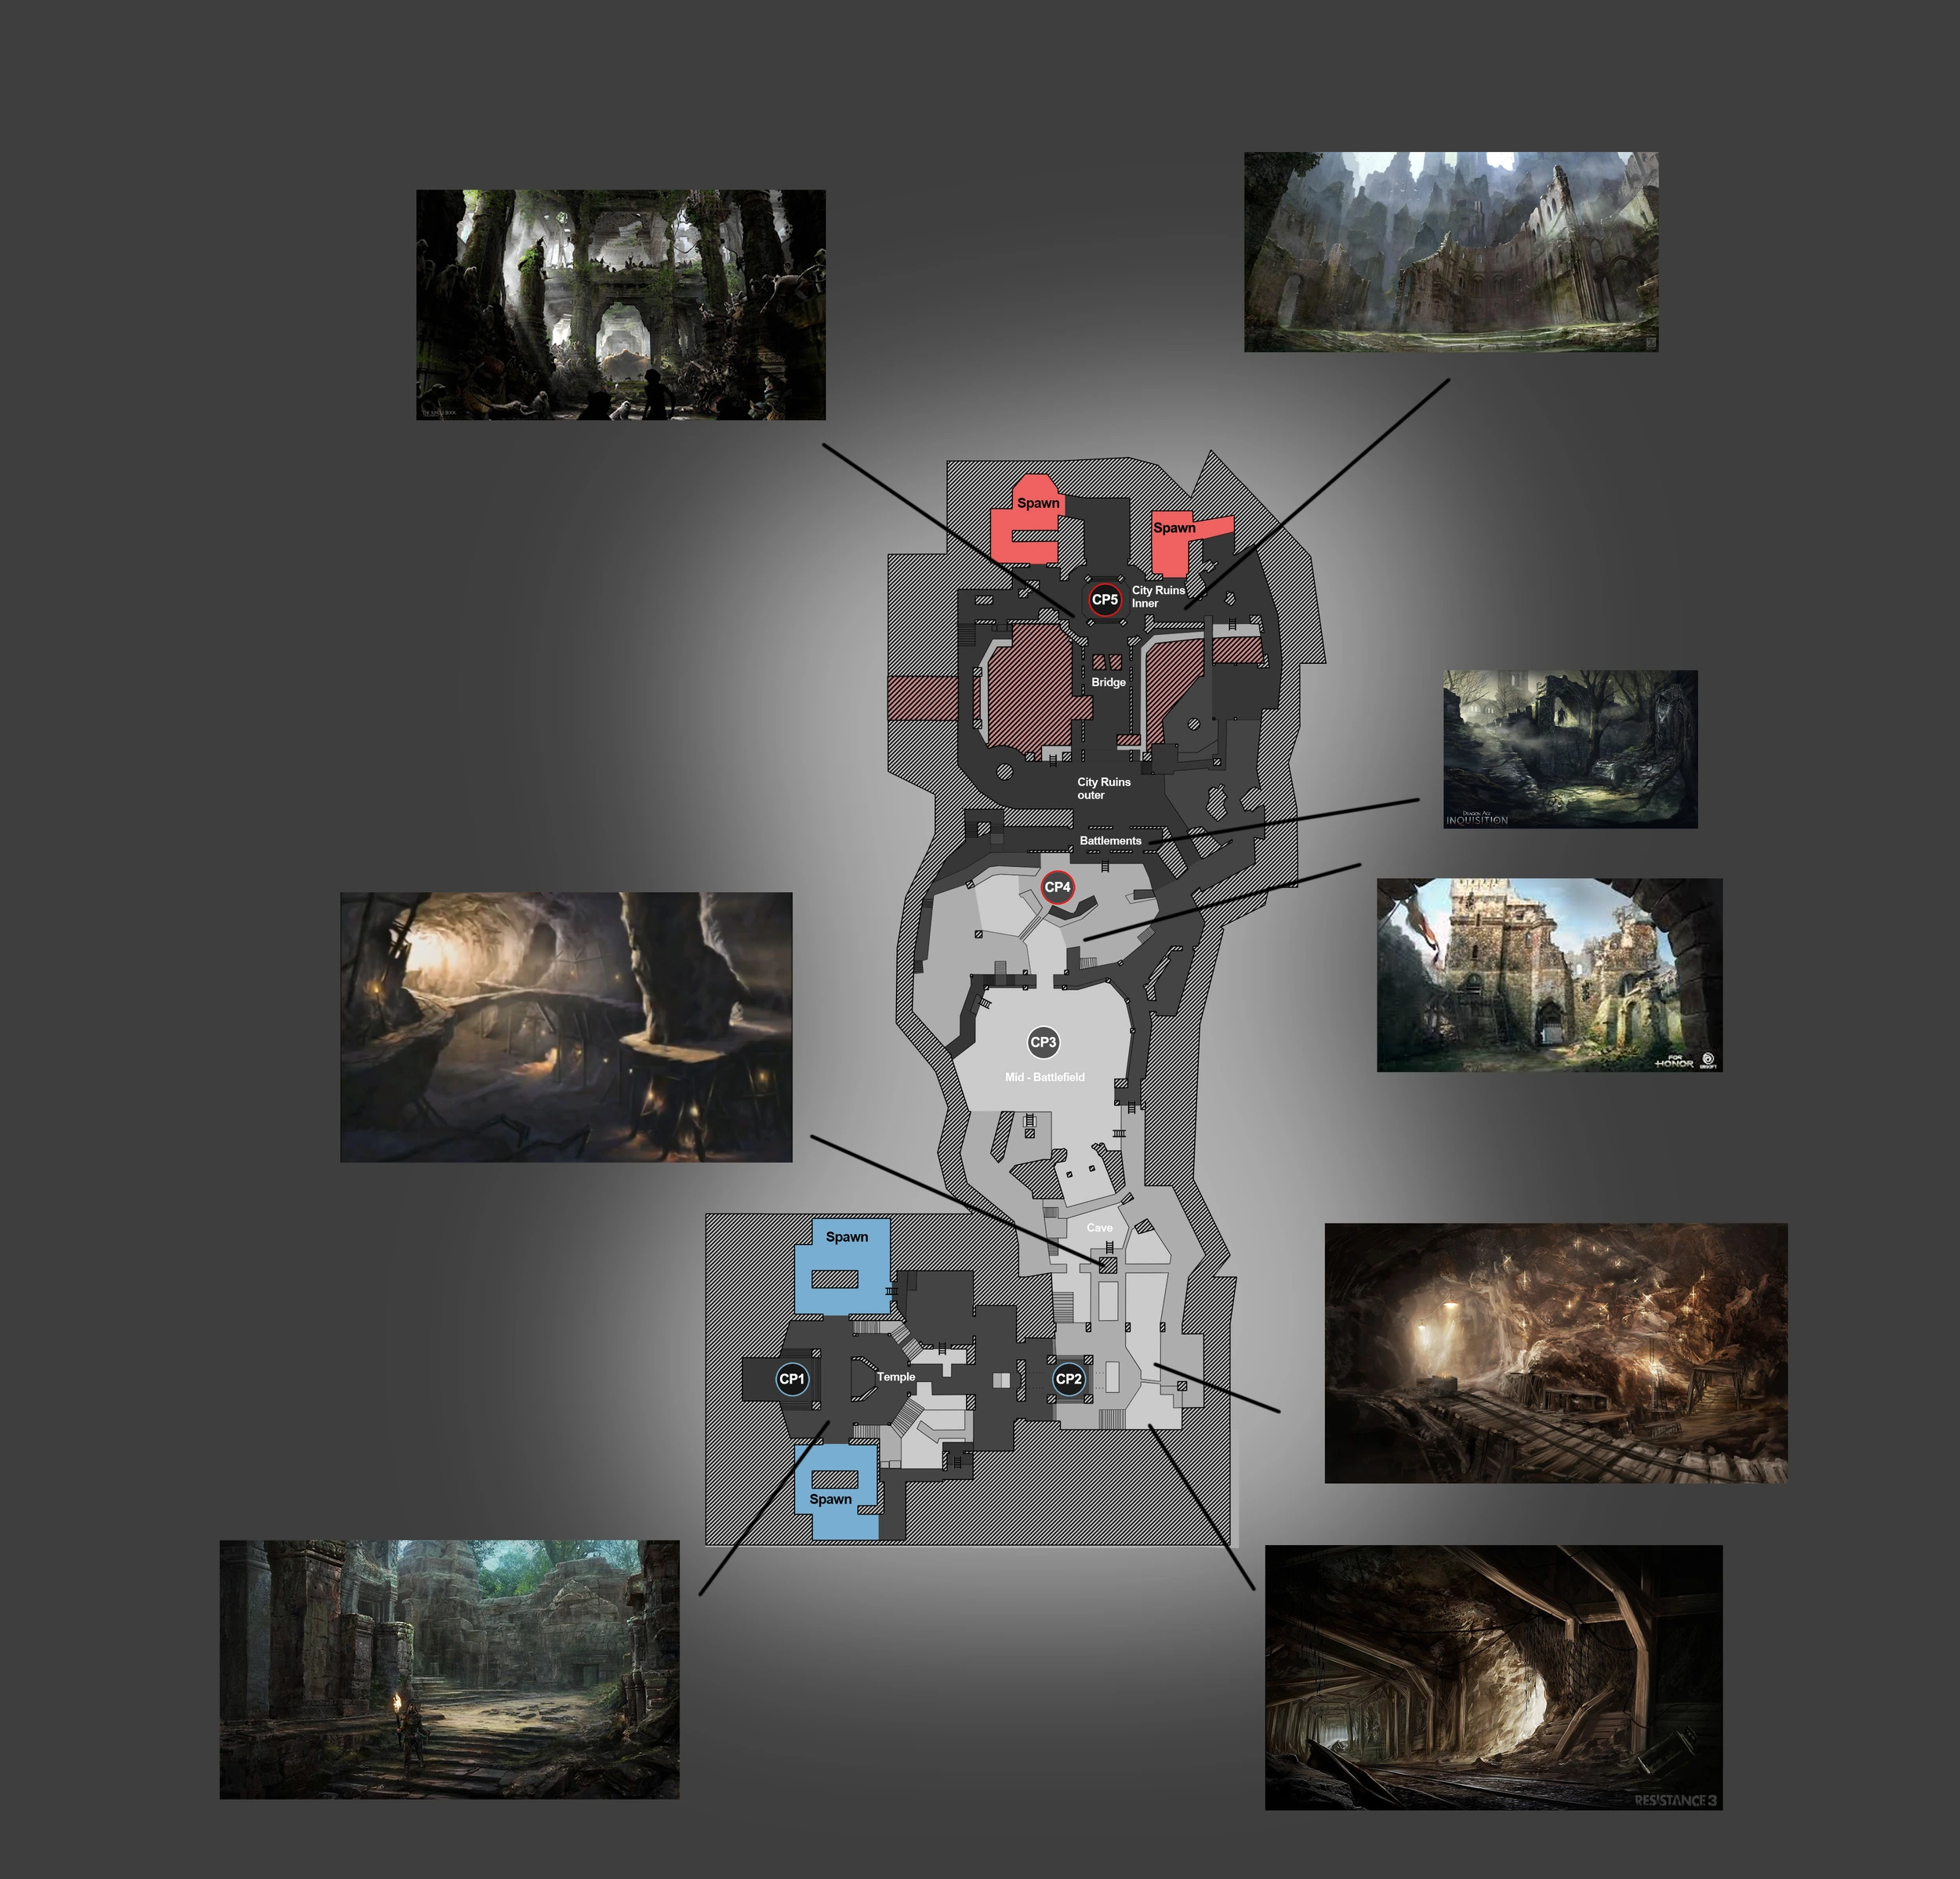
Below is the reference board I made after thinking of the overall theme of the level ( I don’t take credit for the creation of any of the art).
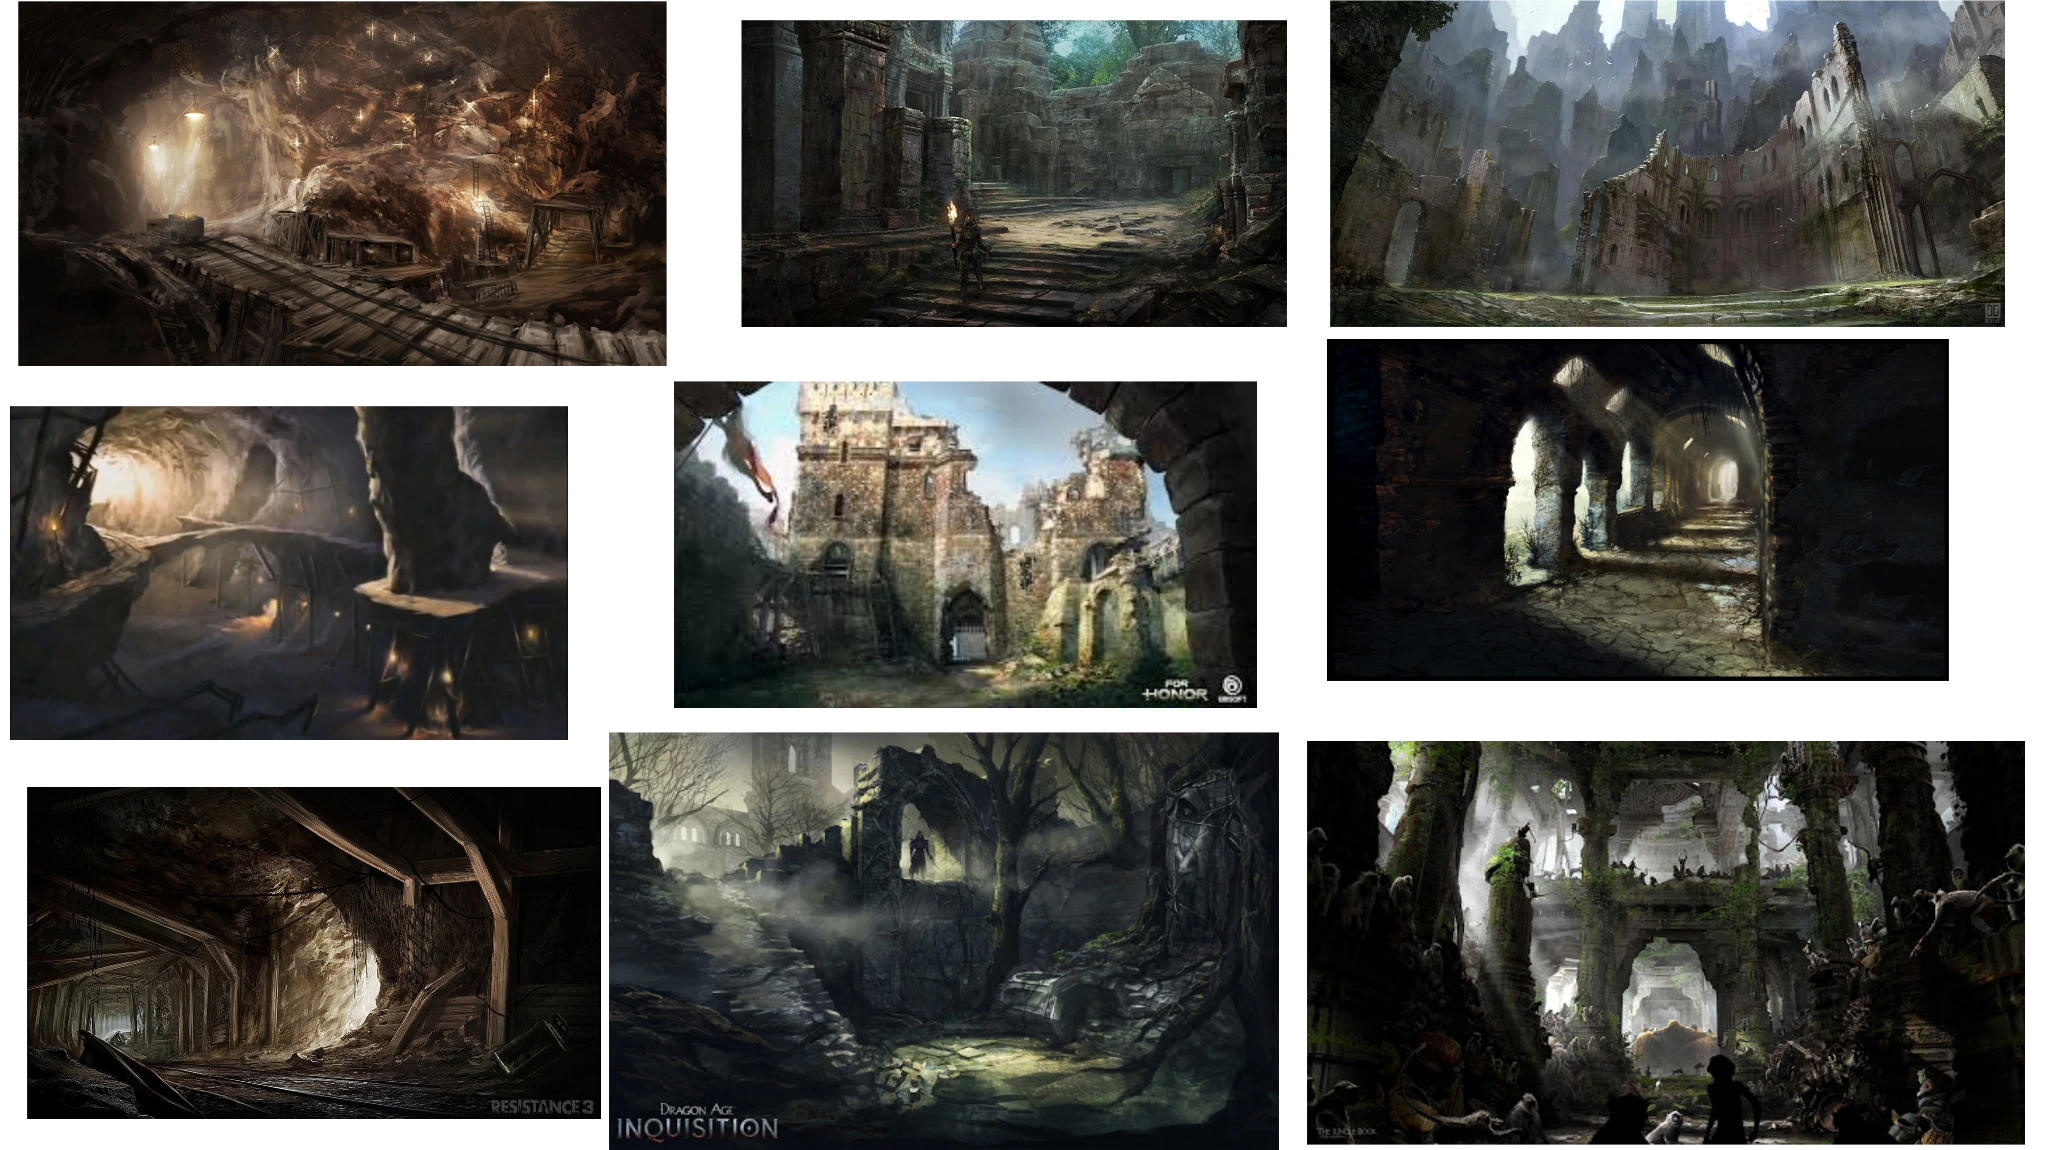
After I had brainstormed a few ideas and created a reference board, the next step was to create a few simple sketches of the layout without going into too much detail. Eventually I picked one I liked and started to add more details to it before finally going into the editor and building it. I built this with BSP within the UE4 editor, although if I were to do it again I would look at other approaches as it was a rather large map, building it with BSP really slowed down the process the larger it got.
Below are images of the final top down view of the level as well as more information.
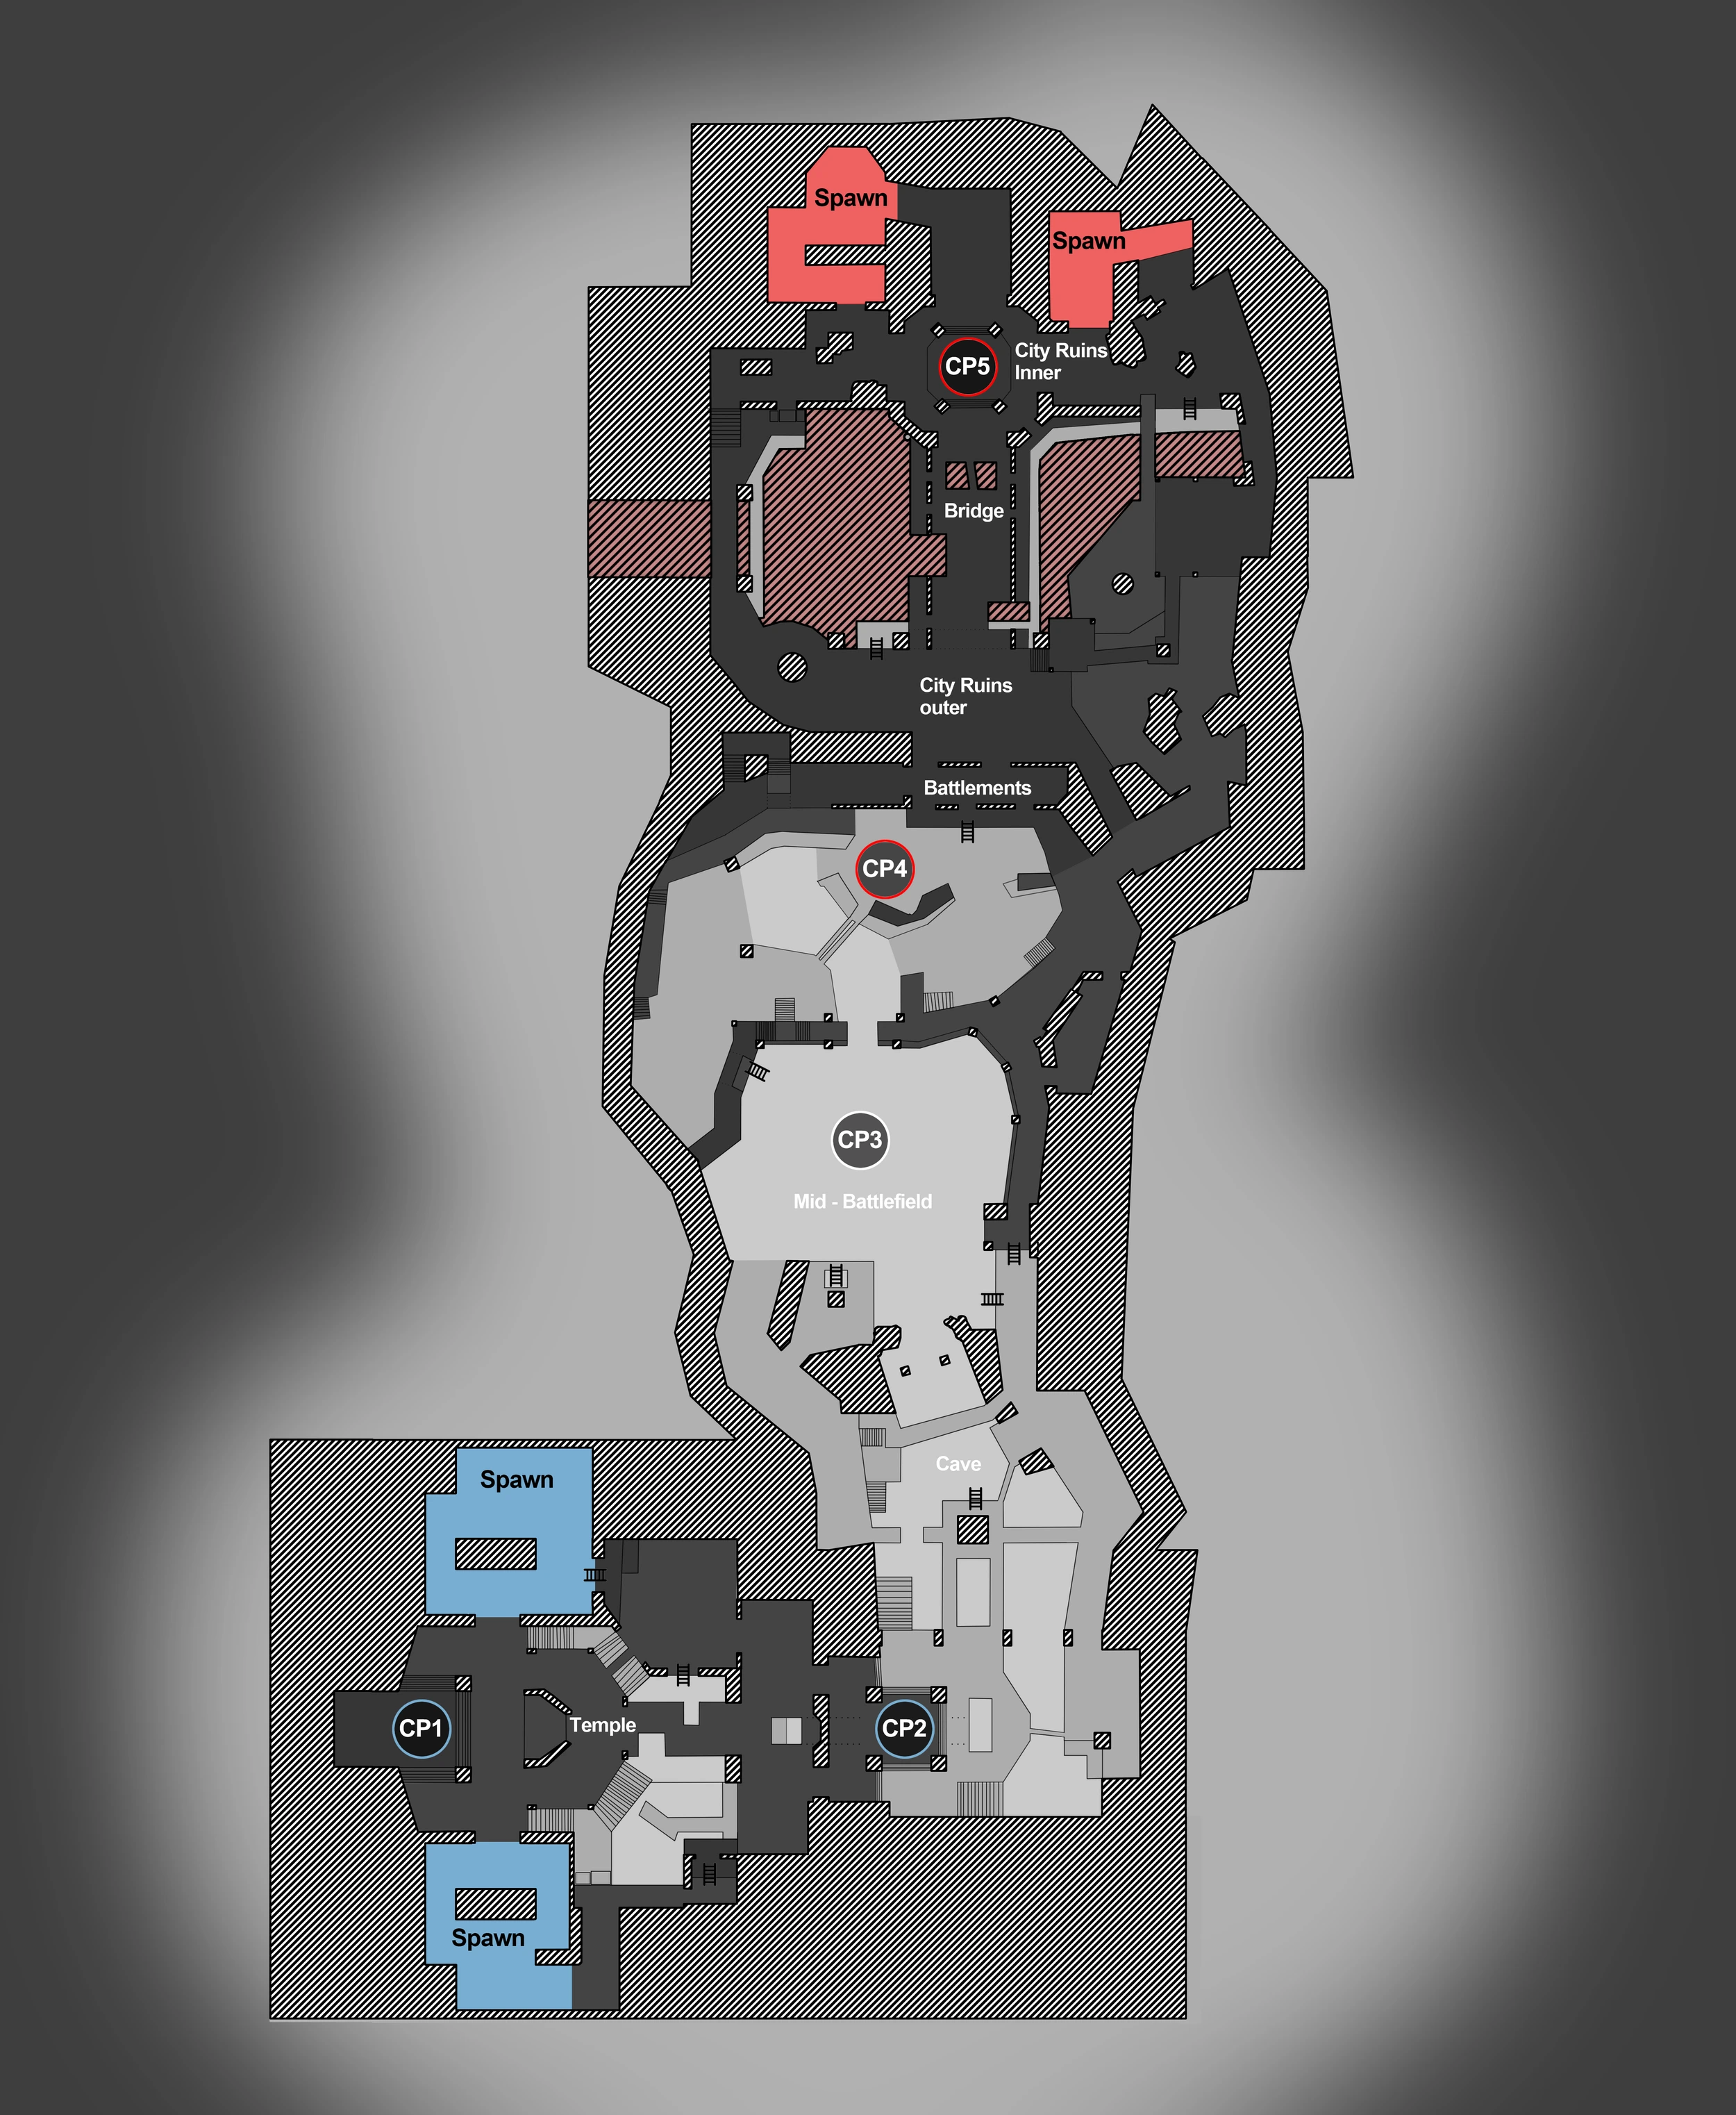
This level had quite a bit of verticality which I tried to show through this map design, the darker an area is the higher elevated it is. Given that it was my first attempt at a Mordhau level I thought I would keep it quite simple so I went for a three lane layout, something that I also noticed one of the offical Mordhau frontline maps used. Throughout this map the centre lane offers a quick path to the next control point but also runs into the most choke points. In some cases it also the most dangerous - particulary the narrow bridge between CP4 & CP5 where players can fall off if they aren’t careful.
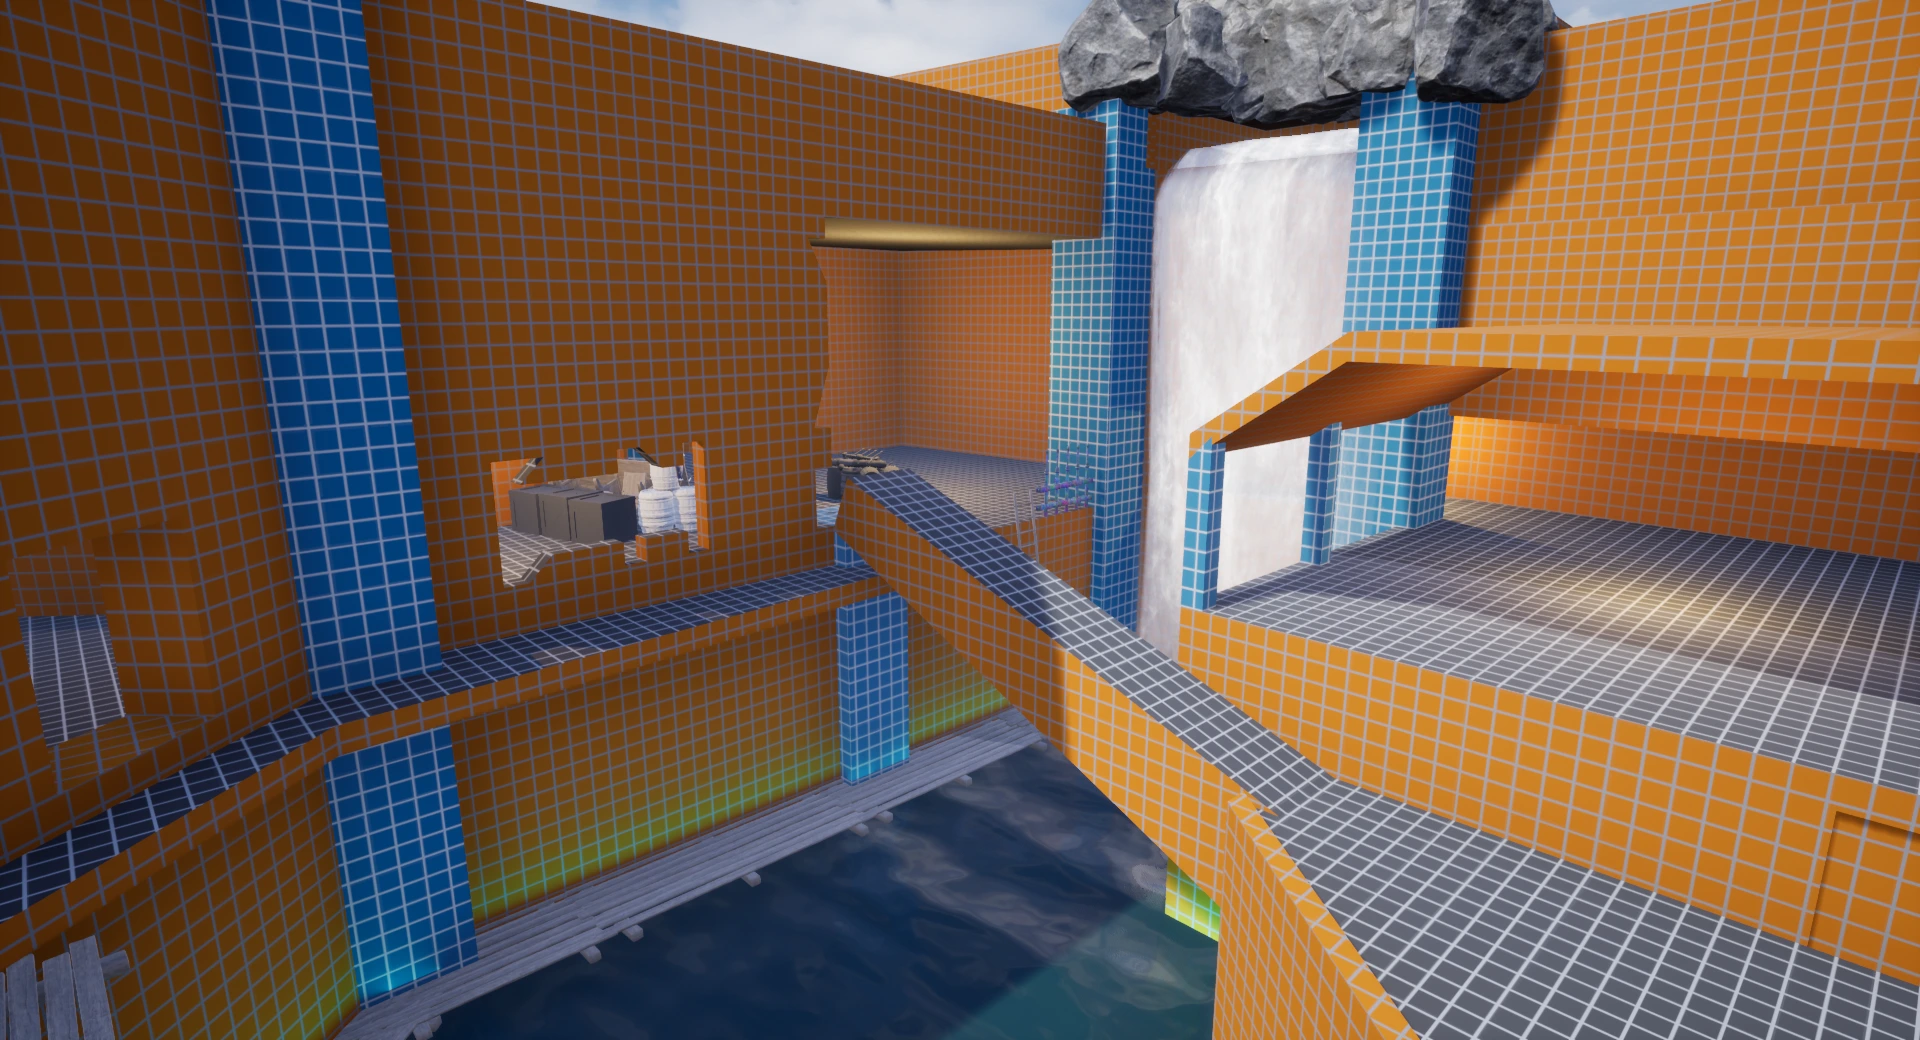
Showing the most direct route to CP5 from CP4. Players need to be careful taking this route given the tight choke points and that they can be knocked easily off the bridge.
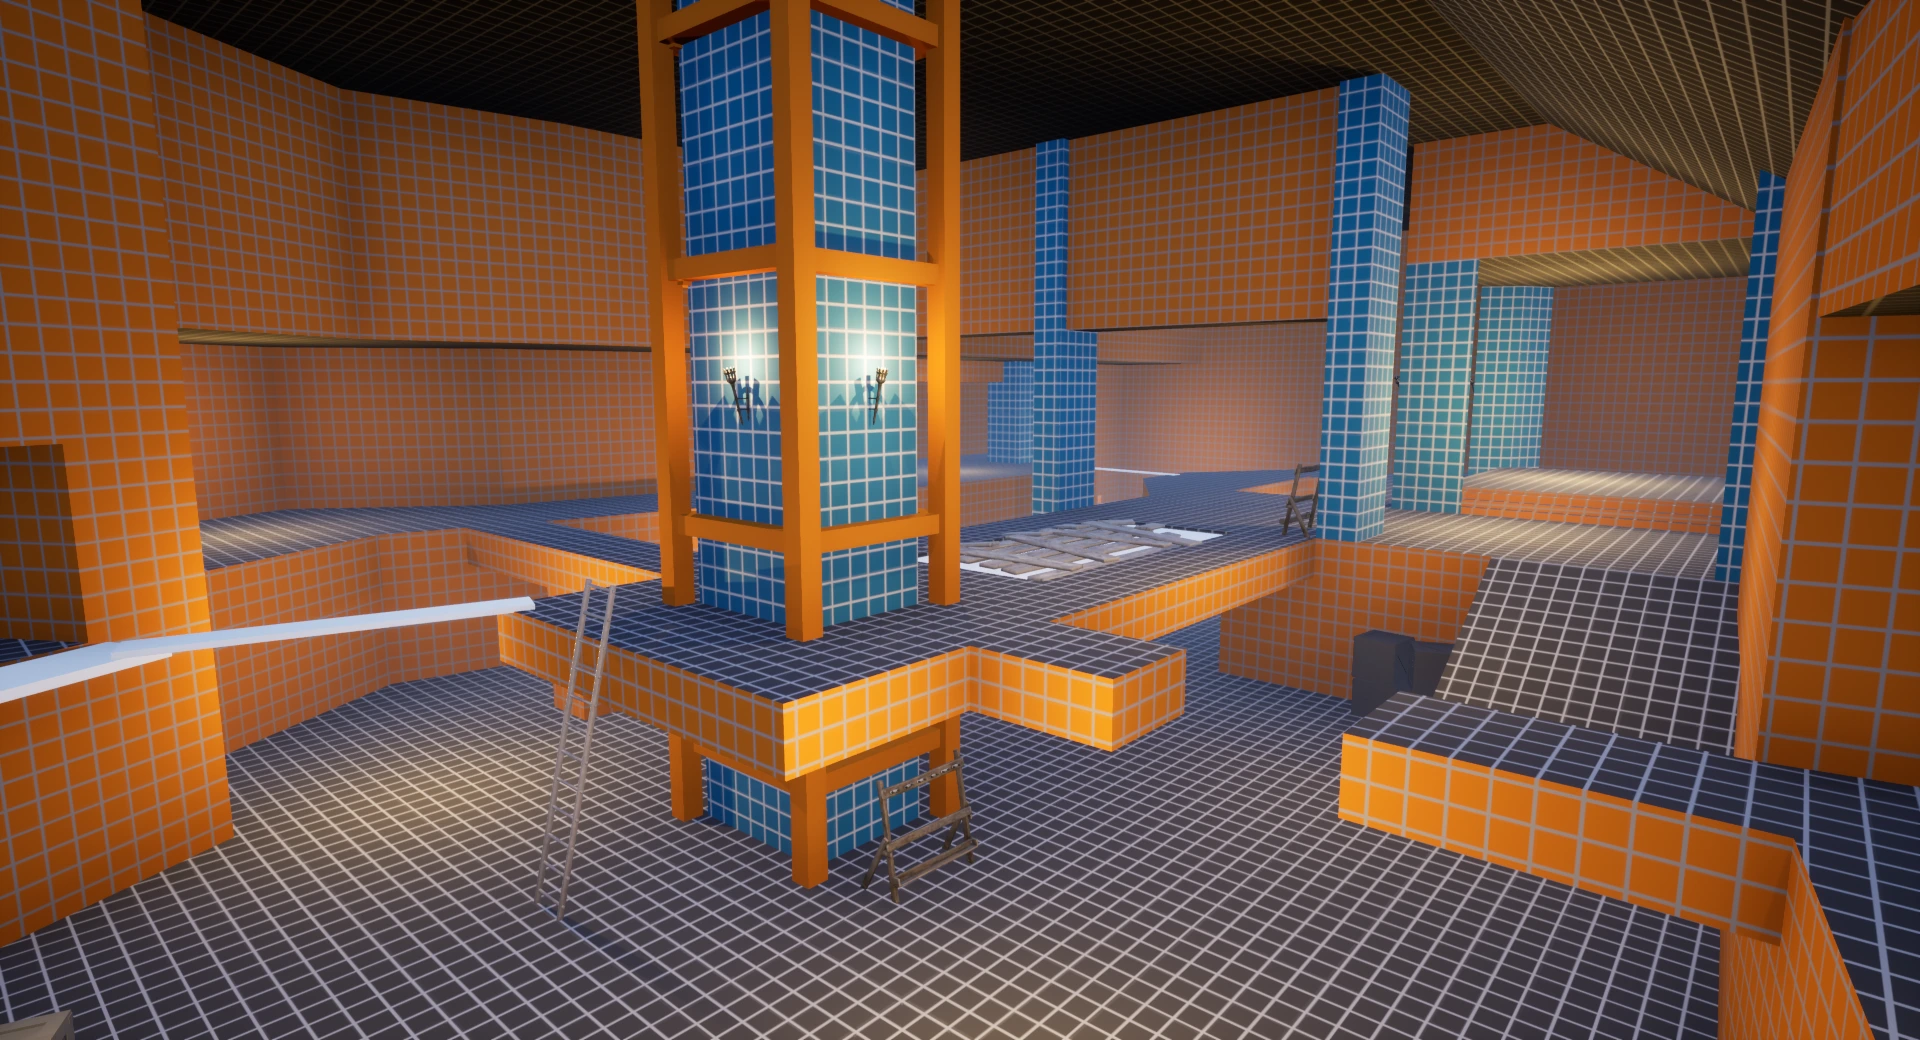
The other 2 lanes offer a chance to flank opponents but take slightly longer to get to the next control point. There are also throughout this level a few options to quickly change lanes to try and outmanoeuvre your enemies. For example in the Cave area near CP2 there are a few ways to drop down safely to the centre lane - however they need to be careful else they could take falling damage and be of lower health when they next face their opponents and generally they are at a positional disadvantage in the centre as they can be dropped down on from enemies either side of the lane.
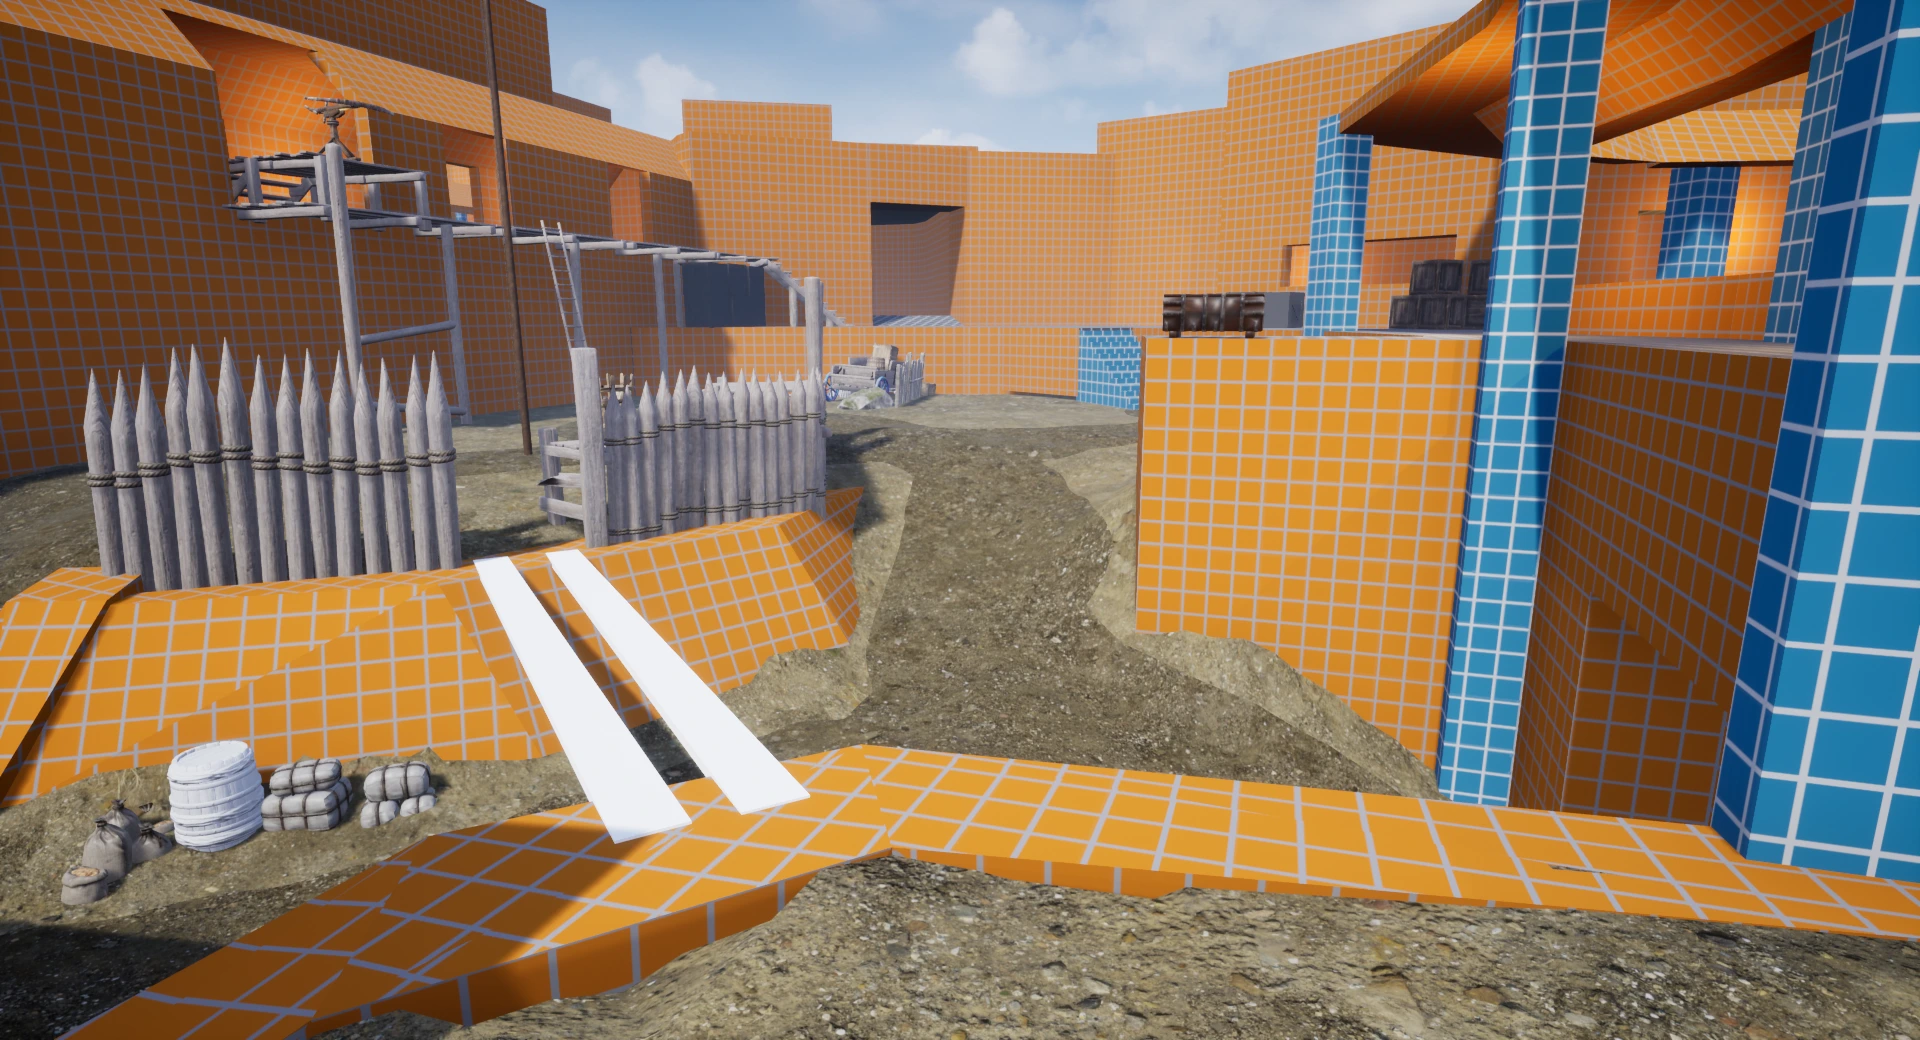
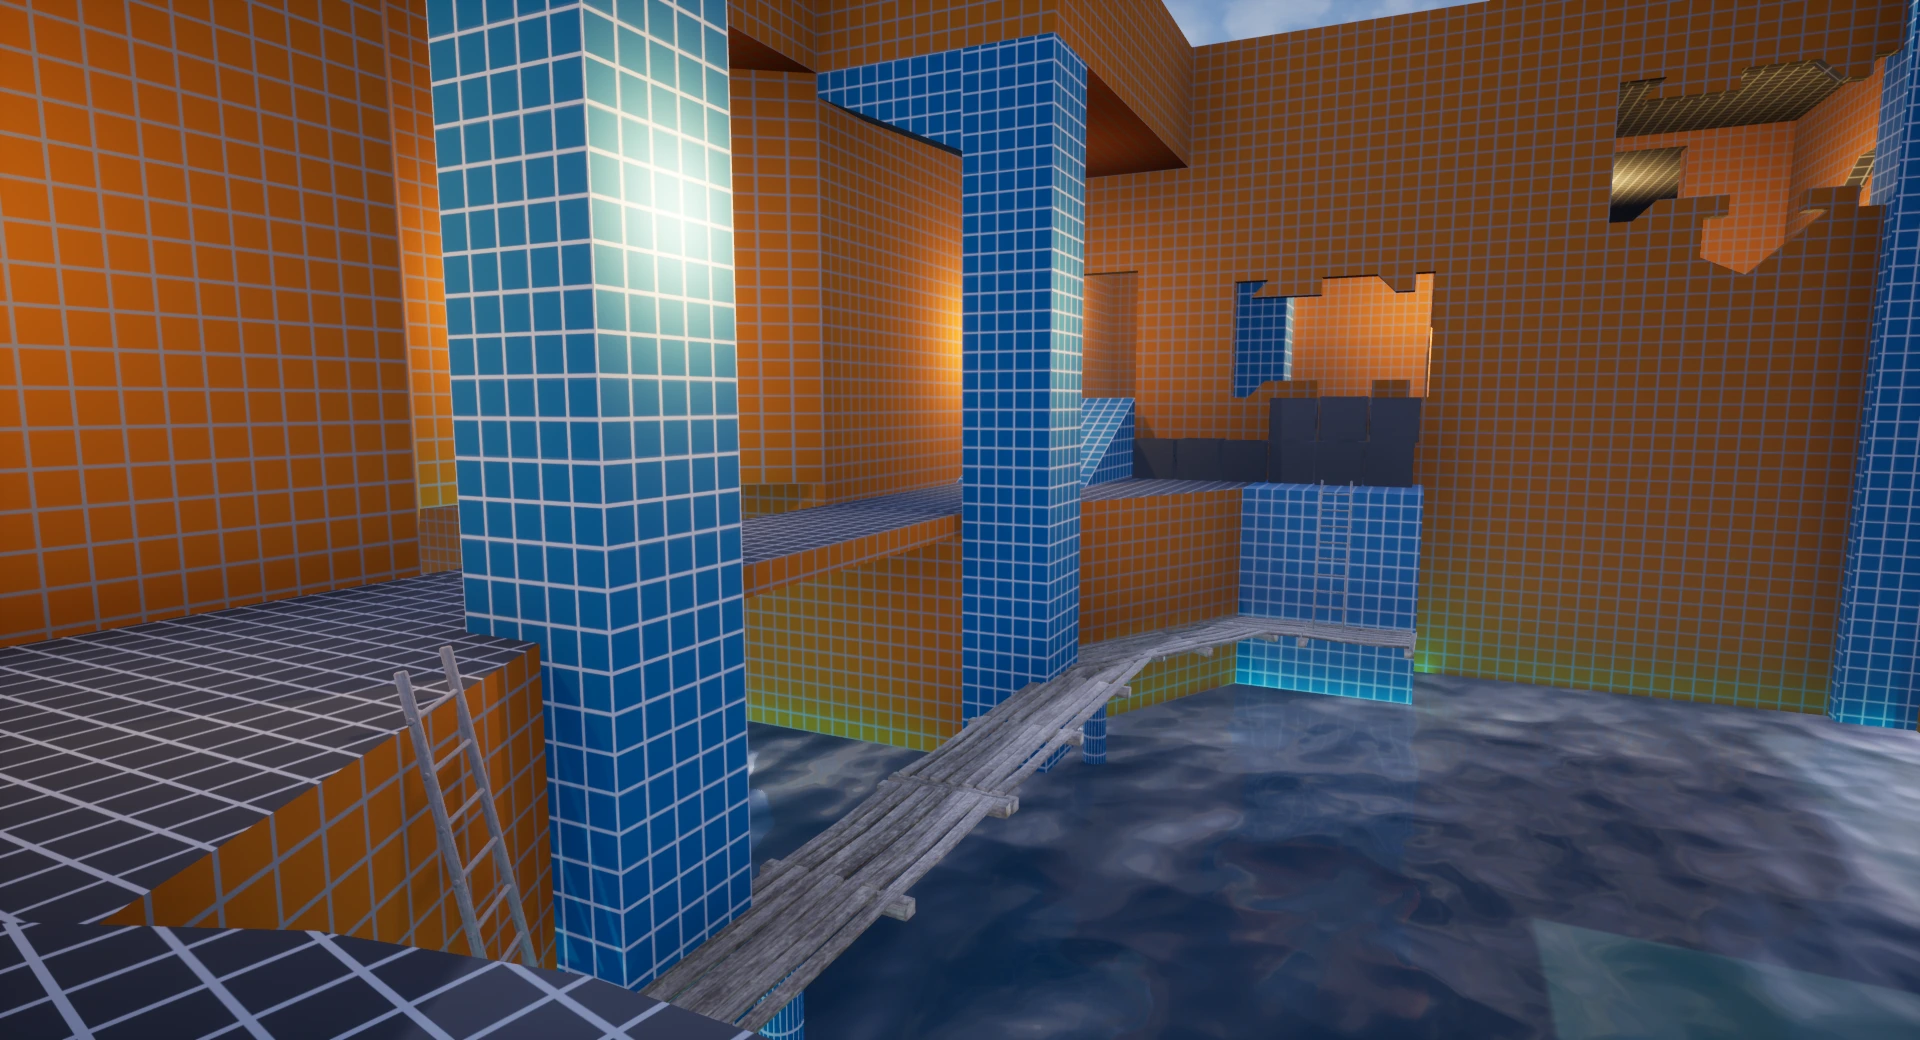
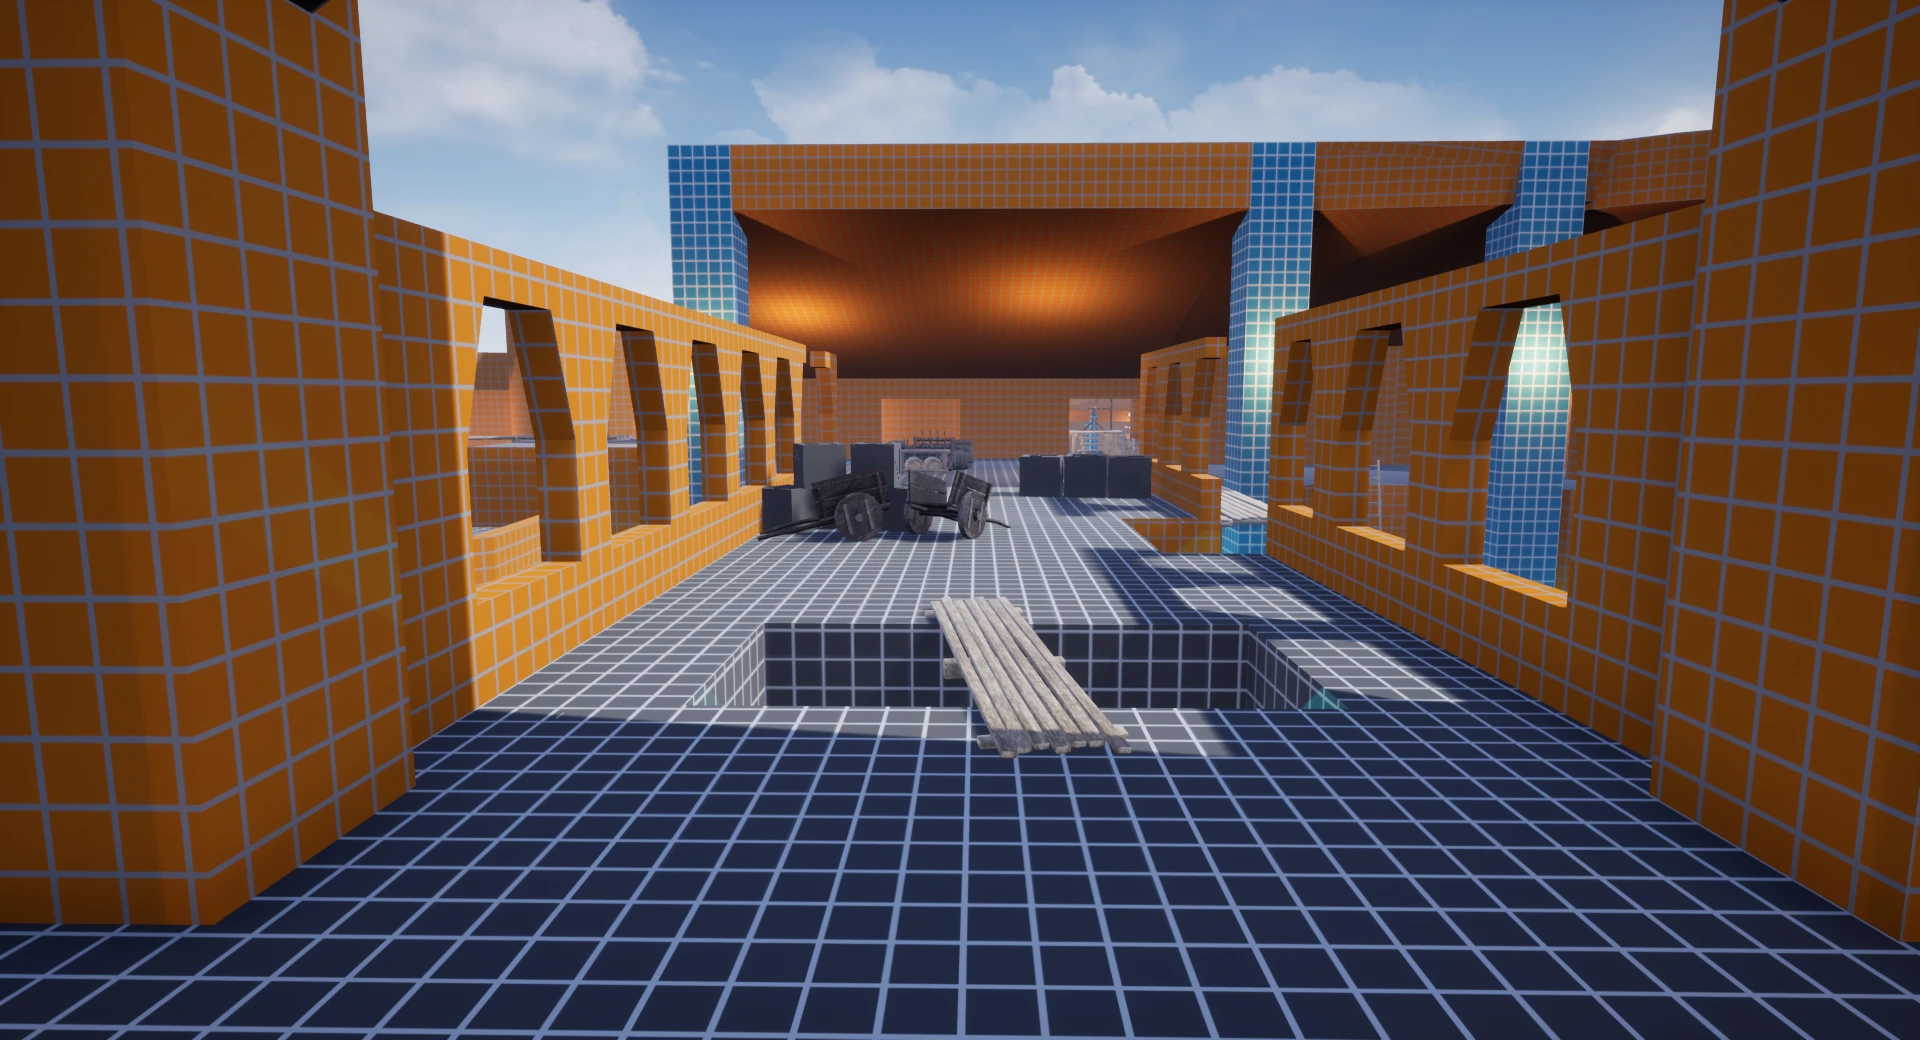
An example of the centre lane being lower then the other two lanes. Dropping results in a small amount of damage taken but also puts them at a positional disadvantage as they have to a ladder or go through a chokepoint to get back up. The slight bridge you see with wooden planks on top can be destroyed making it risky to take this route.
Please note that there is a progressive system in place - each respective team only spawns in the zones coloured red/blue at the start of the round or when they only hold CP1/CP5 and opposing team holds the rest. In terms of the progressive spawns I looked at existing Frontline Mordhau maps and tried to adopt where they placed theirs. The spawns were usually placed just behind the point they had captured, so for example if the blue team captures CP3 then they would spawn somewhere between CP2 & 3 and the red team would spawn somewhere between CP4 & 5. In terms of balancing this I tried to ensure that the time taken for each team to reach the control point that is currently being contested was of a similair time. However usually I gave more leeway to the defending team in reaching the control point first so they had a chance to defend the control point and the positions around it. Below is a top down image showcasing this.
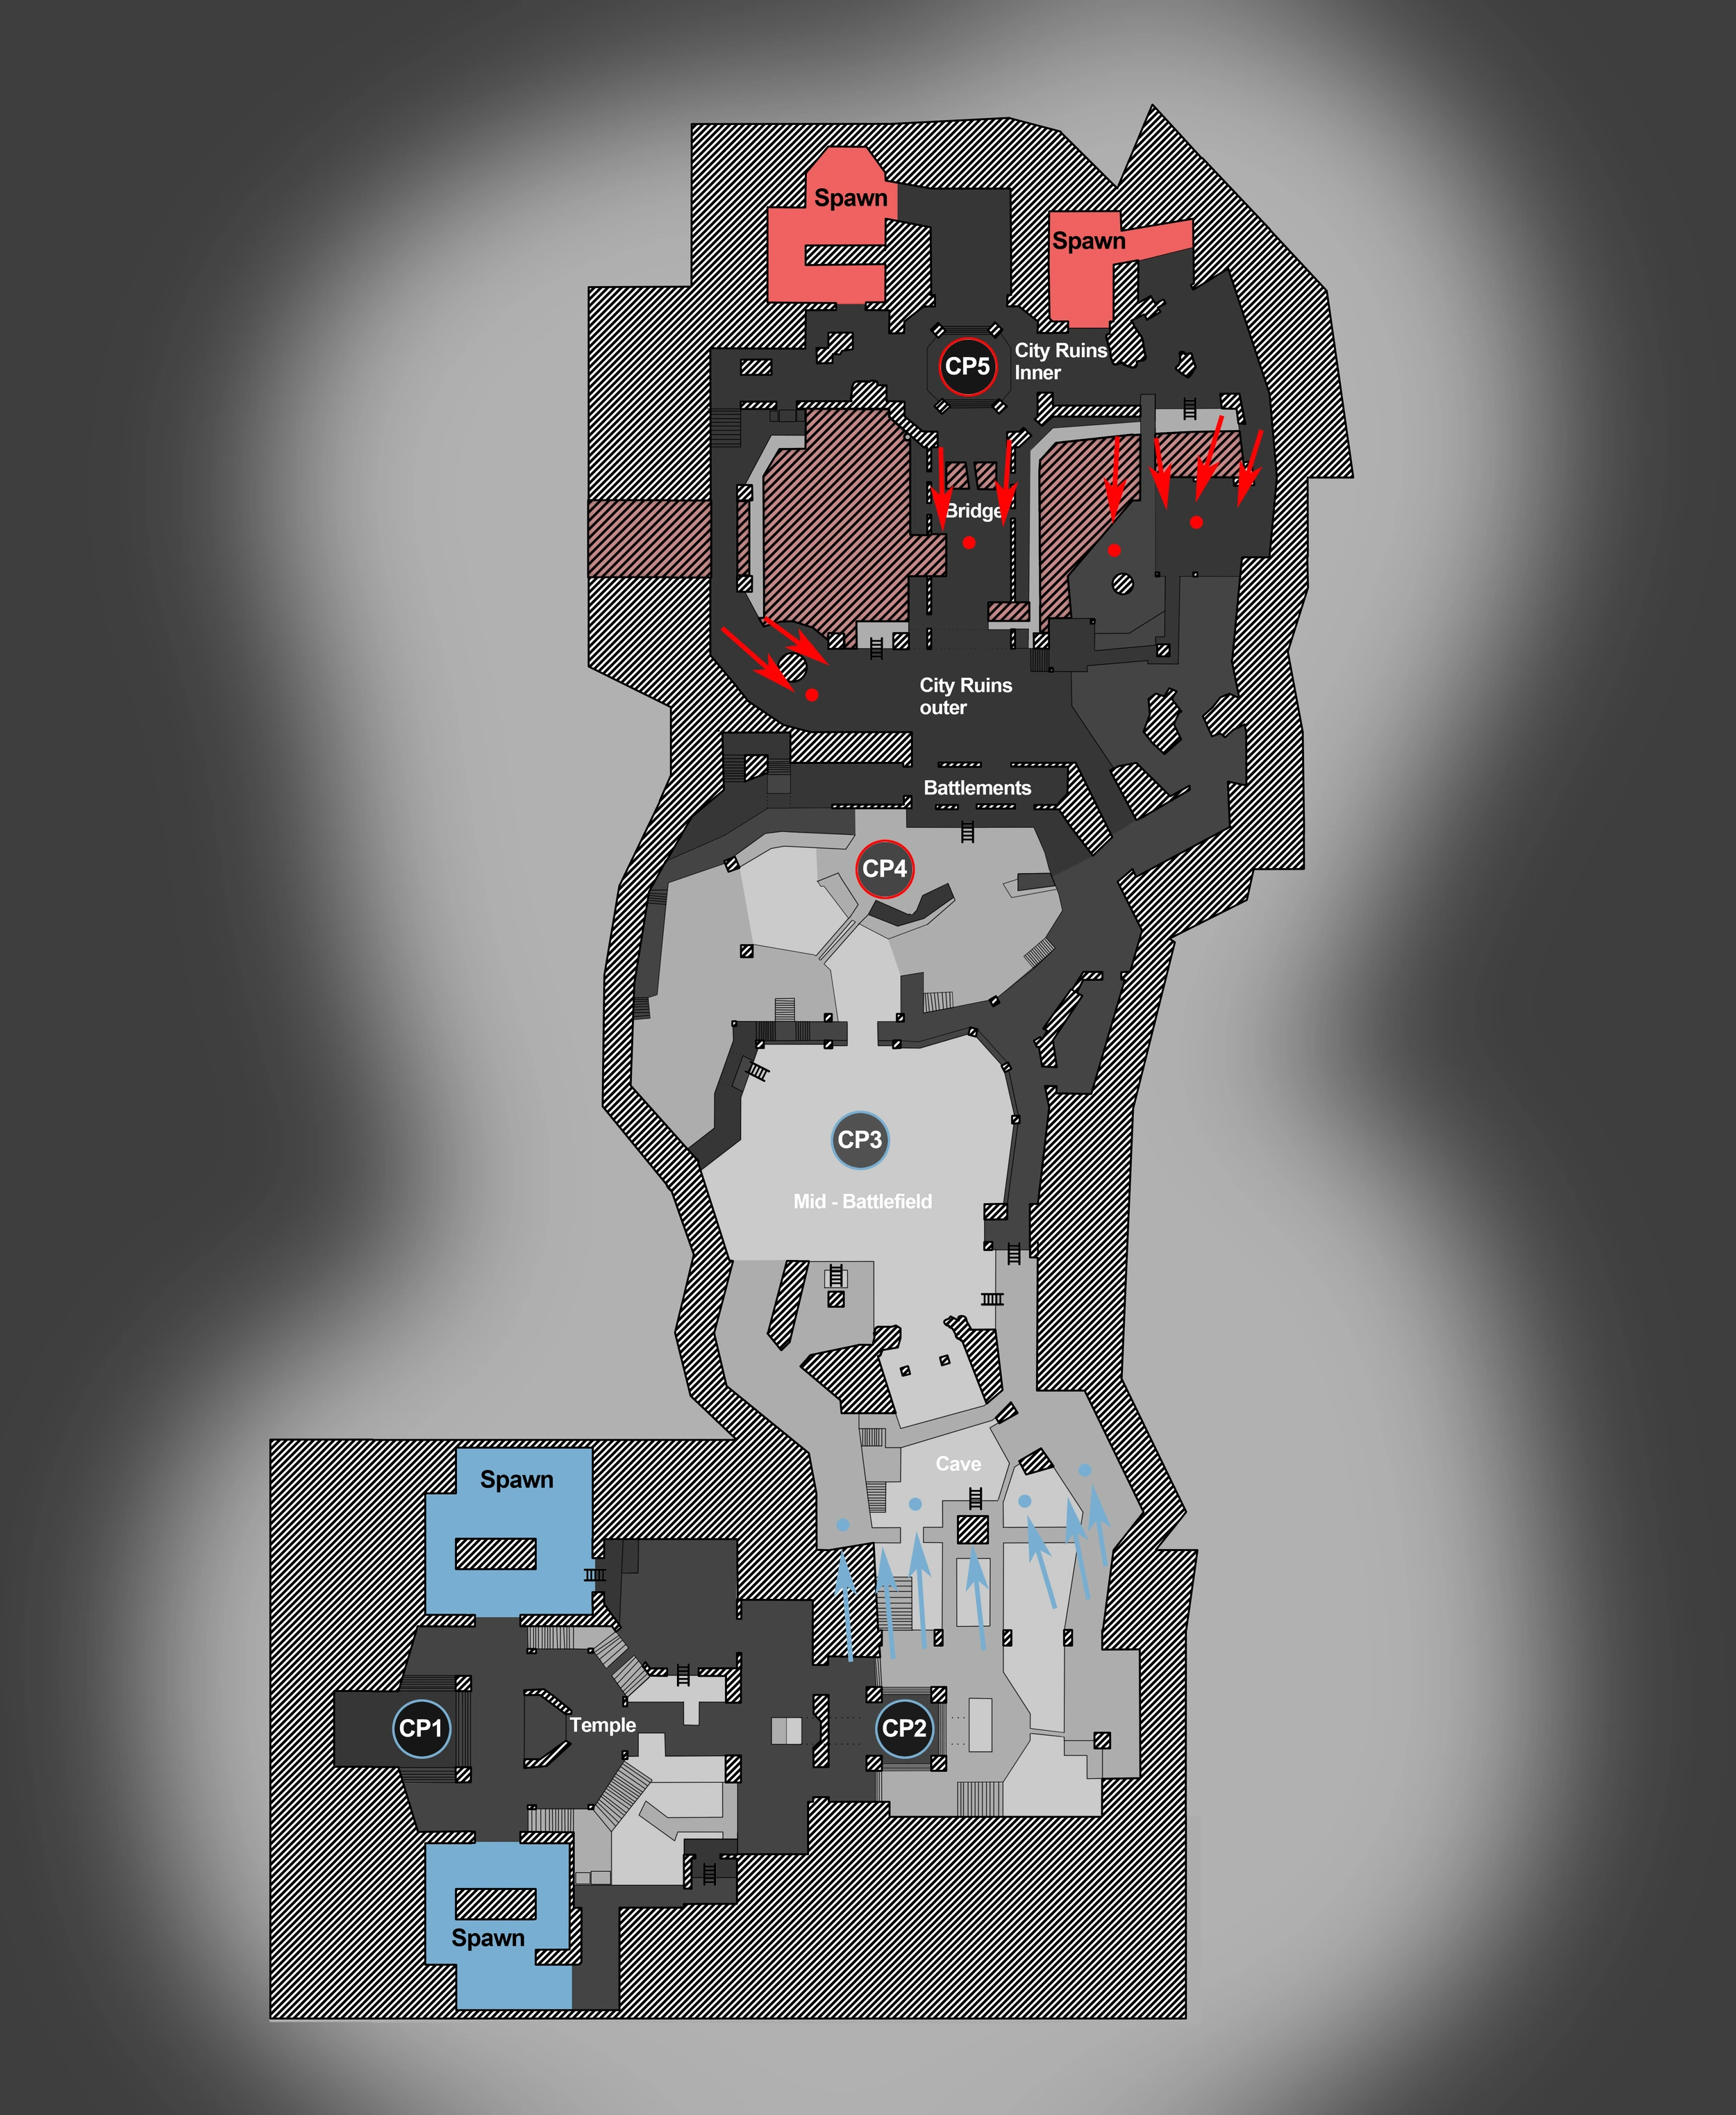
This is a example of the progressive spawn placement if the blue team captures CP3. The Blue team spawn just infront of CP2 and the red team spawn just infront of CP5. I wanted the Red team to be able to retake CP3 so I wanted to ensure the blue team weren’t spawning too close to CP3. Equally I wanted the Red team to be able to defend CP4 and their defensive positions so they are slightly quicker in reaching this point then the Blue team, but not by much.
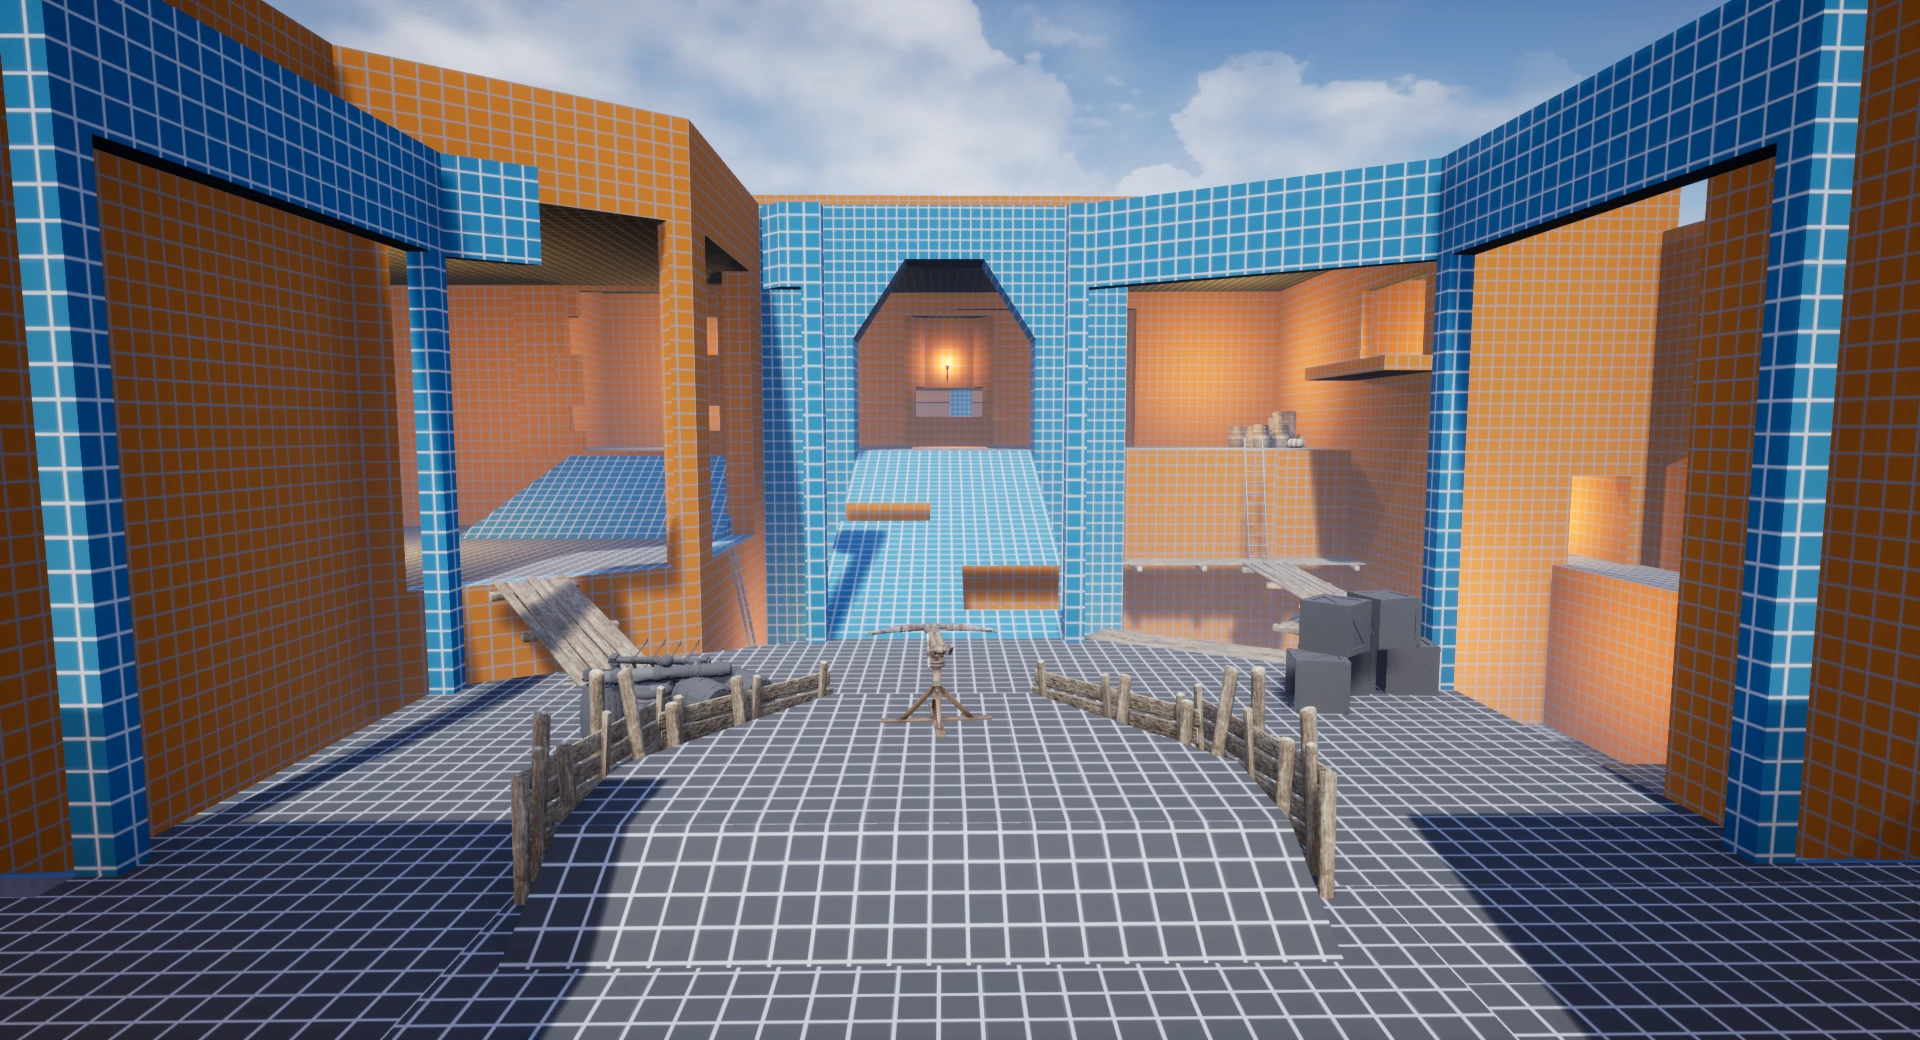
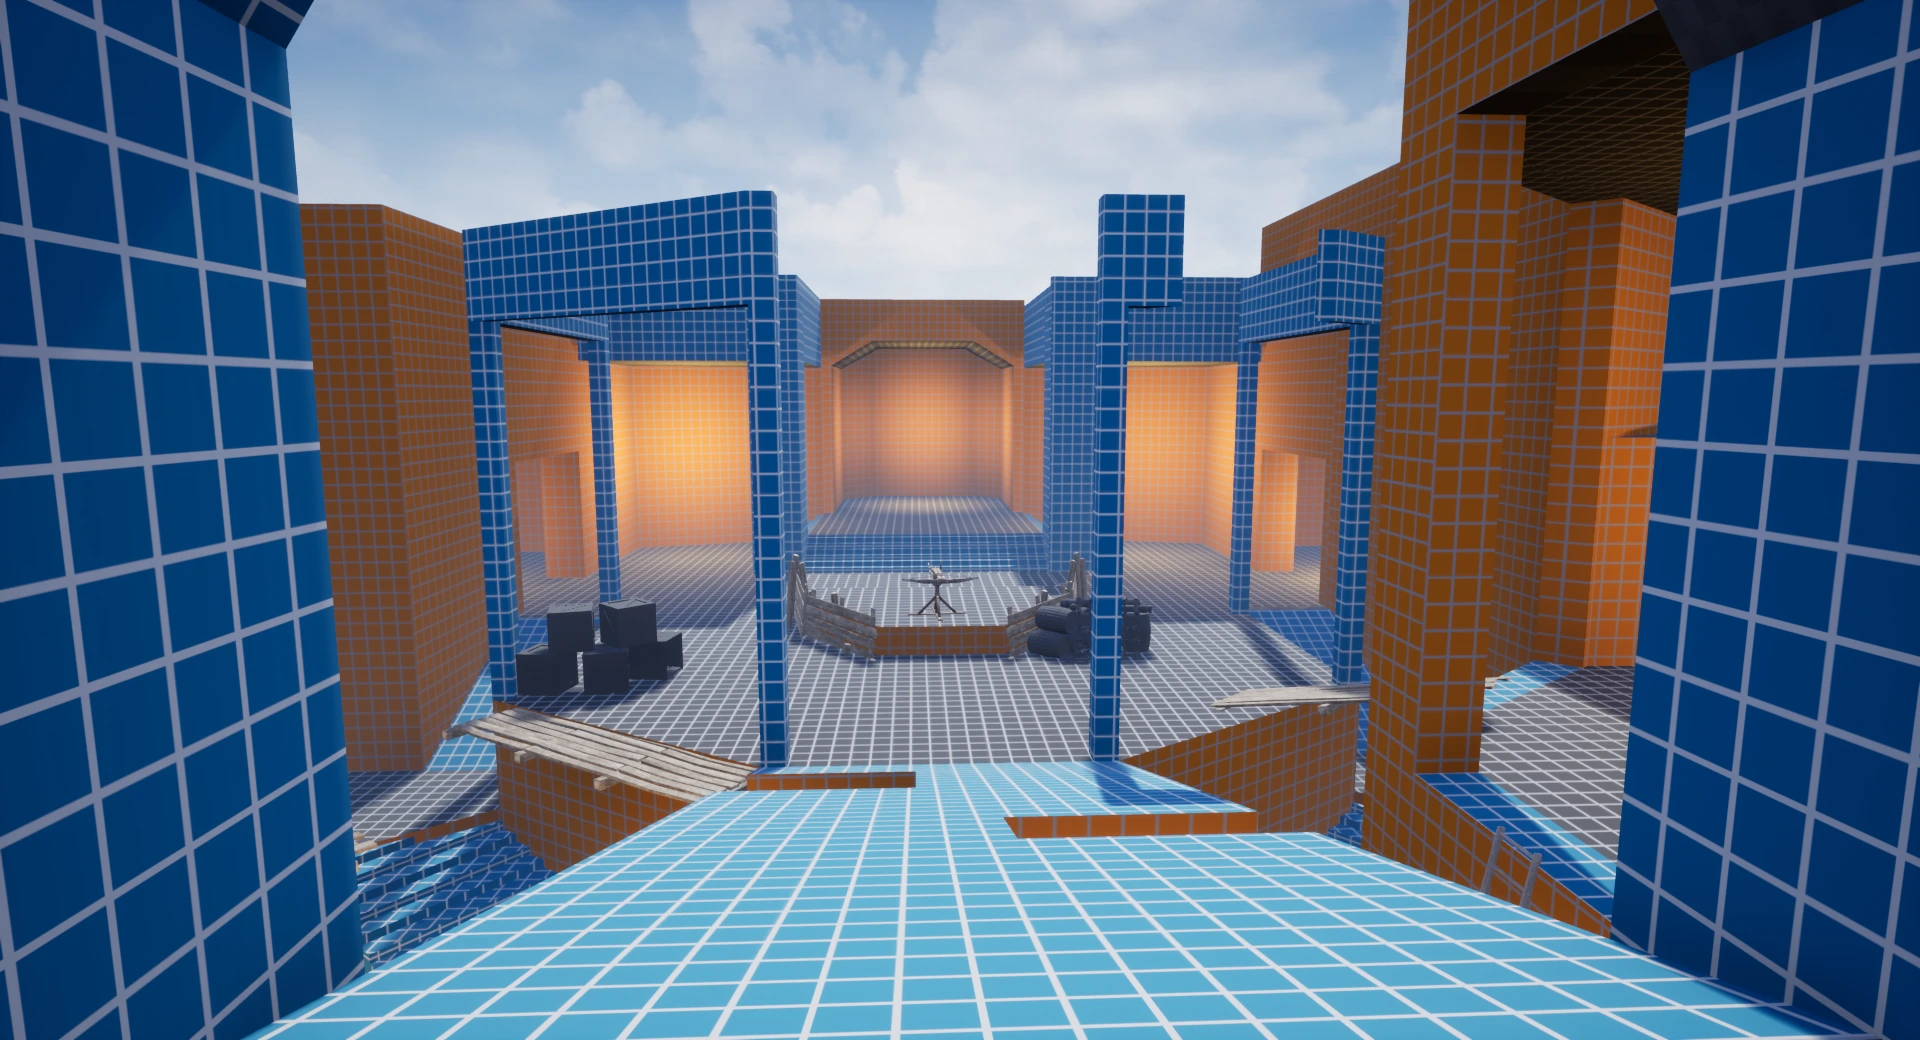
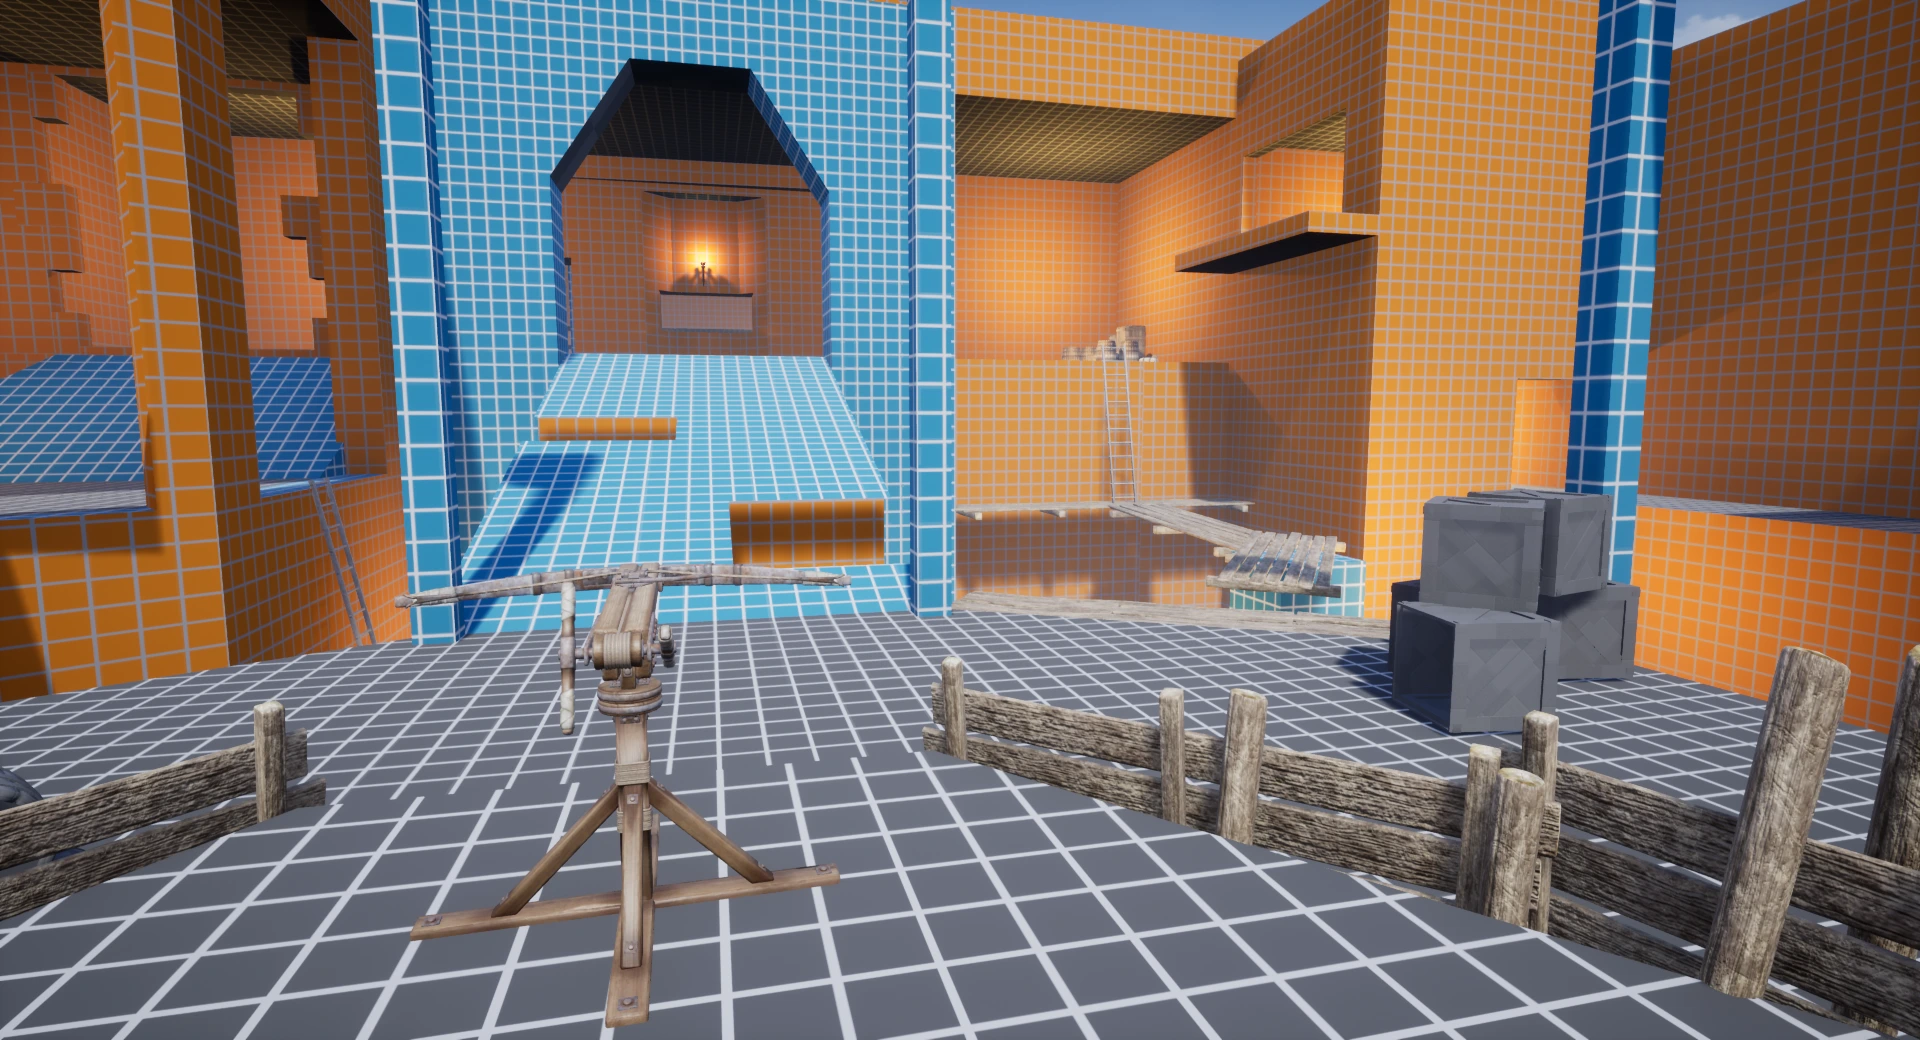
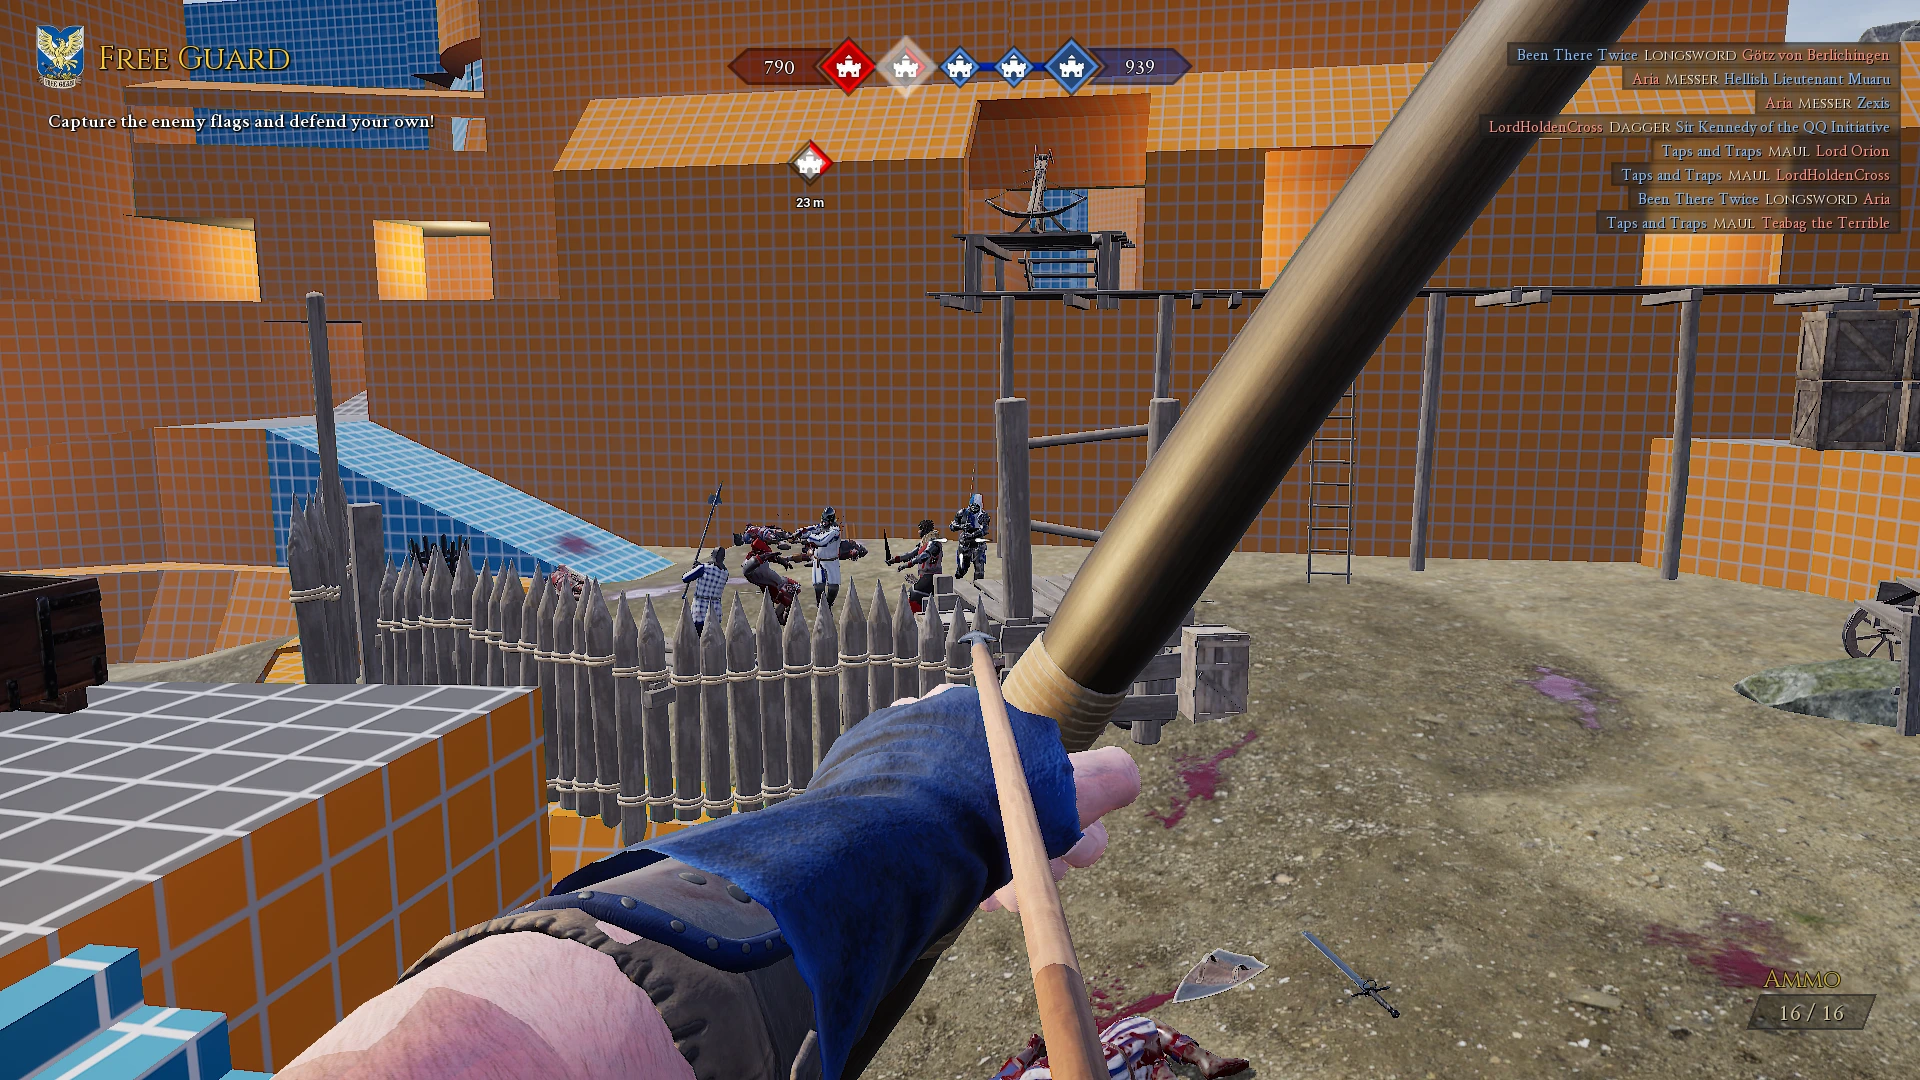
The further a team progressed I wanted to make it slightly harder for them to take the control point then the last one they had captured by giving favourable positions to the defending team. For example if you look at this image of CP4, (the CP indicated by the flag and the battlements area on the top down map) - the defending team, which would come from the right have a positional advantage giving archers a easy shot onto those trying to contest the point as well as a ballista that covers a wide area. The attacking team can flank from the left (where the tents are) which the ballista can’t get view of, giving them a chance to destroy the ballista and take away the height advantage.
Showing the positional advantage of the defending team of CP4 - spawning from the right. They also have a ballista which can be destroyed by their opponents.
To make it more interesting then a simple tug of war, I adopted a few features that the Mordhau official frontline maps included in their levels. This involved adding objectives between control points that have to be completed in order to progress. Below are the win conditions and the objectives I included (which are different for each team).
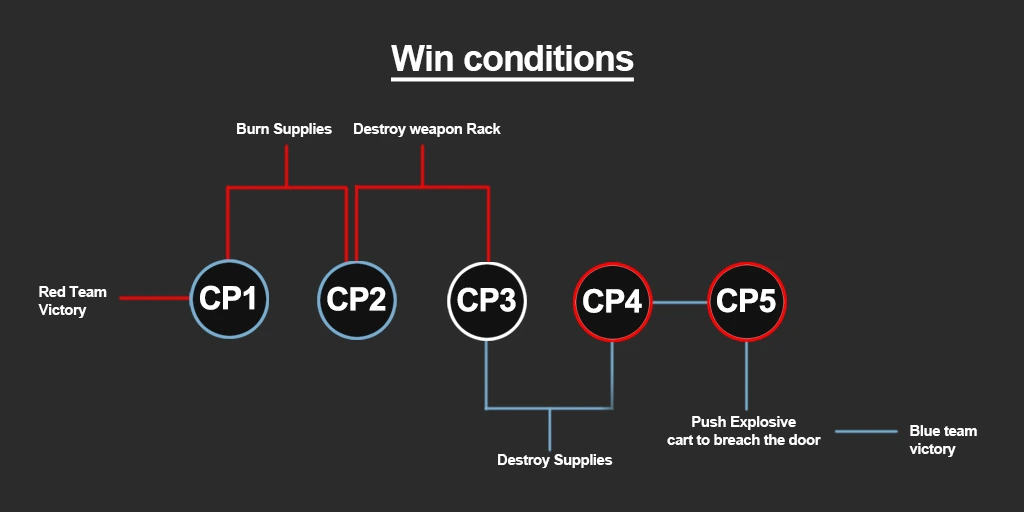
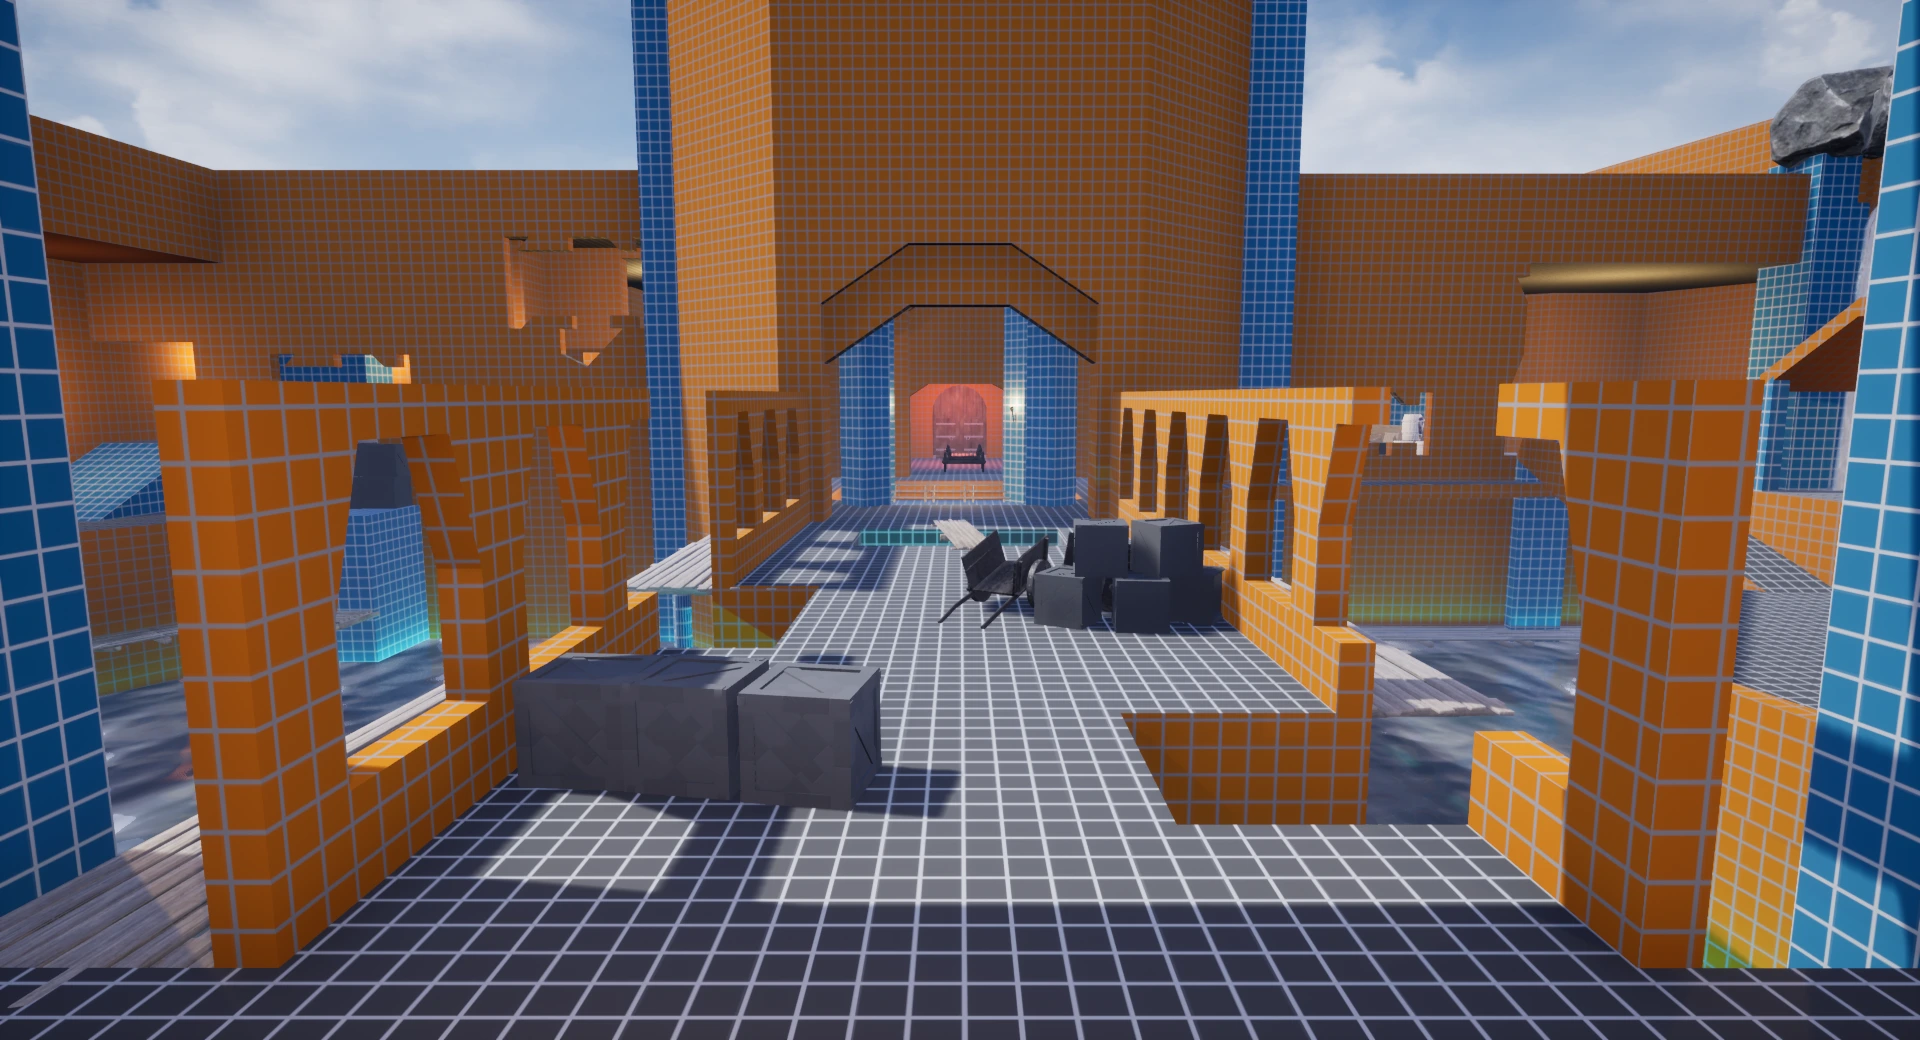
Showcasing the win conditions for each team. For Example, the Blue team Capture CP3 then they have to destroy the supplies surrounding CP4 before they can capture CP4. They can then capture CP5 straight away but afterwards they have to push the explosive cart to breach the city doors, resulting in a win. The red team can retake CP4 and the blue team aren’t able to push the cart further.
Unfortunately I wasn’t able to properly test the map balance/spawns which I realise isn’t ideal at all for multiplayer maps. The frontline maps usually have 12+ players on each team so I mainly had to rely on testing with AI (of course this isn’t ideal and doesn’t represent how the level would be played out with actual players) as I couldn’t get a reasonable size of players to test.
I also added some of the reference images I collected before I built the blockout to help me keep in mind the look that I was aiming for each segment of the level - however I never progressed passed the blockout stage. The reason for stopping at the blockout stage is included below in the summary.
Summary
I enjoyed making this project and I learned a lot, although the developement process was a lot shorter then other maps I have made due to stopping at the blockout/testing phase. My initial research and planning process of this level was better then it was in previous projects but I think I could improve a lot on this aspect. Given that it my first Mordhau map I think I should have kept things quite small in scale, originally I planned on making a three CP map rather then a five which I think would have been more ideal as it would have taken me a long time to fully art it by myself as well as test everything and implement the different mechanics.
I originally planned to follow this project from blockout stage to fully arting it - however due to a few reasons I decided to stop at the blockout stage and move one. One reason was the lack of testing, it was difficult to get players to test it as the level required a sizeable amount of players to properly test it so I had to rely on testing it with AI or sendings screenshots of the blockout to other people for feedback. Another reason was I wasn’t 100% happy with how the level was going and I was close to shelving it completely, I thought I could do a lot better and wanted to take on what I had learned from the developement of this level to help make my next project better. Originally I wasn’t going to include this project on my portfolio but I wanted to share a few of the ideas I had when creating this level and I think writing out the design process that I went through helped me reflect and look at what failed, what was a success and what not to do next time etc.