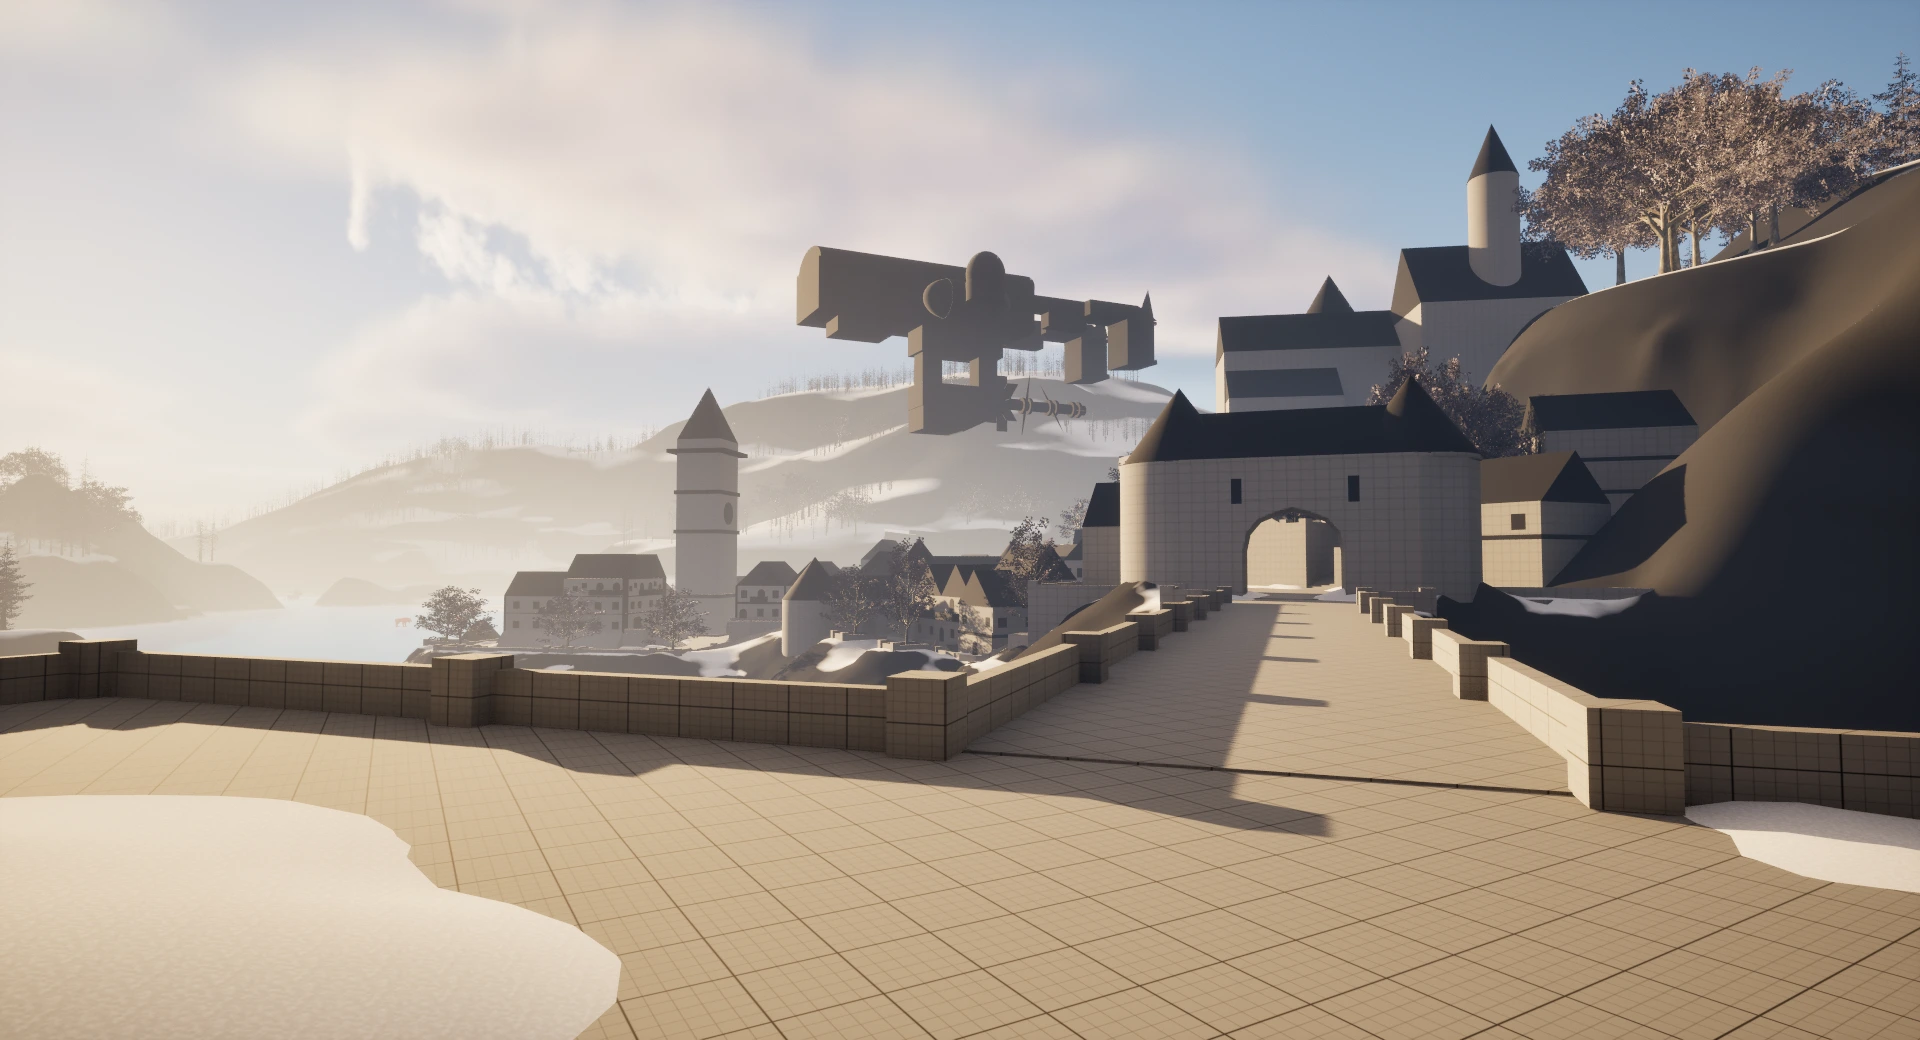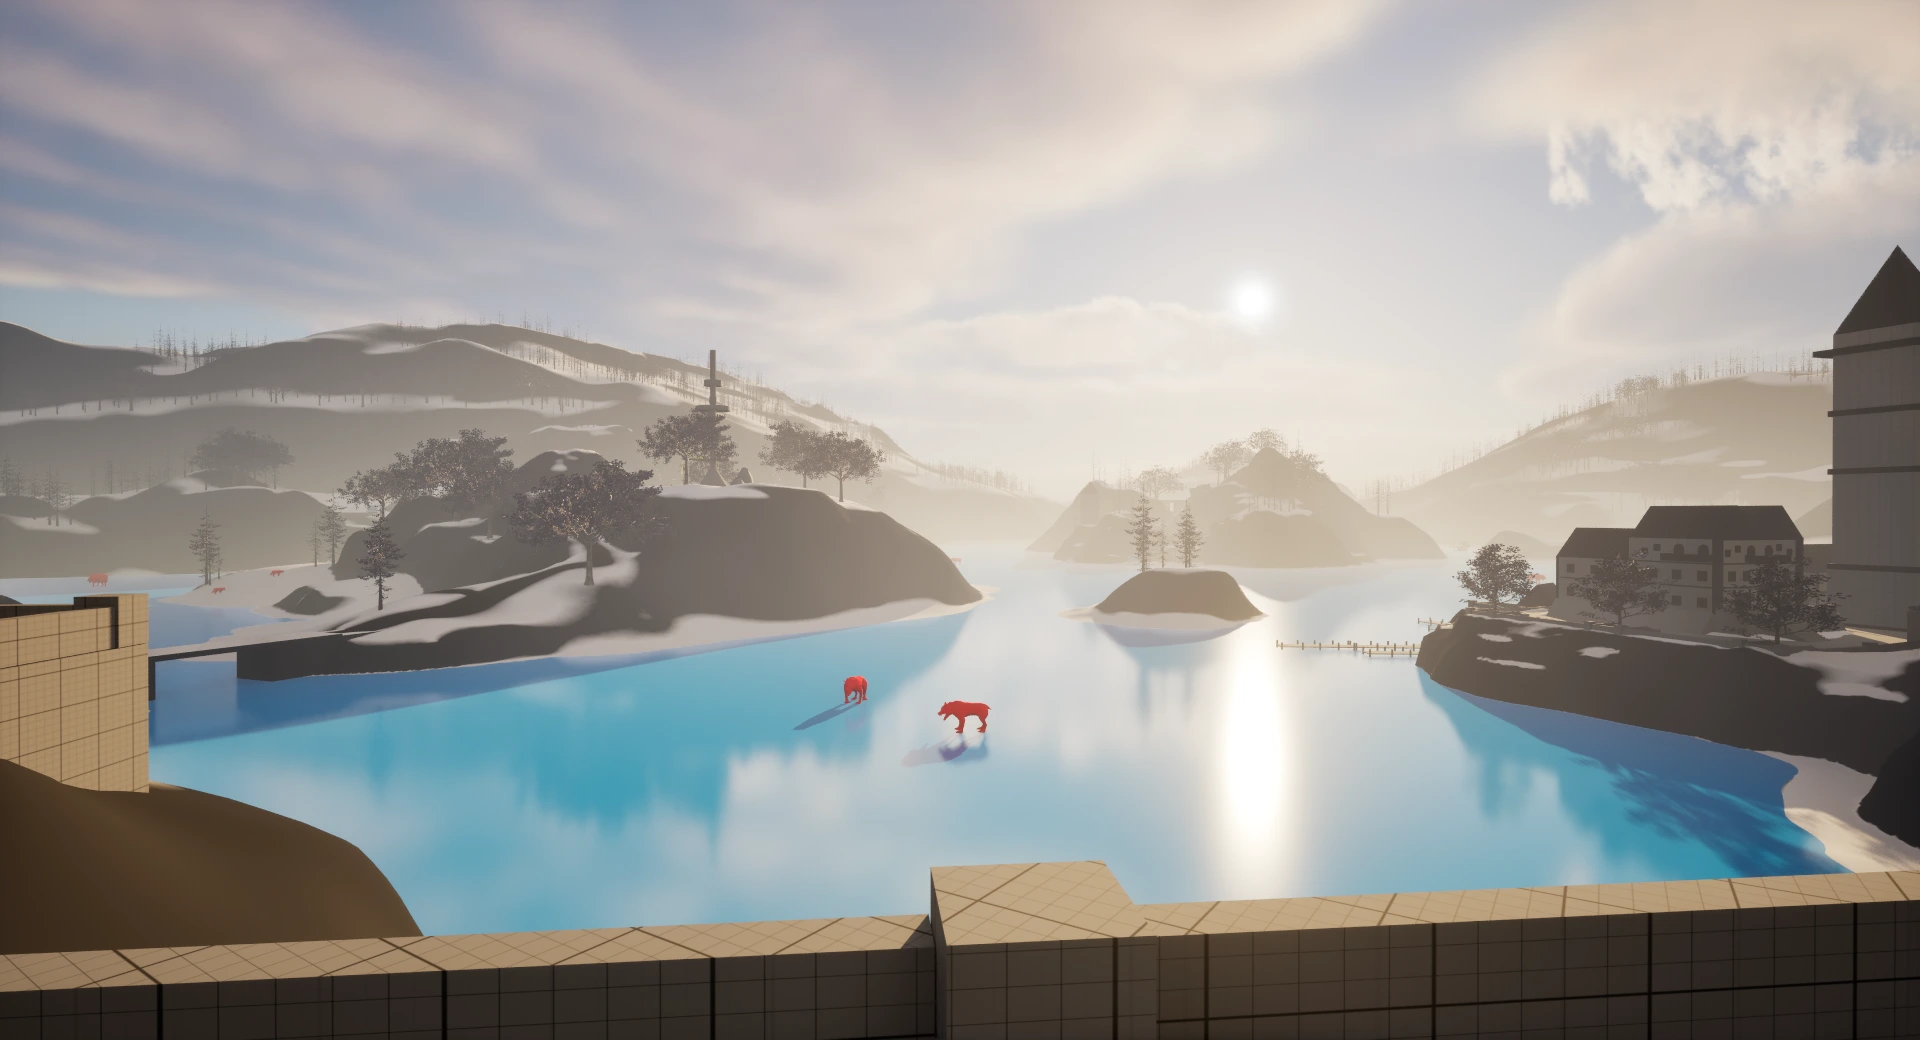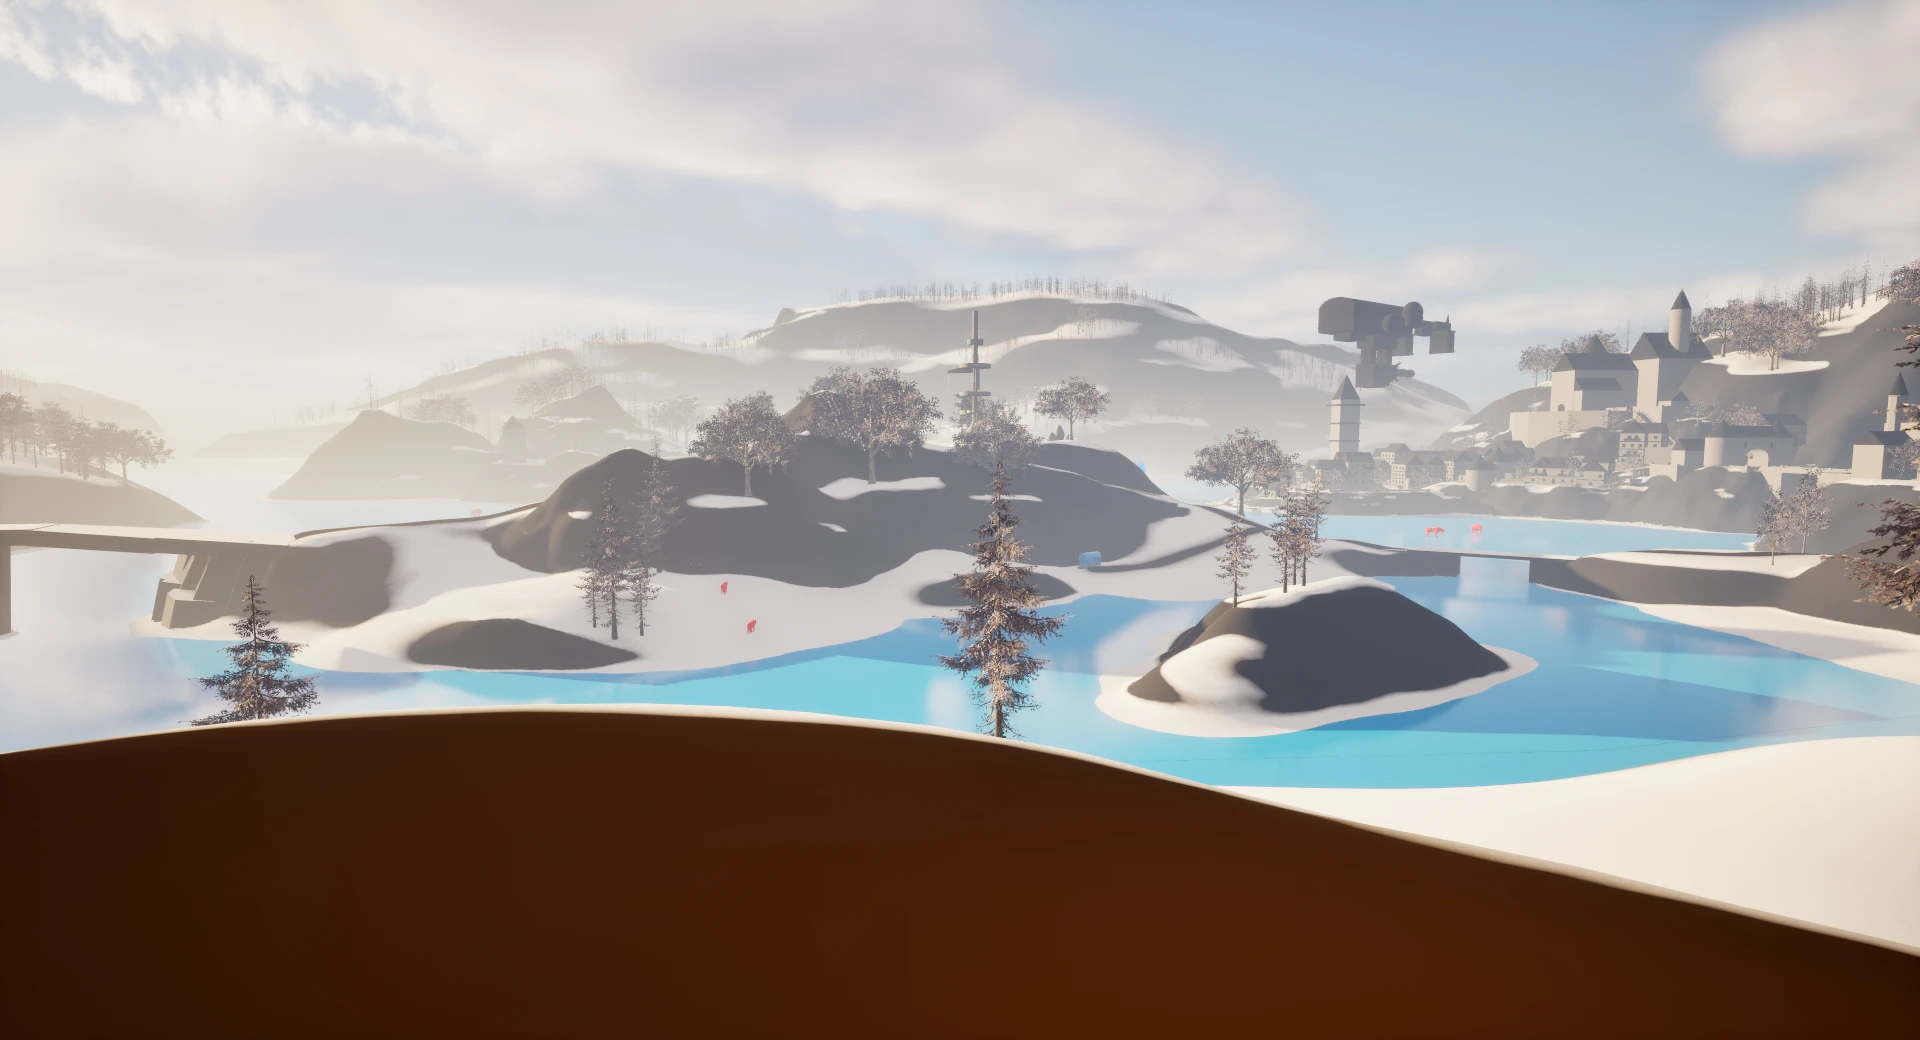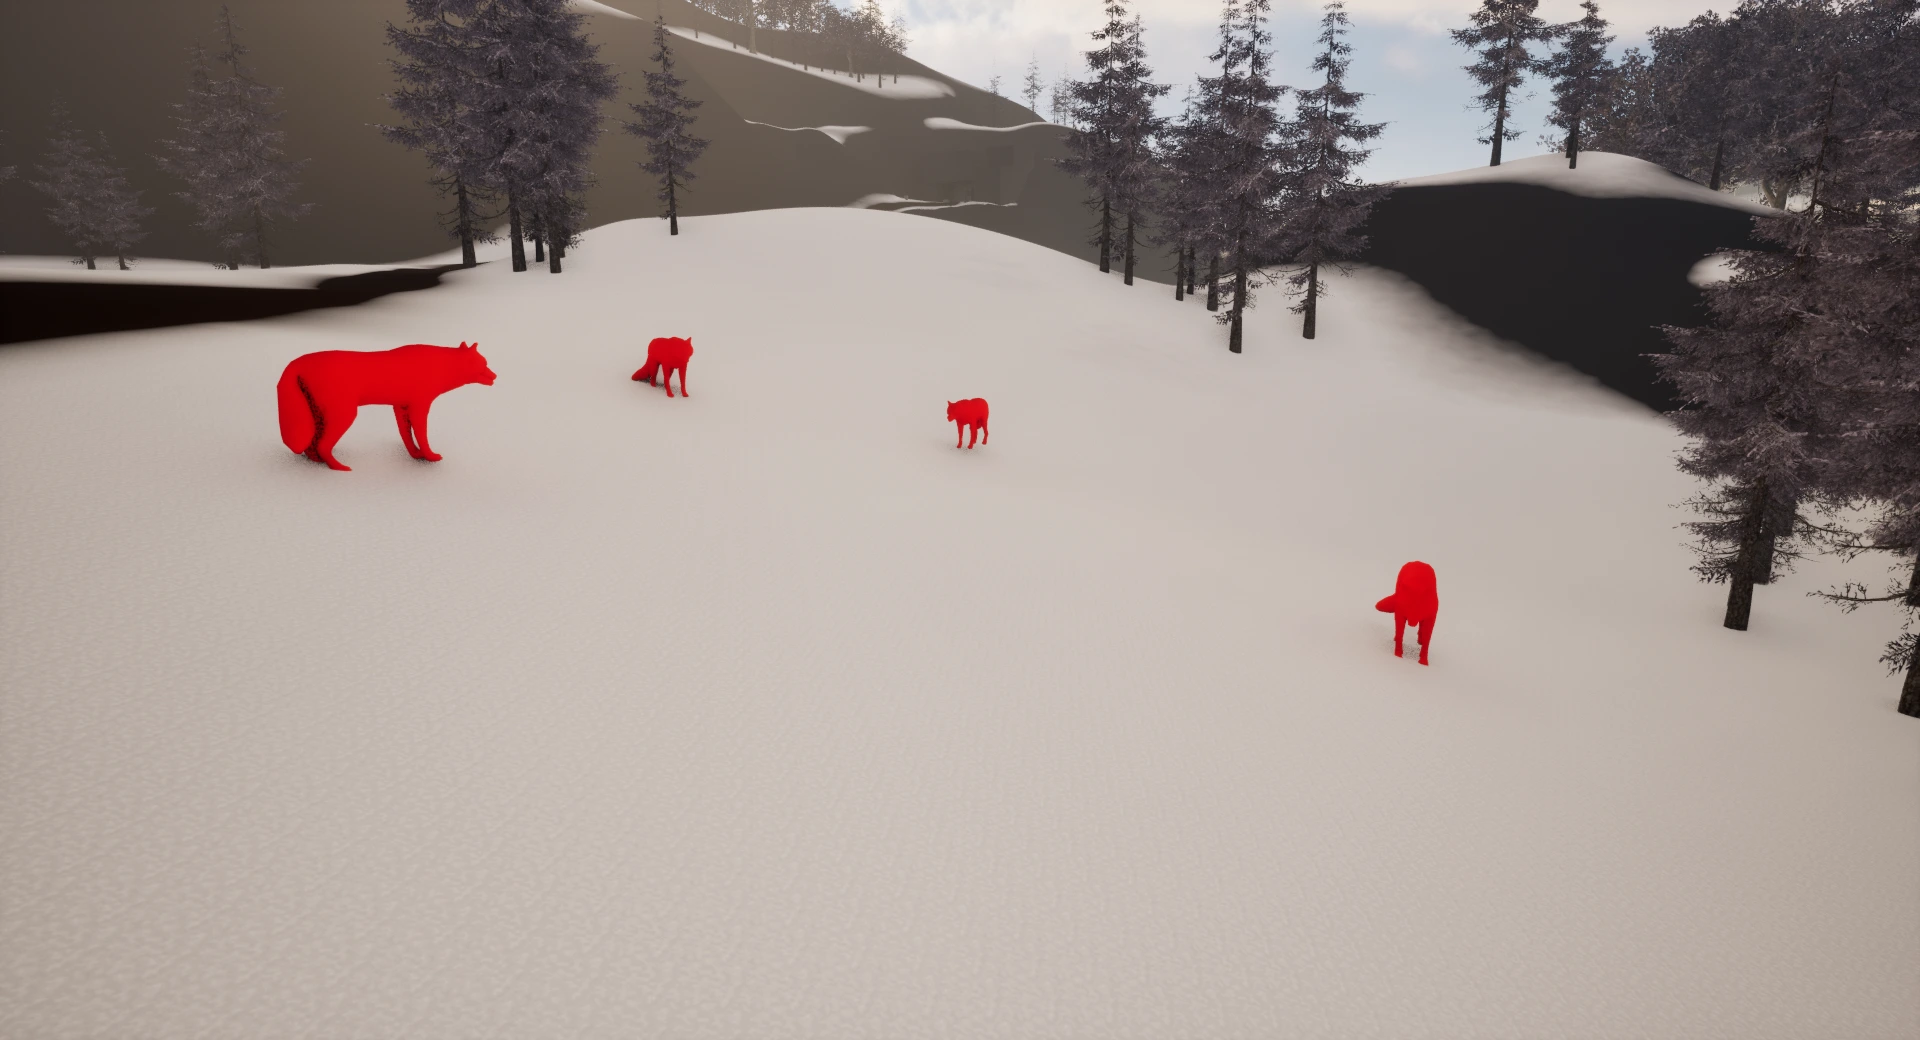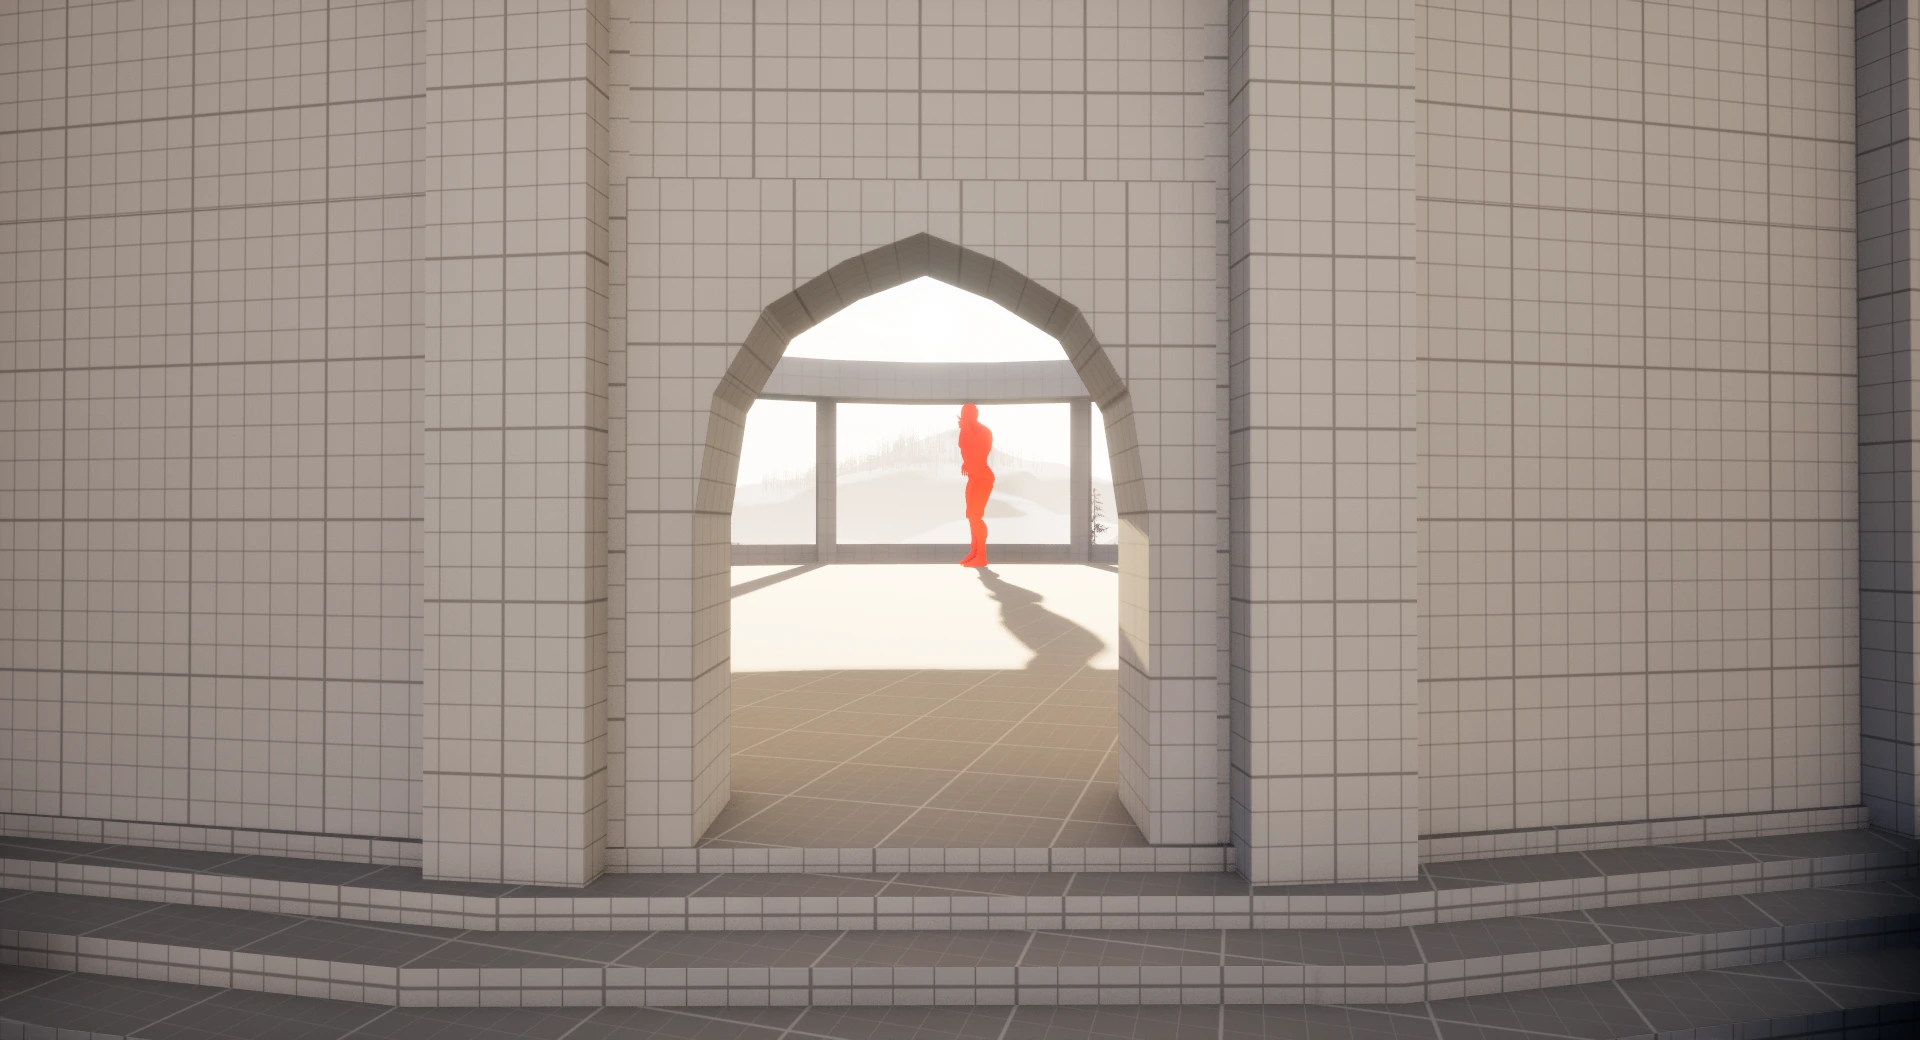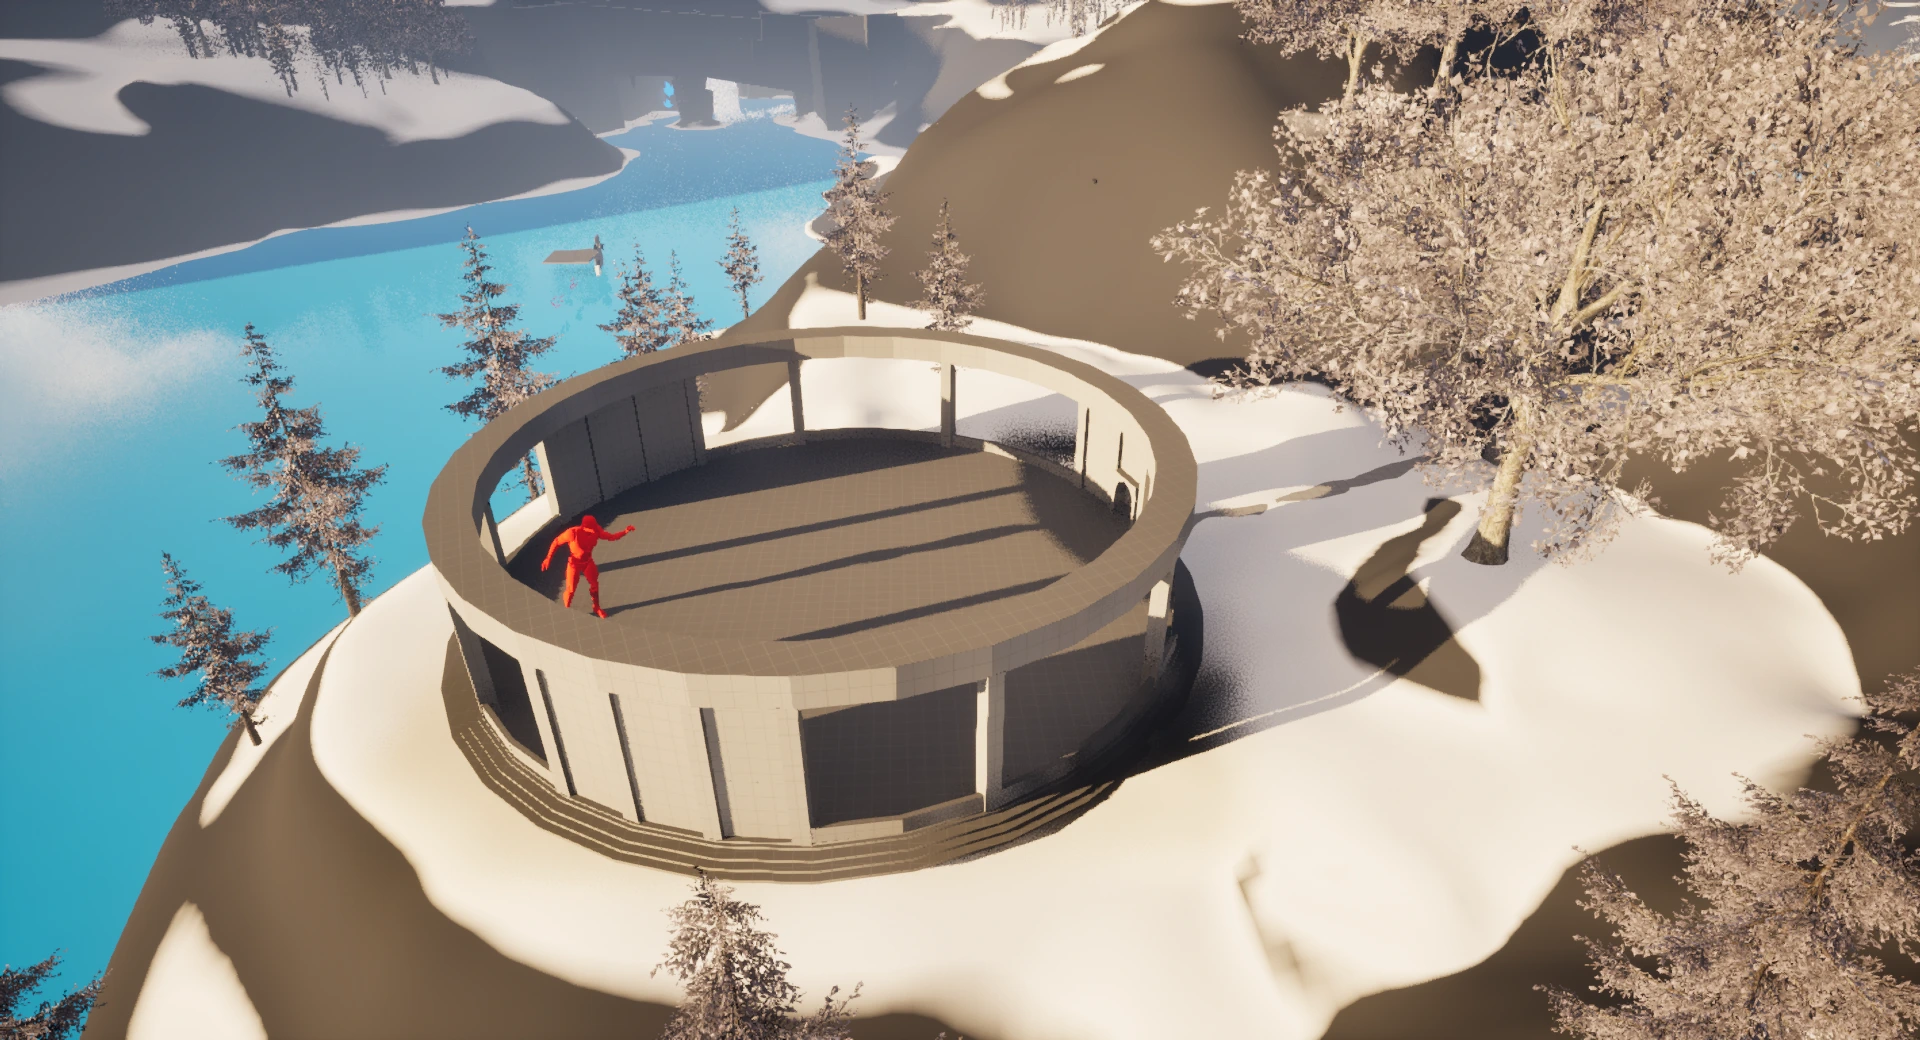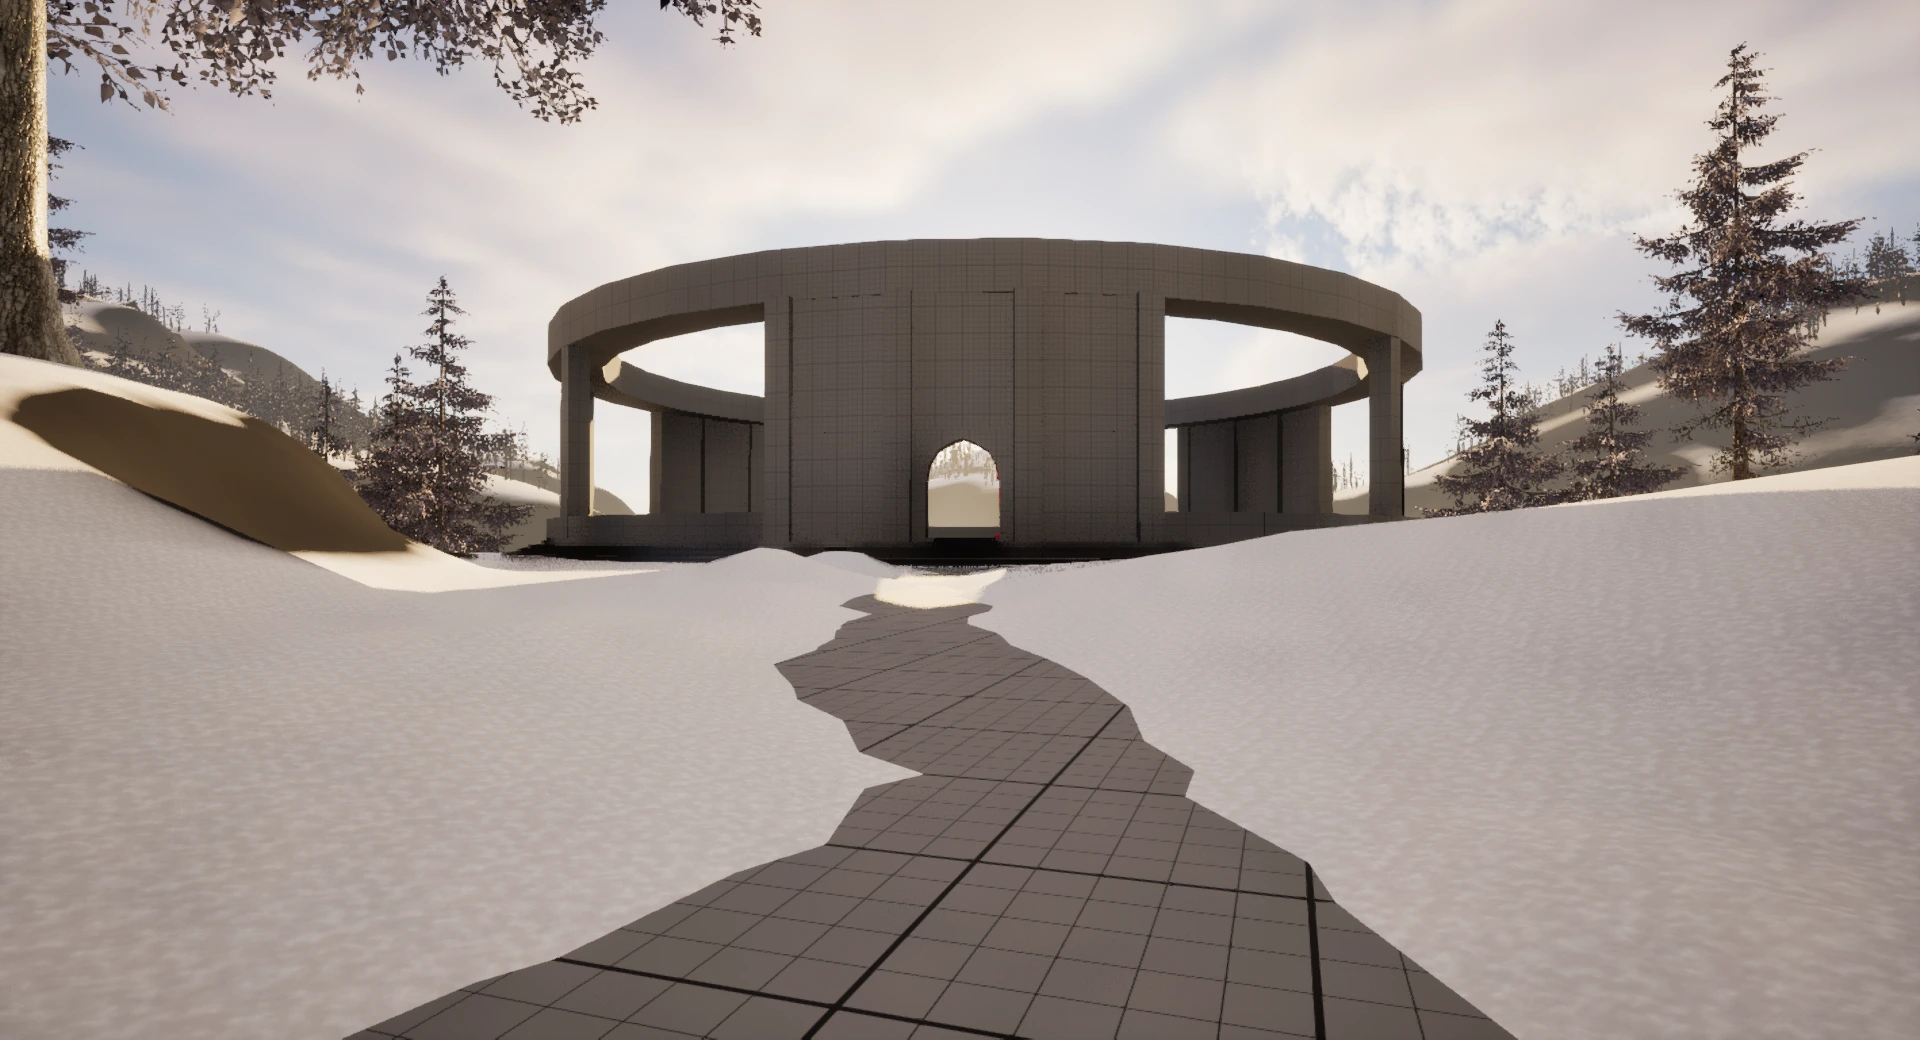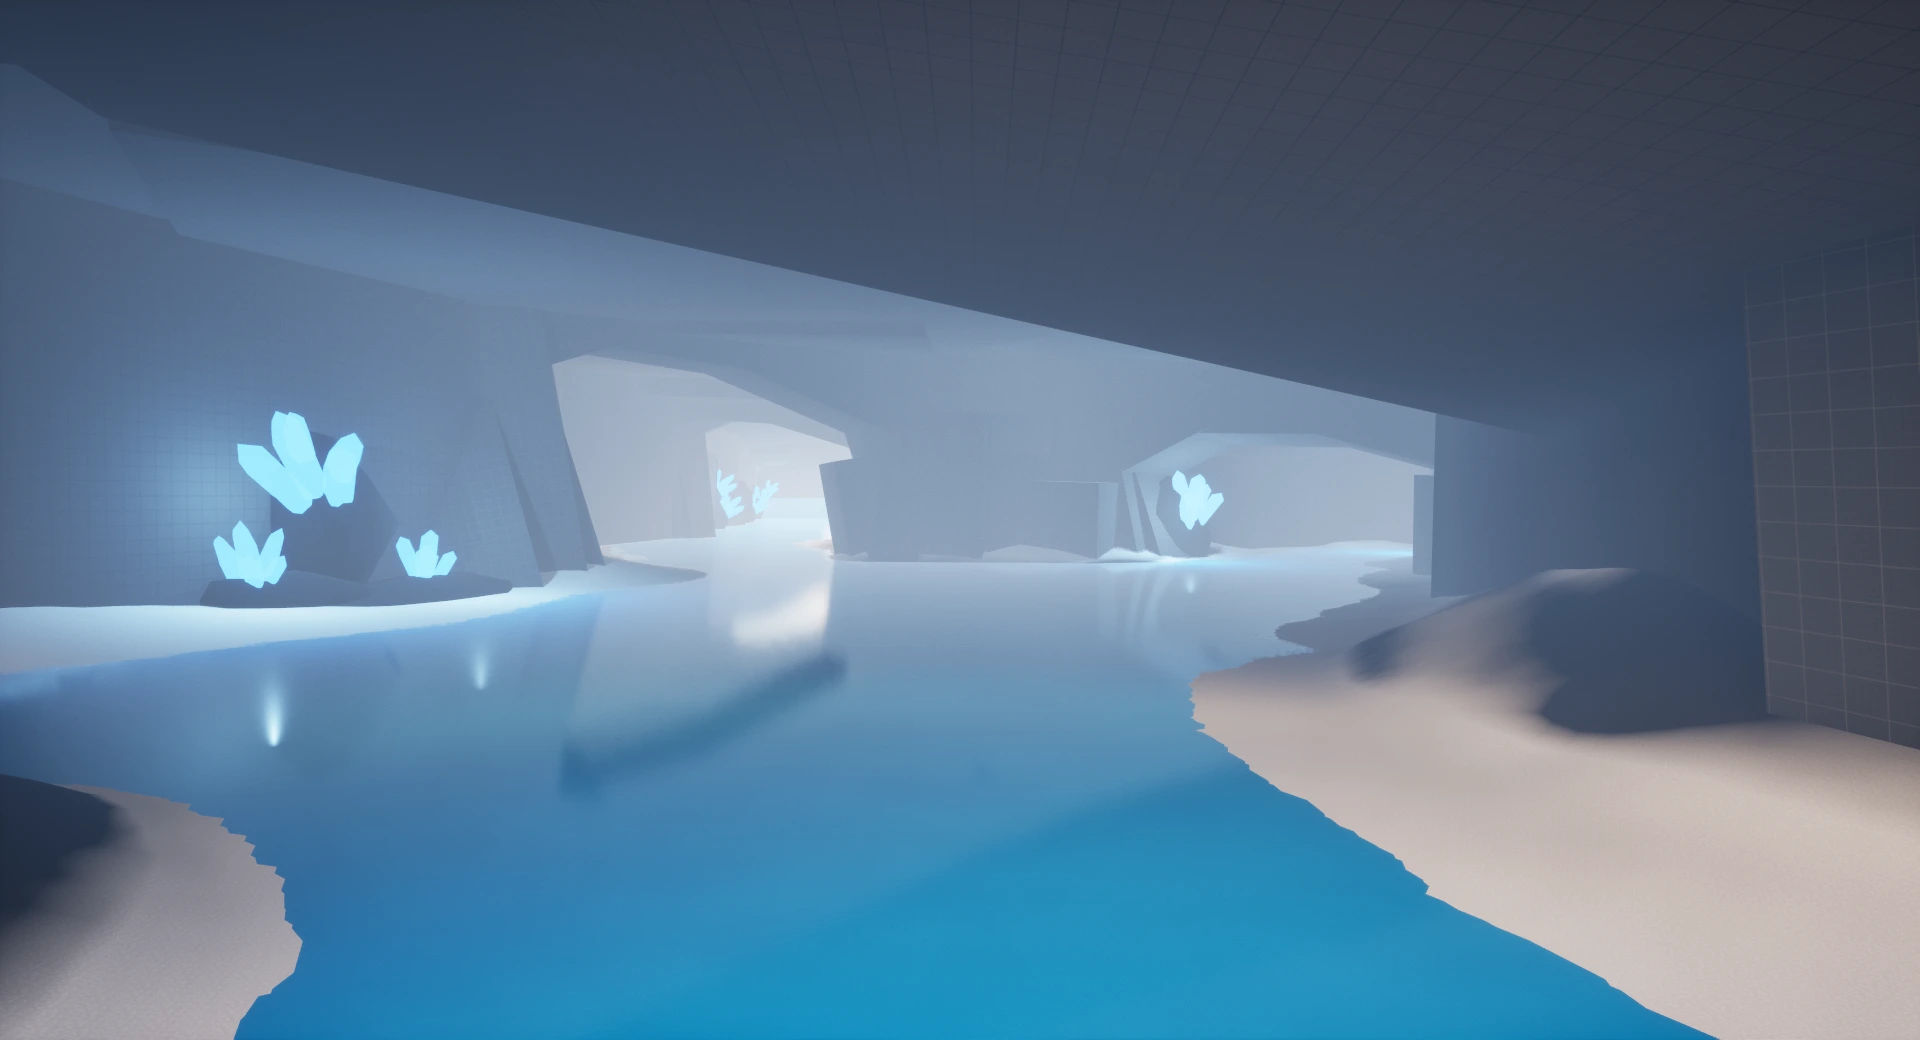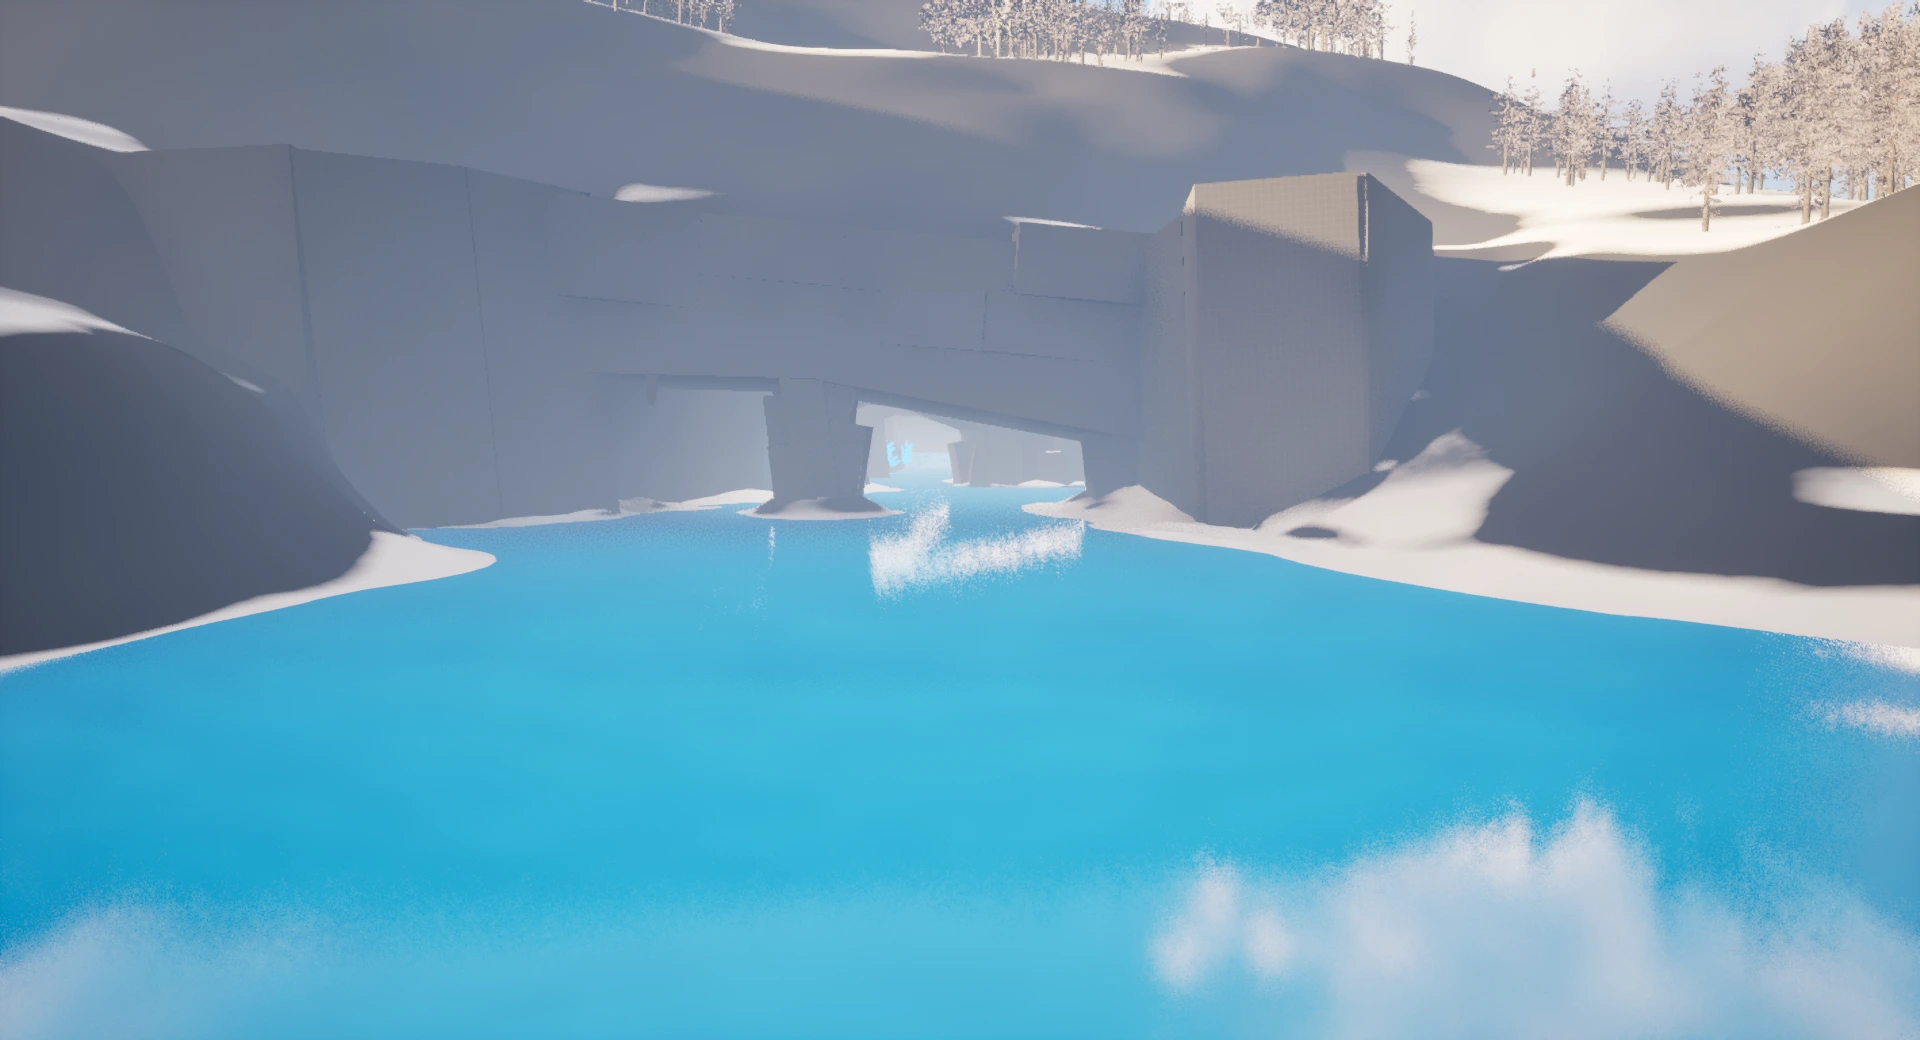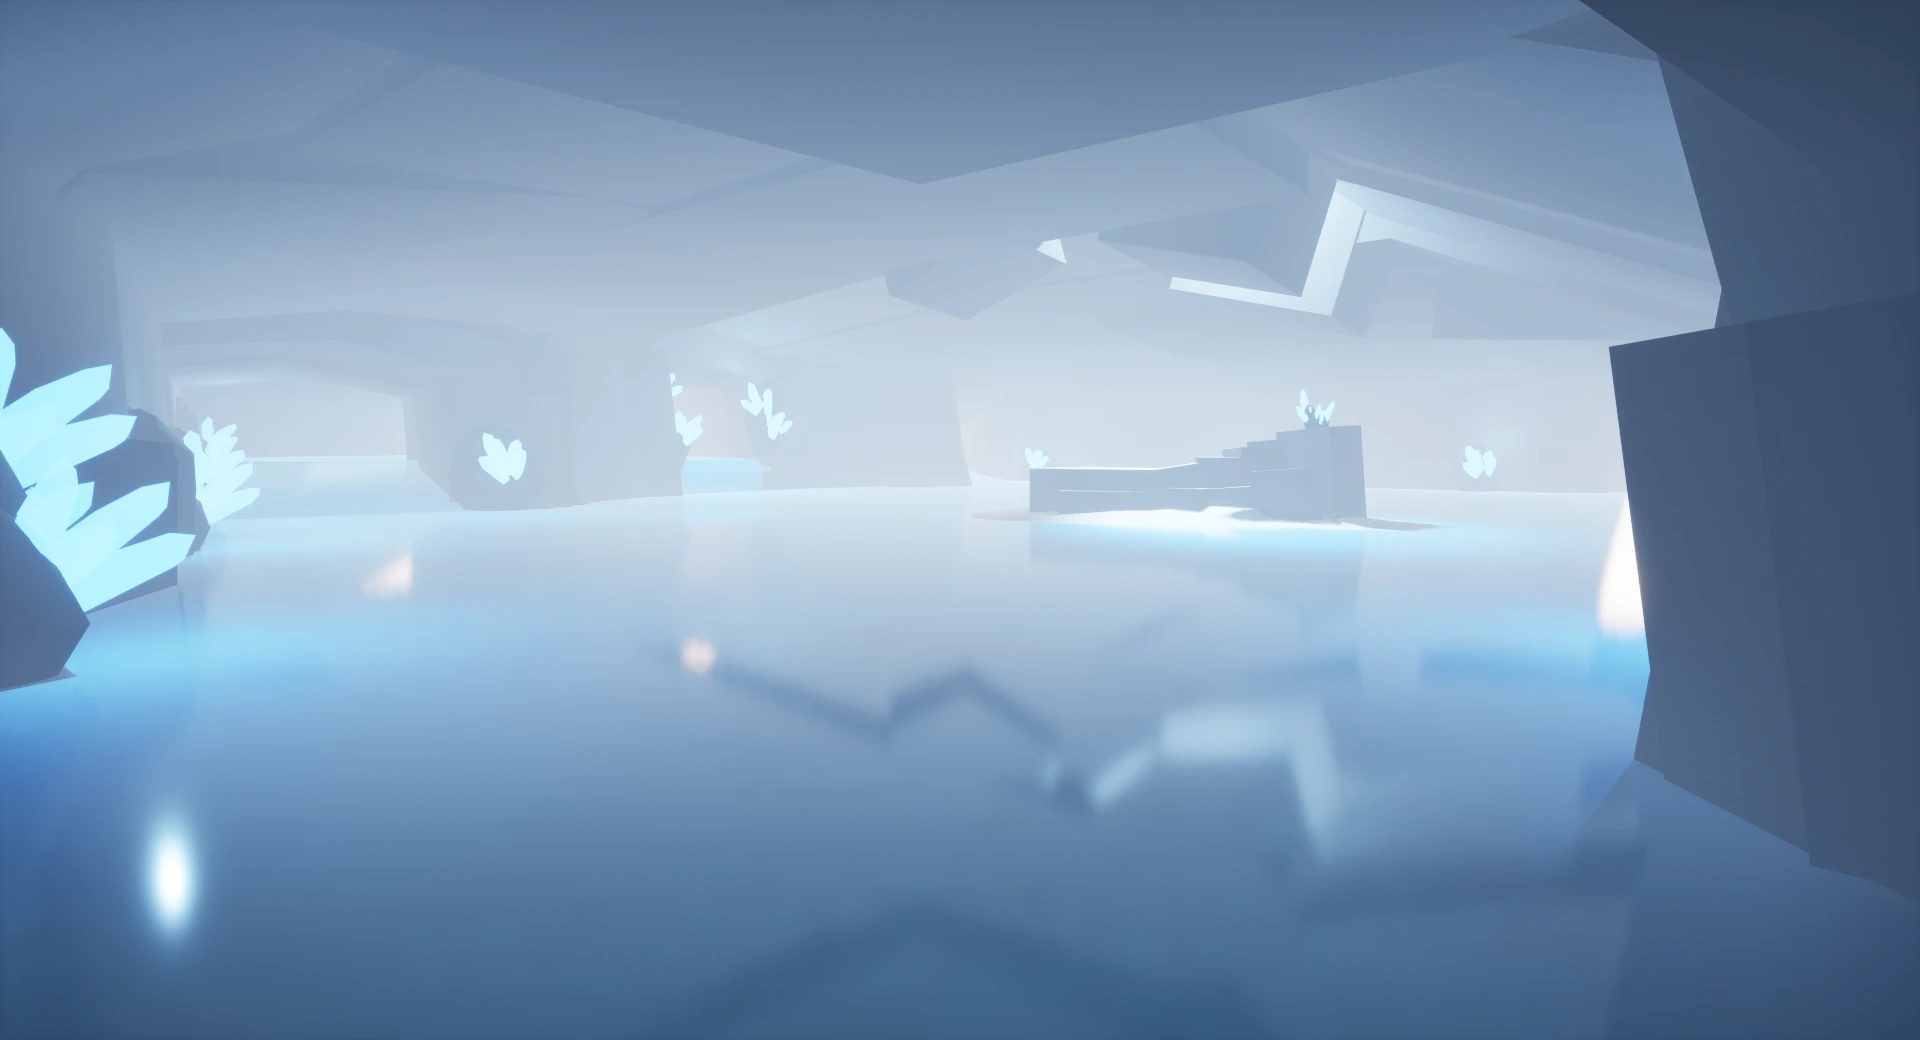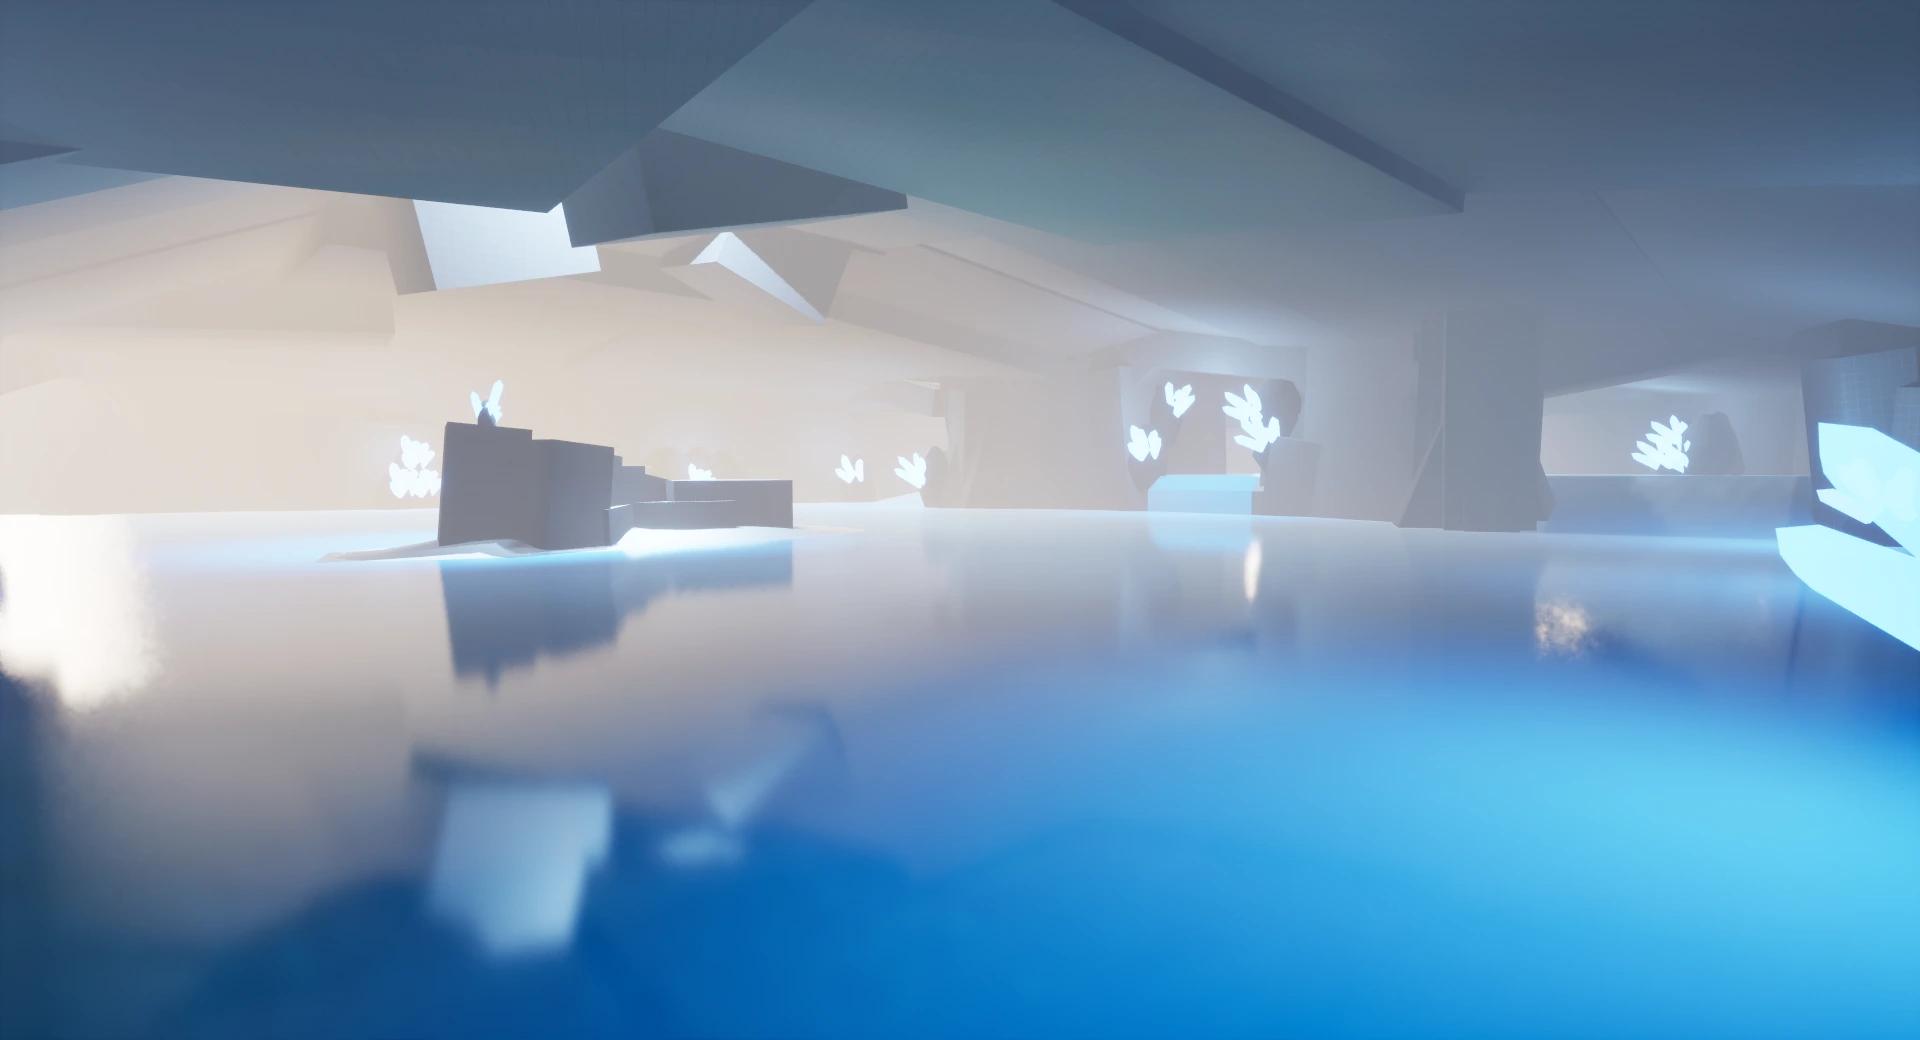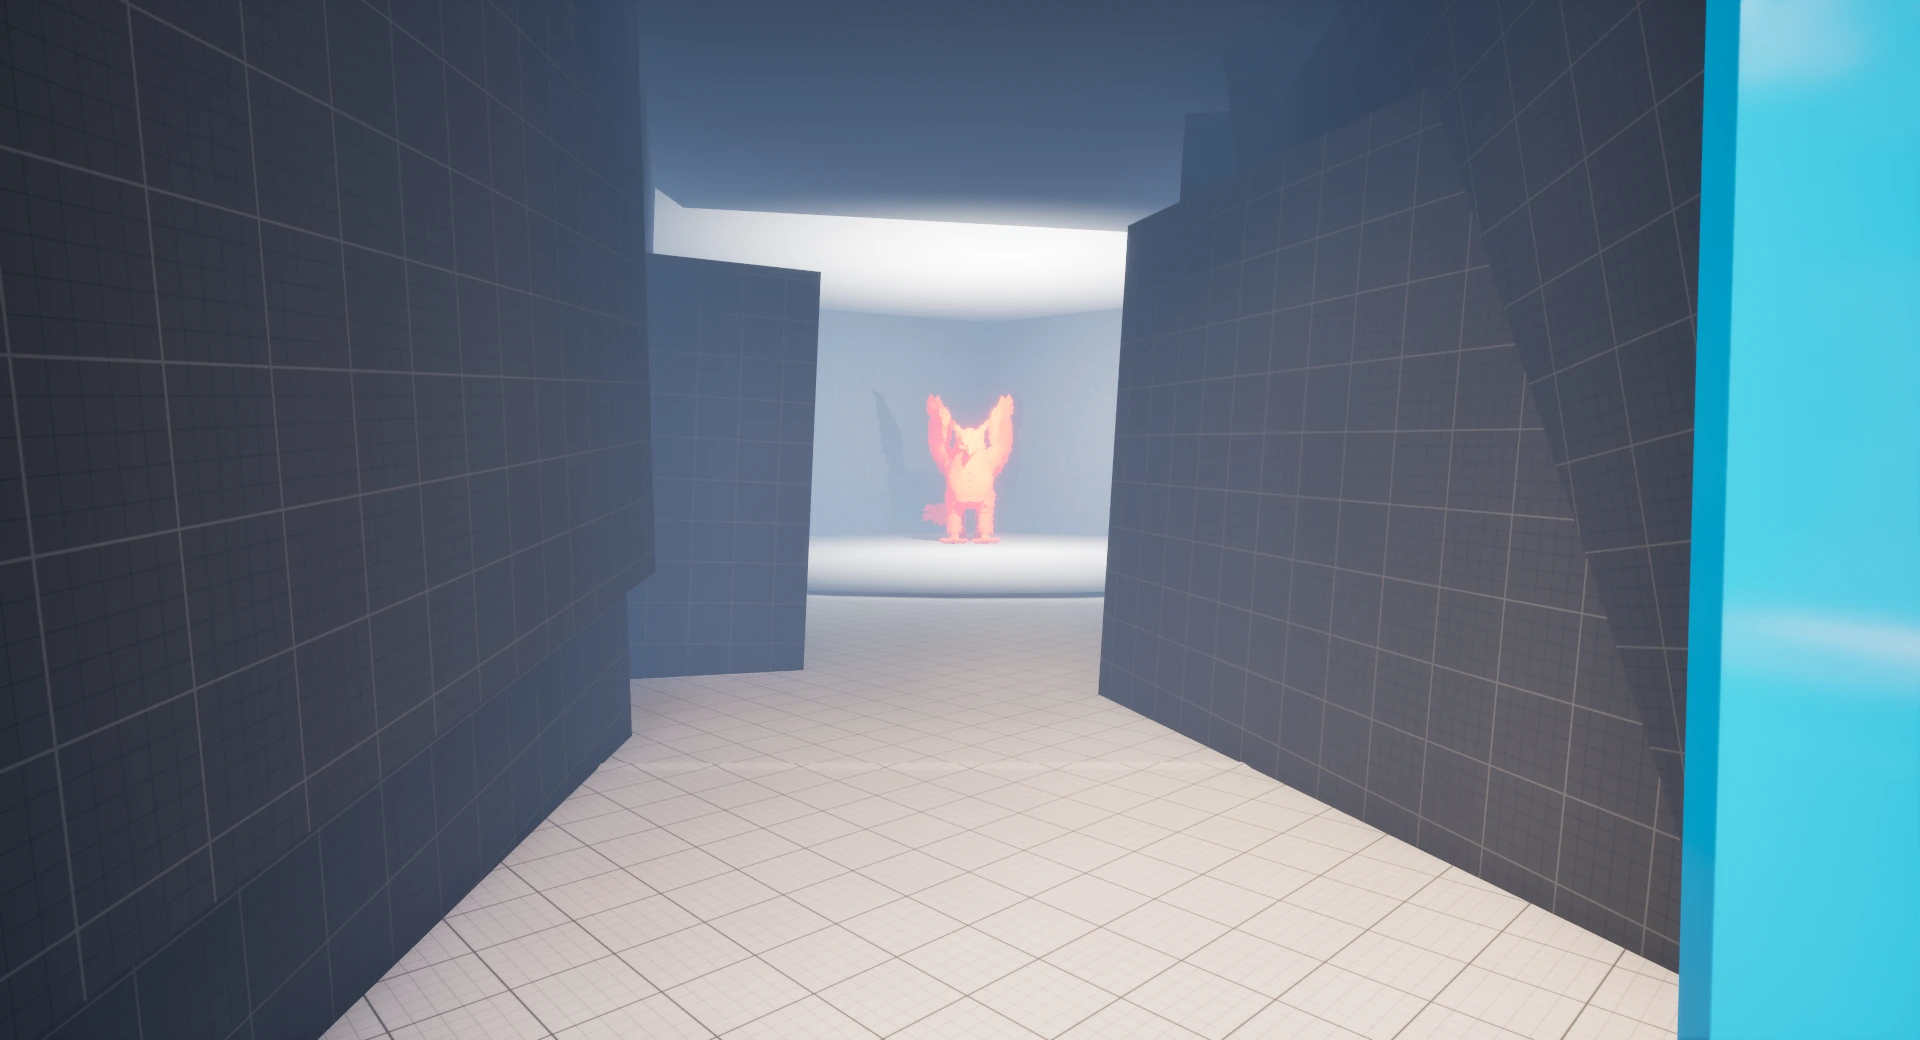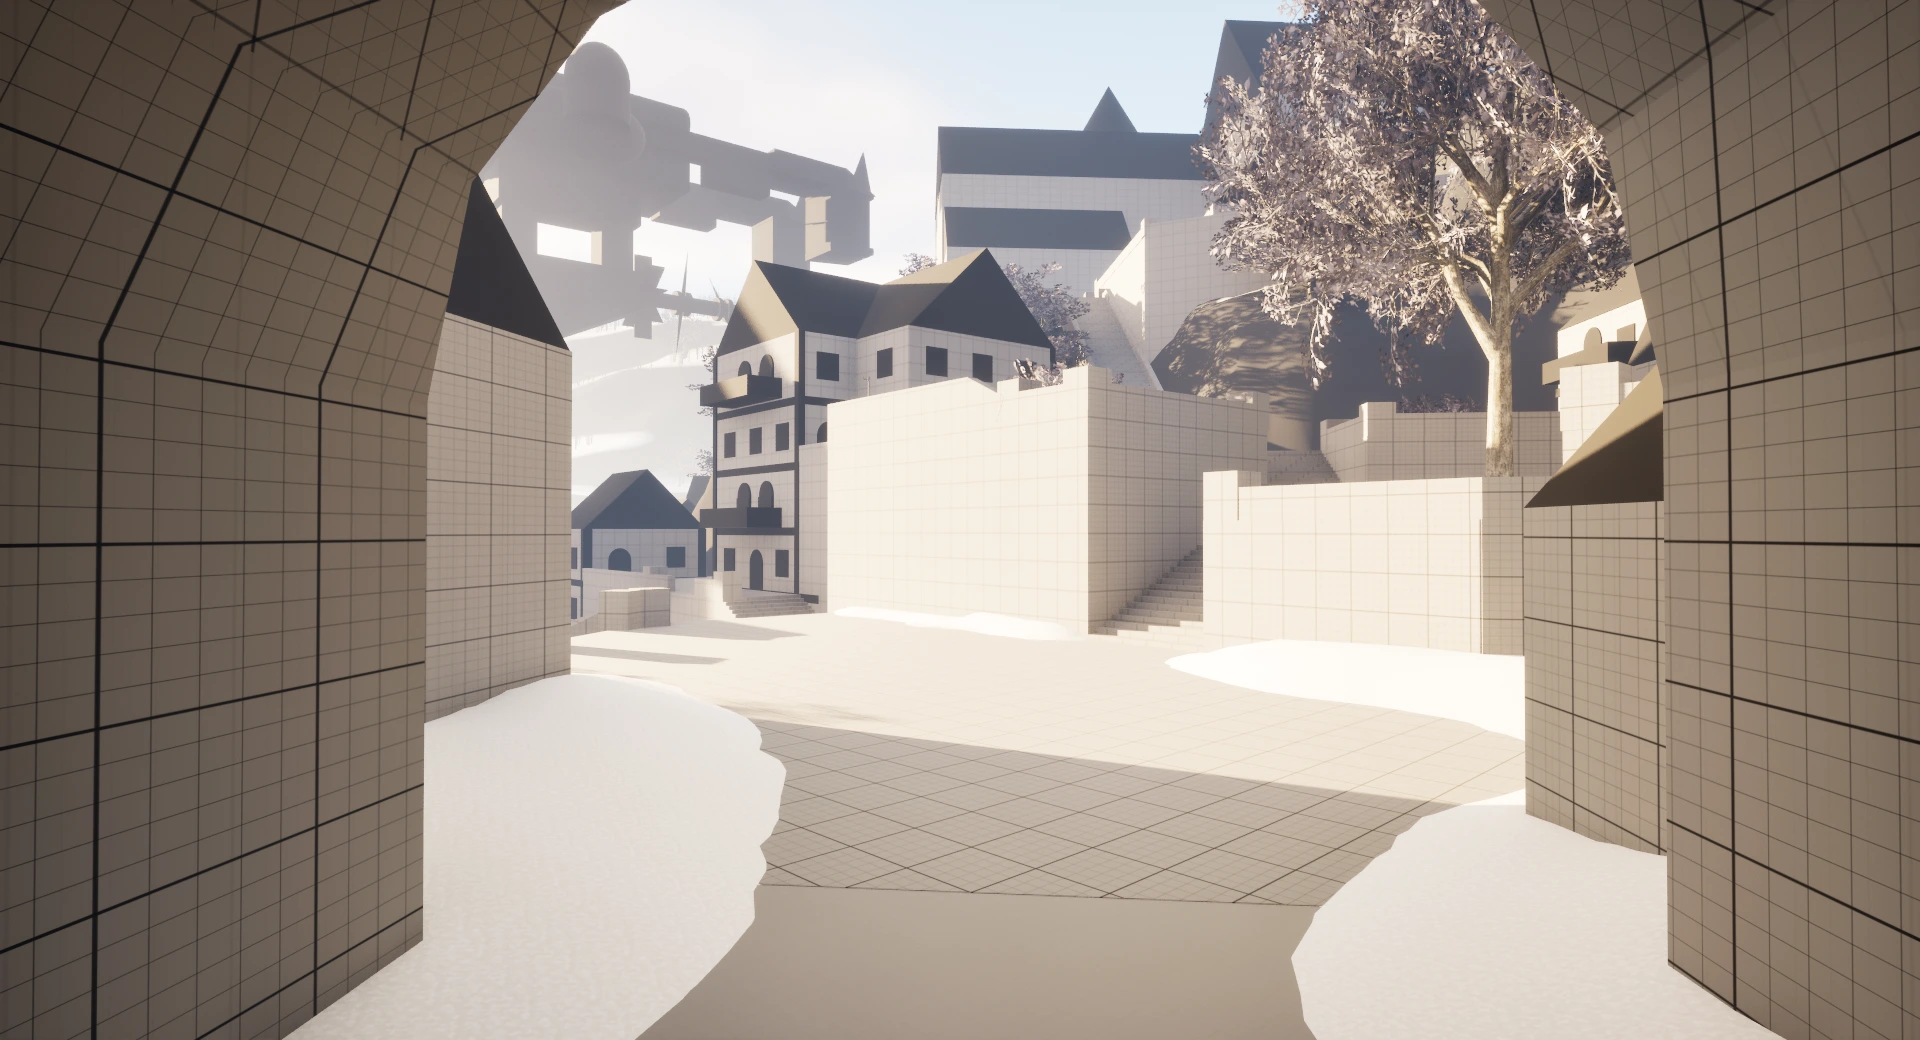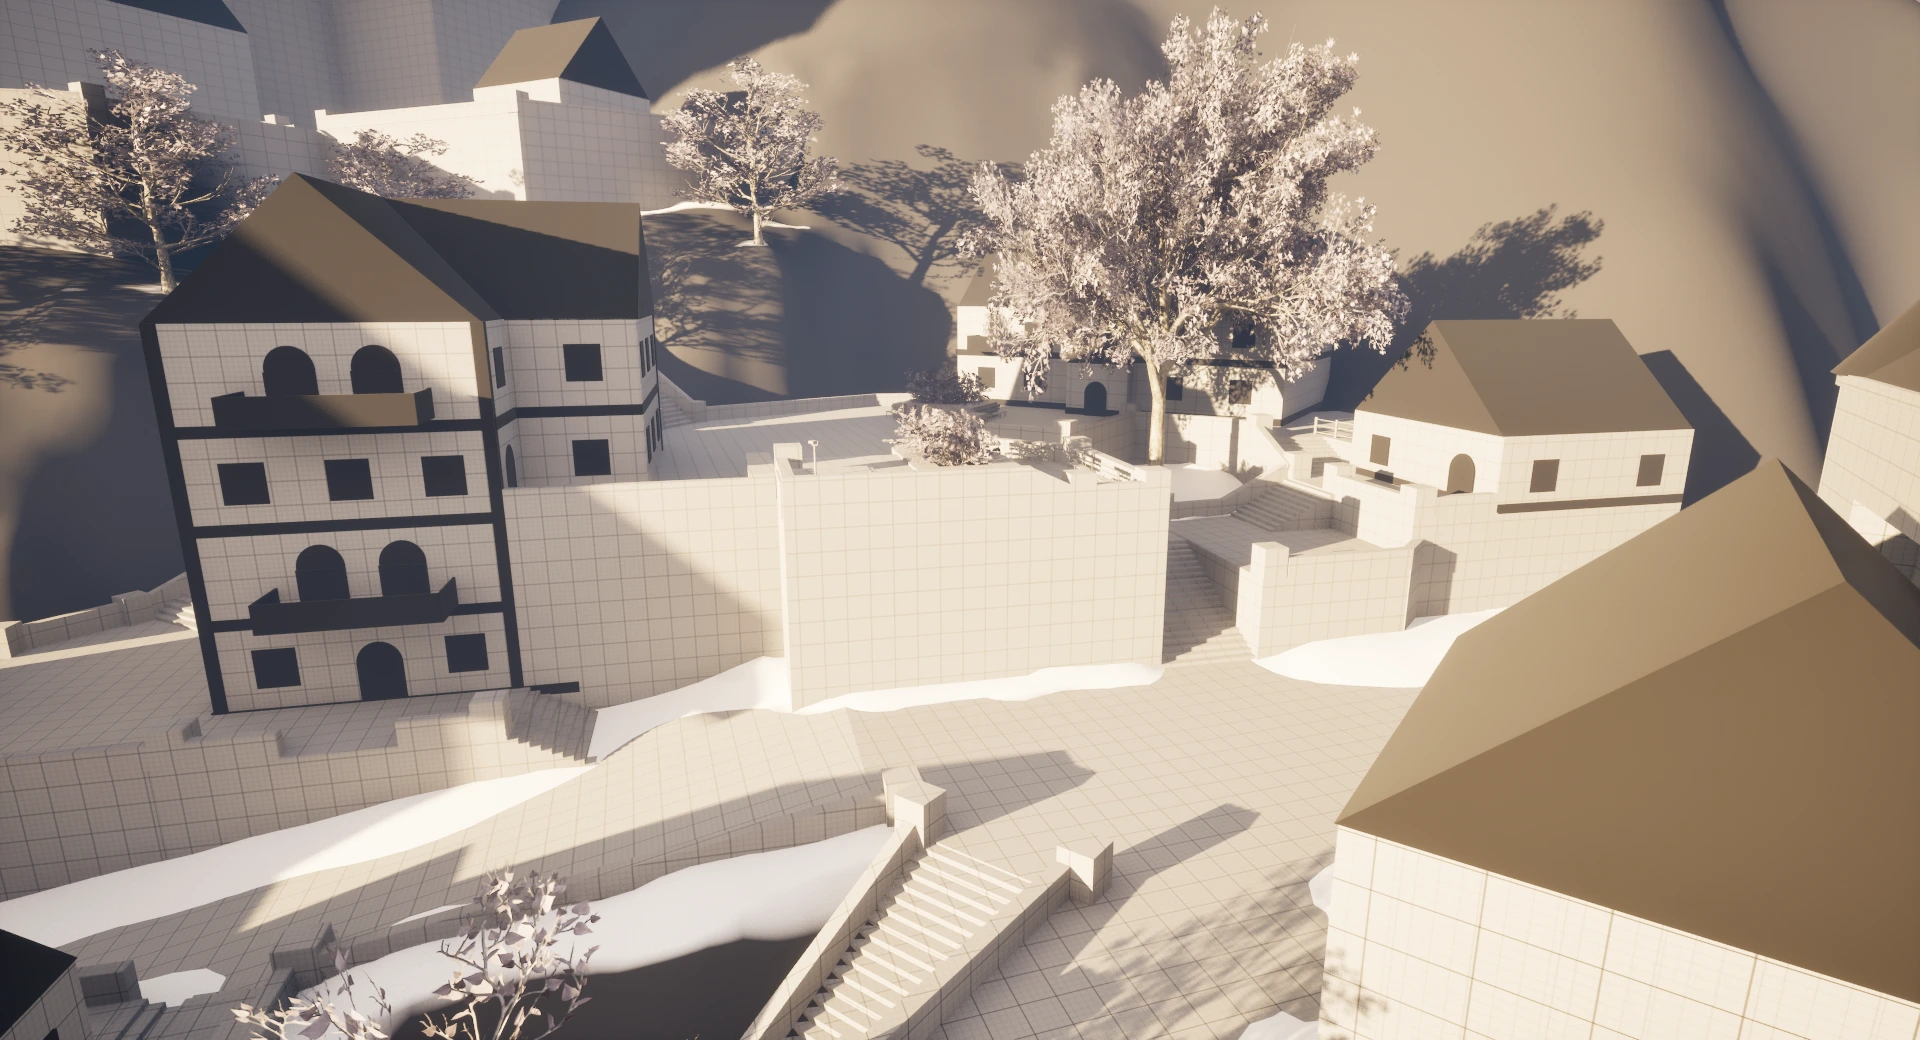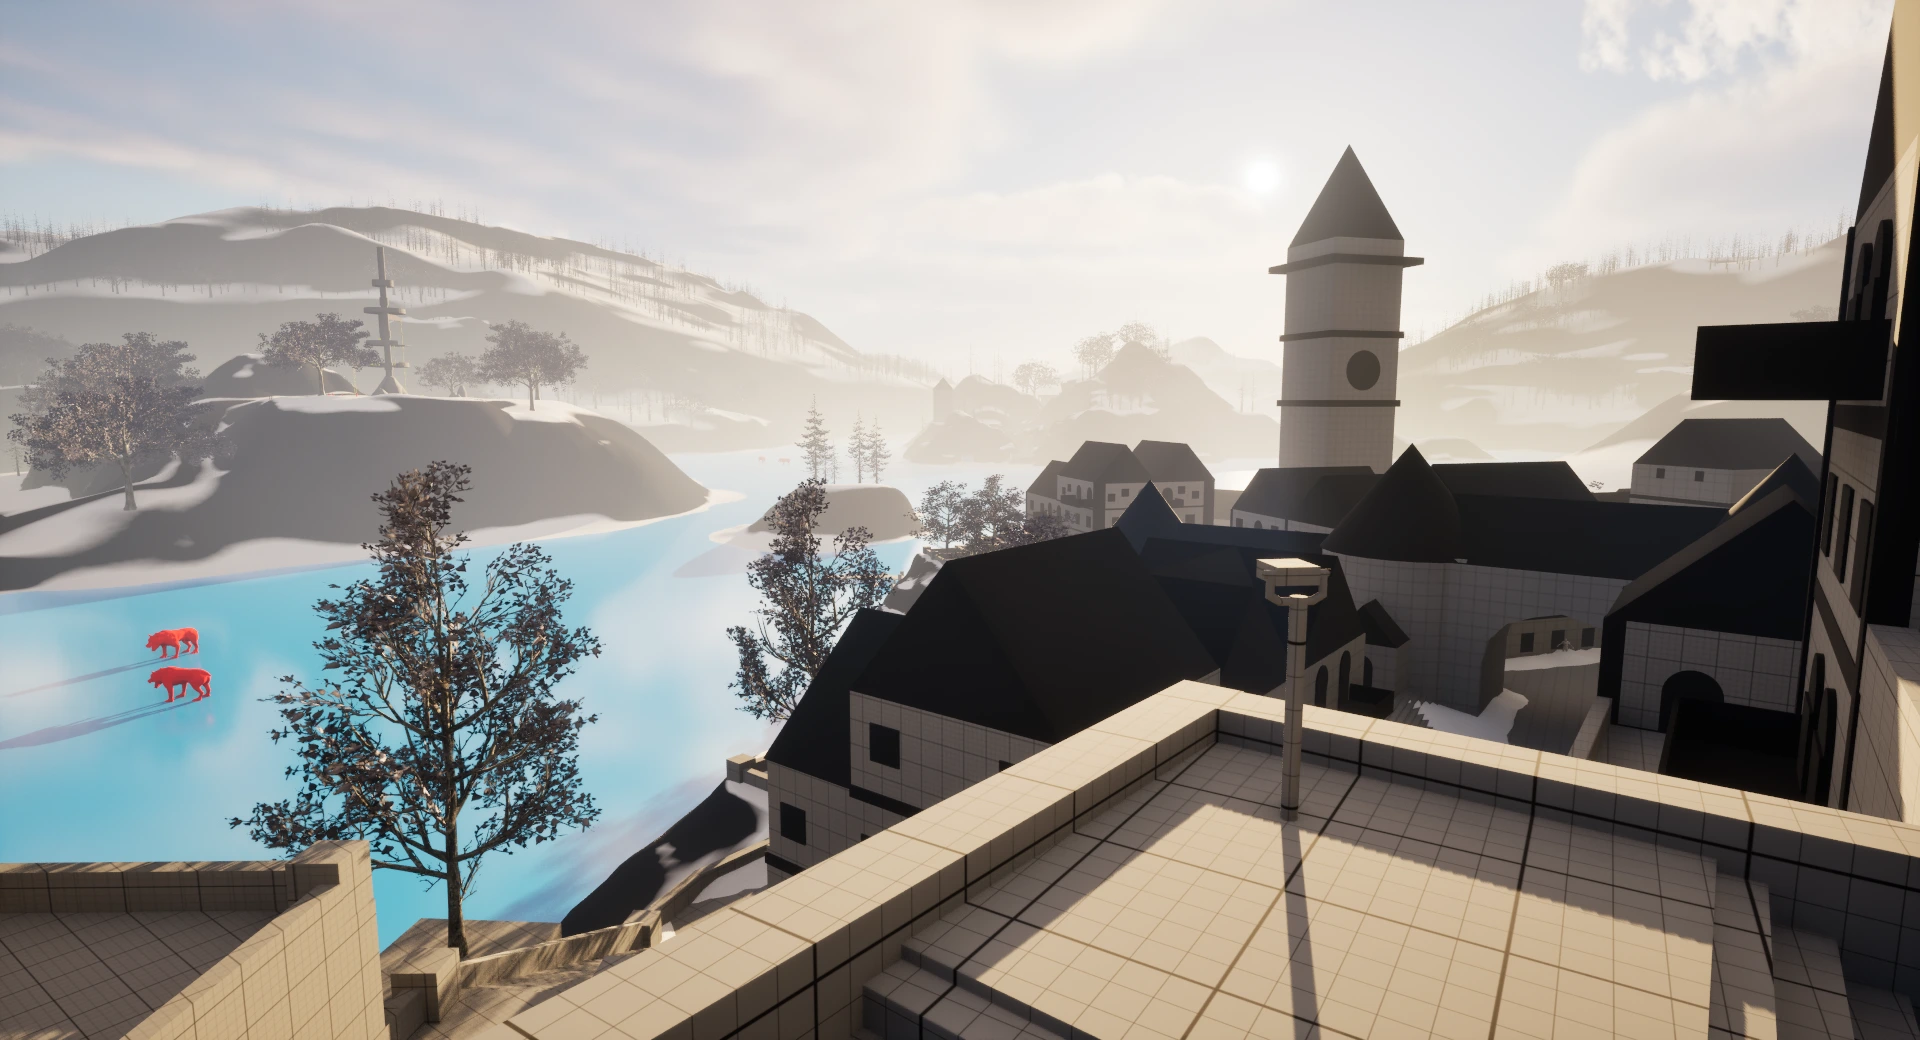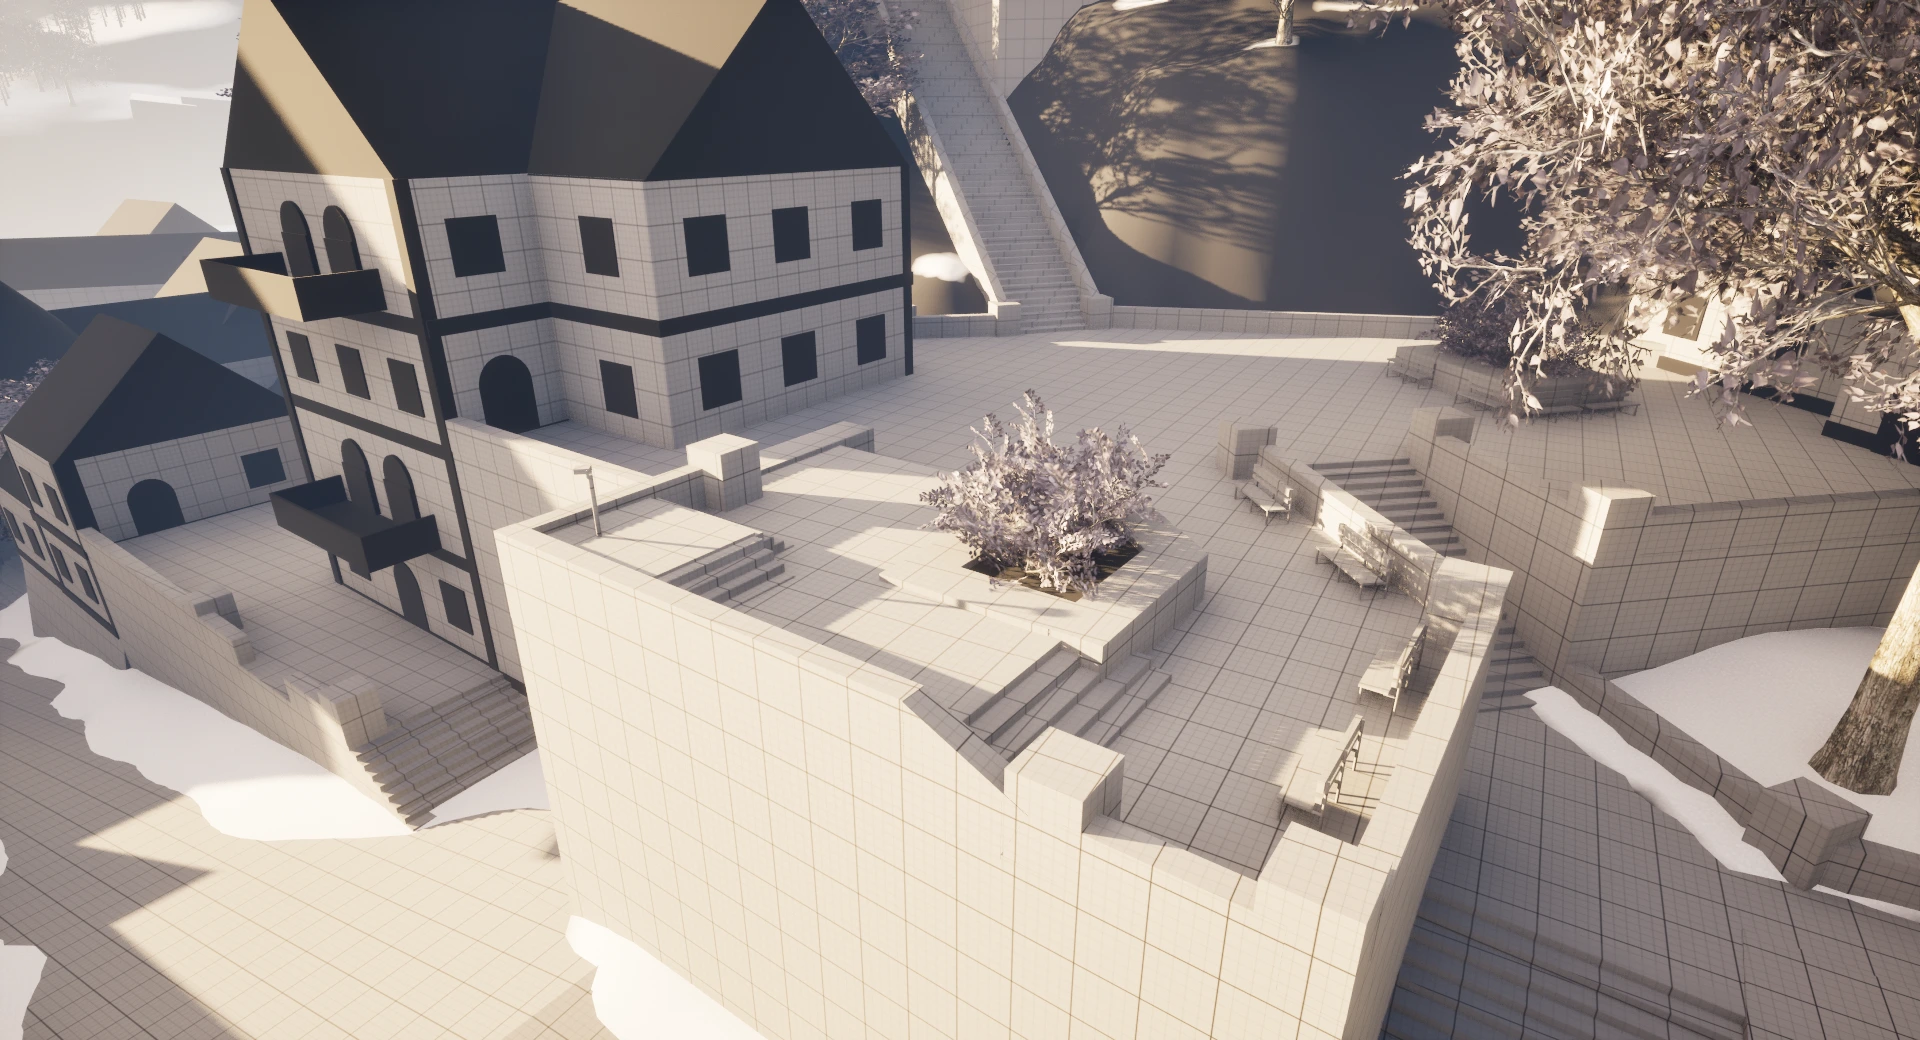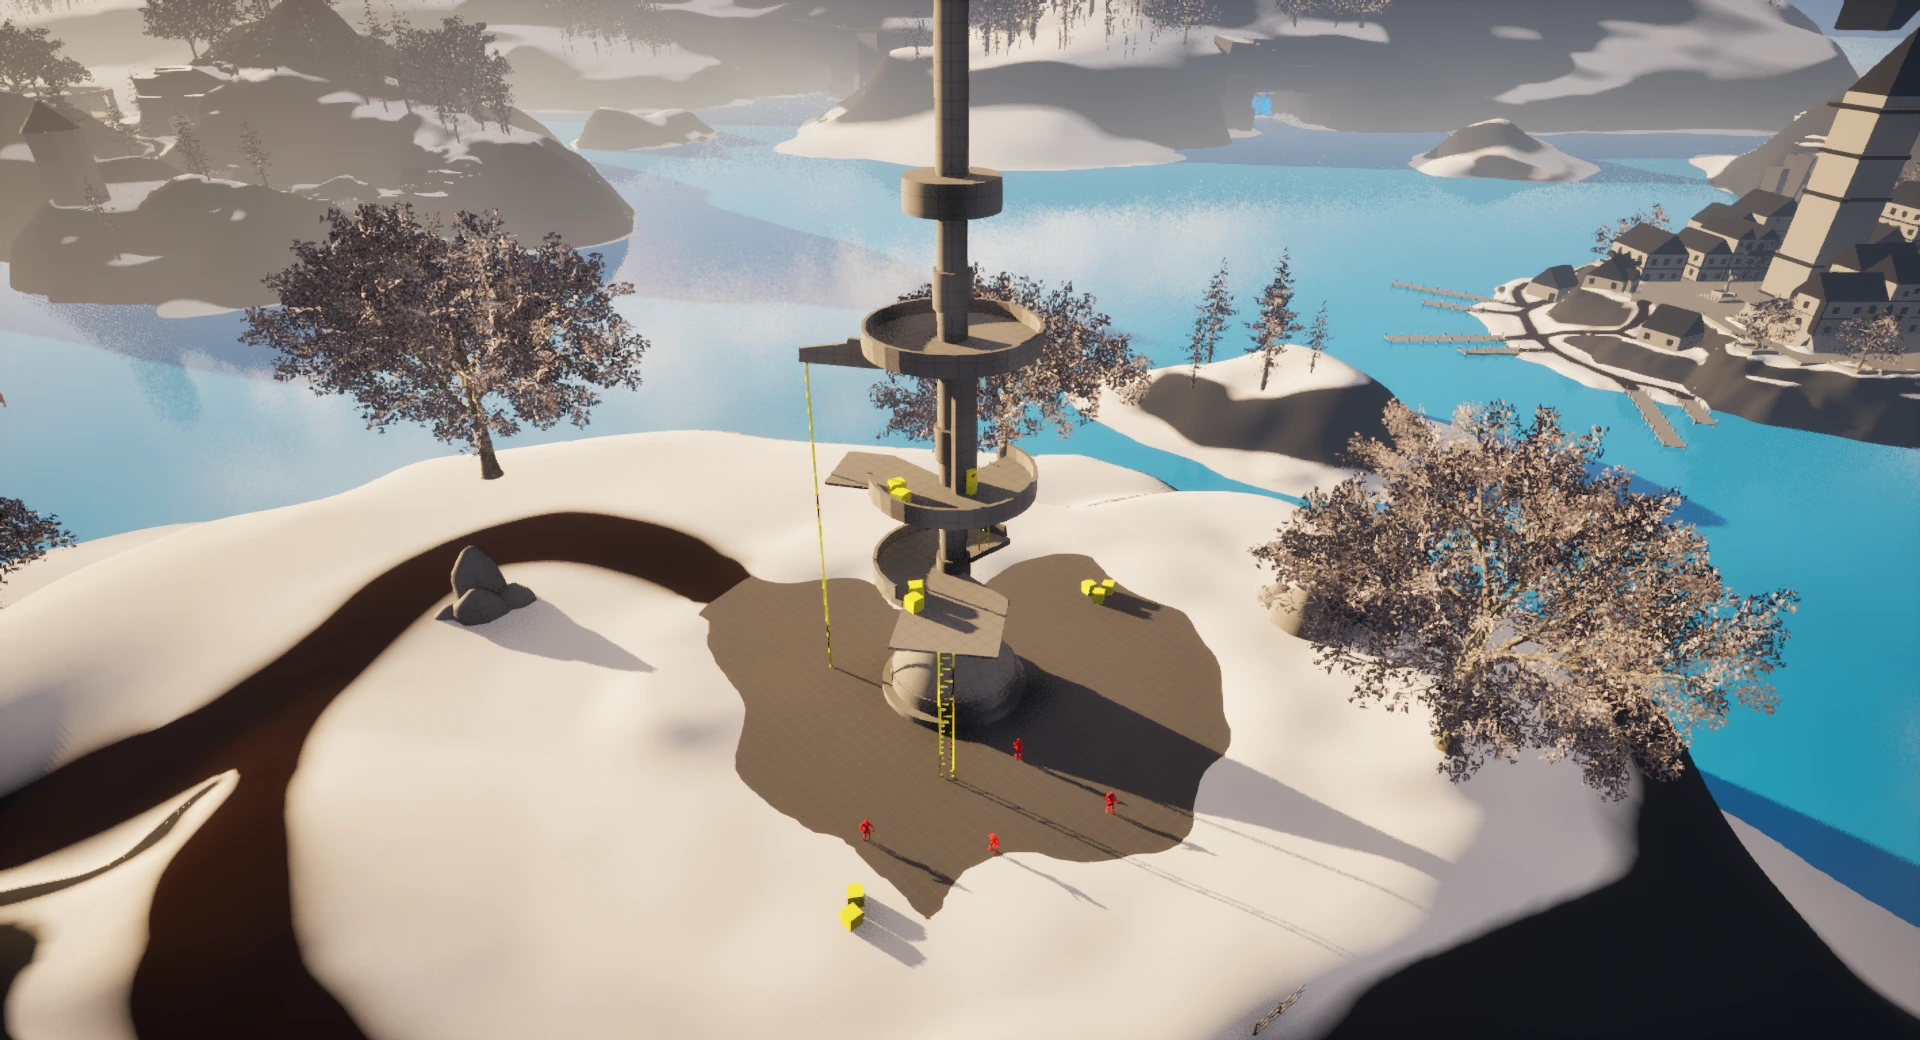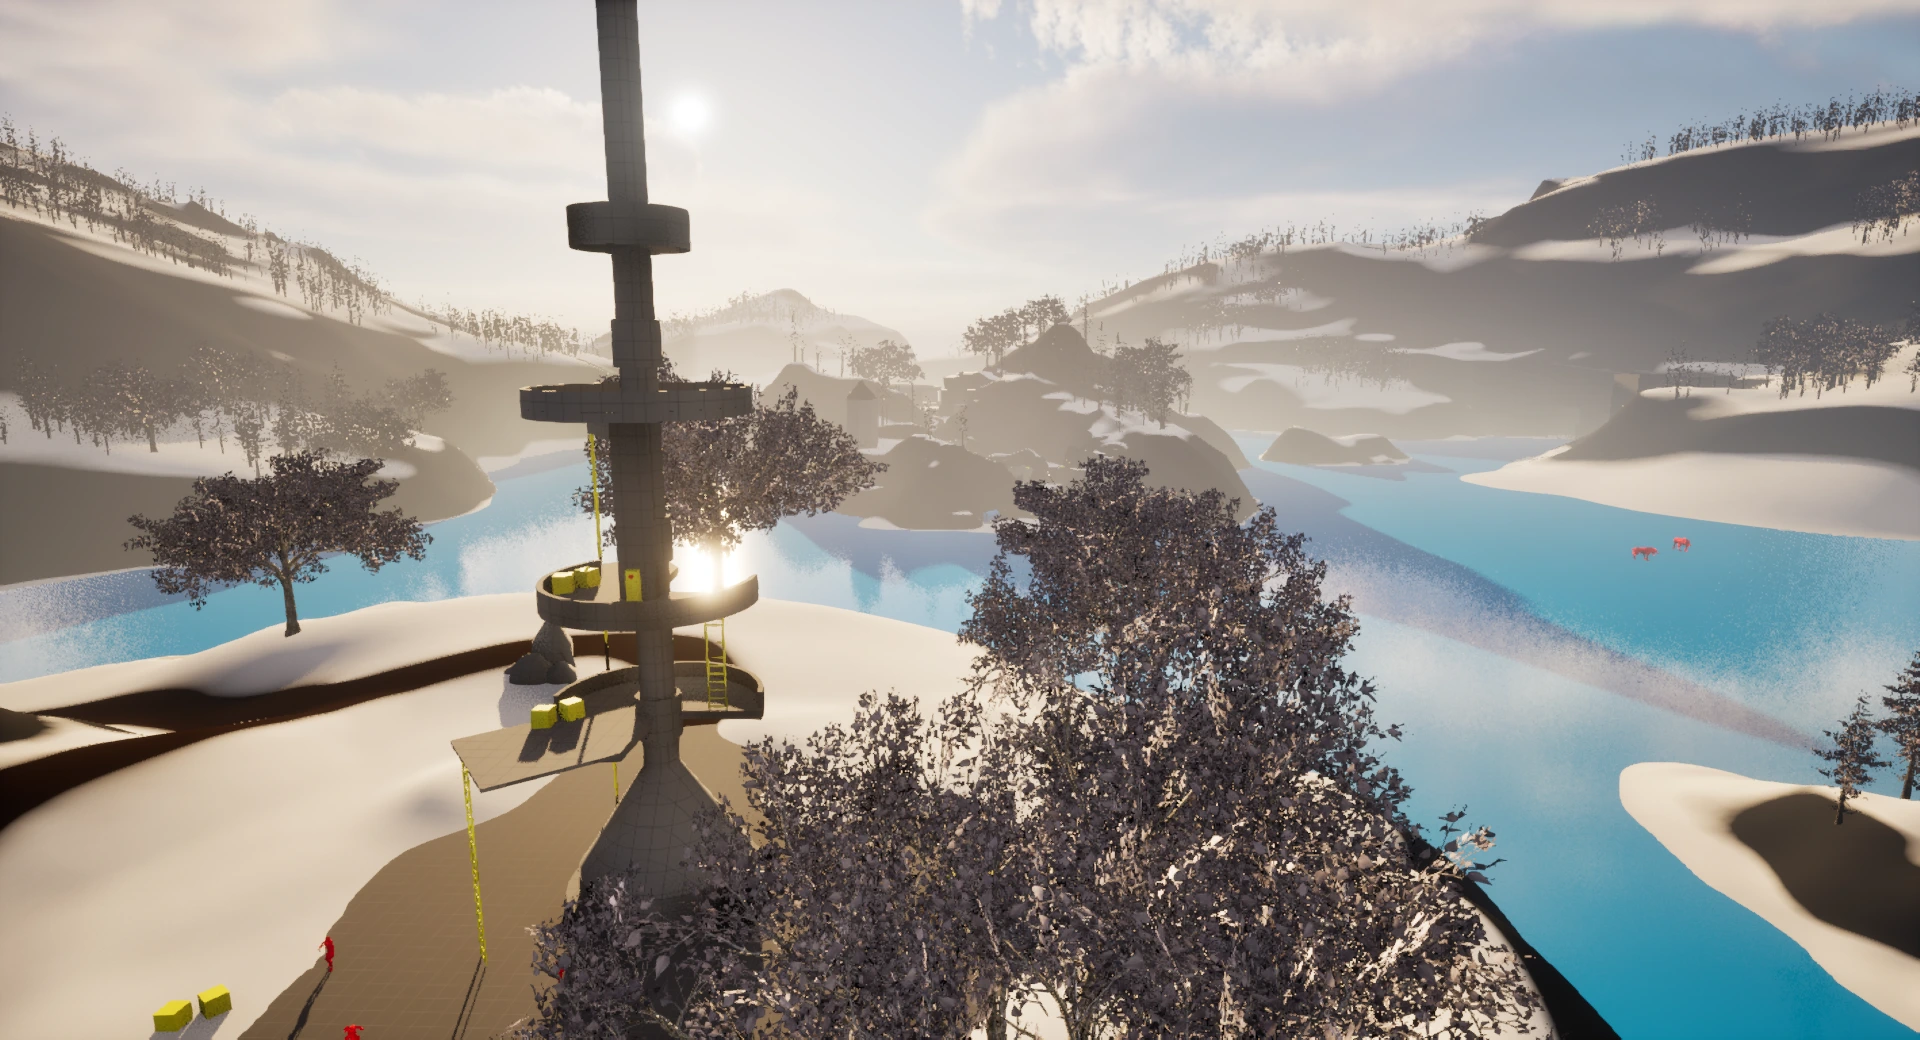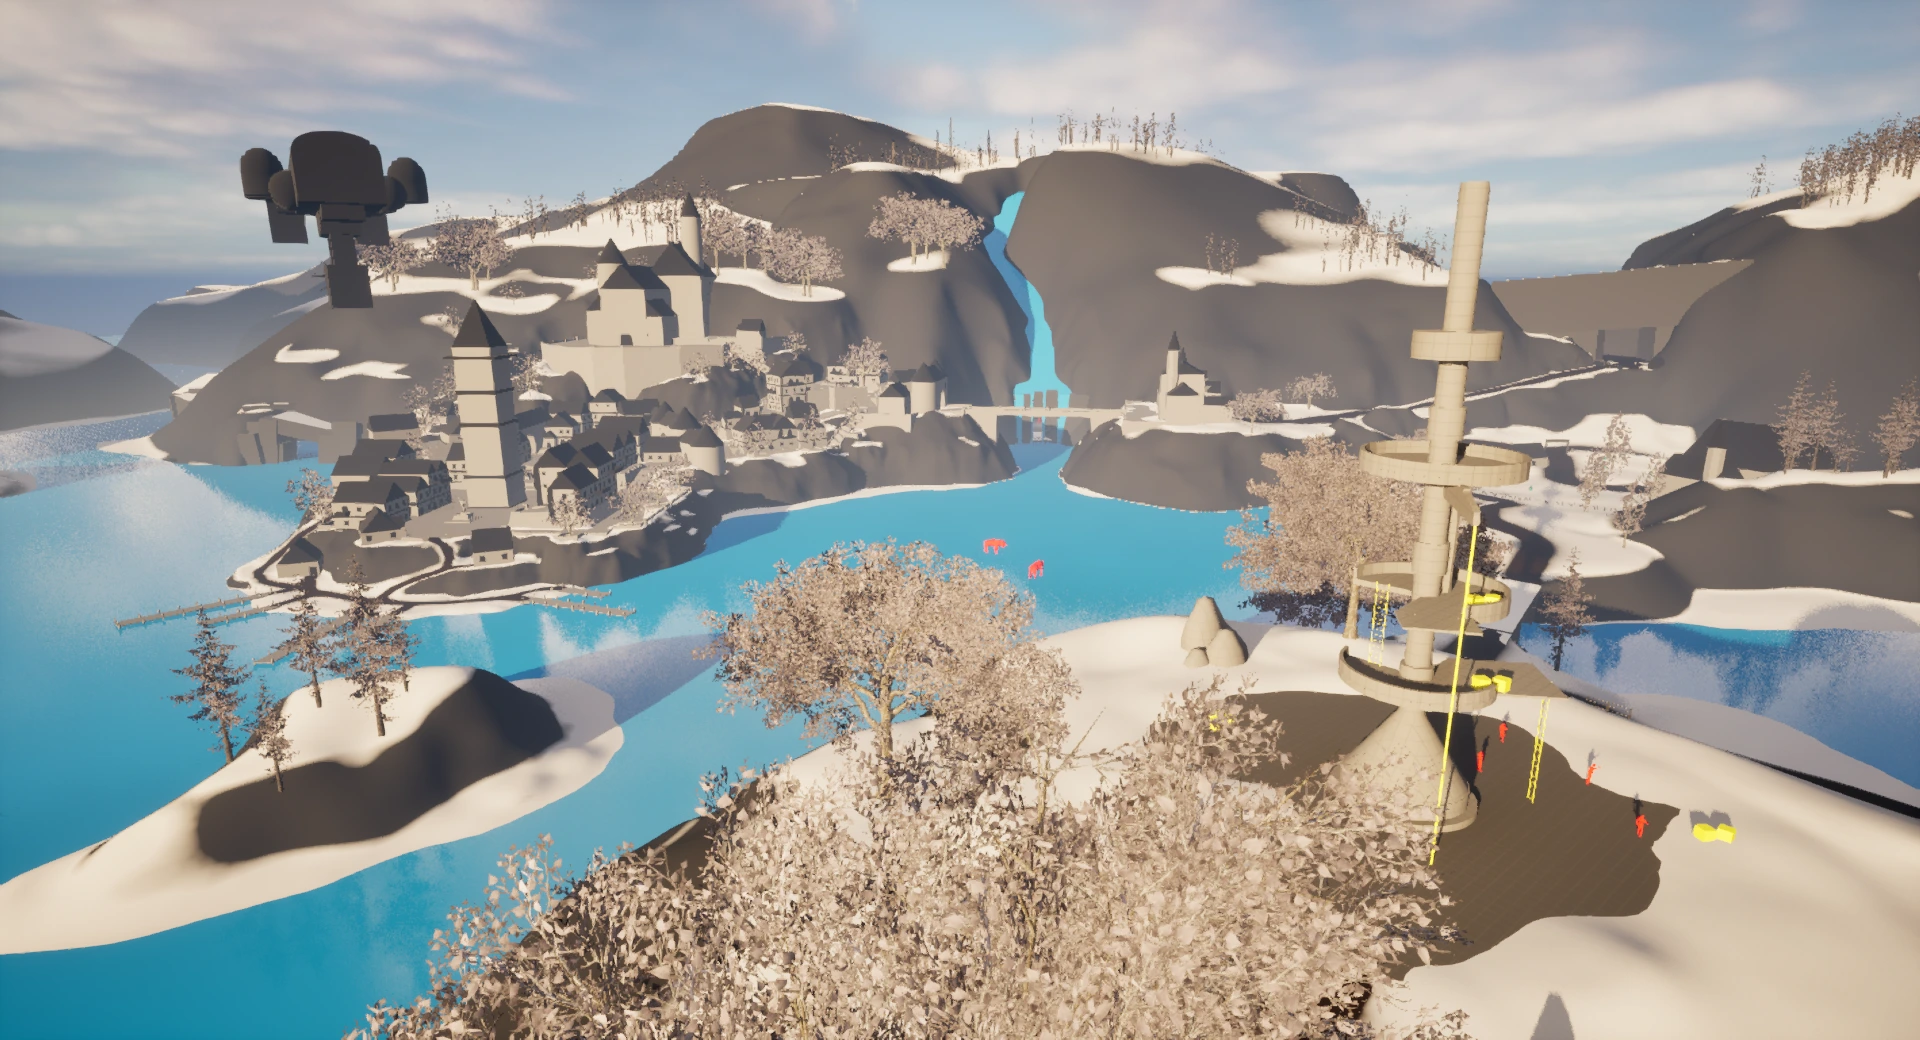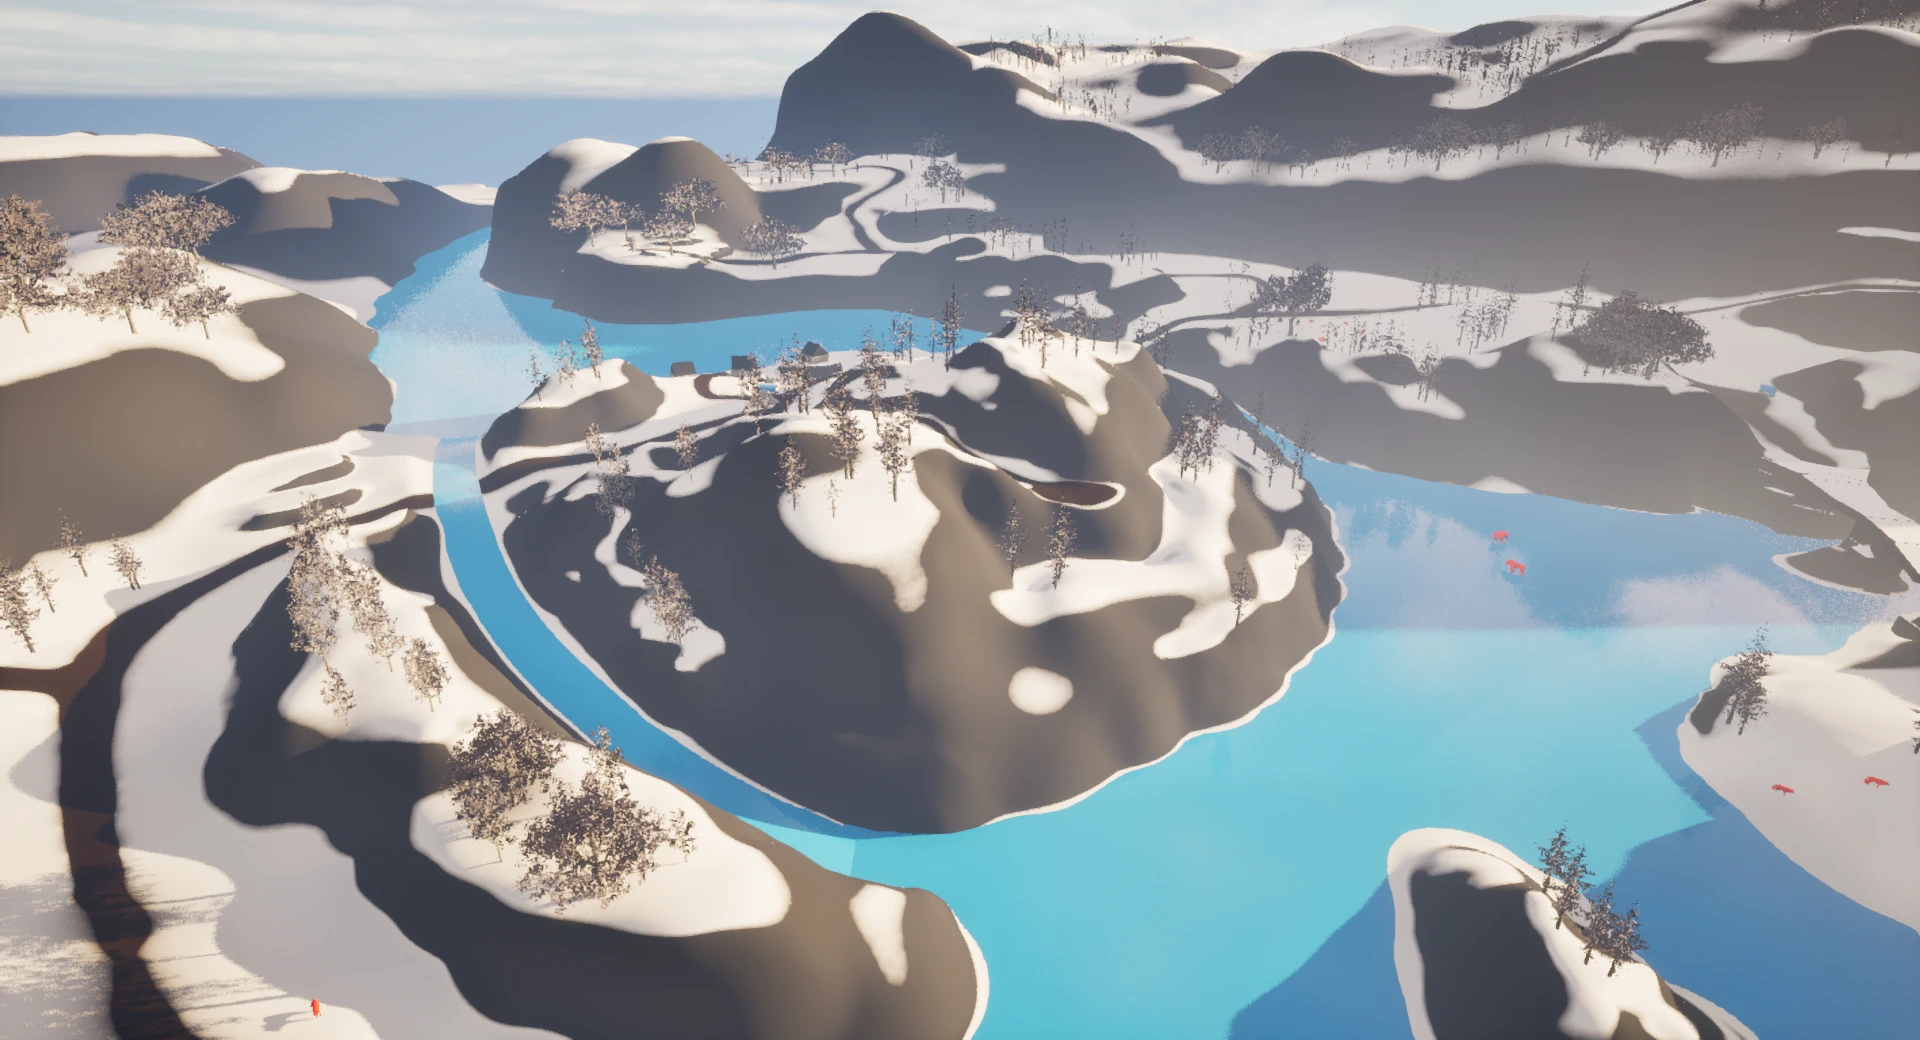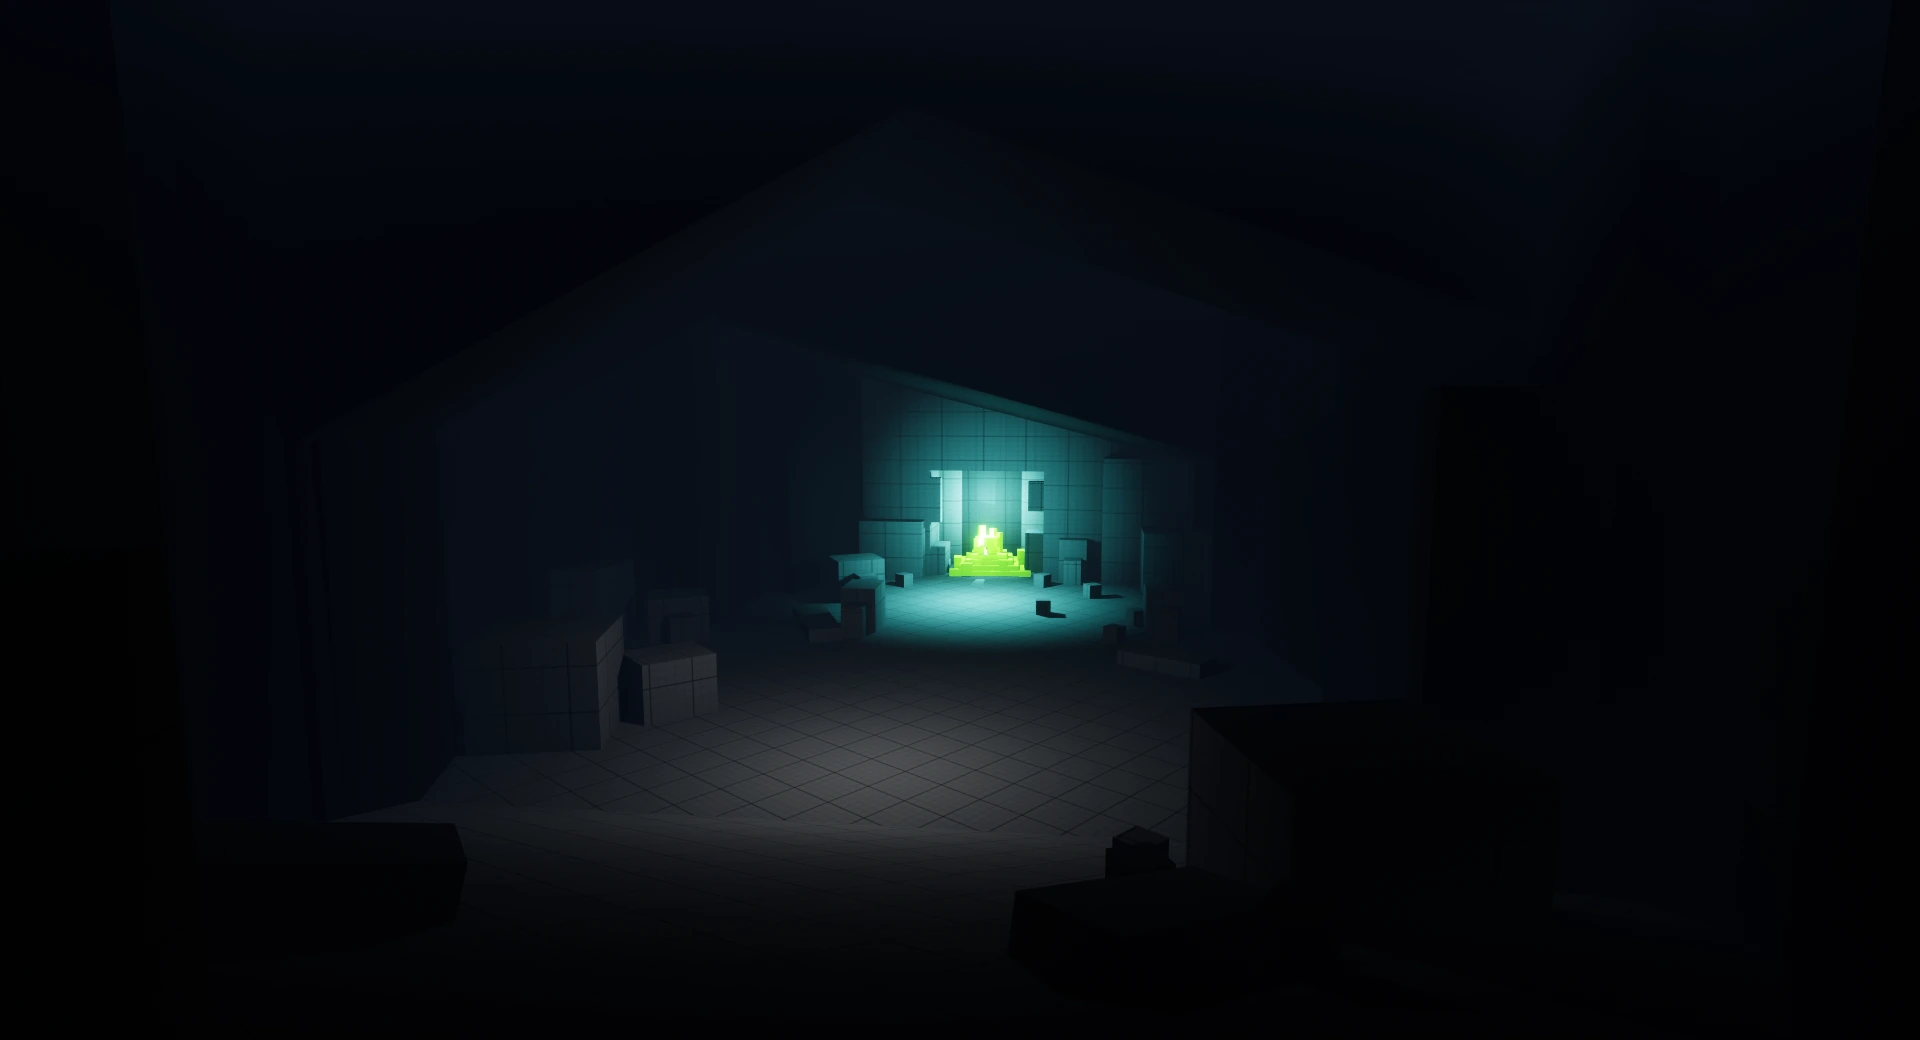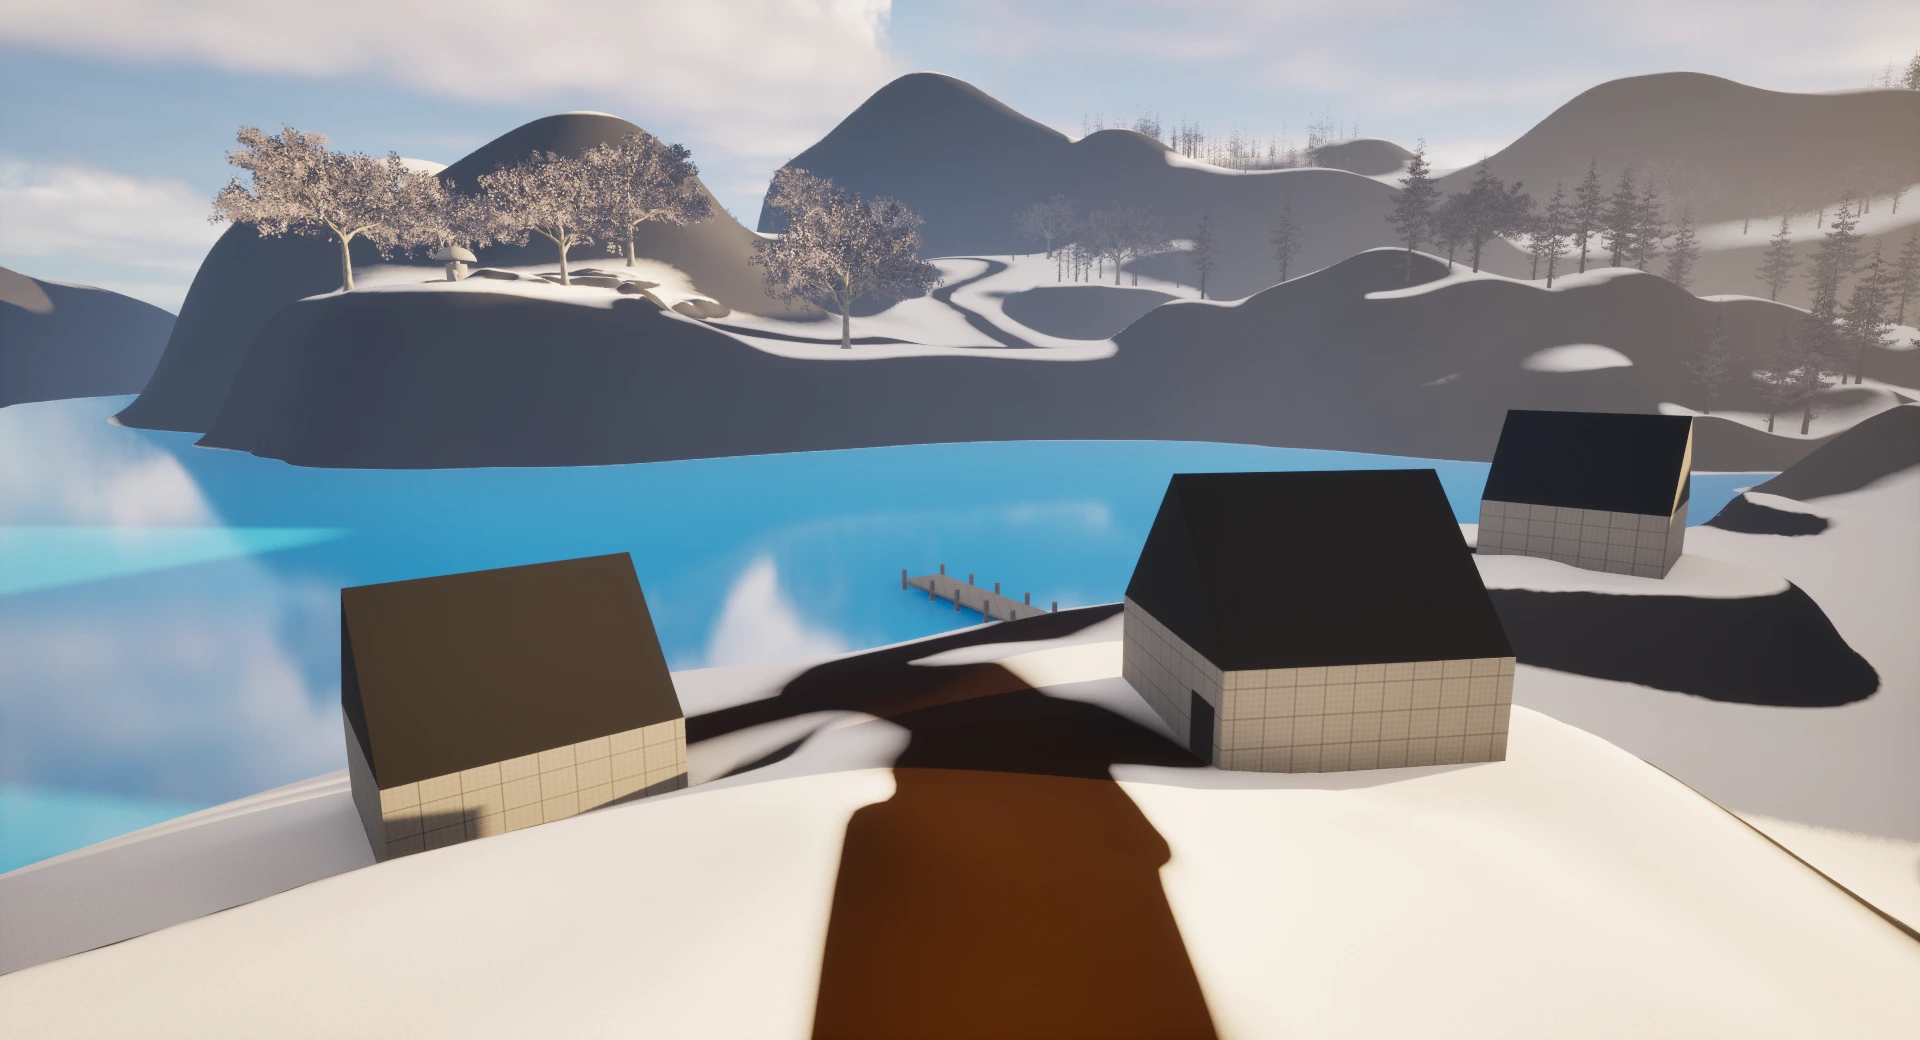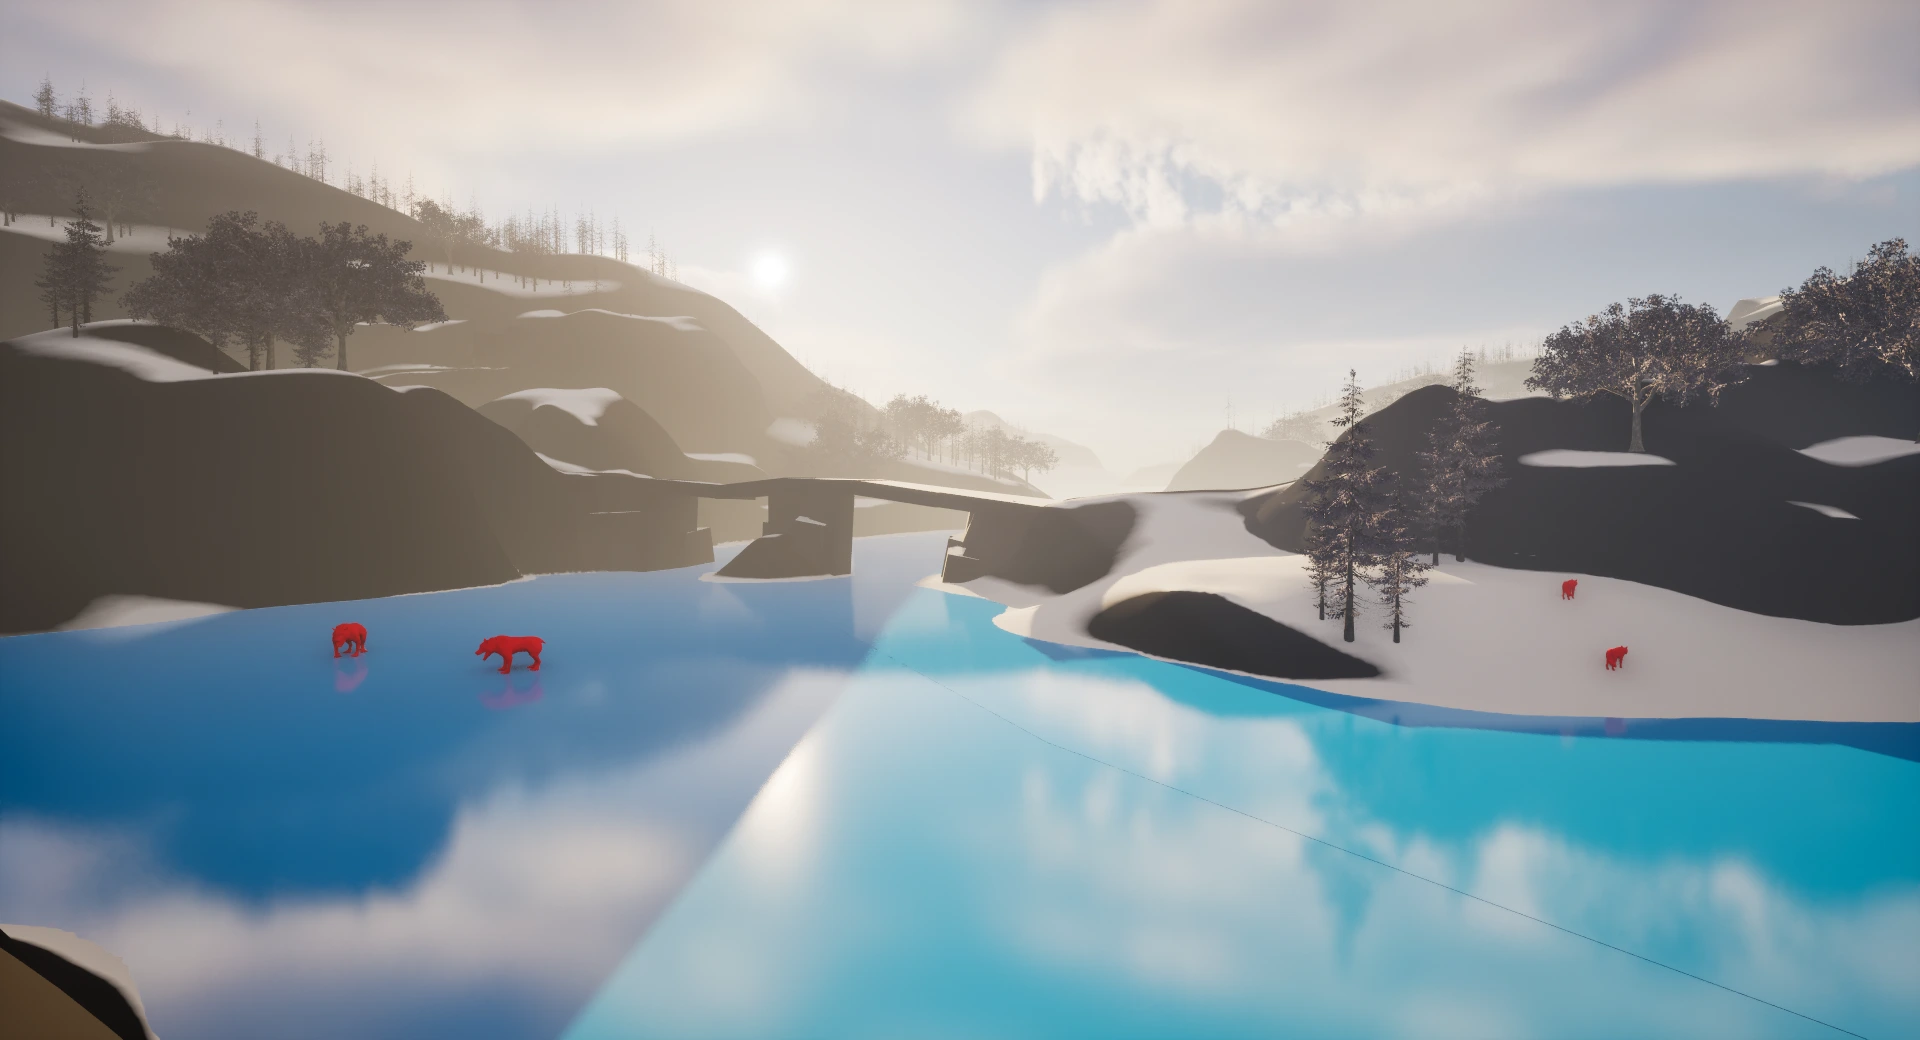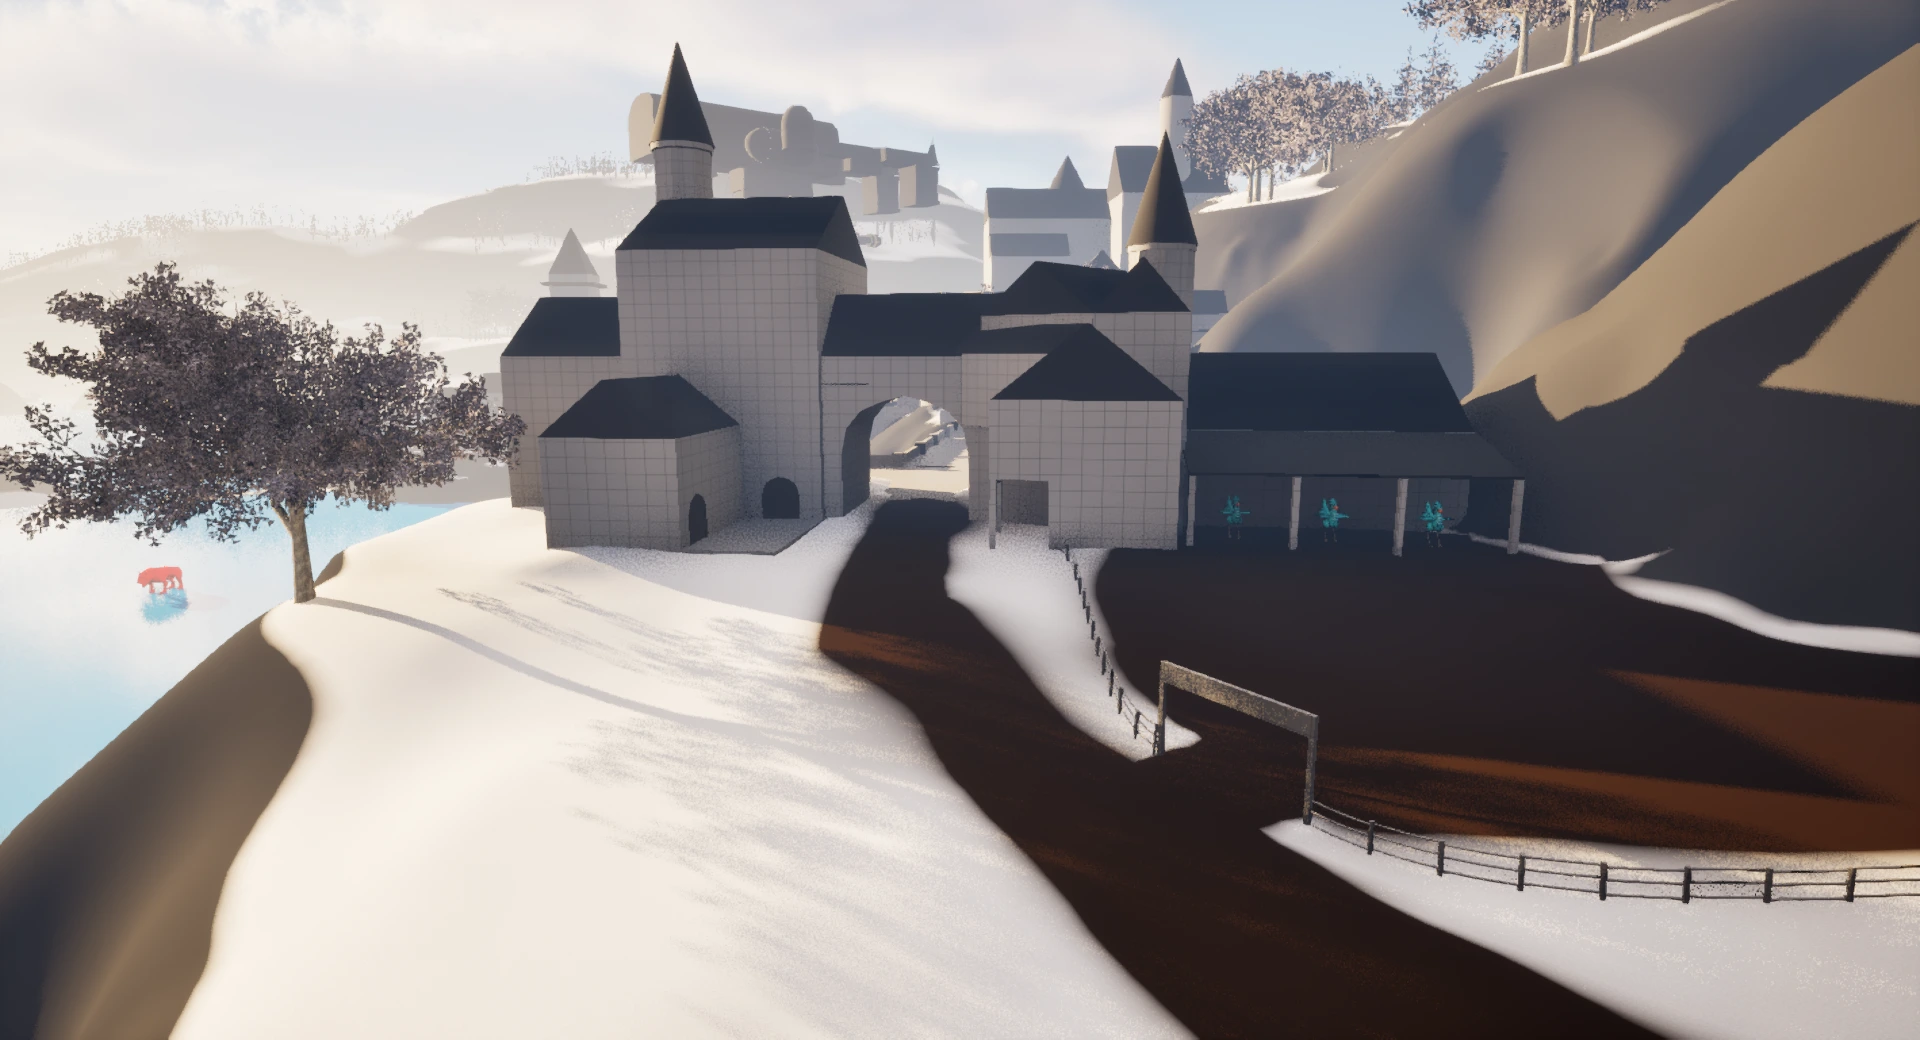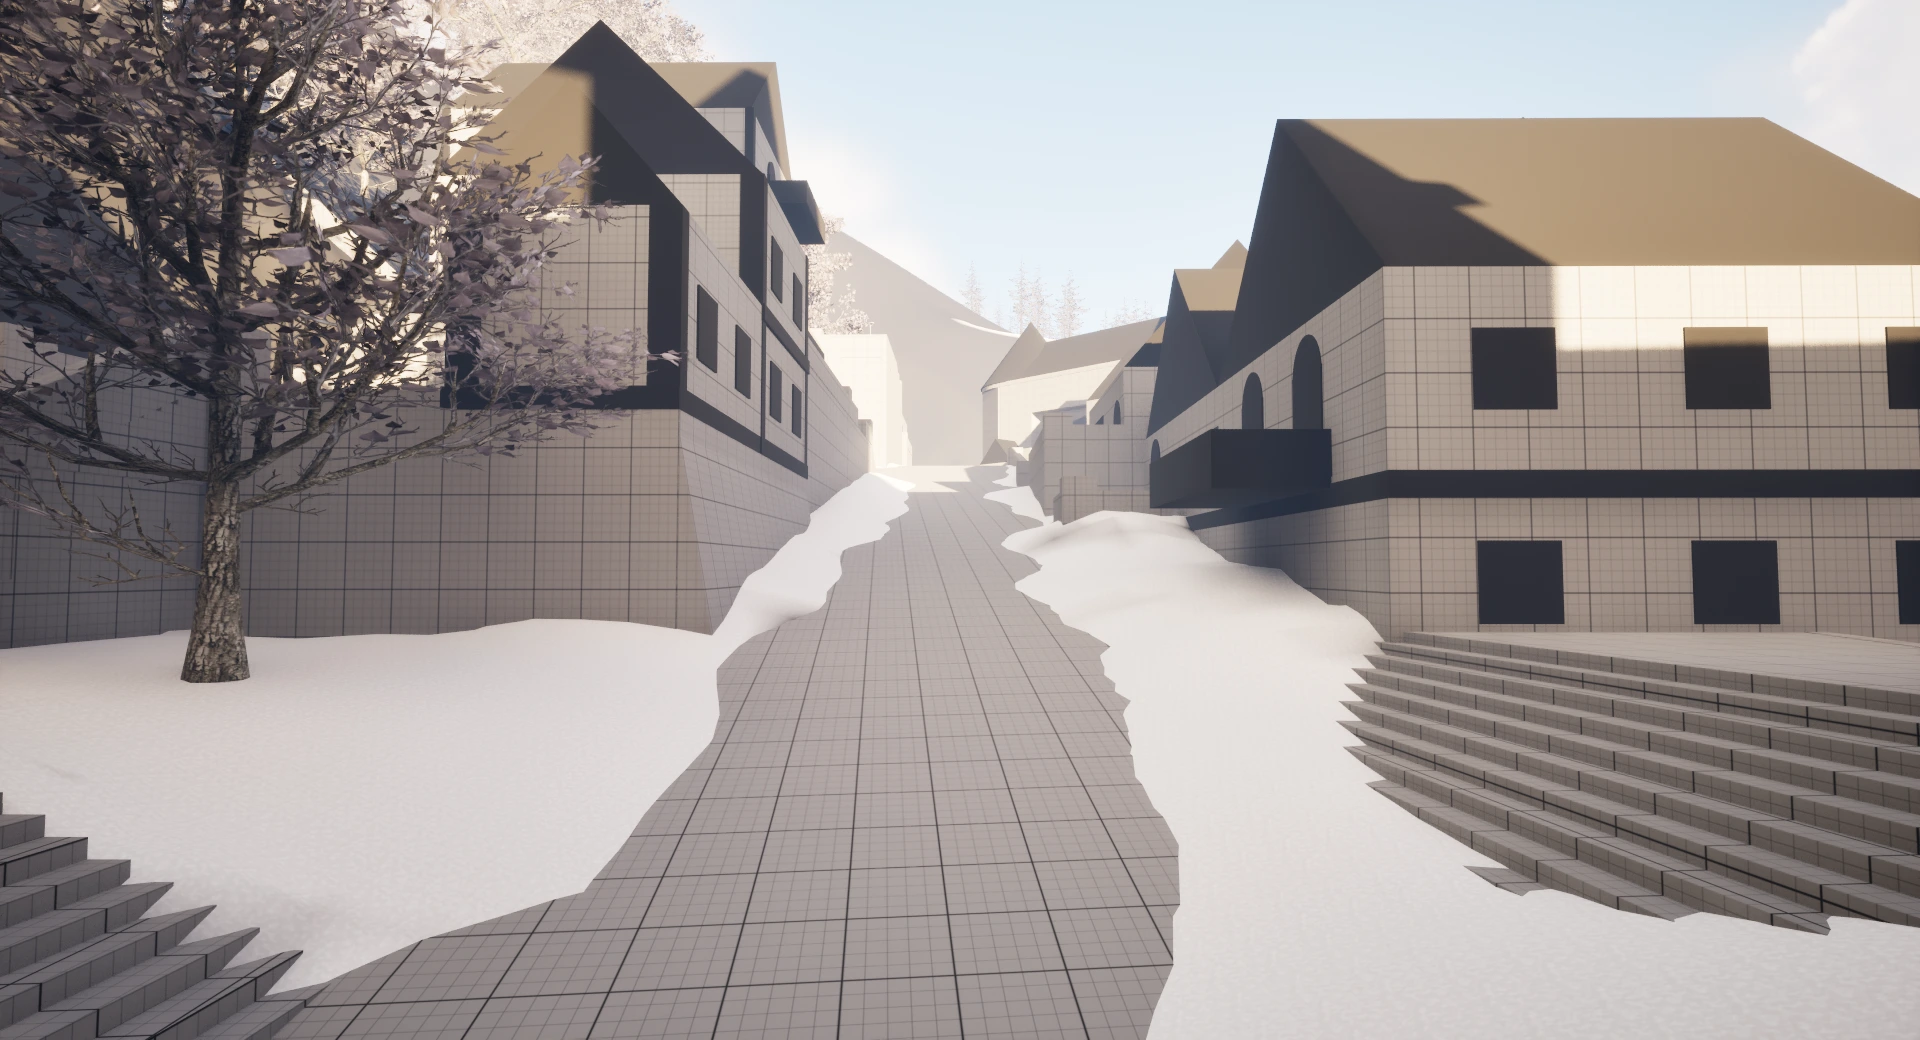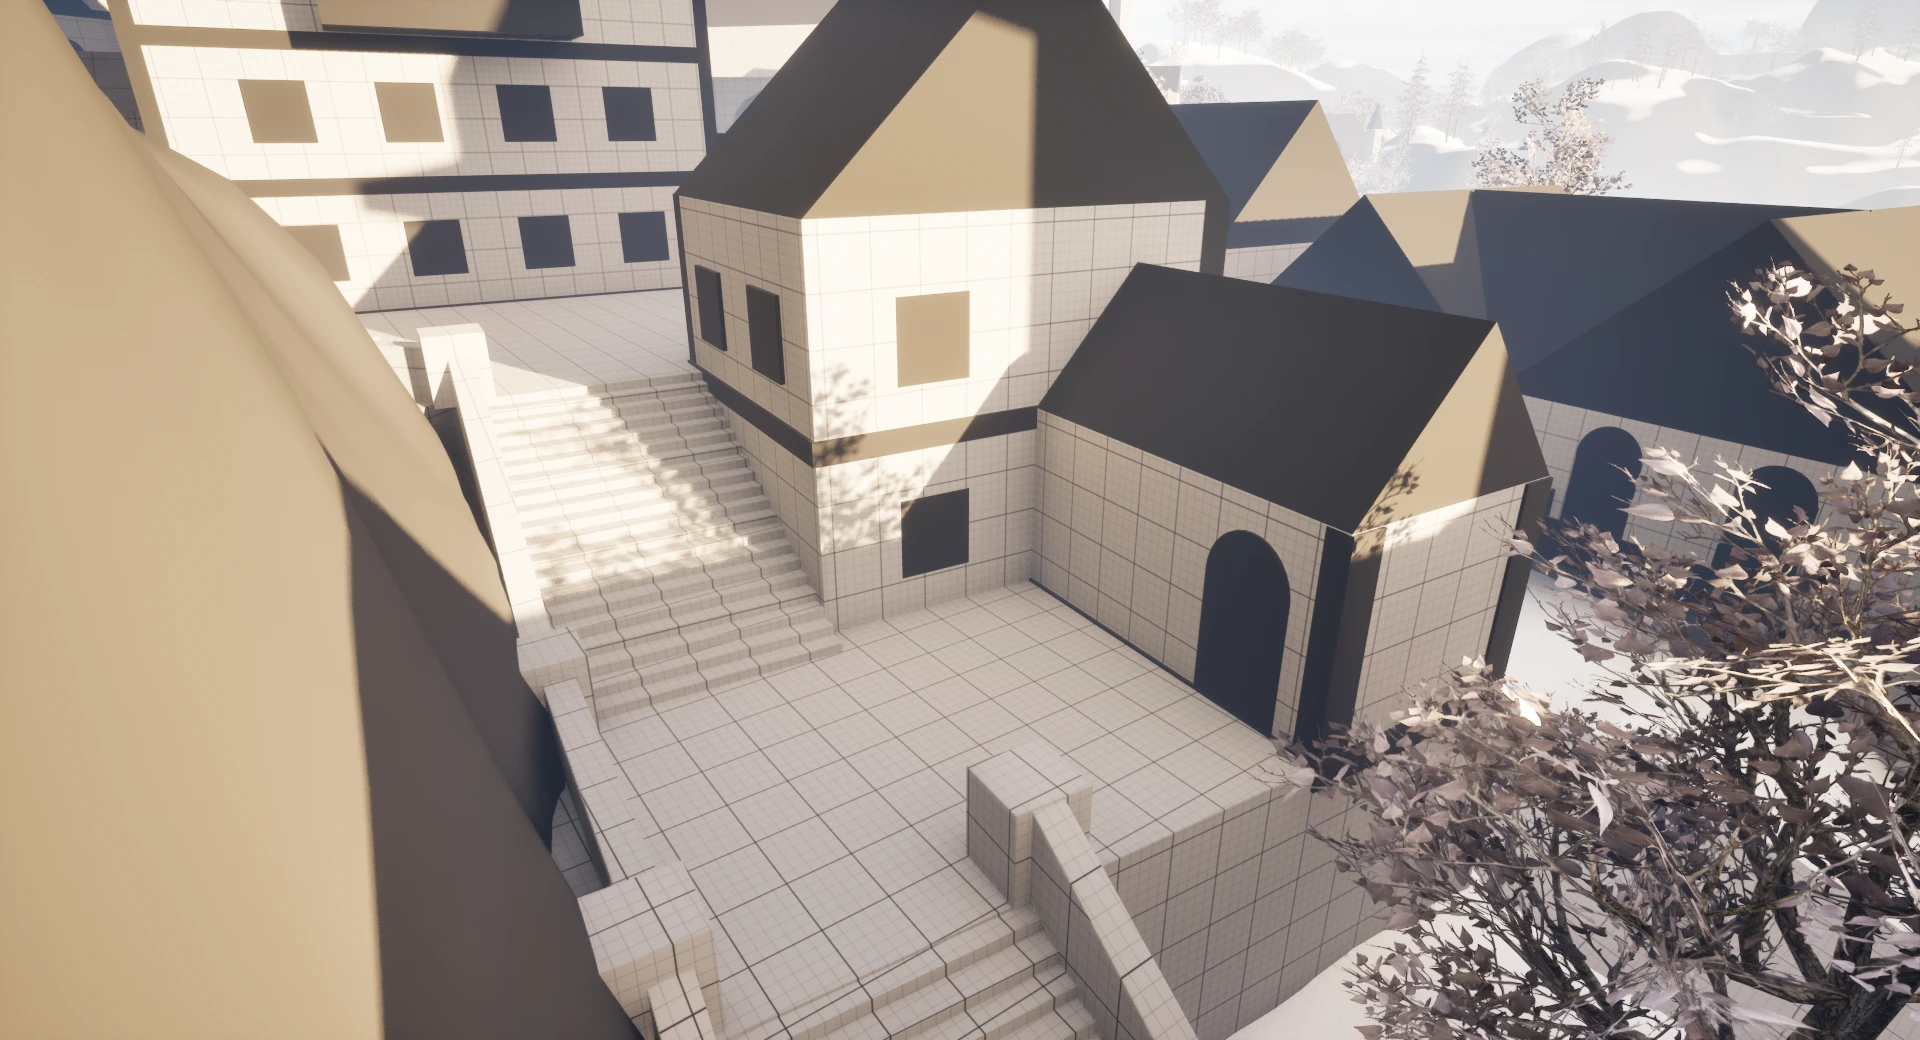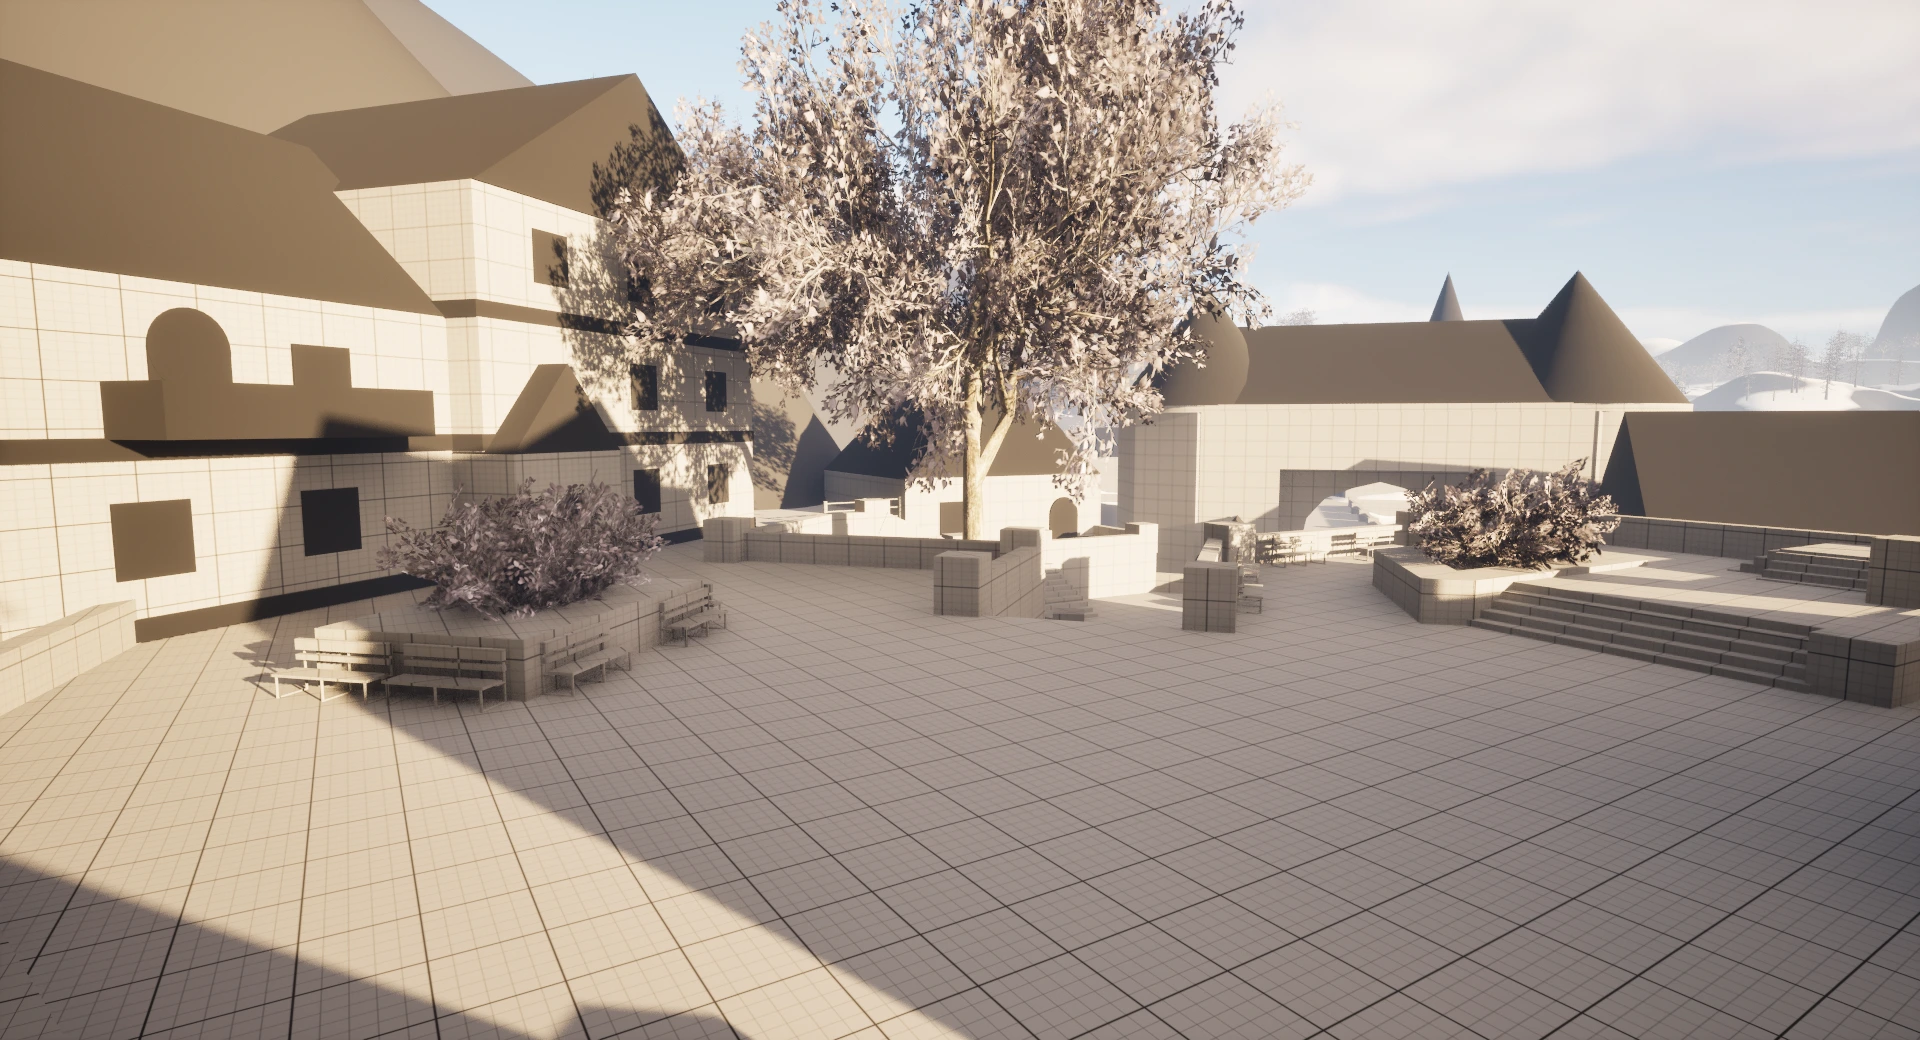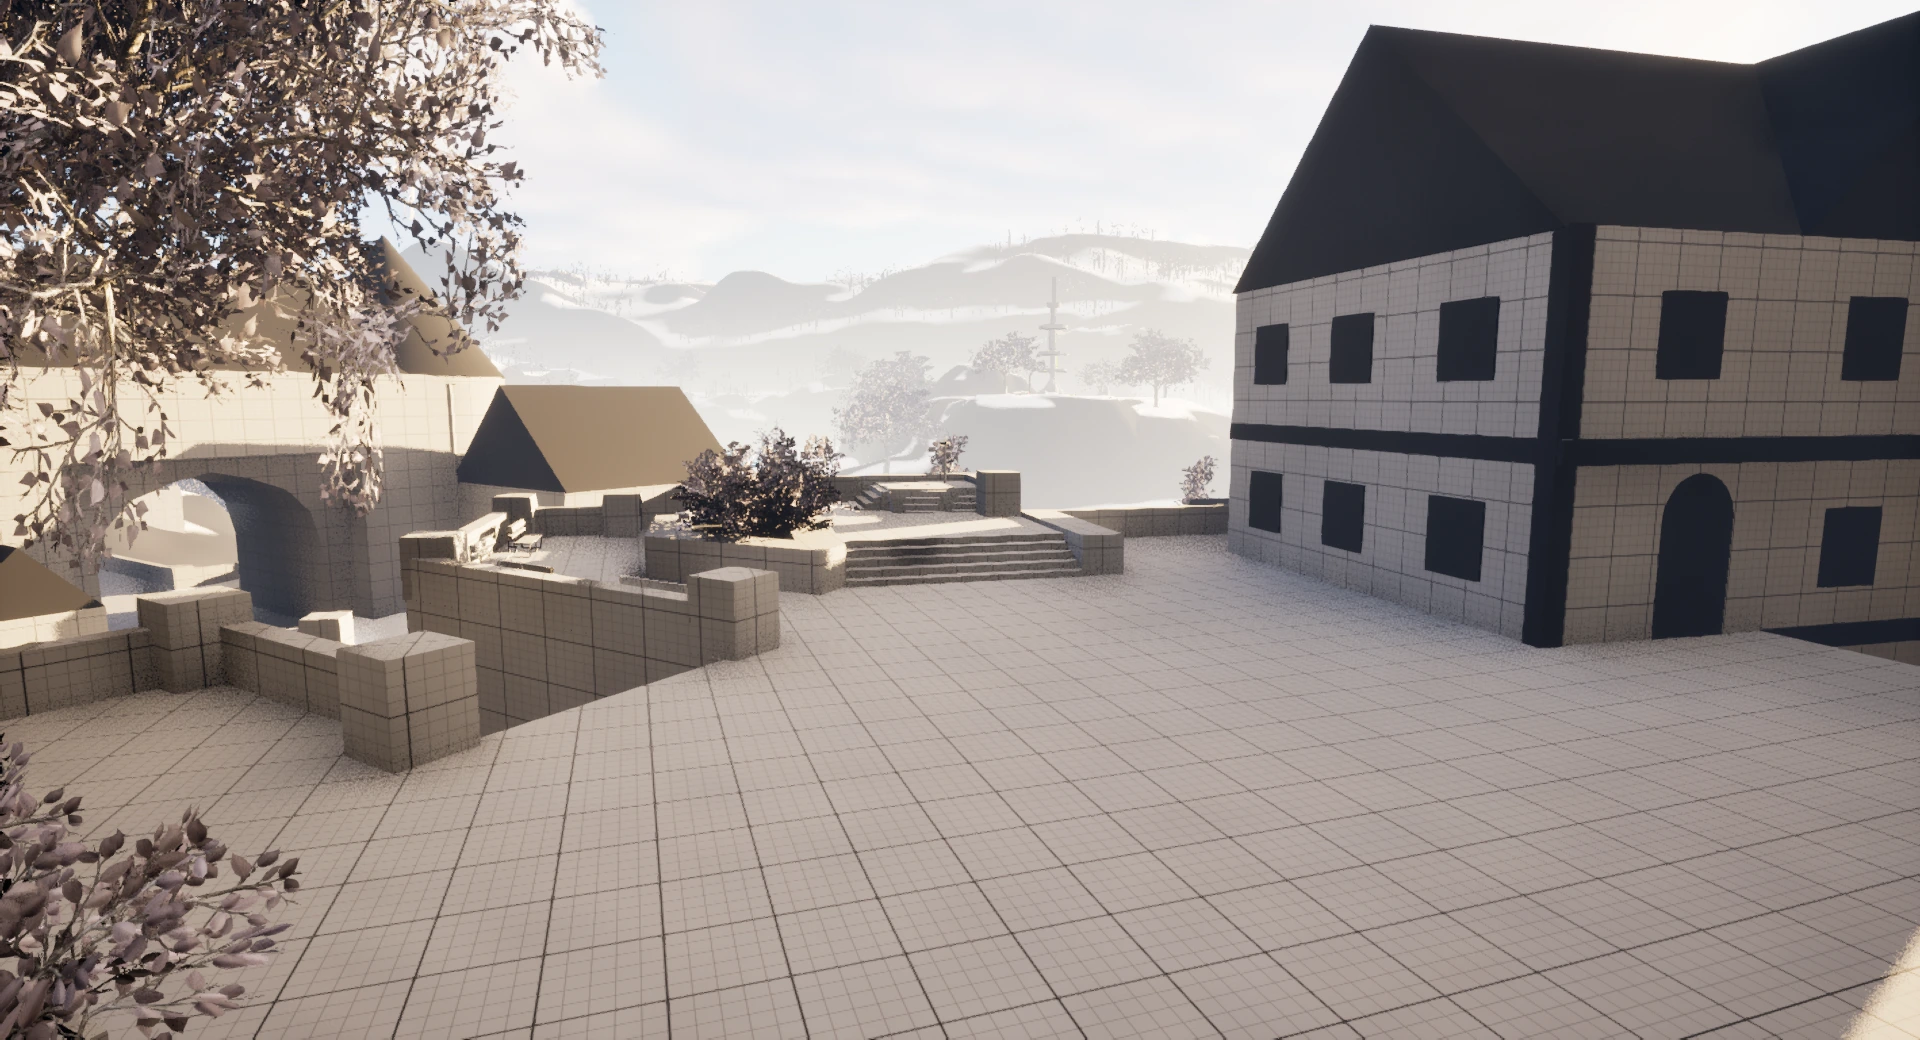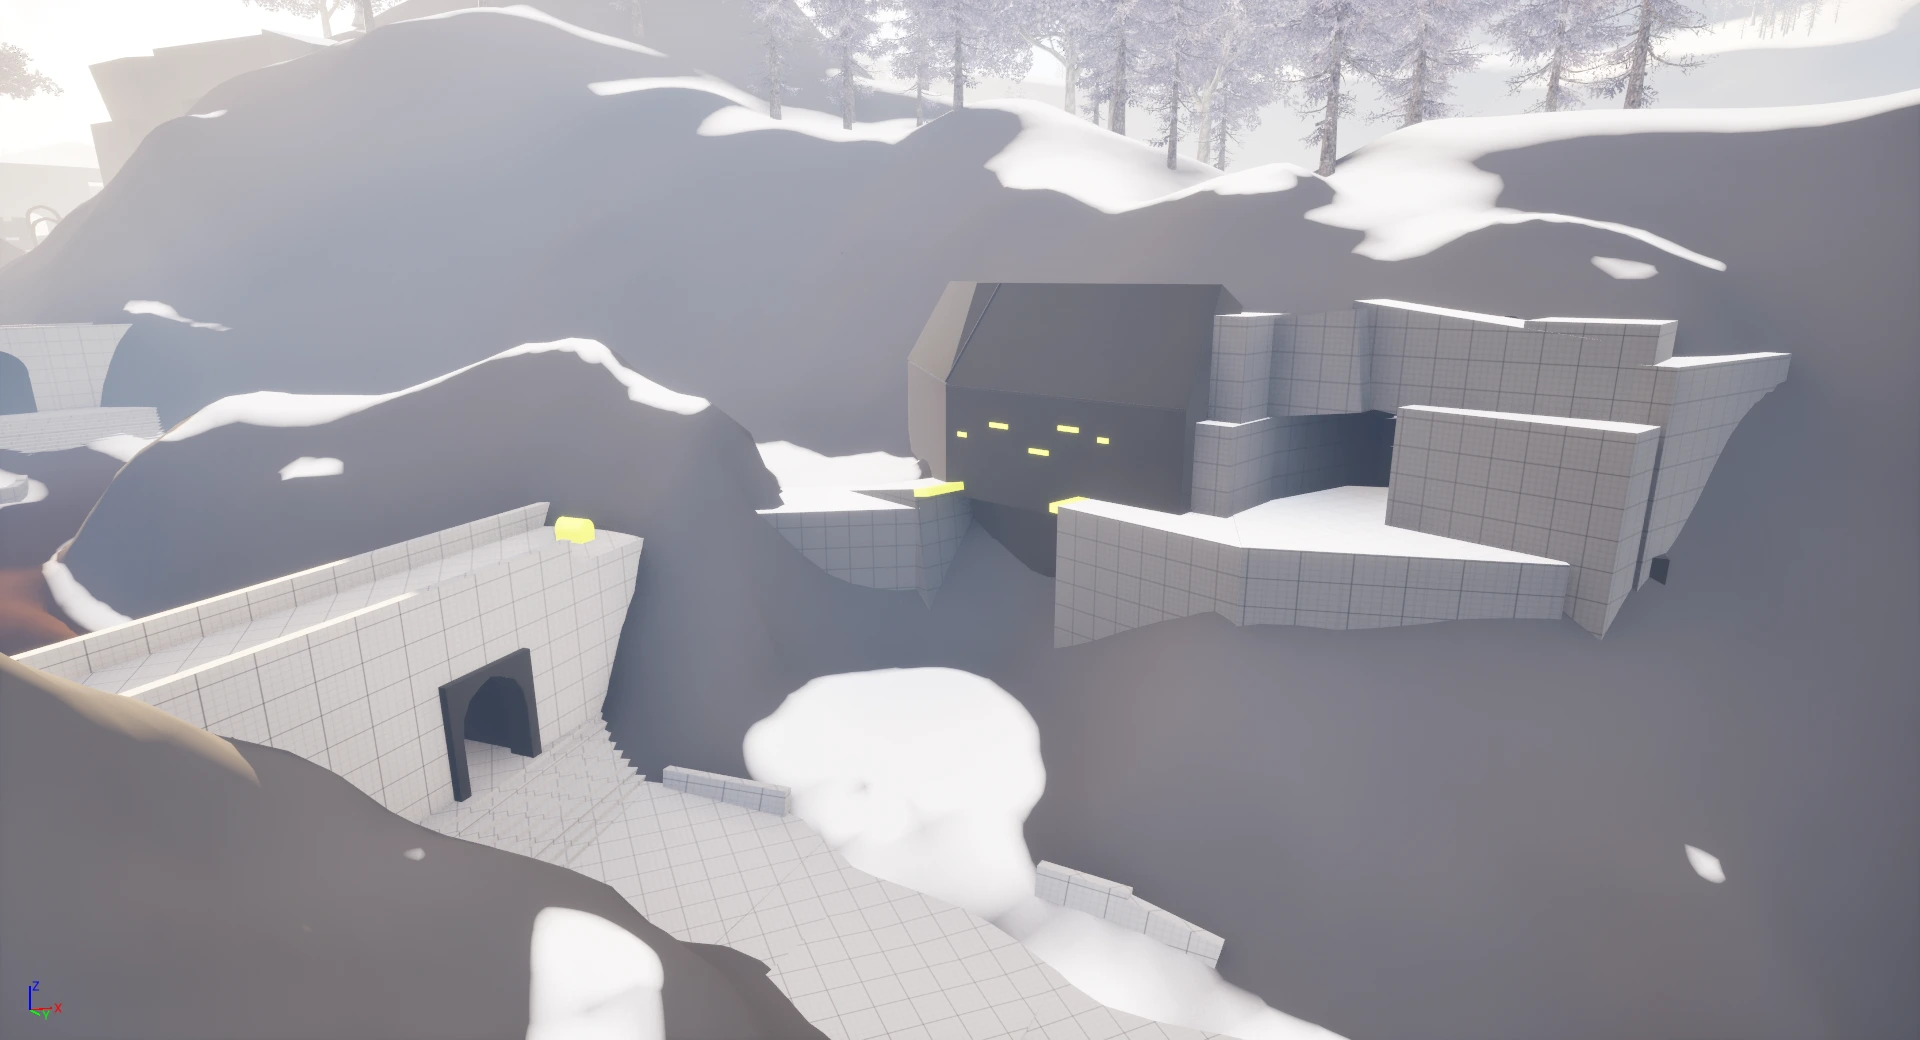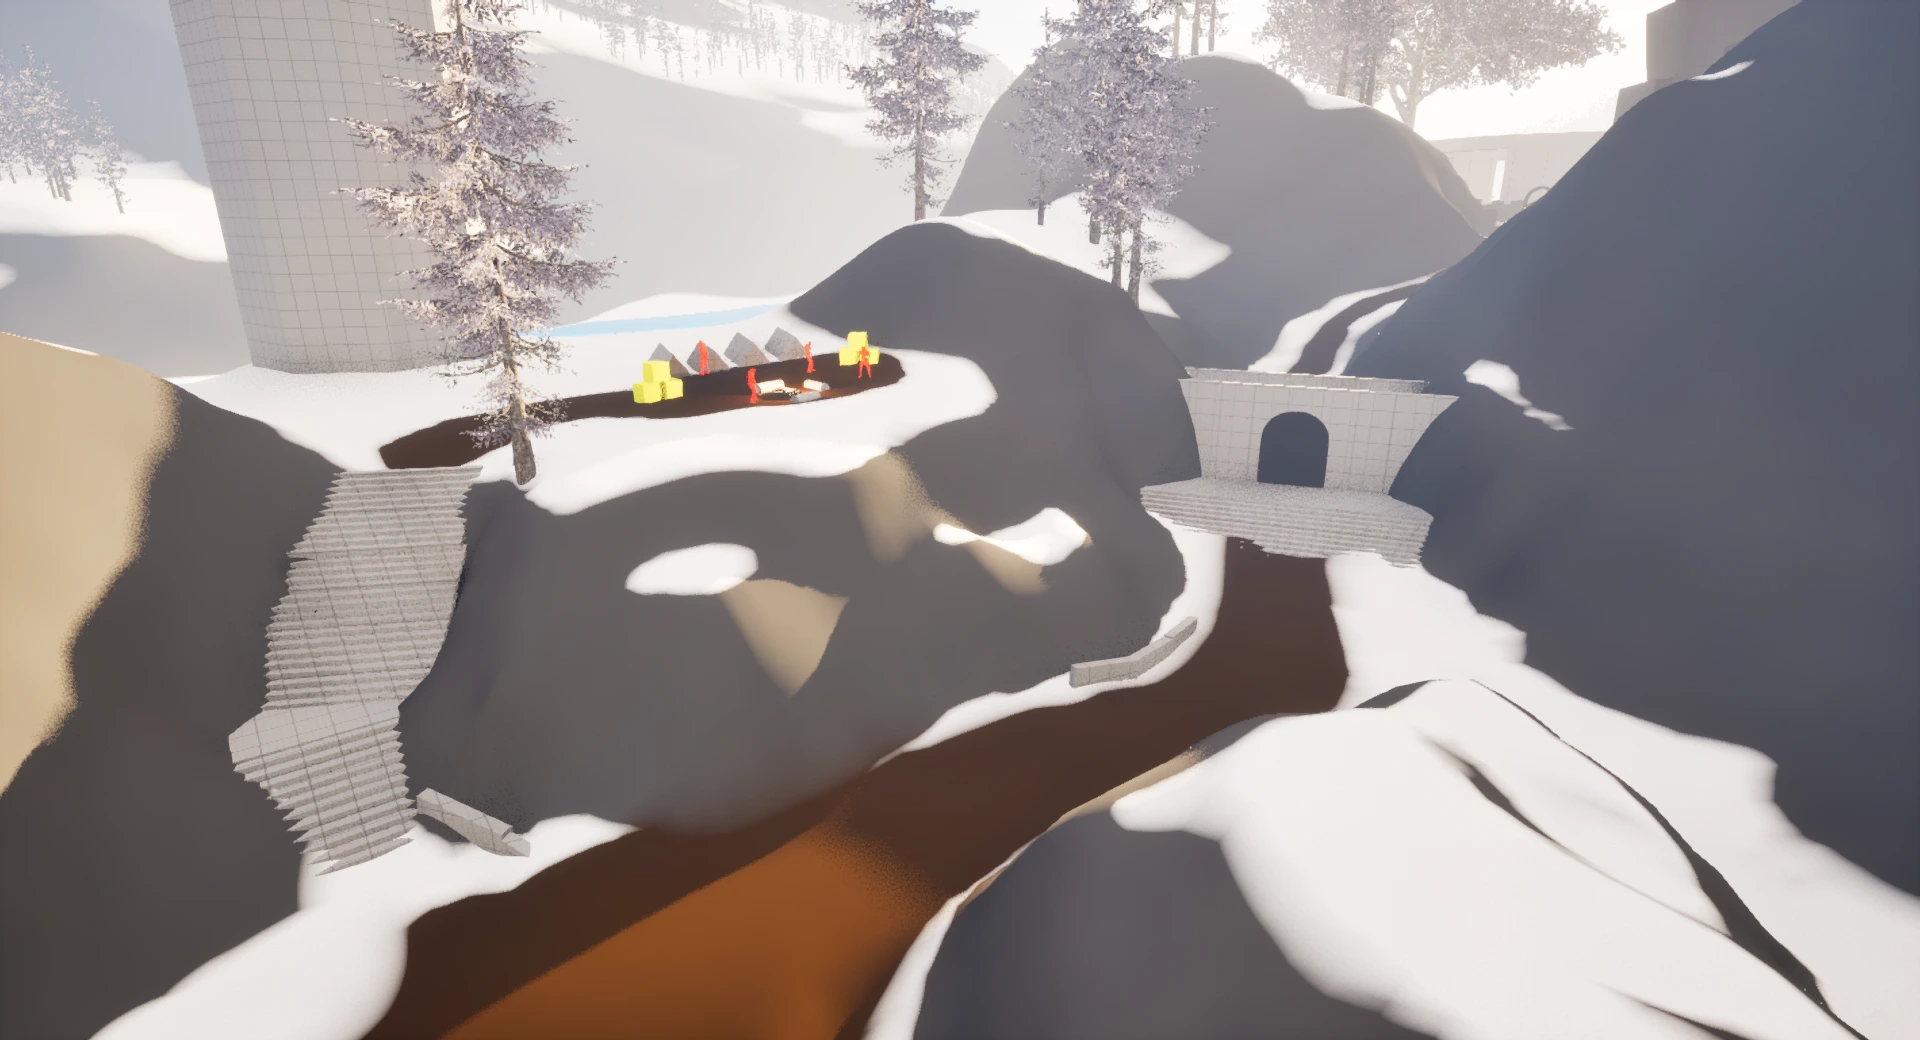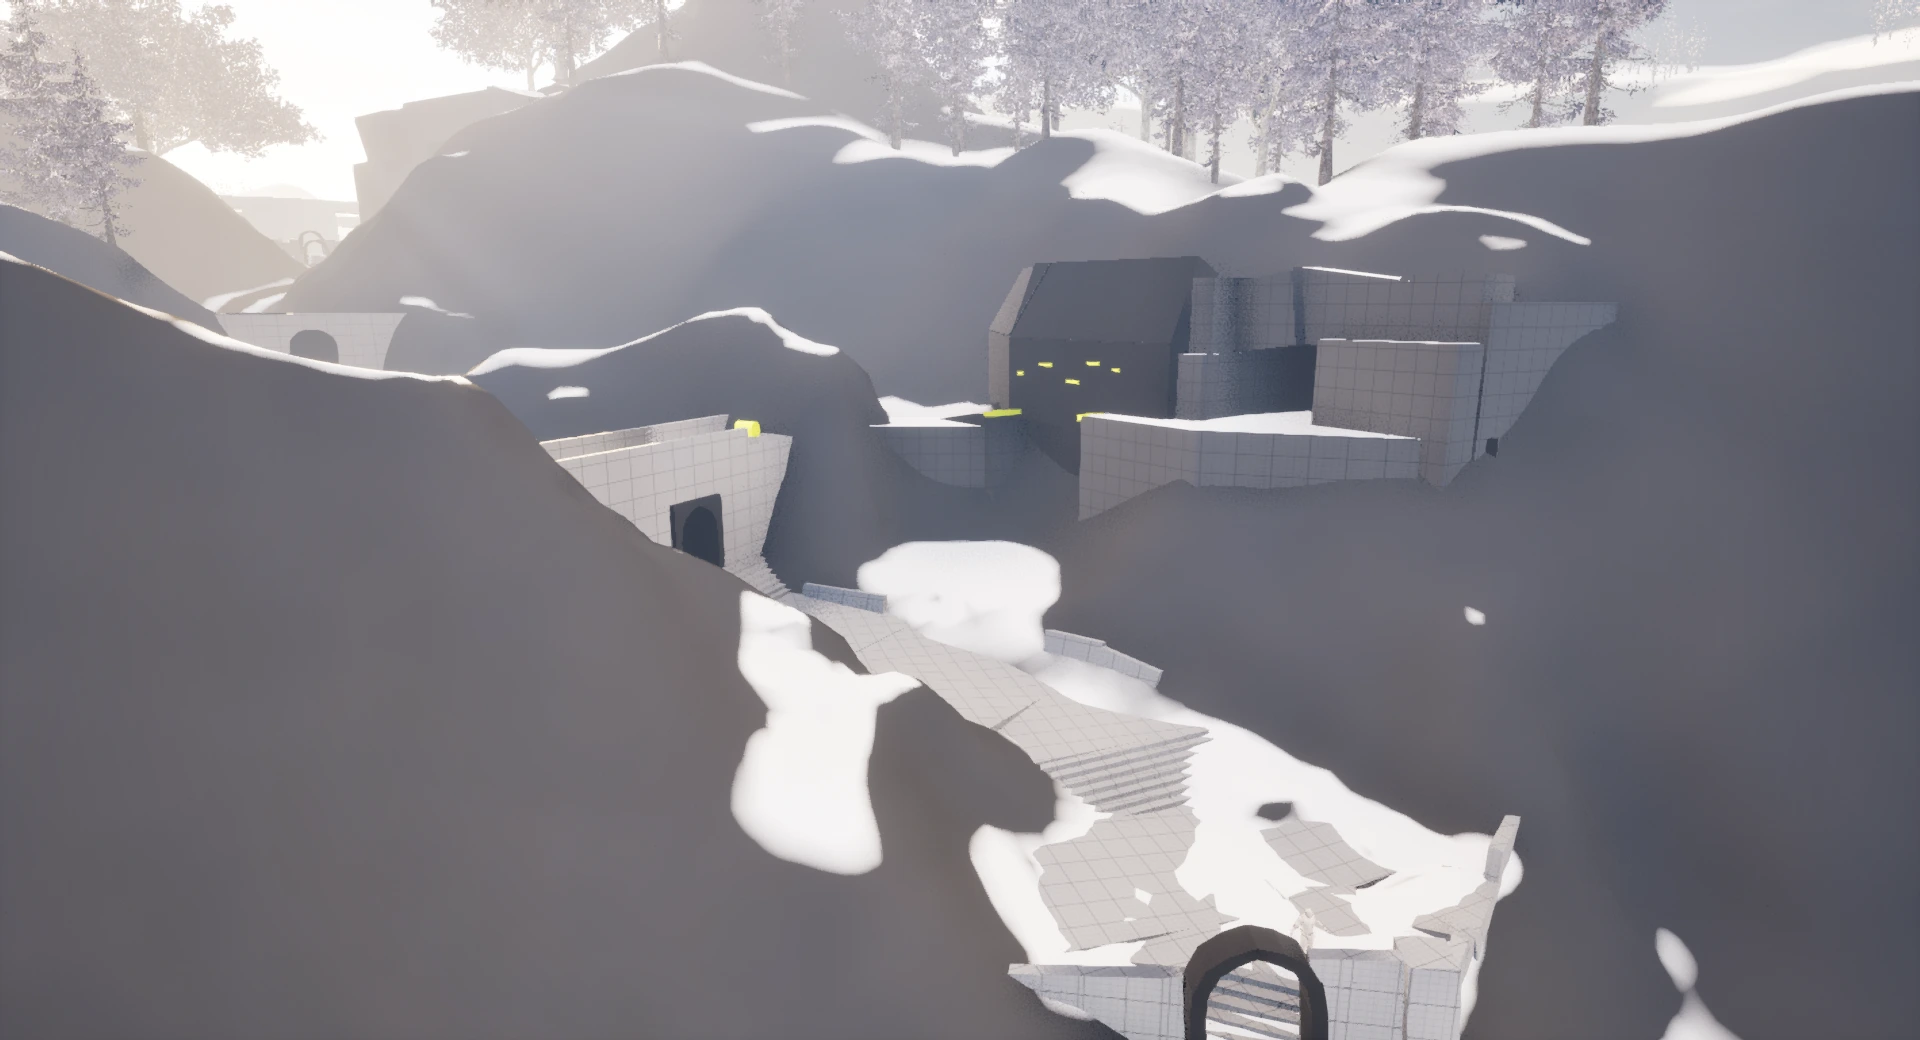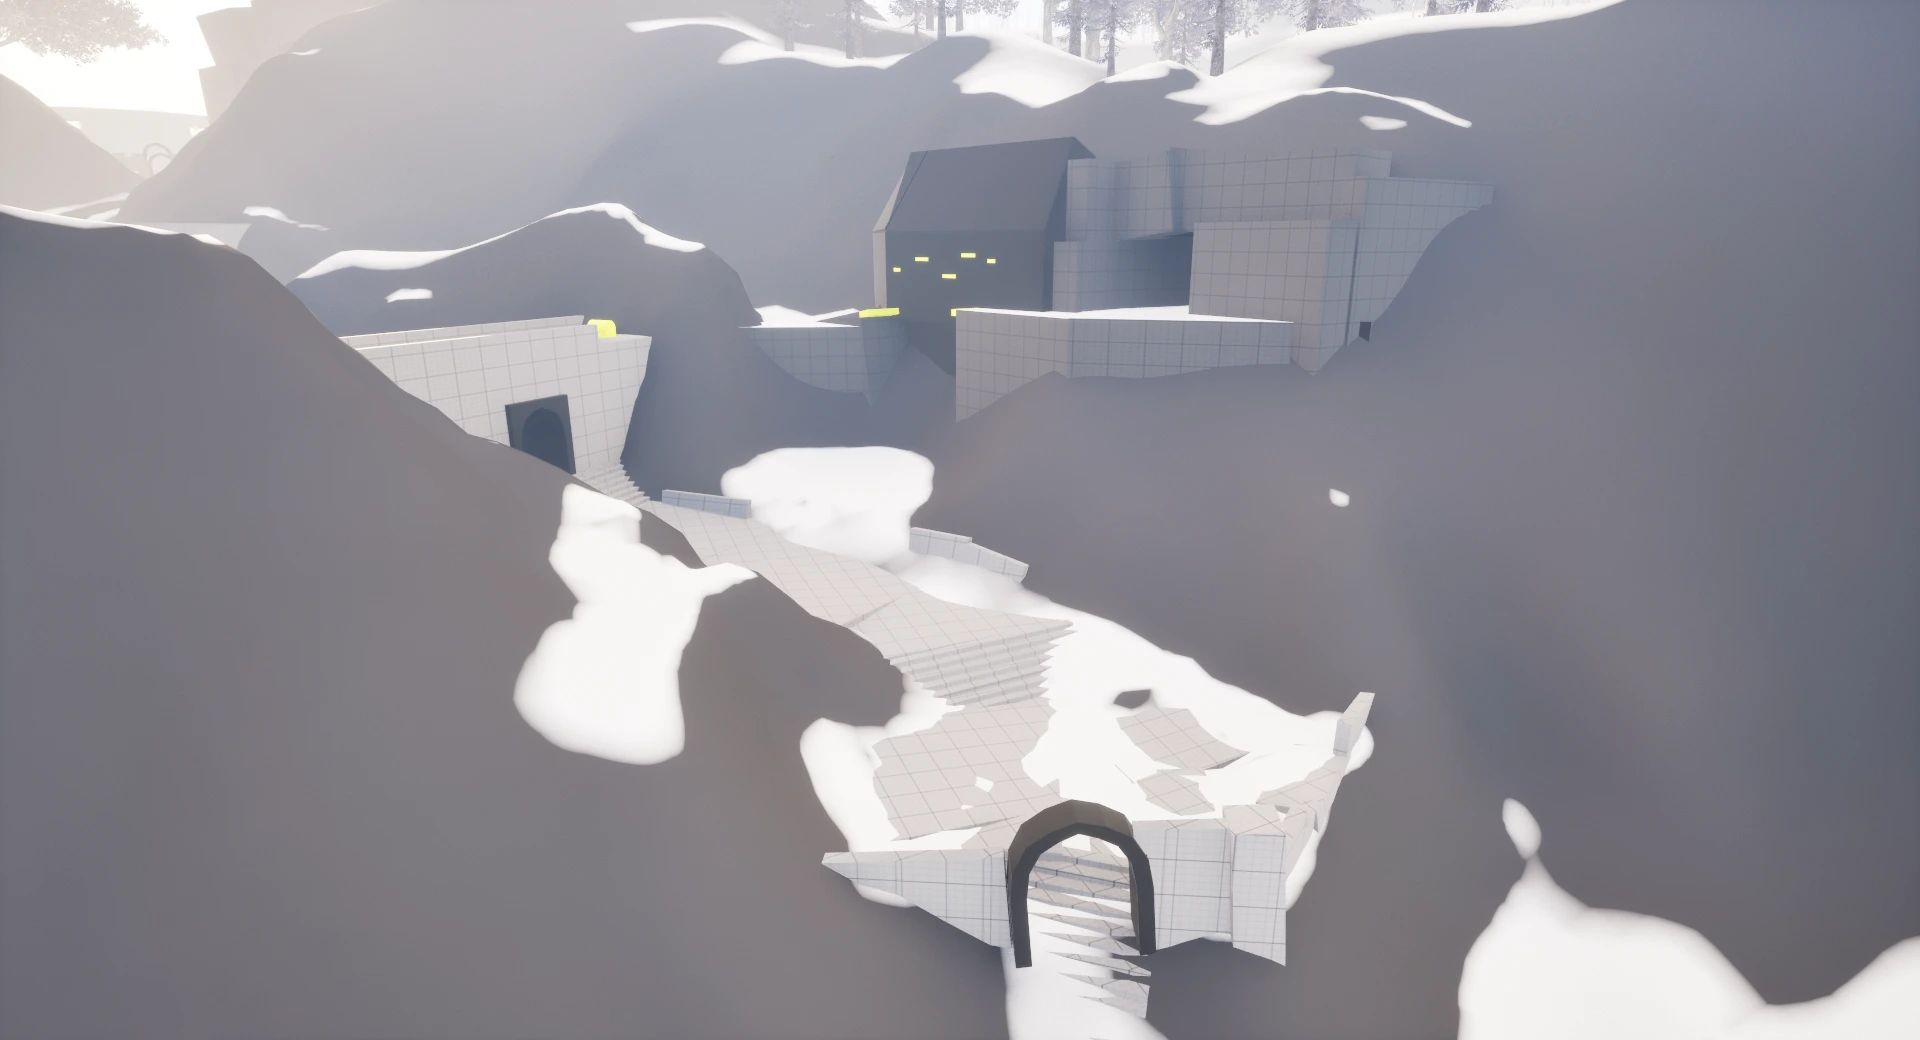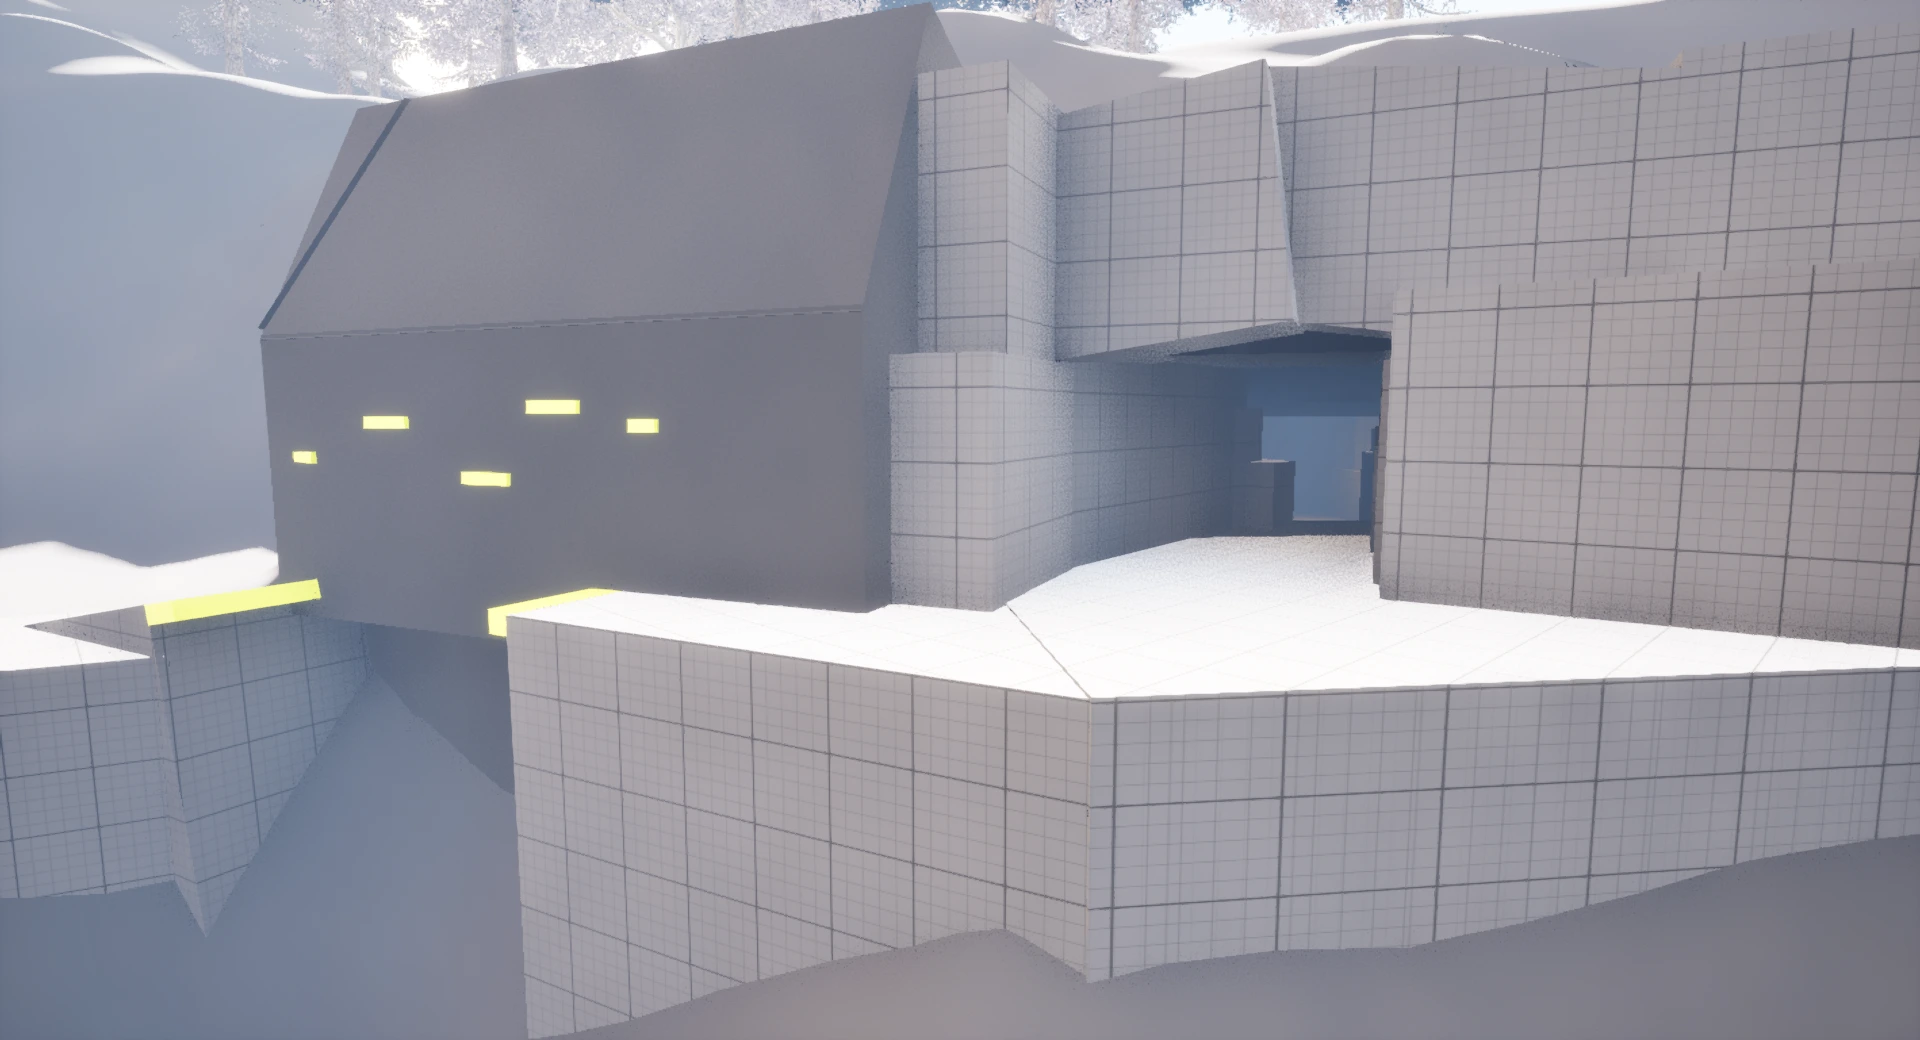
Final Fantasy 7 Rebirth Open world segment
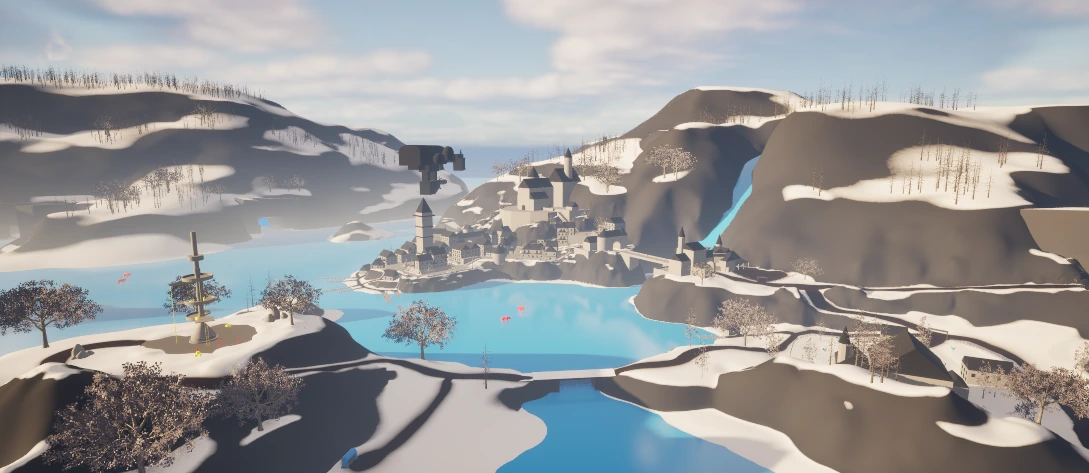
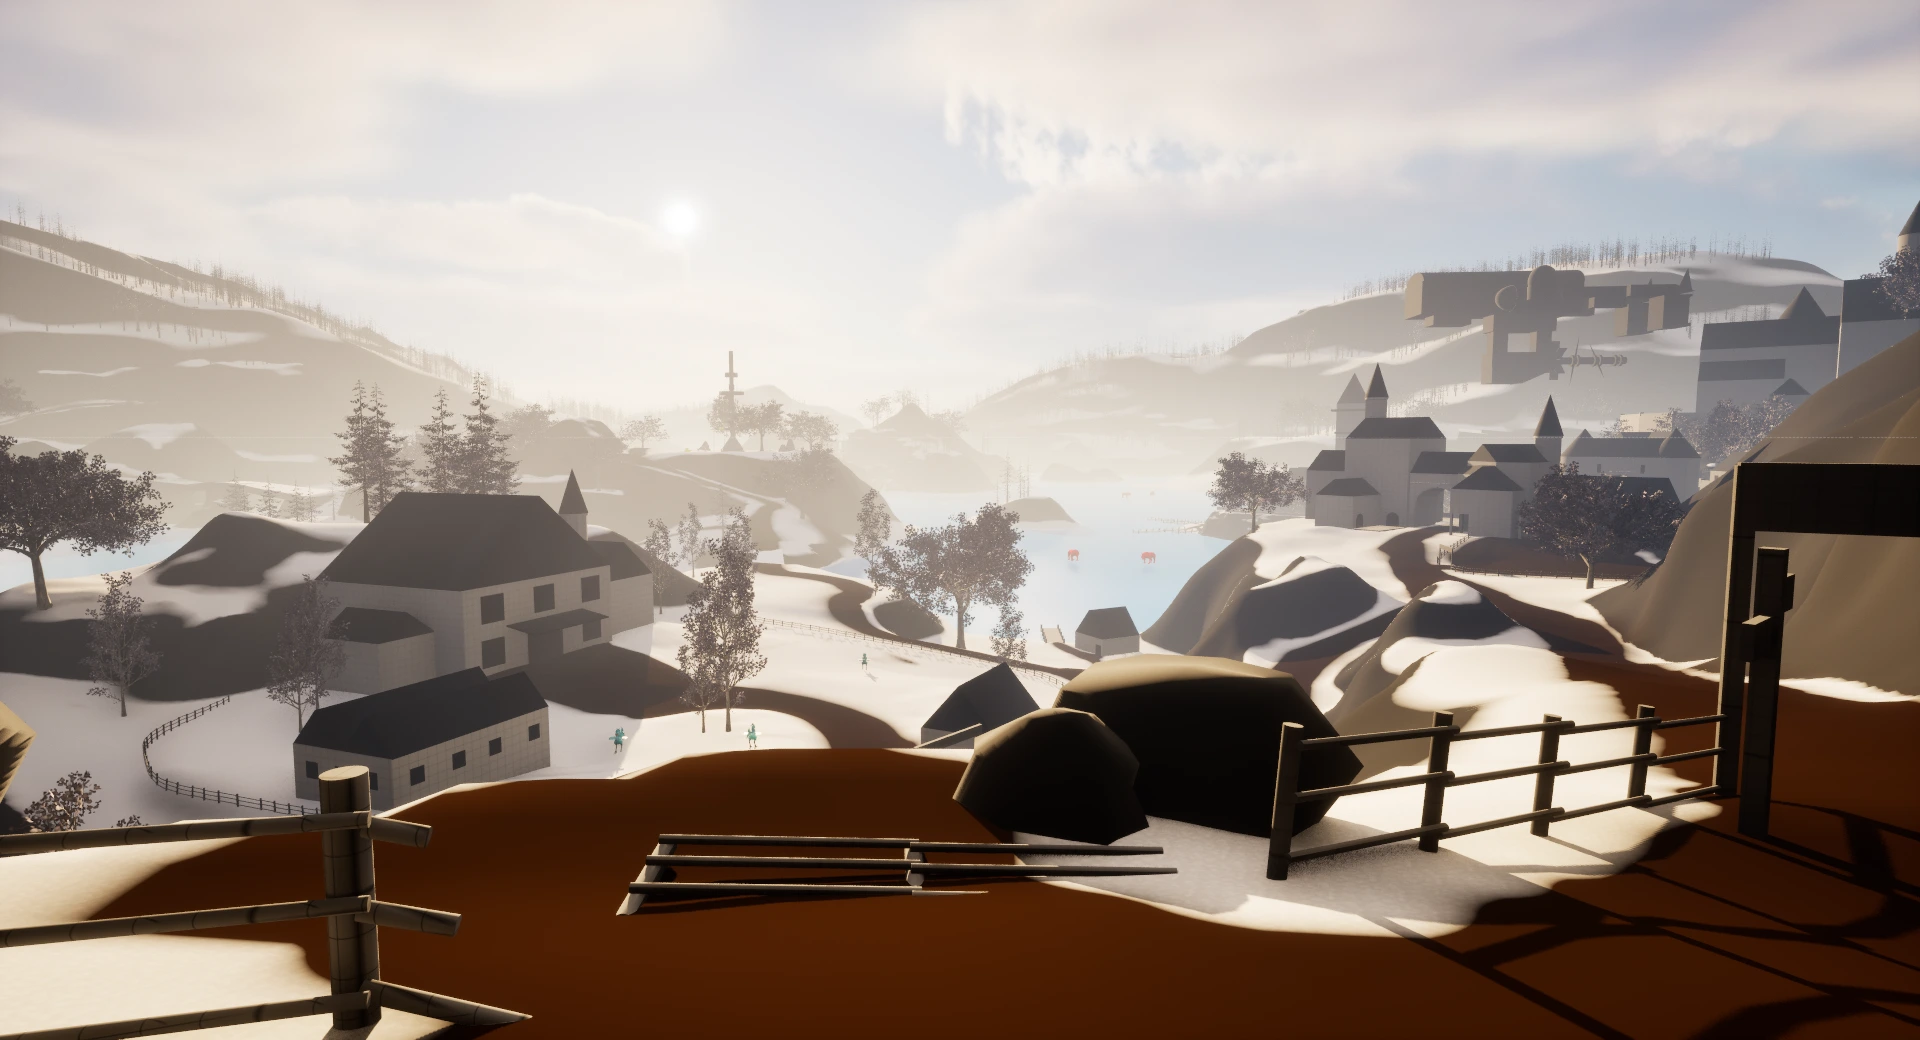
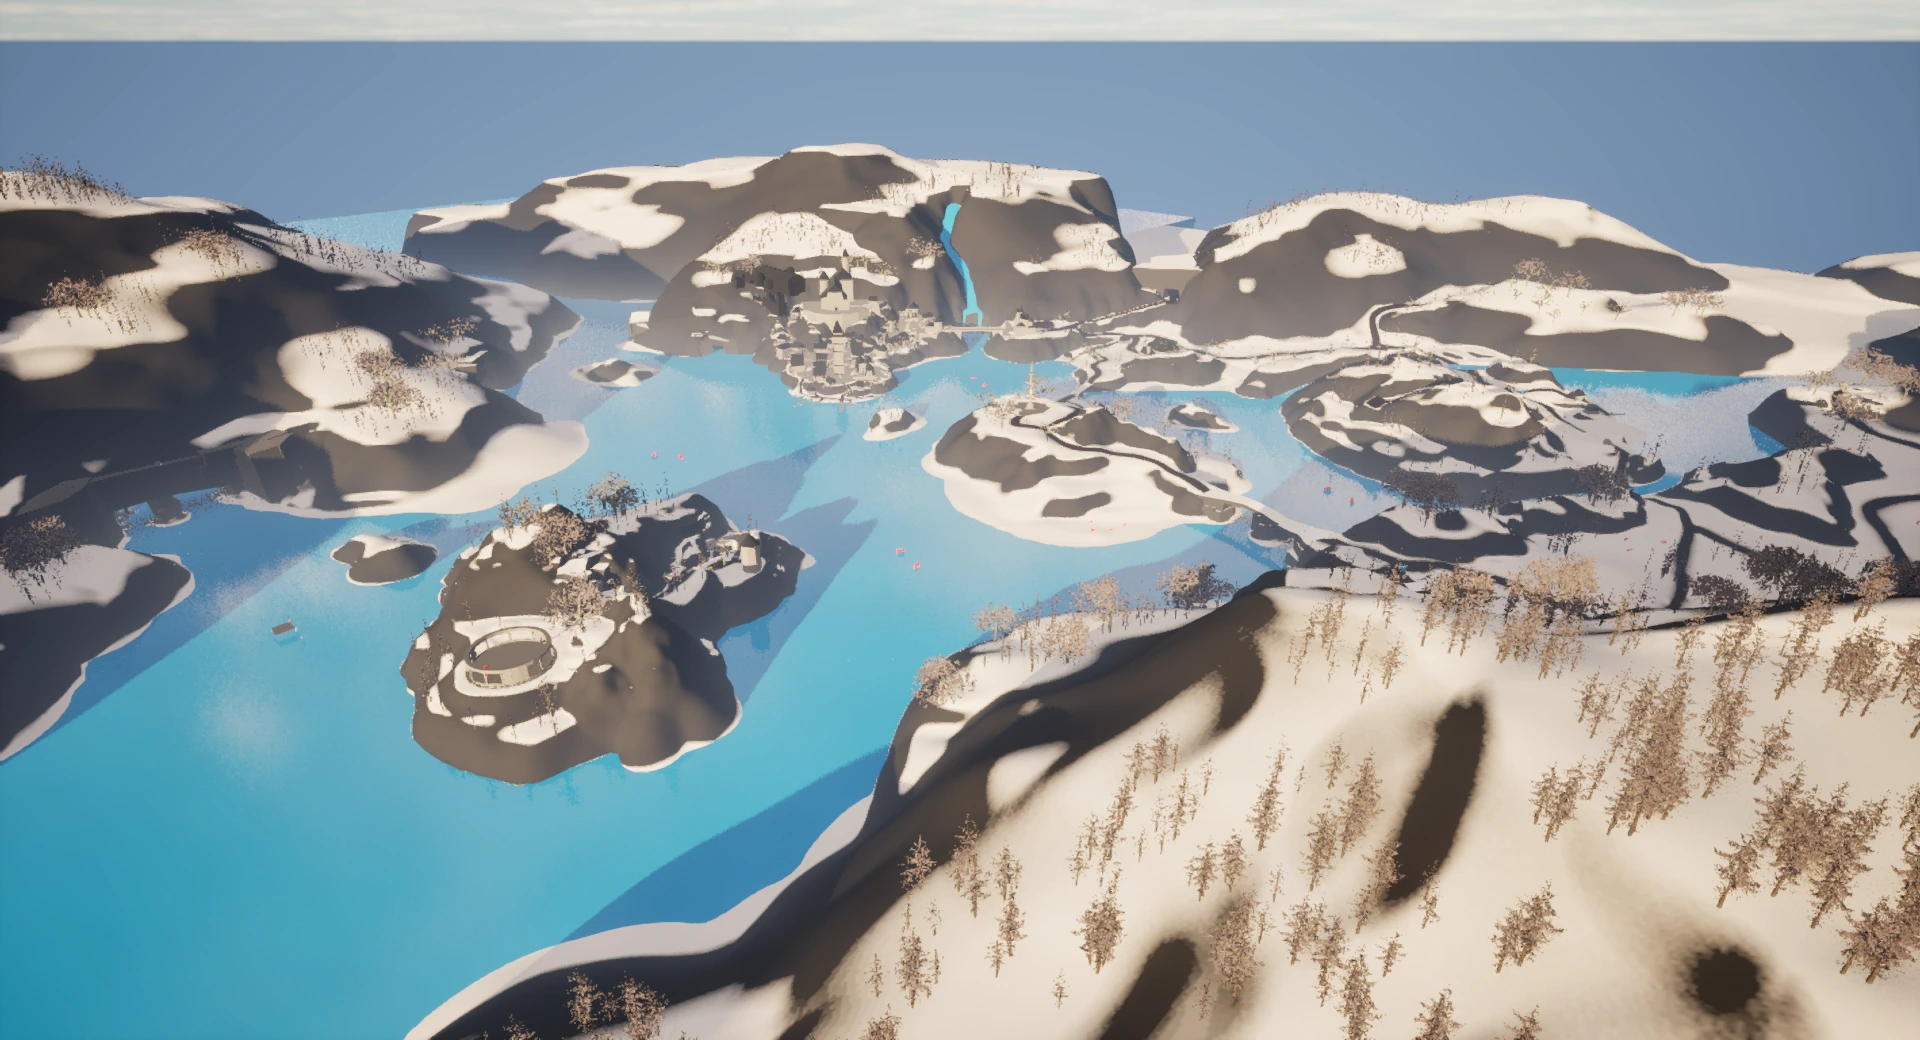
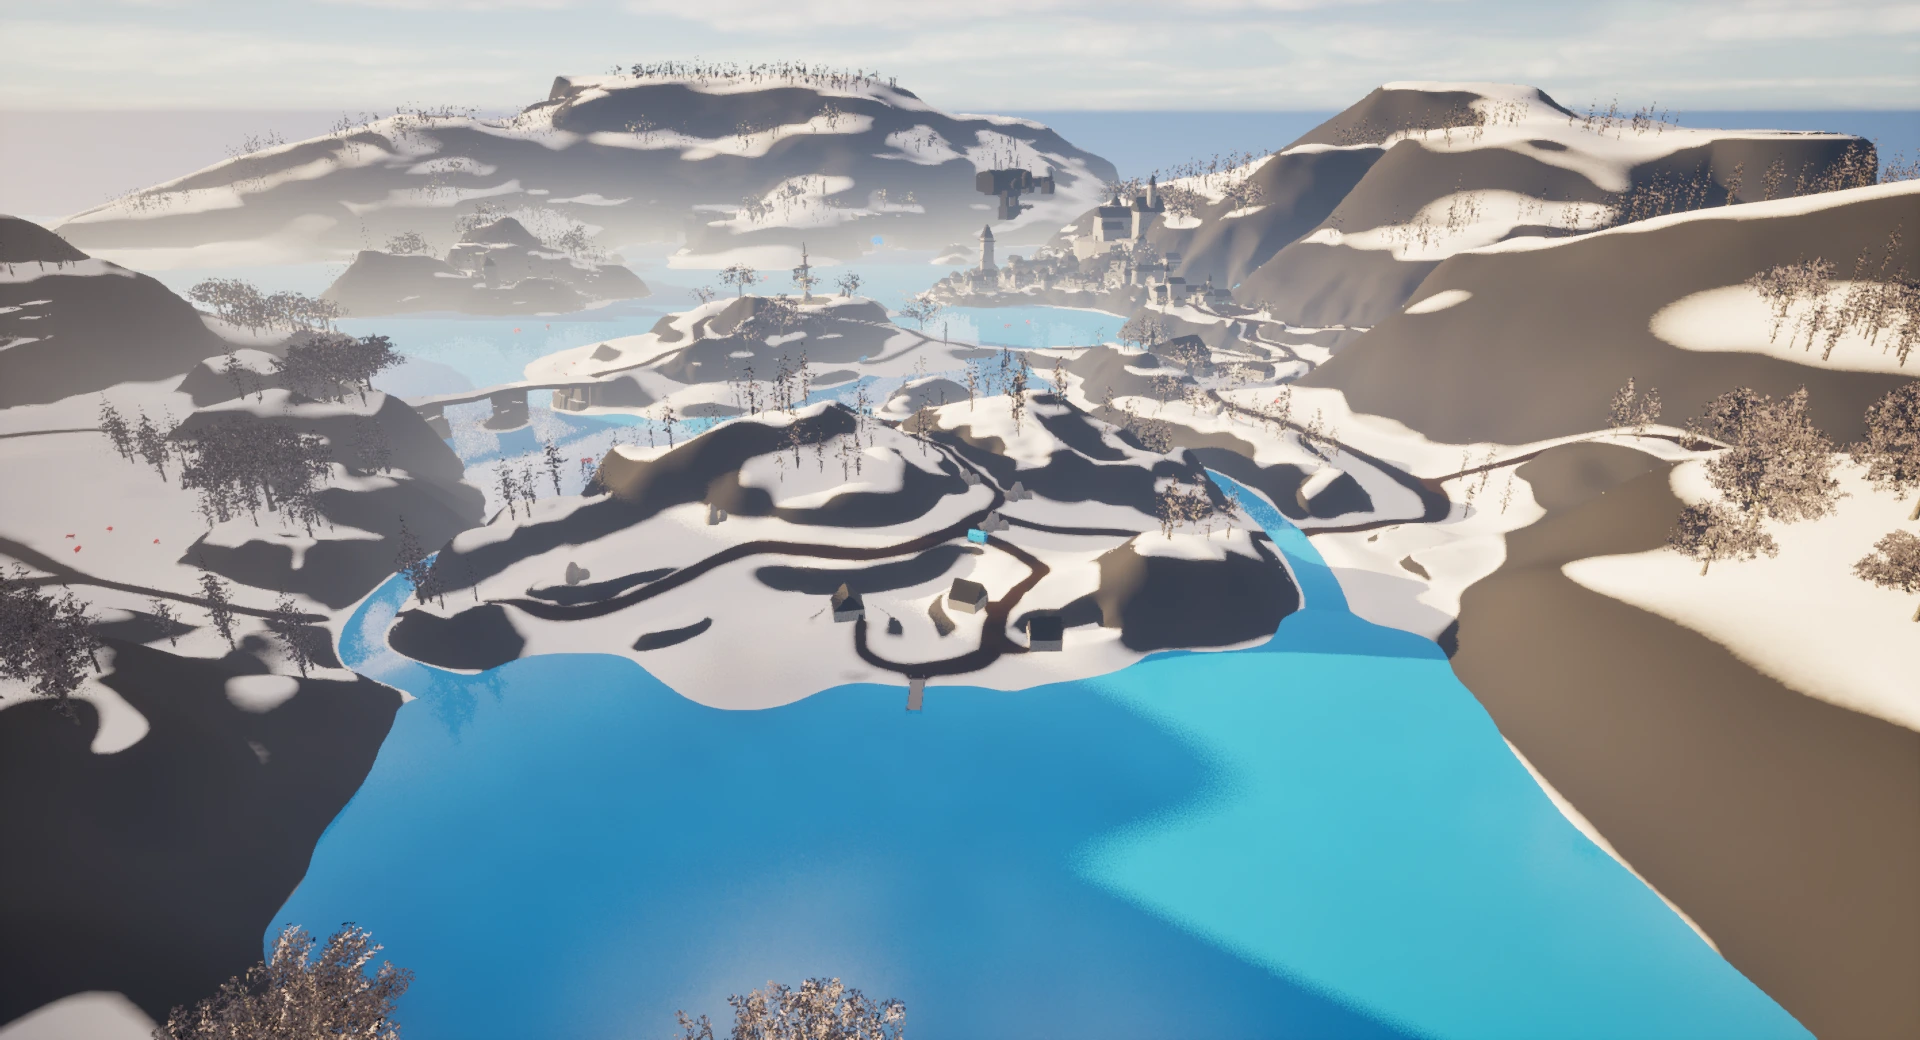
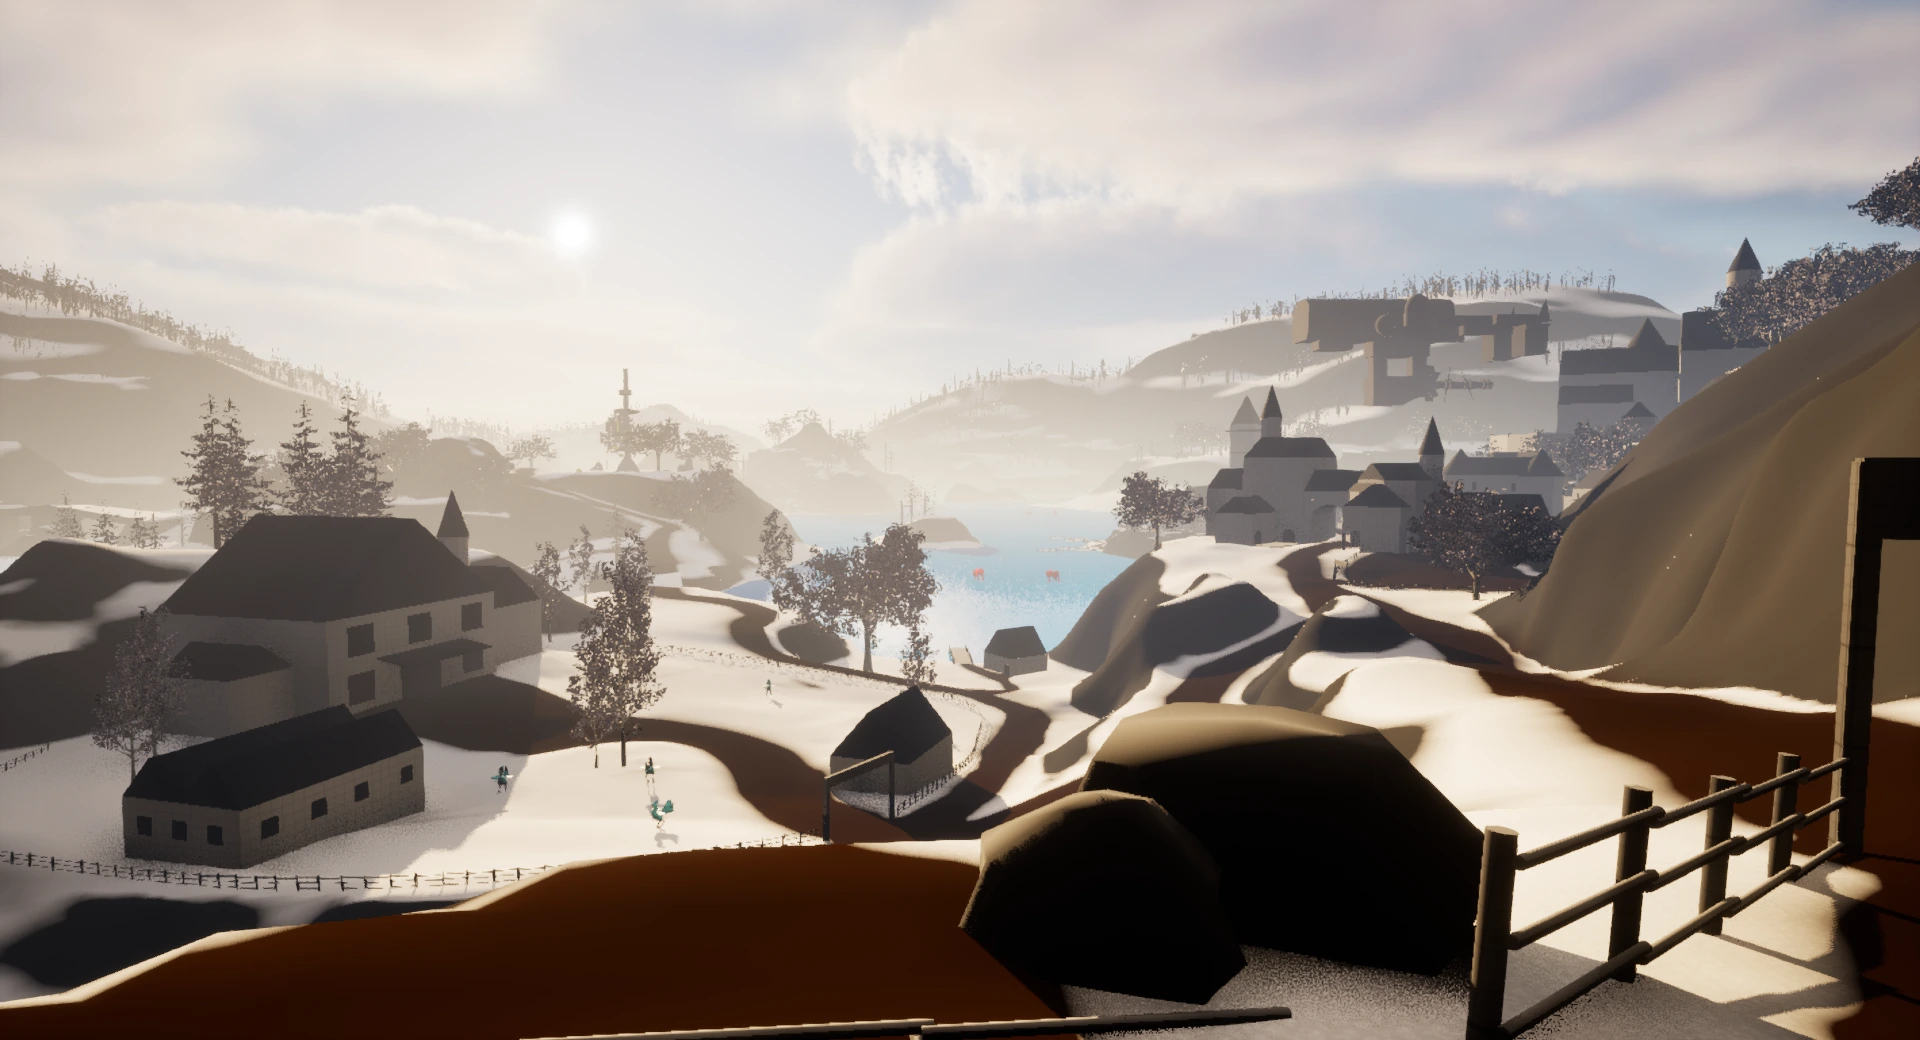
After playing Final Fantasy VII Rebirth, I set out to create an open-world-inspired segment in Unreal Engine 5.
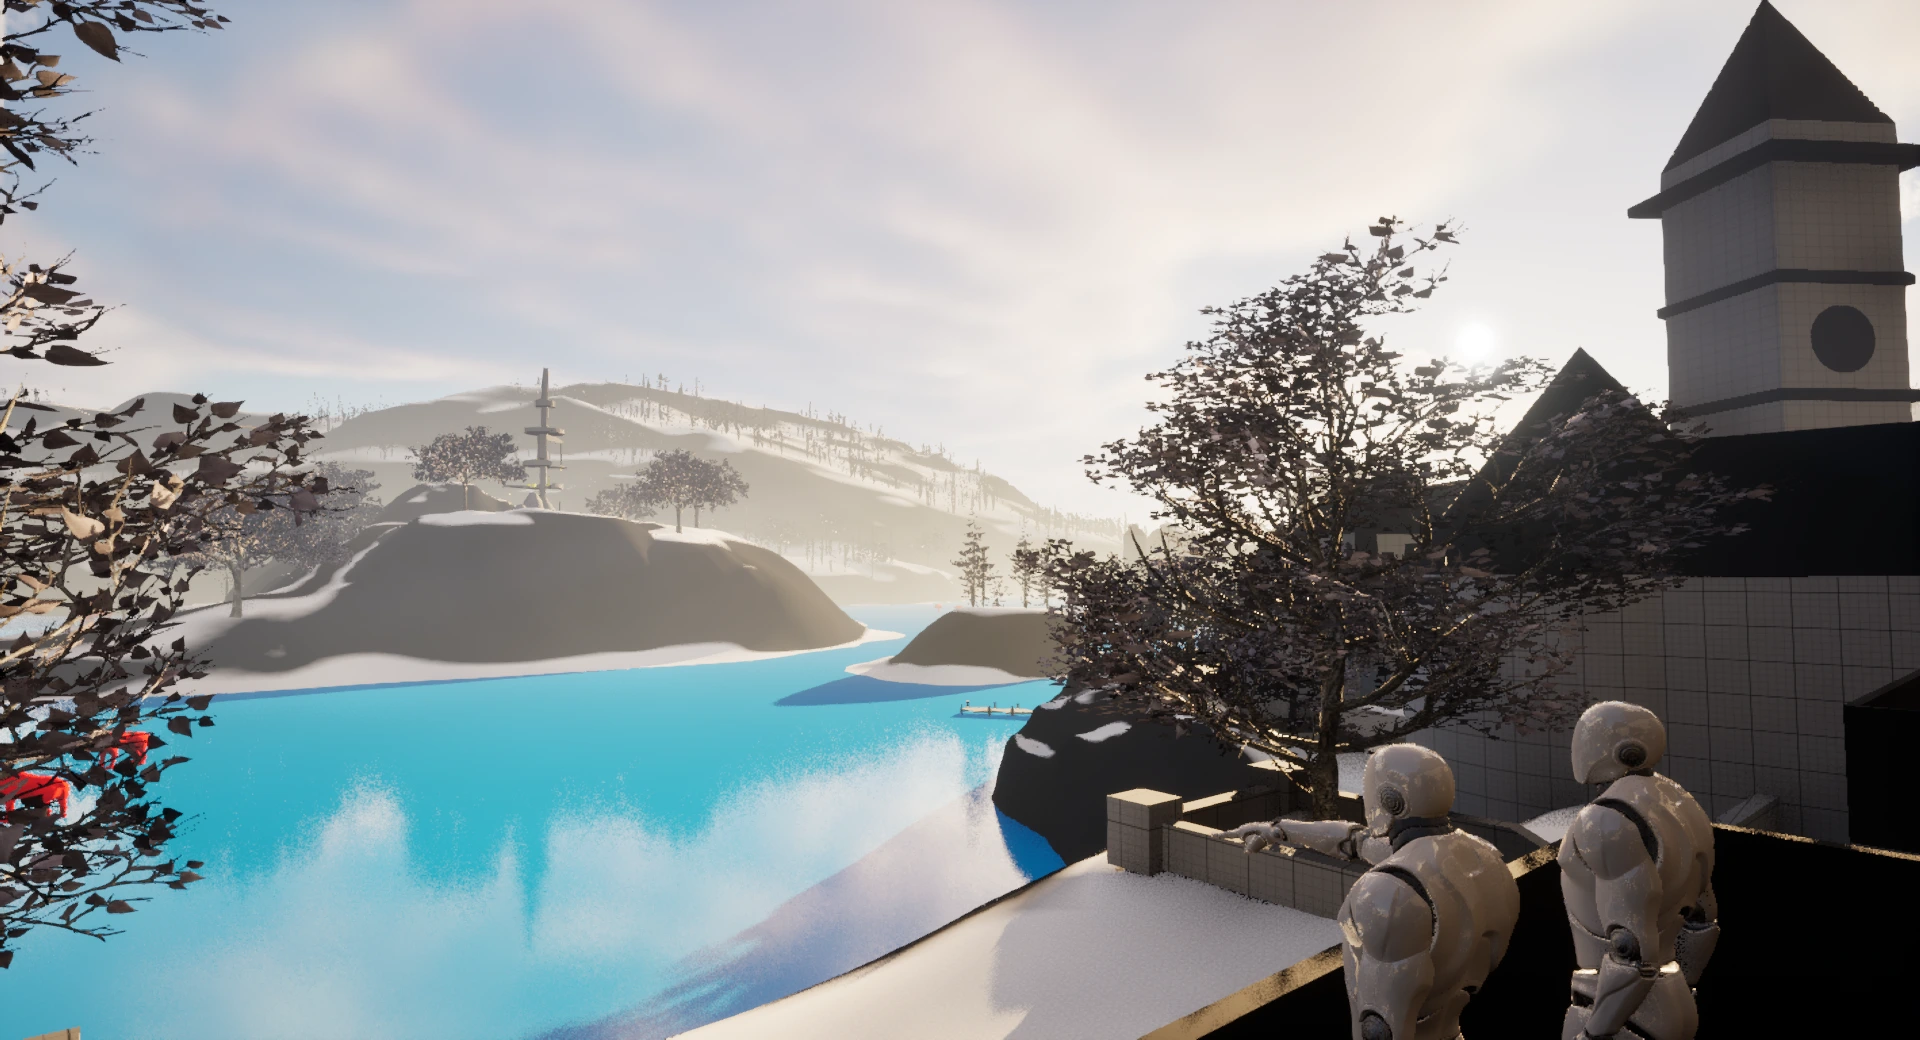
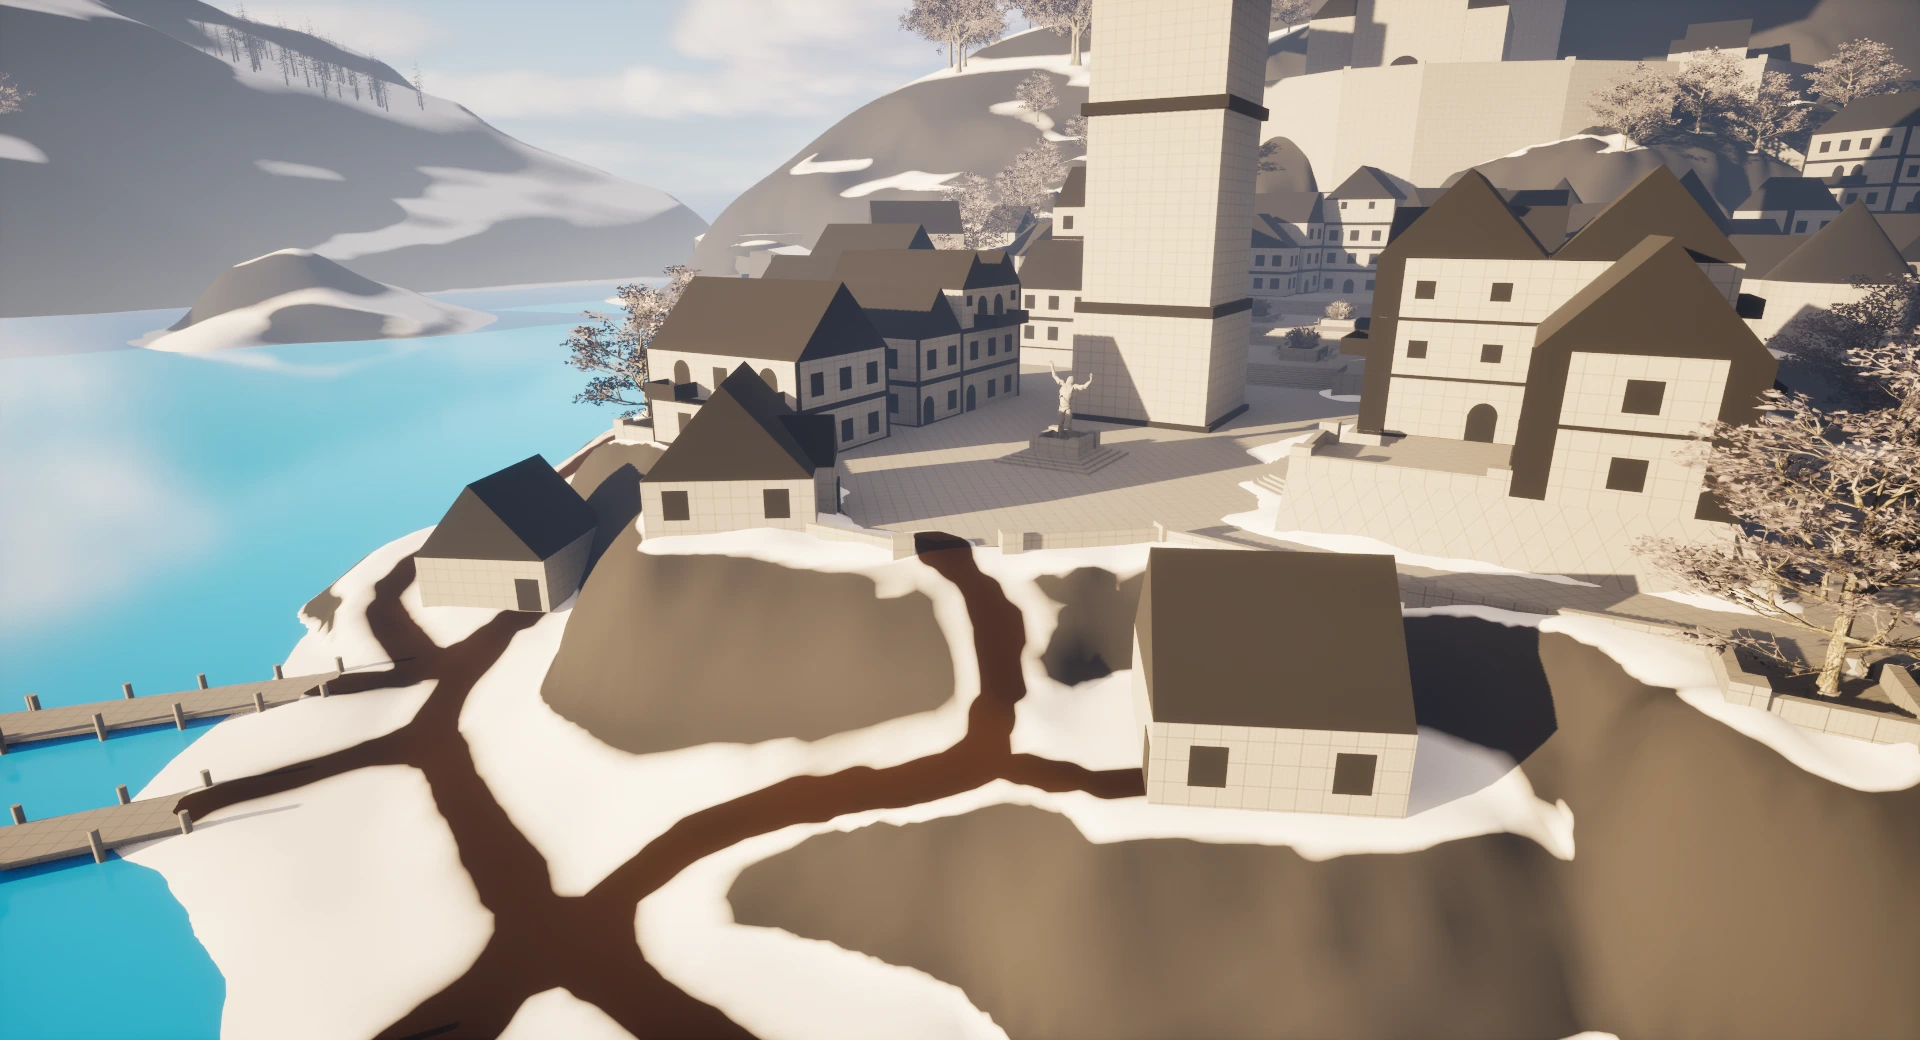
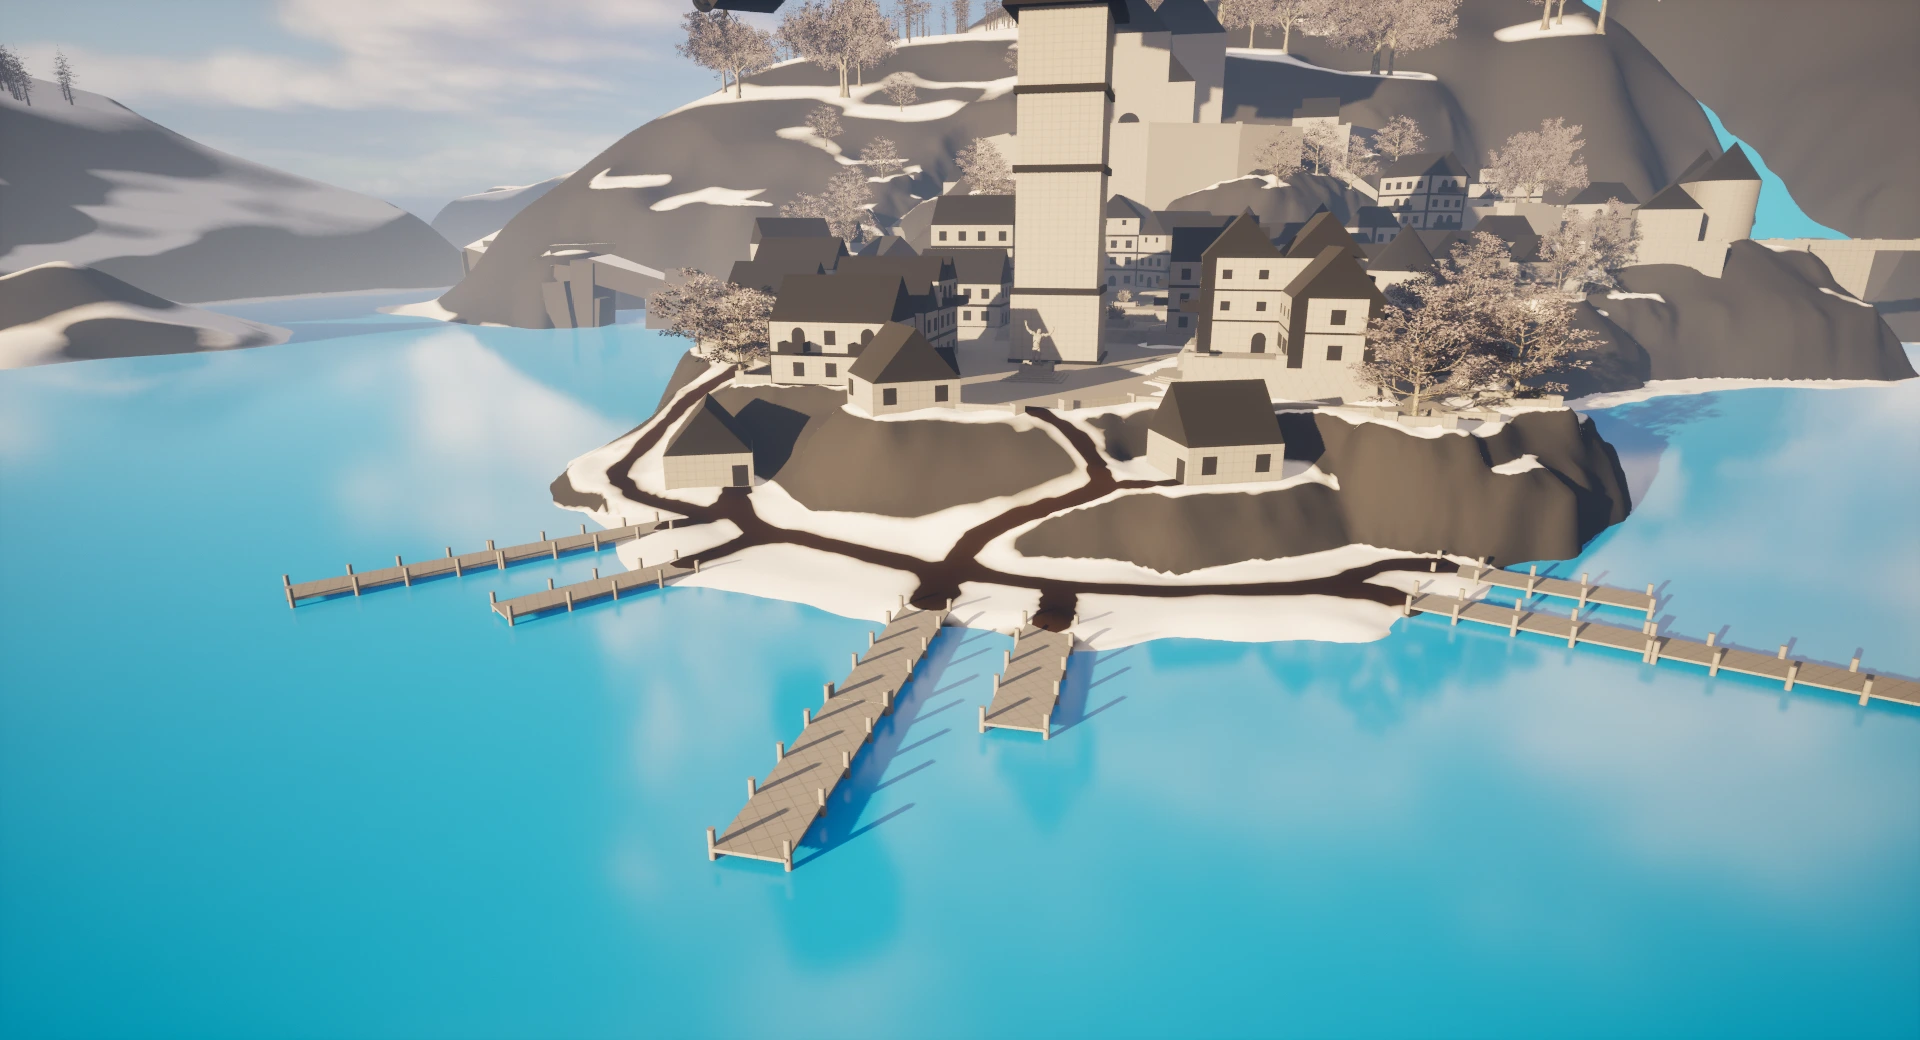
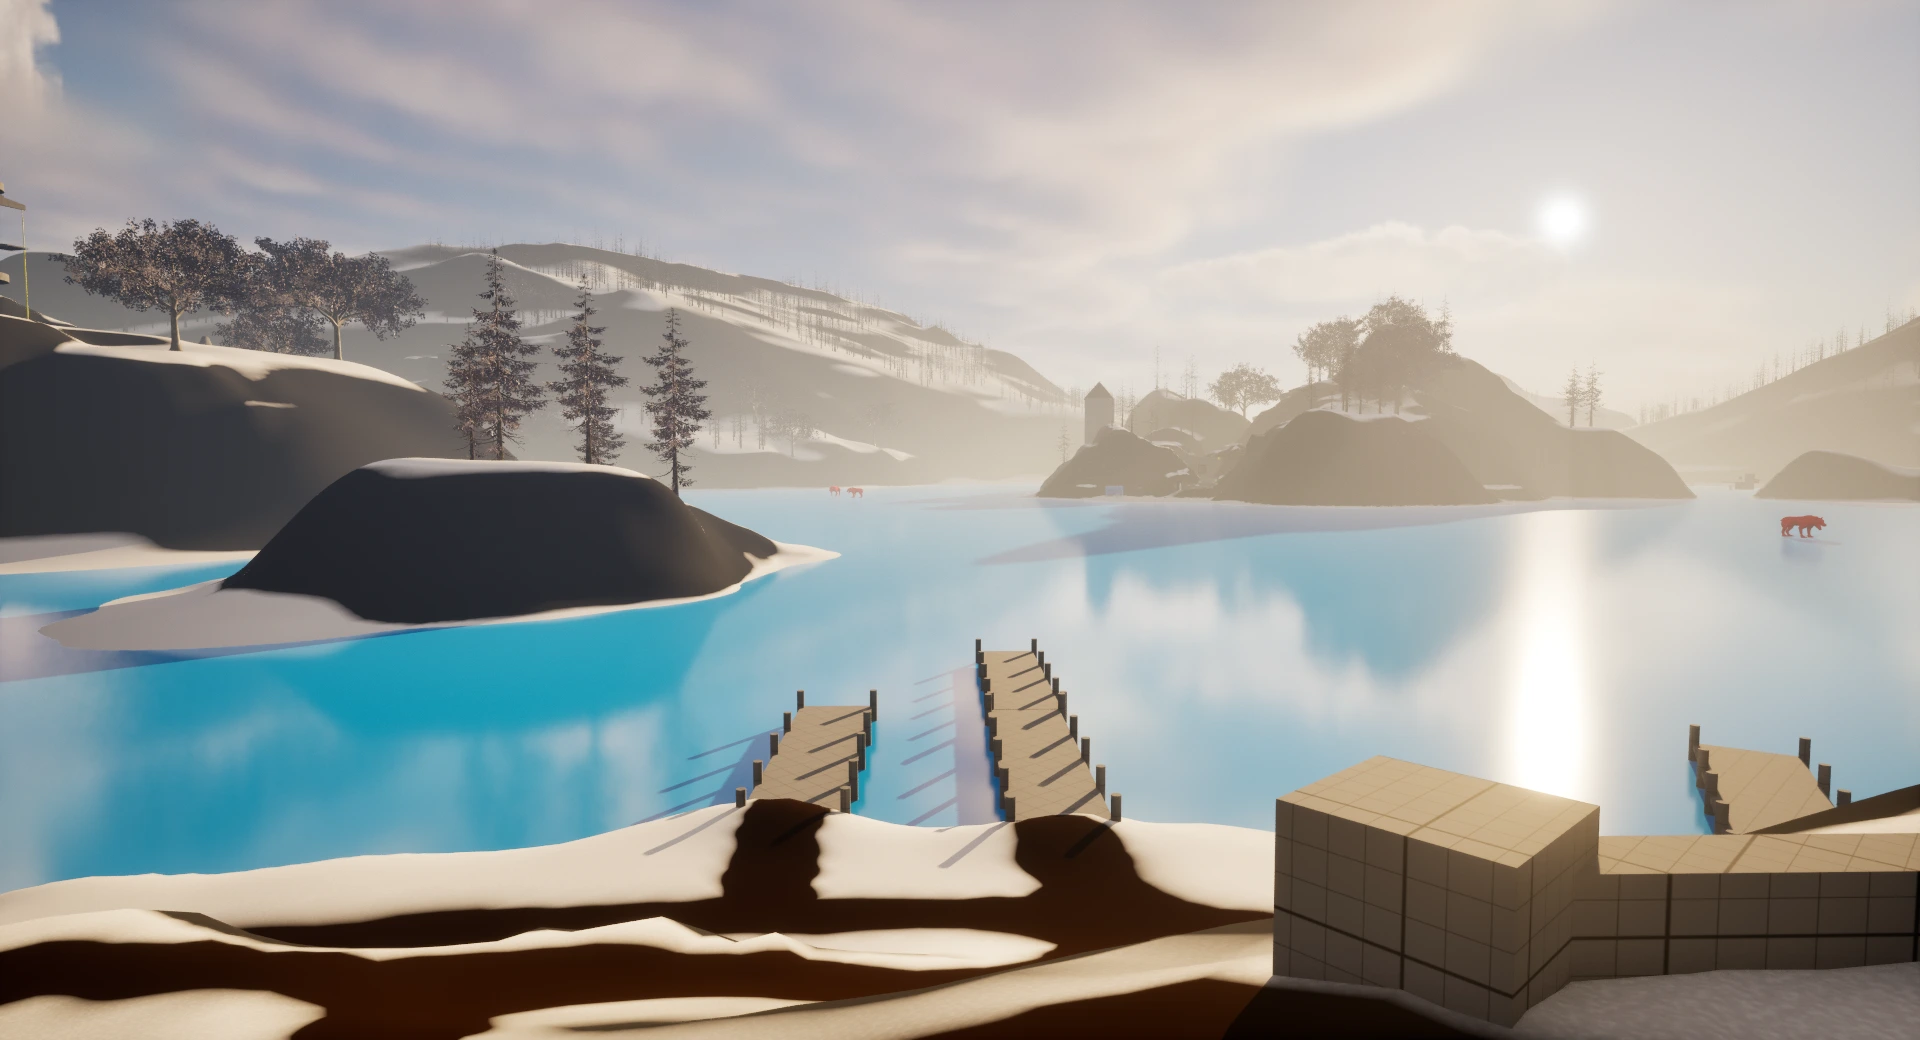
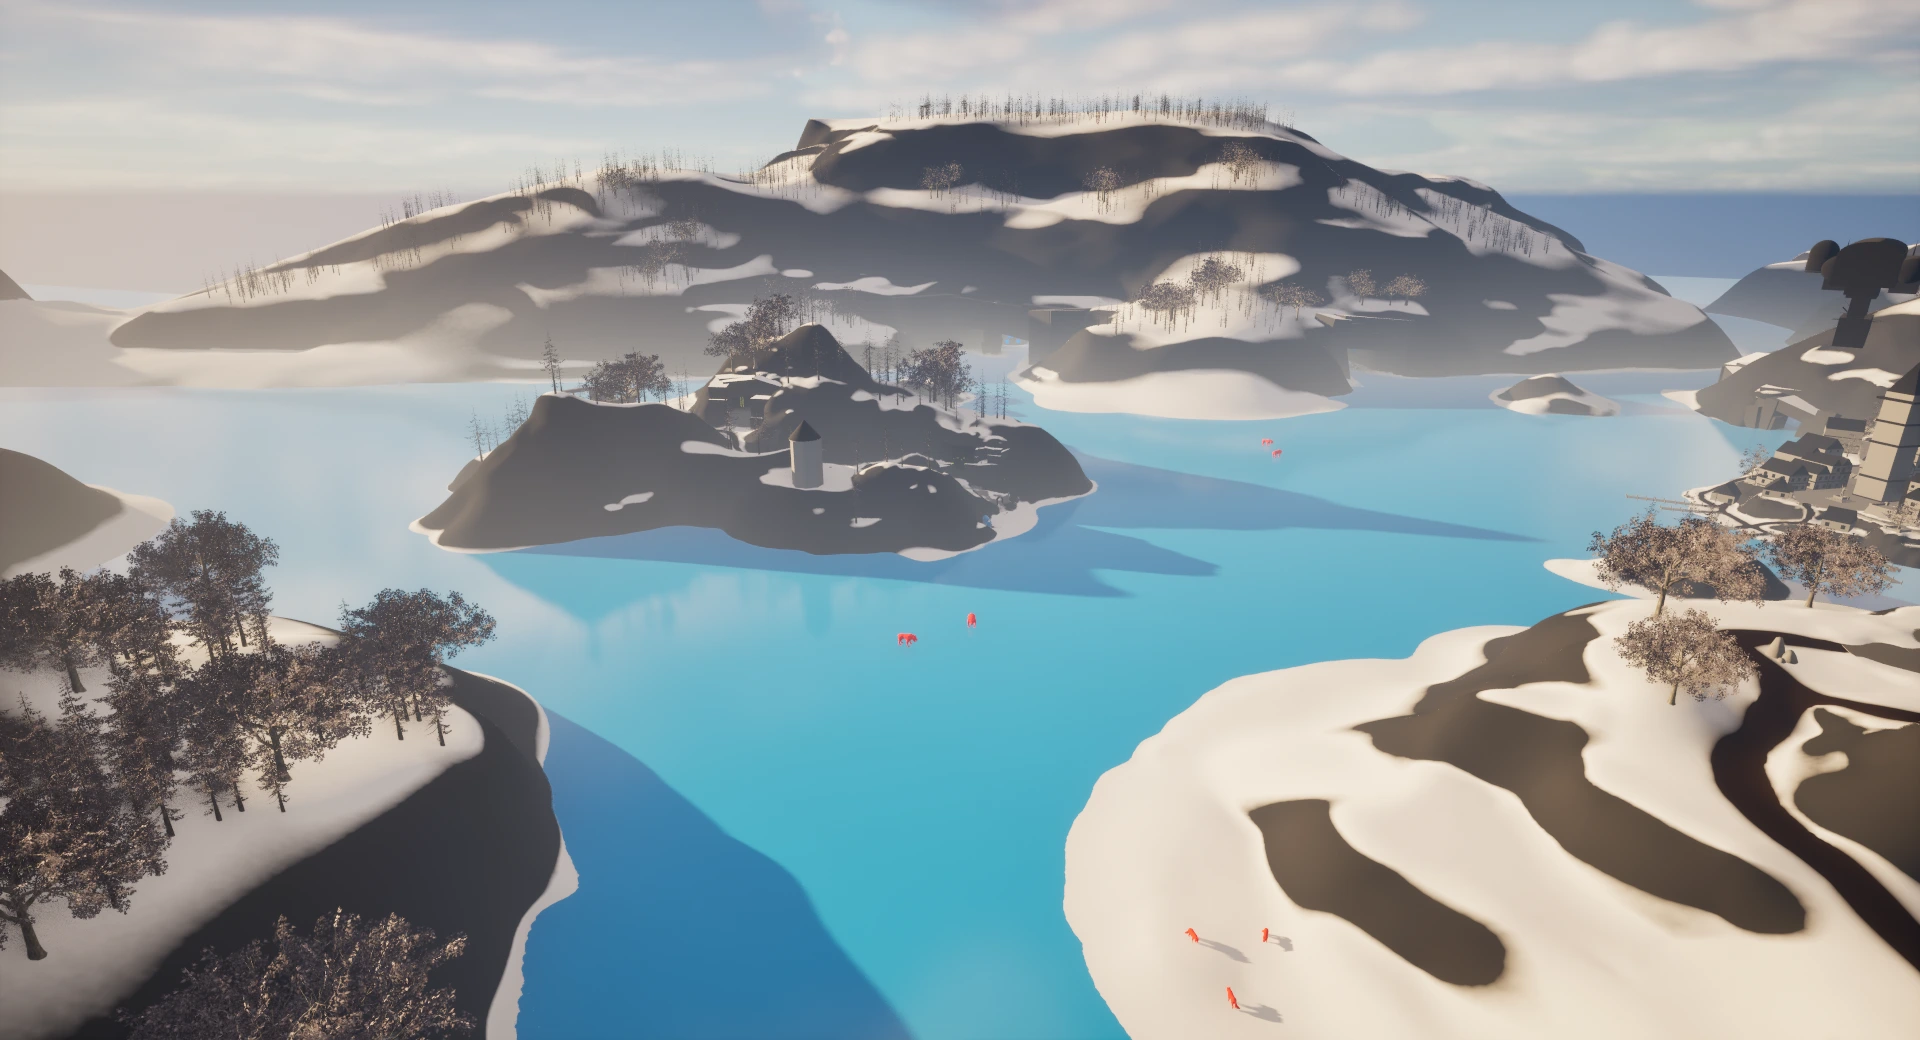
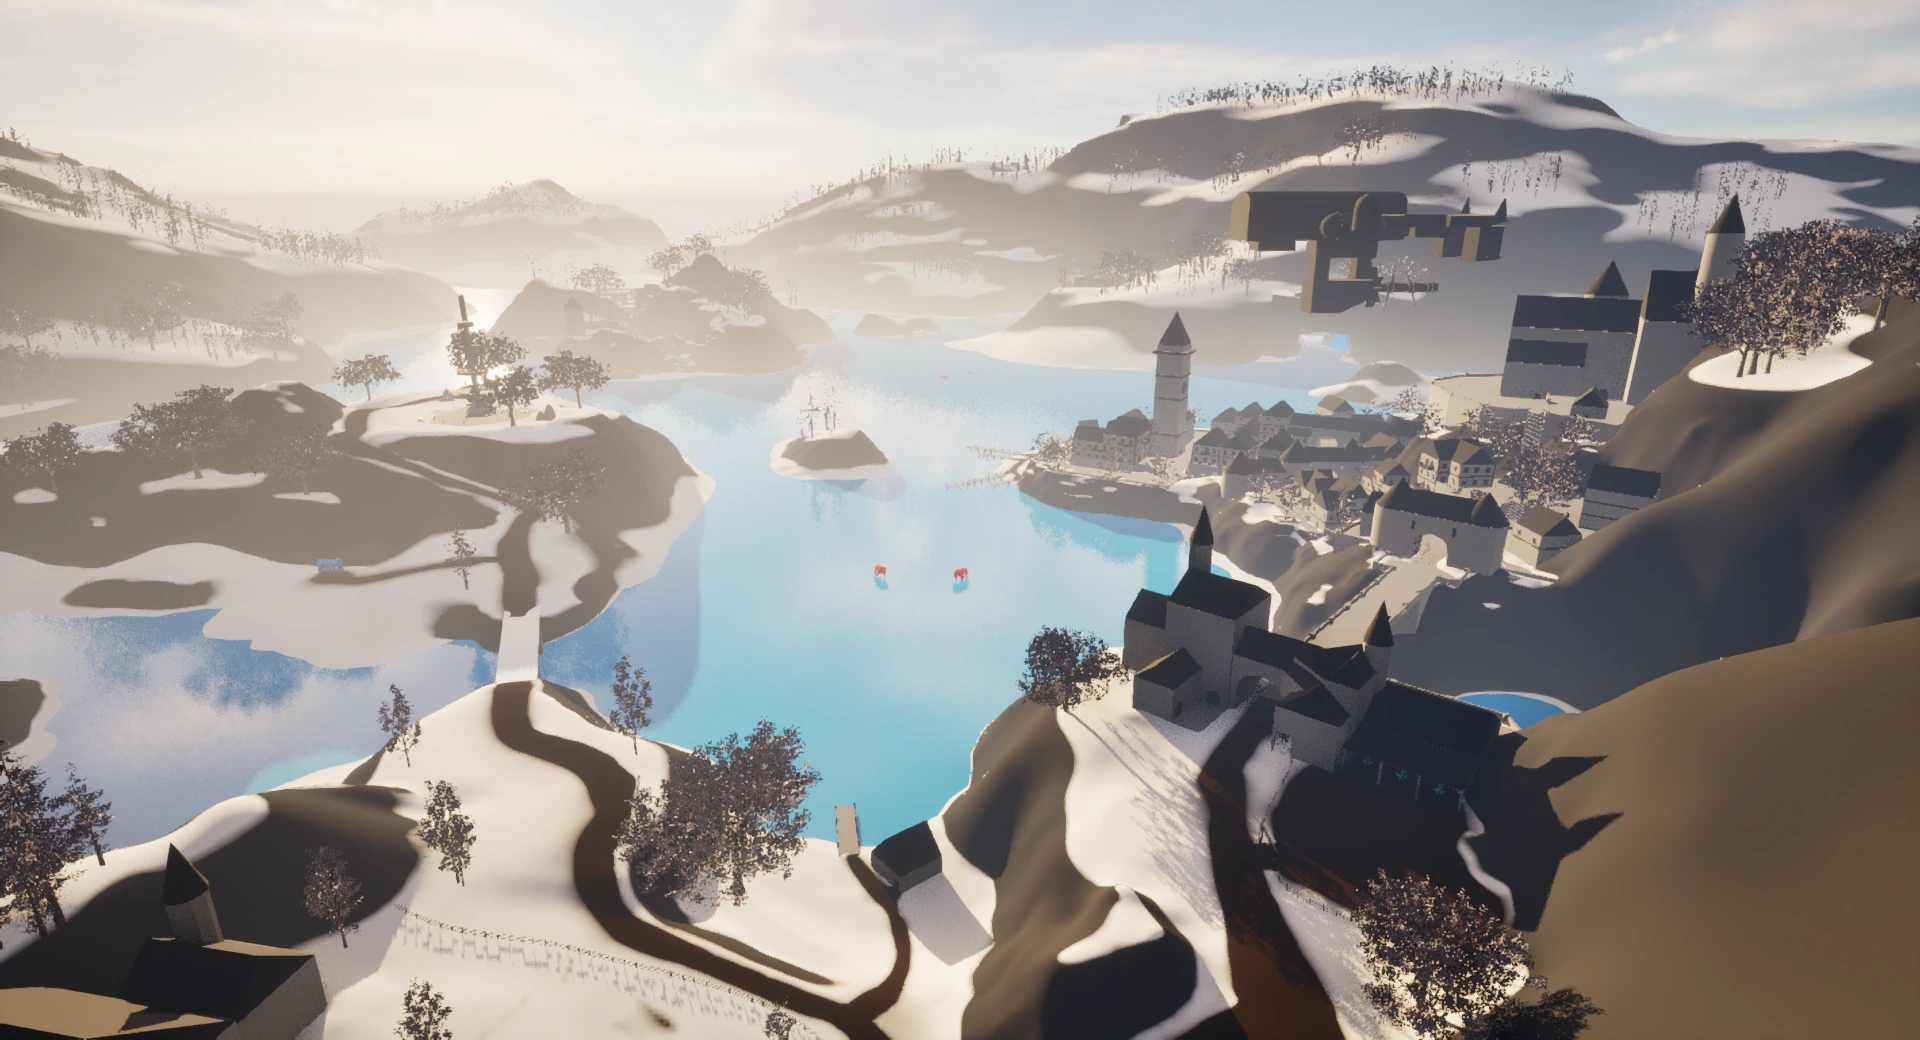
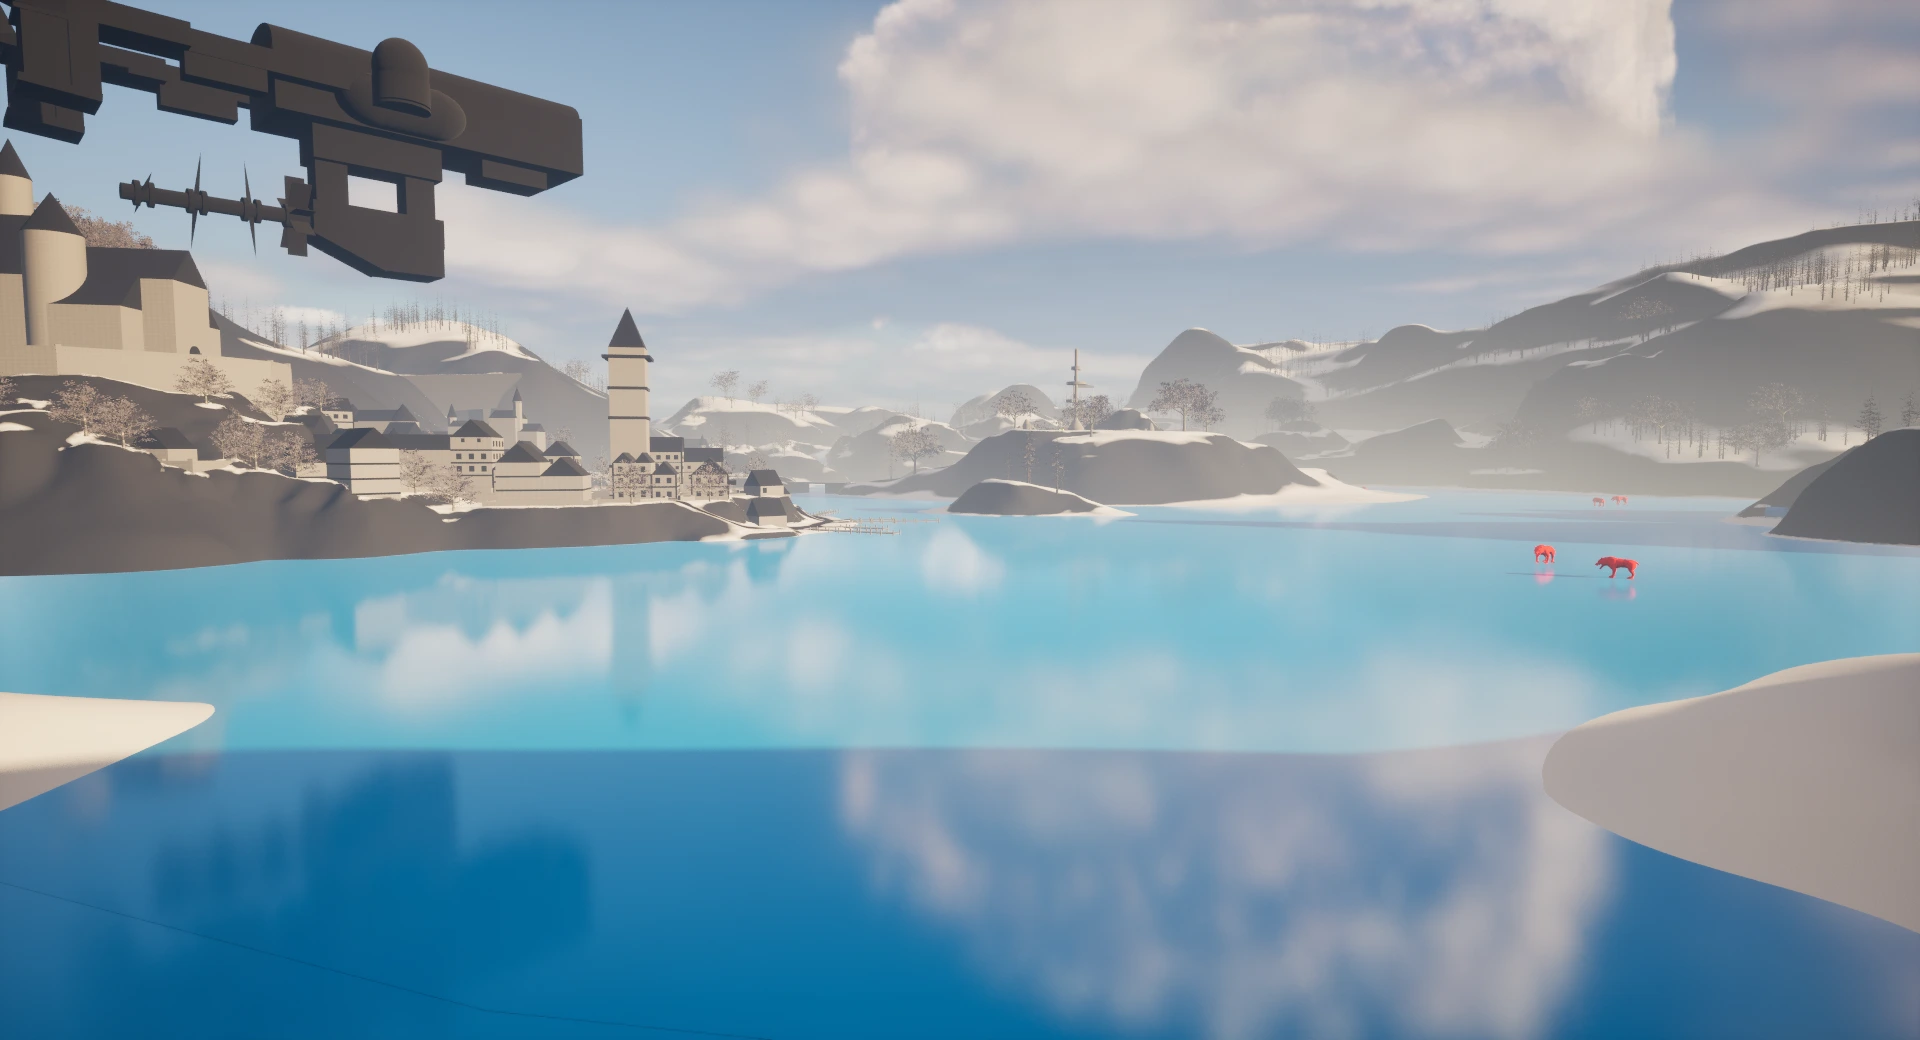
This project is set in a frozen fjord, where the lake’s icy surface becomes a key traversal feature. Taking inspiration from how each region in Rebirth introduces a unique Chocobo ability, this design allows the Chocobo to “ice skate” across the frozen lake, moving significantly faster and enabling rapid access to various points of interest scattered throughout the fjord and its surrounding islands.
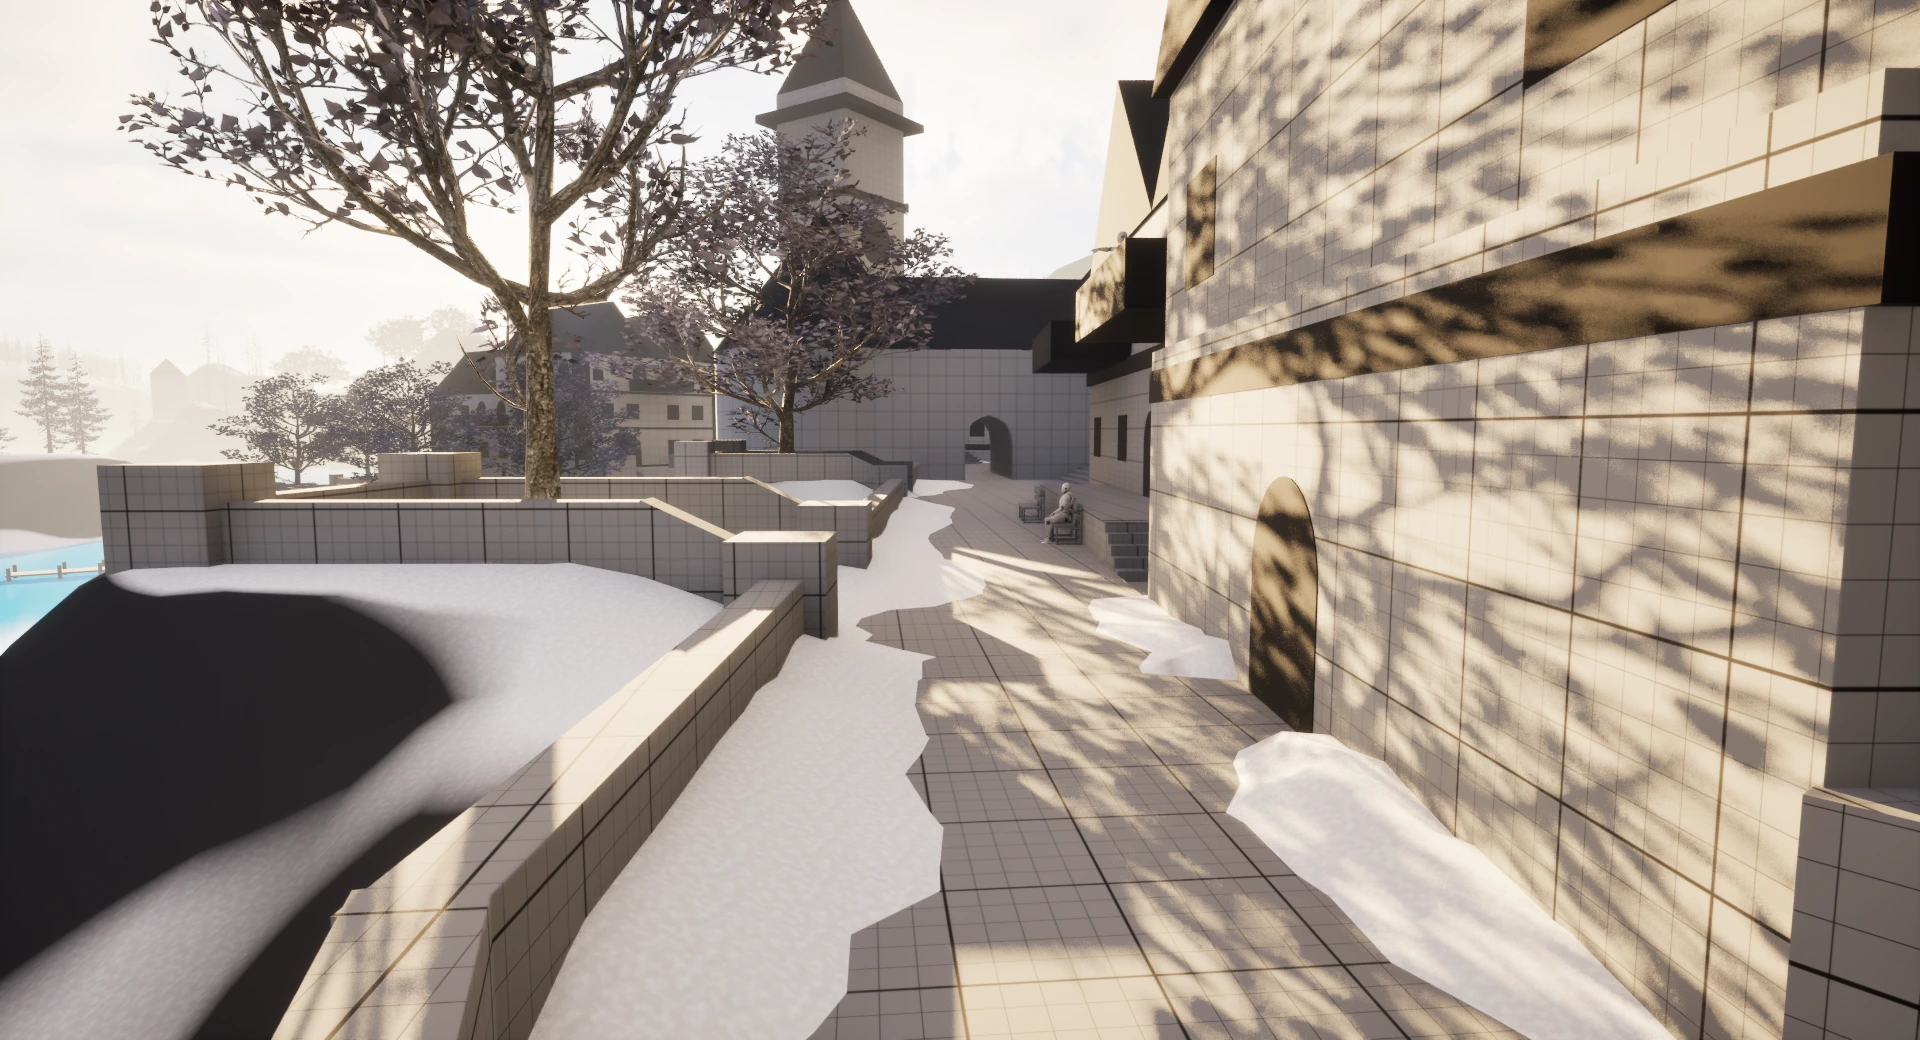
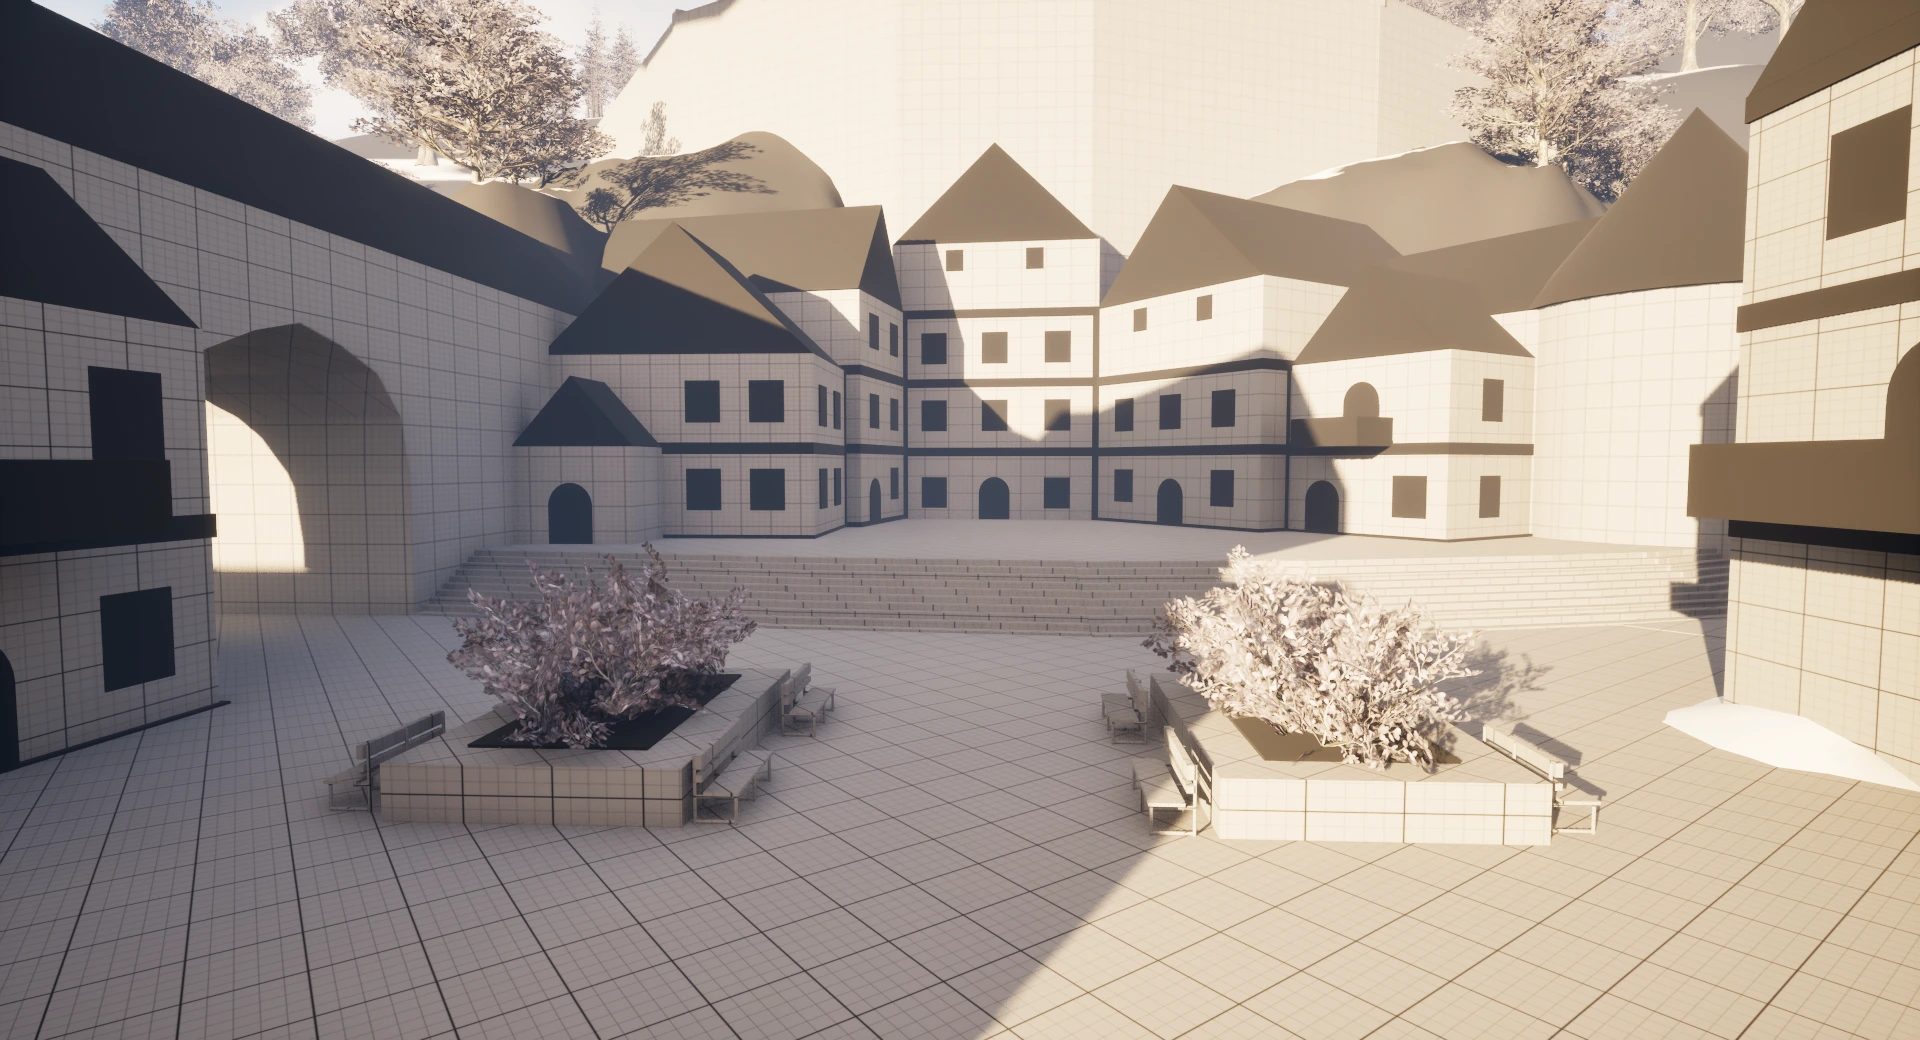
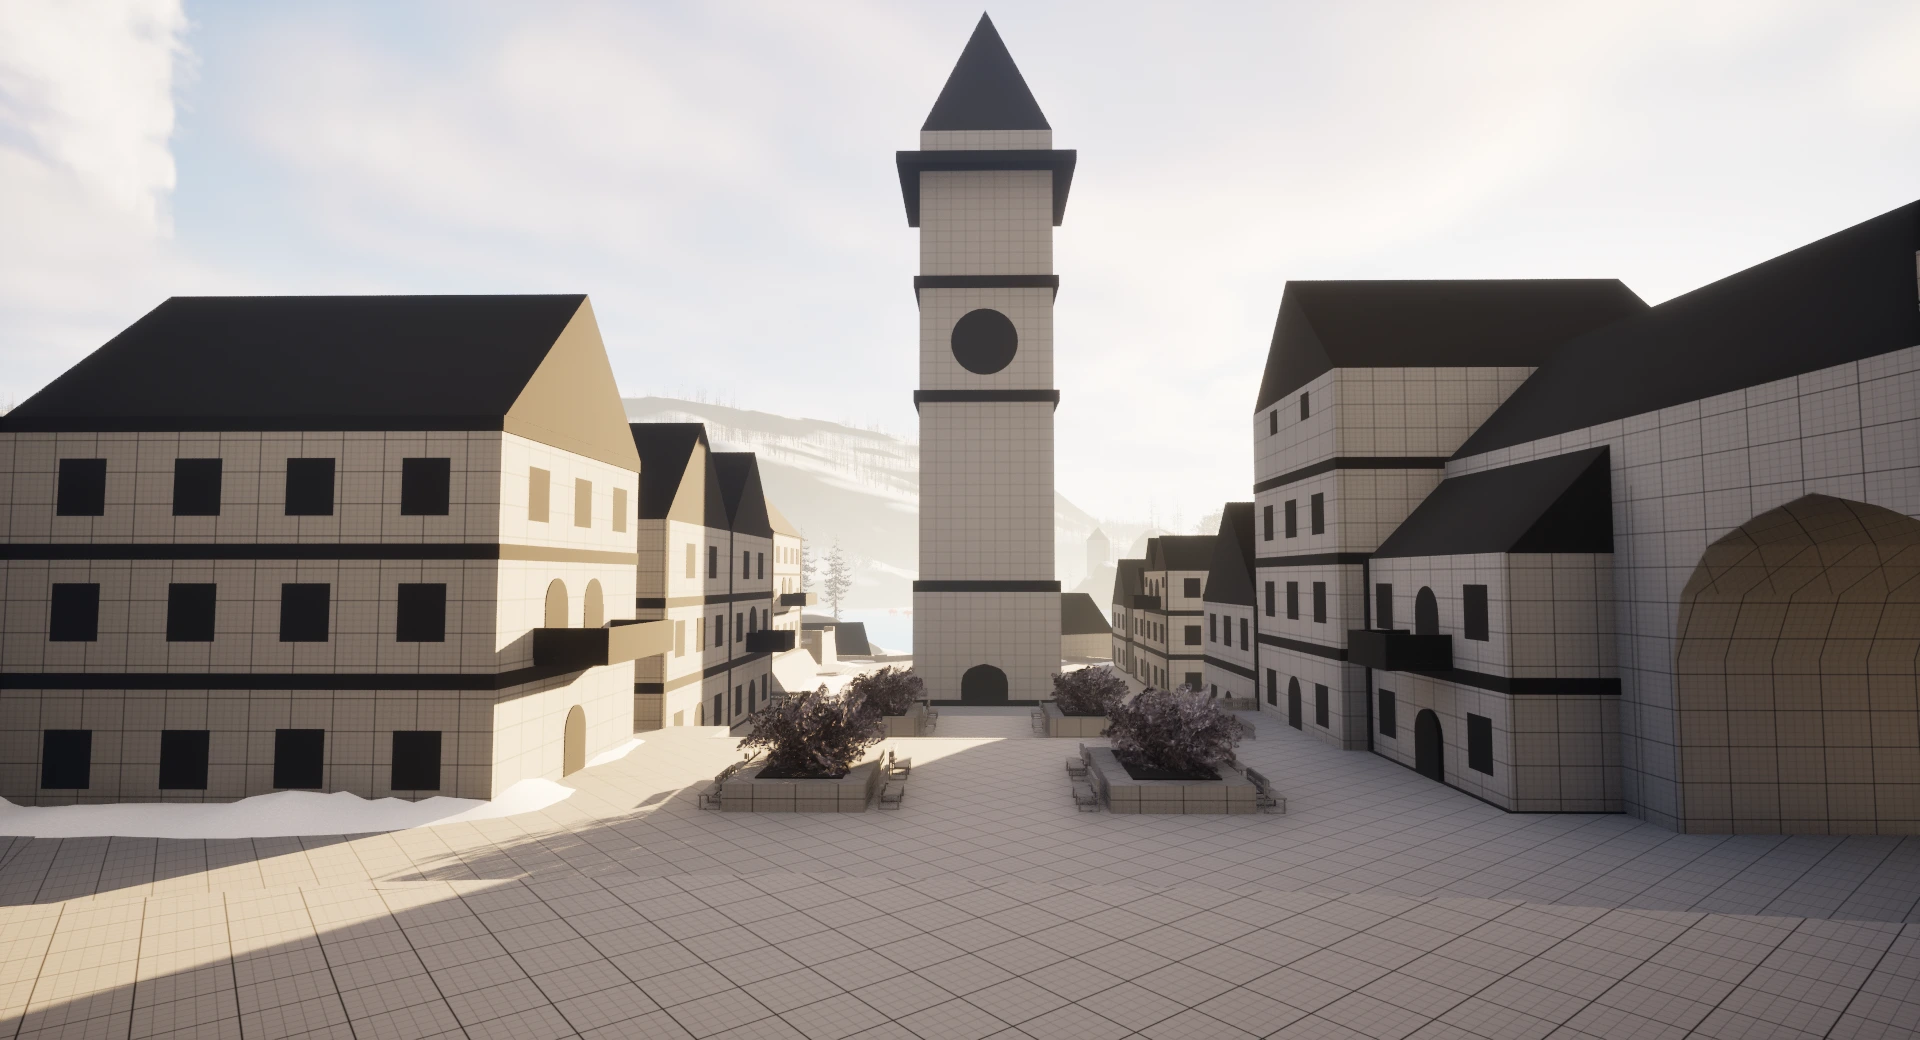
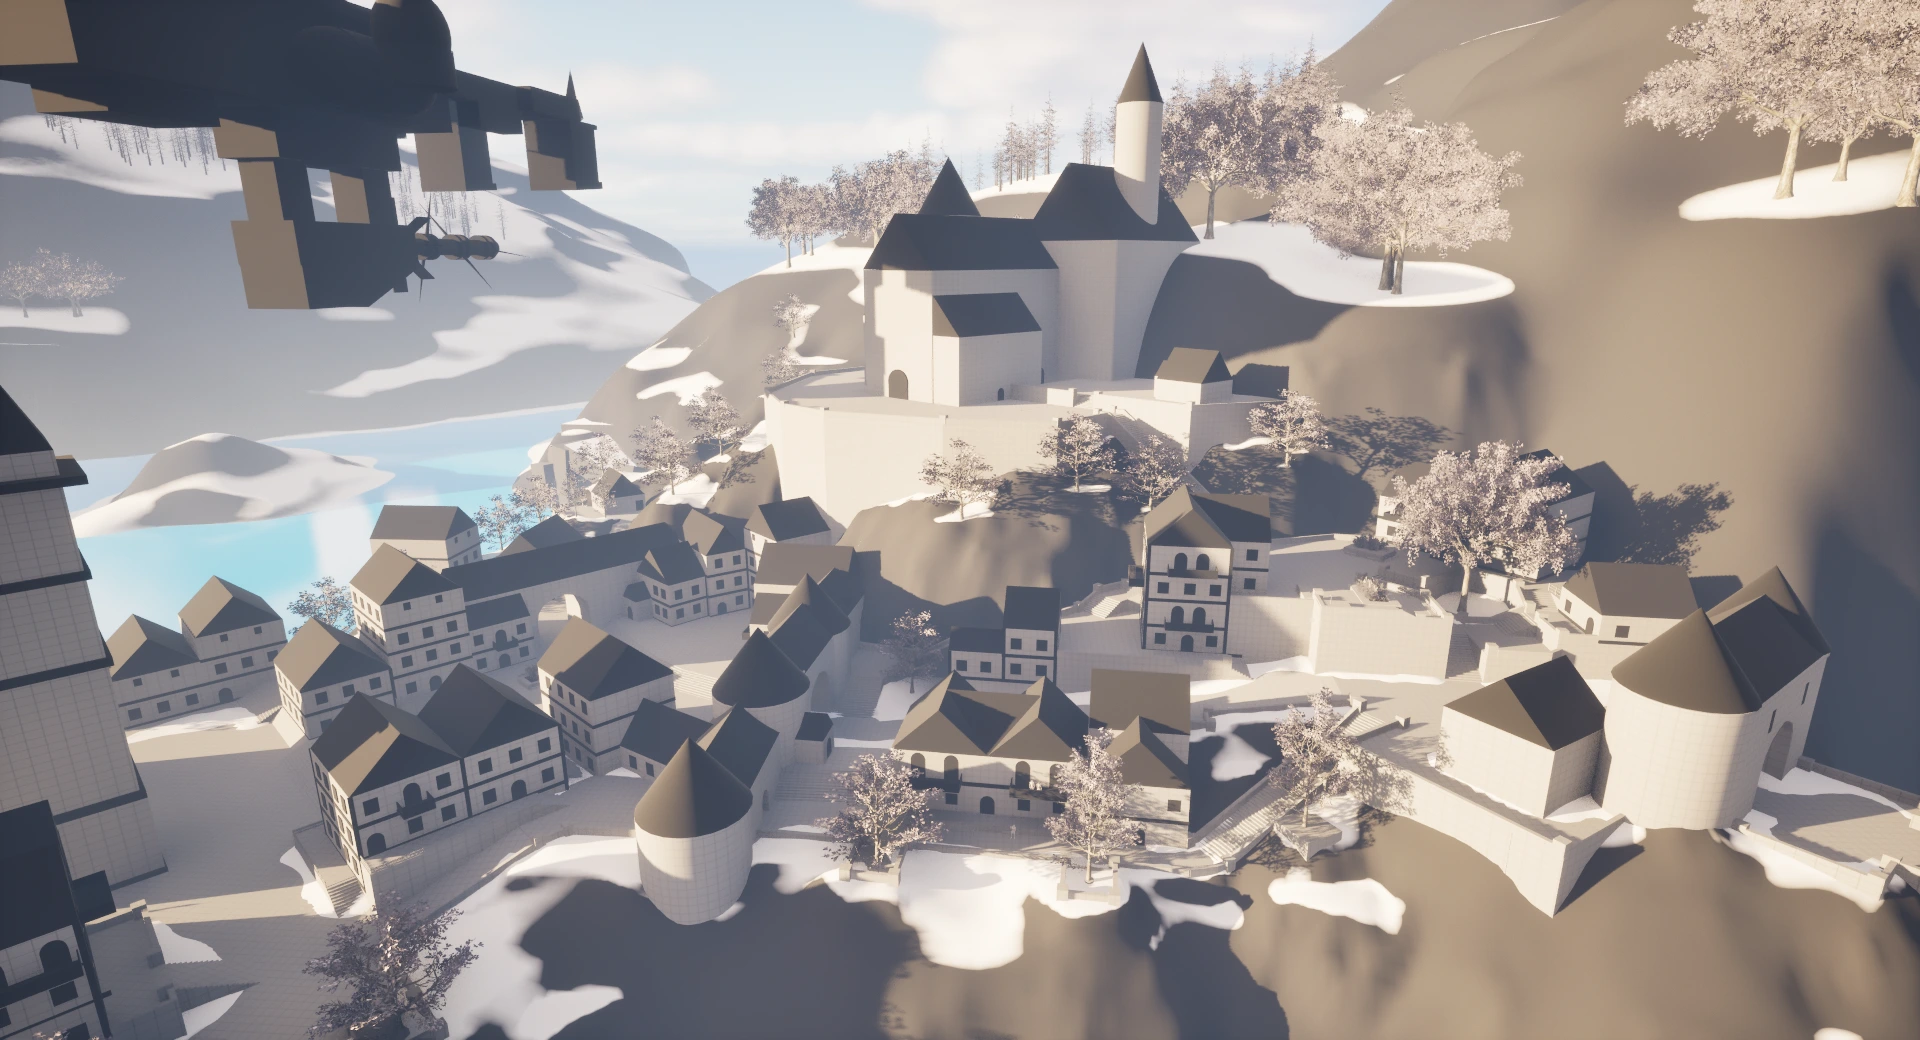
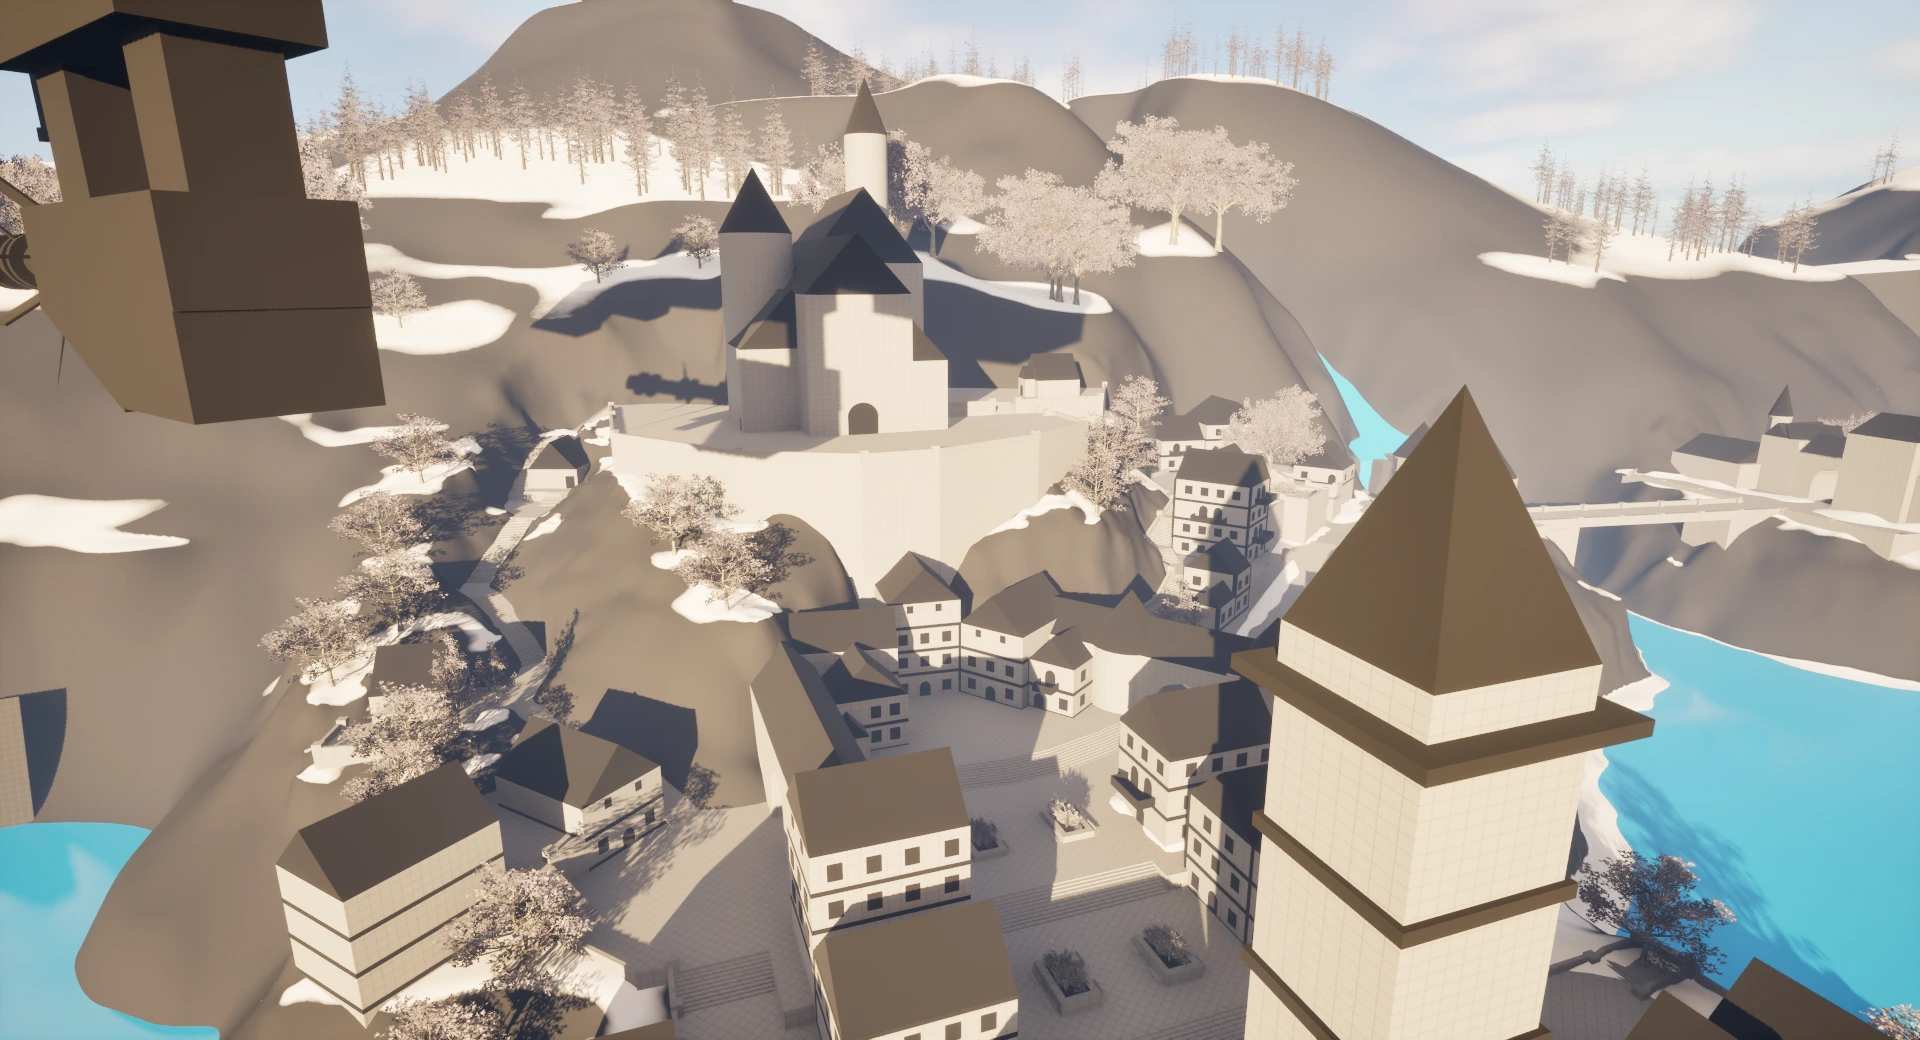
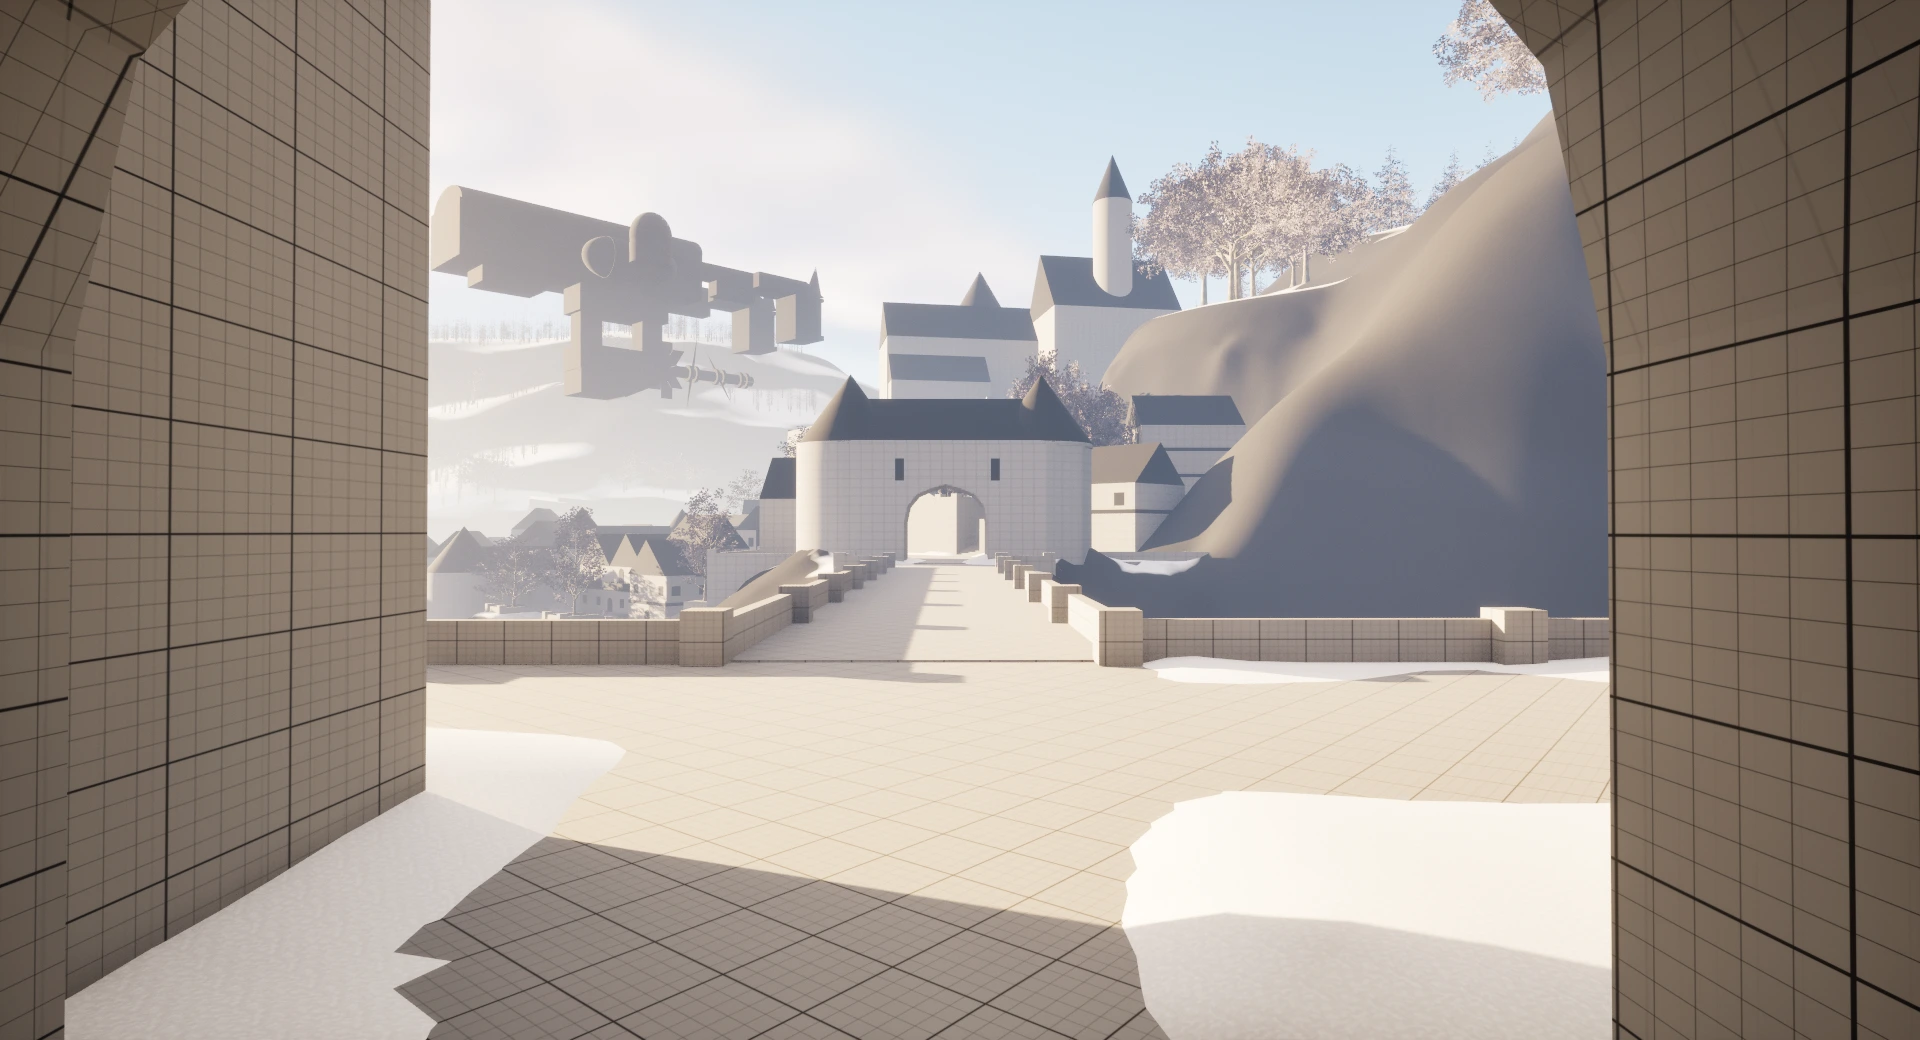
The segment also includes a small town, consistent with Rebirth’s open-world structure, where each major area typically features a settlement. Since this project represents just a single world segment, it focuses on one contained environment with its own distinct set of POIs and gameplay mechanics.
Click here if you just want to look at all the images of this project.
Goals
Before starting this project, I set a few clear goals for myself:
Create an open-world gameplay loop inspired by Final Fantasy VII Rebirth.
Design a unique Chocobo movement mechanic tied to the open-world theme.
Block out a functional town hub, where players can pick up quests, interact with NPCs, and buy or sell items.
Process
Ideation
Having completed Final Fantasy VII Rebirth, I already understood the variety of open-world themes and the unique Chocobo mechanics tied to each region. Rather than designing an area that could fit into one of the existing zones, I wanted to create something new, both thematically and mechanically.
I noticed there wasn’t yet a dedicated snow or winter-themed open-world region in Rebirth, even though the original Final Fantasy VII included colder environments later in the story. With that in mind, I decided to explore a frozen fjord setting.
My initial idea was a vertical landscape filled with steep slopes that Chocobos could slide down or climb, but since a similar mechanic already exists in Rebirth, I shifted focus to the concept of “ice-skating Chocobos.”
In this design, the player traverses a large frozen lake network, moving rapidly across ice to reach POIs scattered across small islands and icy riverways. The increased speed of the skating mechanic naturally influences the scale and pacing of the environment.
To break up sightlines and add exploration depth, I planned caves and frozen tunnels connecting sections of the map, creating natural transitions and opportunities for environmental storytelling. Although this project represents a single world segment, I wanted to think about how it could expand as part of a larger game world.
Research
I’ve identified research as an area I wanted to improve upon in my personal projects, so I made sure to dedicate extra time here before moving into production.
Metrics
Having completed the game beforehand helped me understand the general open-world loop, but I still needed concrete data. I researched and recorded:
Building and doorway dimensions, and minimum path widths in towns.
Average distance or travel time between POIs (accounting for different movement speeds).
Chocobo and player character scale and movement speed.
Combat metrics, such as size of the area, what kind of meshes are not allowed in the area.
Using in-game tools, I took numerous screenshots for scale reference and used waypoints to measure distances between POIs, timing traversal on foot and on Chocobo. While there isn’t a strict distance rule between POIs in Rebirth, there does appear to be a breadcrumbing principle, where one POI naturally leads the player to the next.
Luckily, within the game, by setting a waypoint you are able to see the distance between yourself and the waypoint. This allowed me to see the distance between POI’s.
Task list
To structure production, I compiled a list of POI types to include, along with references for each:
Remnawave Towers – Activation towers that reveal new locations when triggered.
Lifesprings – Crystal nodes to scan via a mini-game.
Fiend Intel / Combat Assignments – Optional monster encounters with unique objectives.
Divine Intel / Sanctuaries – Summon-related puzzle or combat challenges.
Protorelics – Lore-based relic sites tied to the world narrative.
Moogle Intel – Small mini-games that unlock Moogle rewards or shops.
Treasure Chests – Hidden collectables scattered through the environment.
Town Hub – The main player settlement for quests, NPCs, shops, and story progression.
Photo area - A sidequest in which the player is tasked with taking a photo of the scenery from a vantage point
Reference Gathering
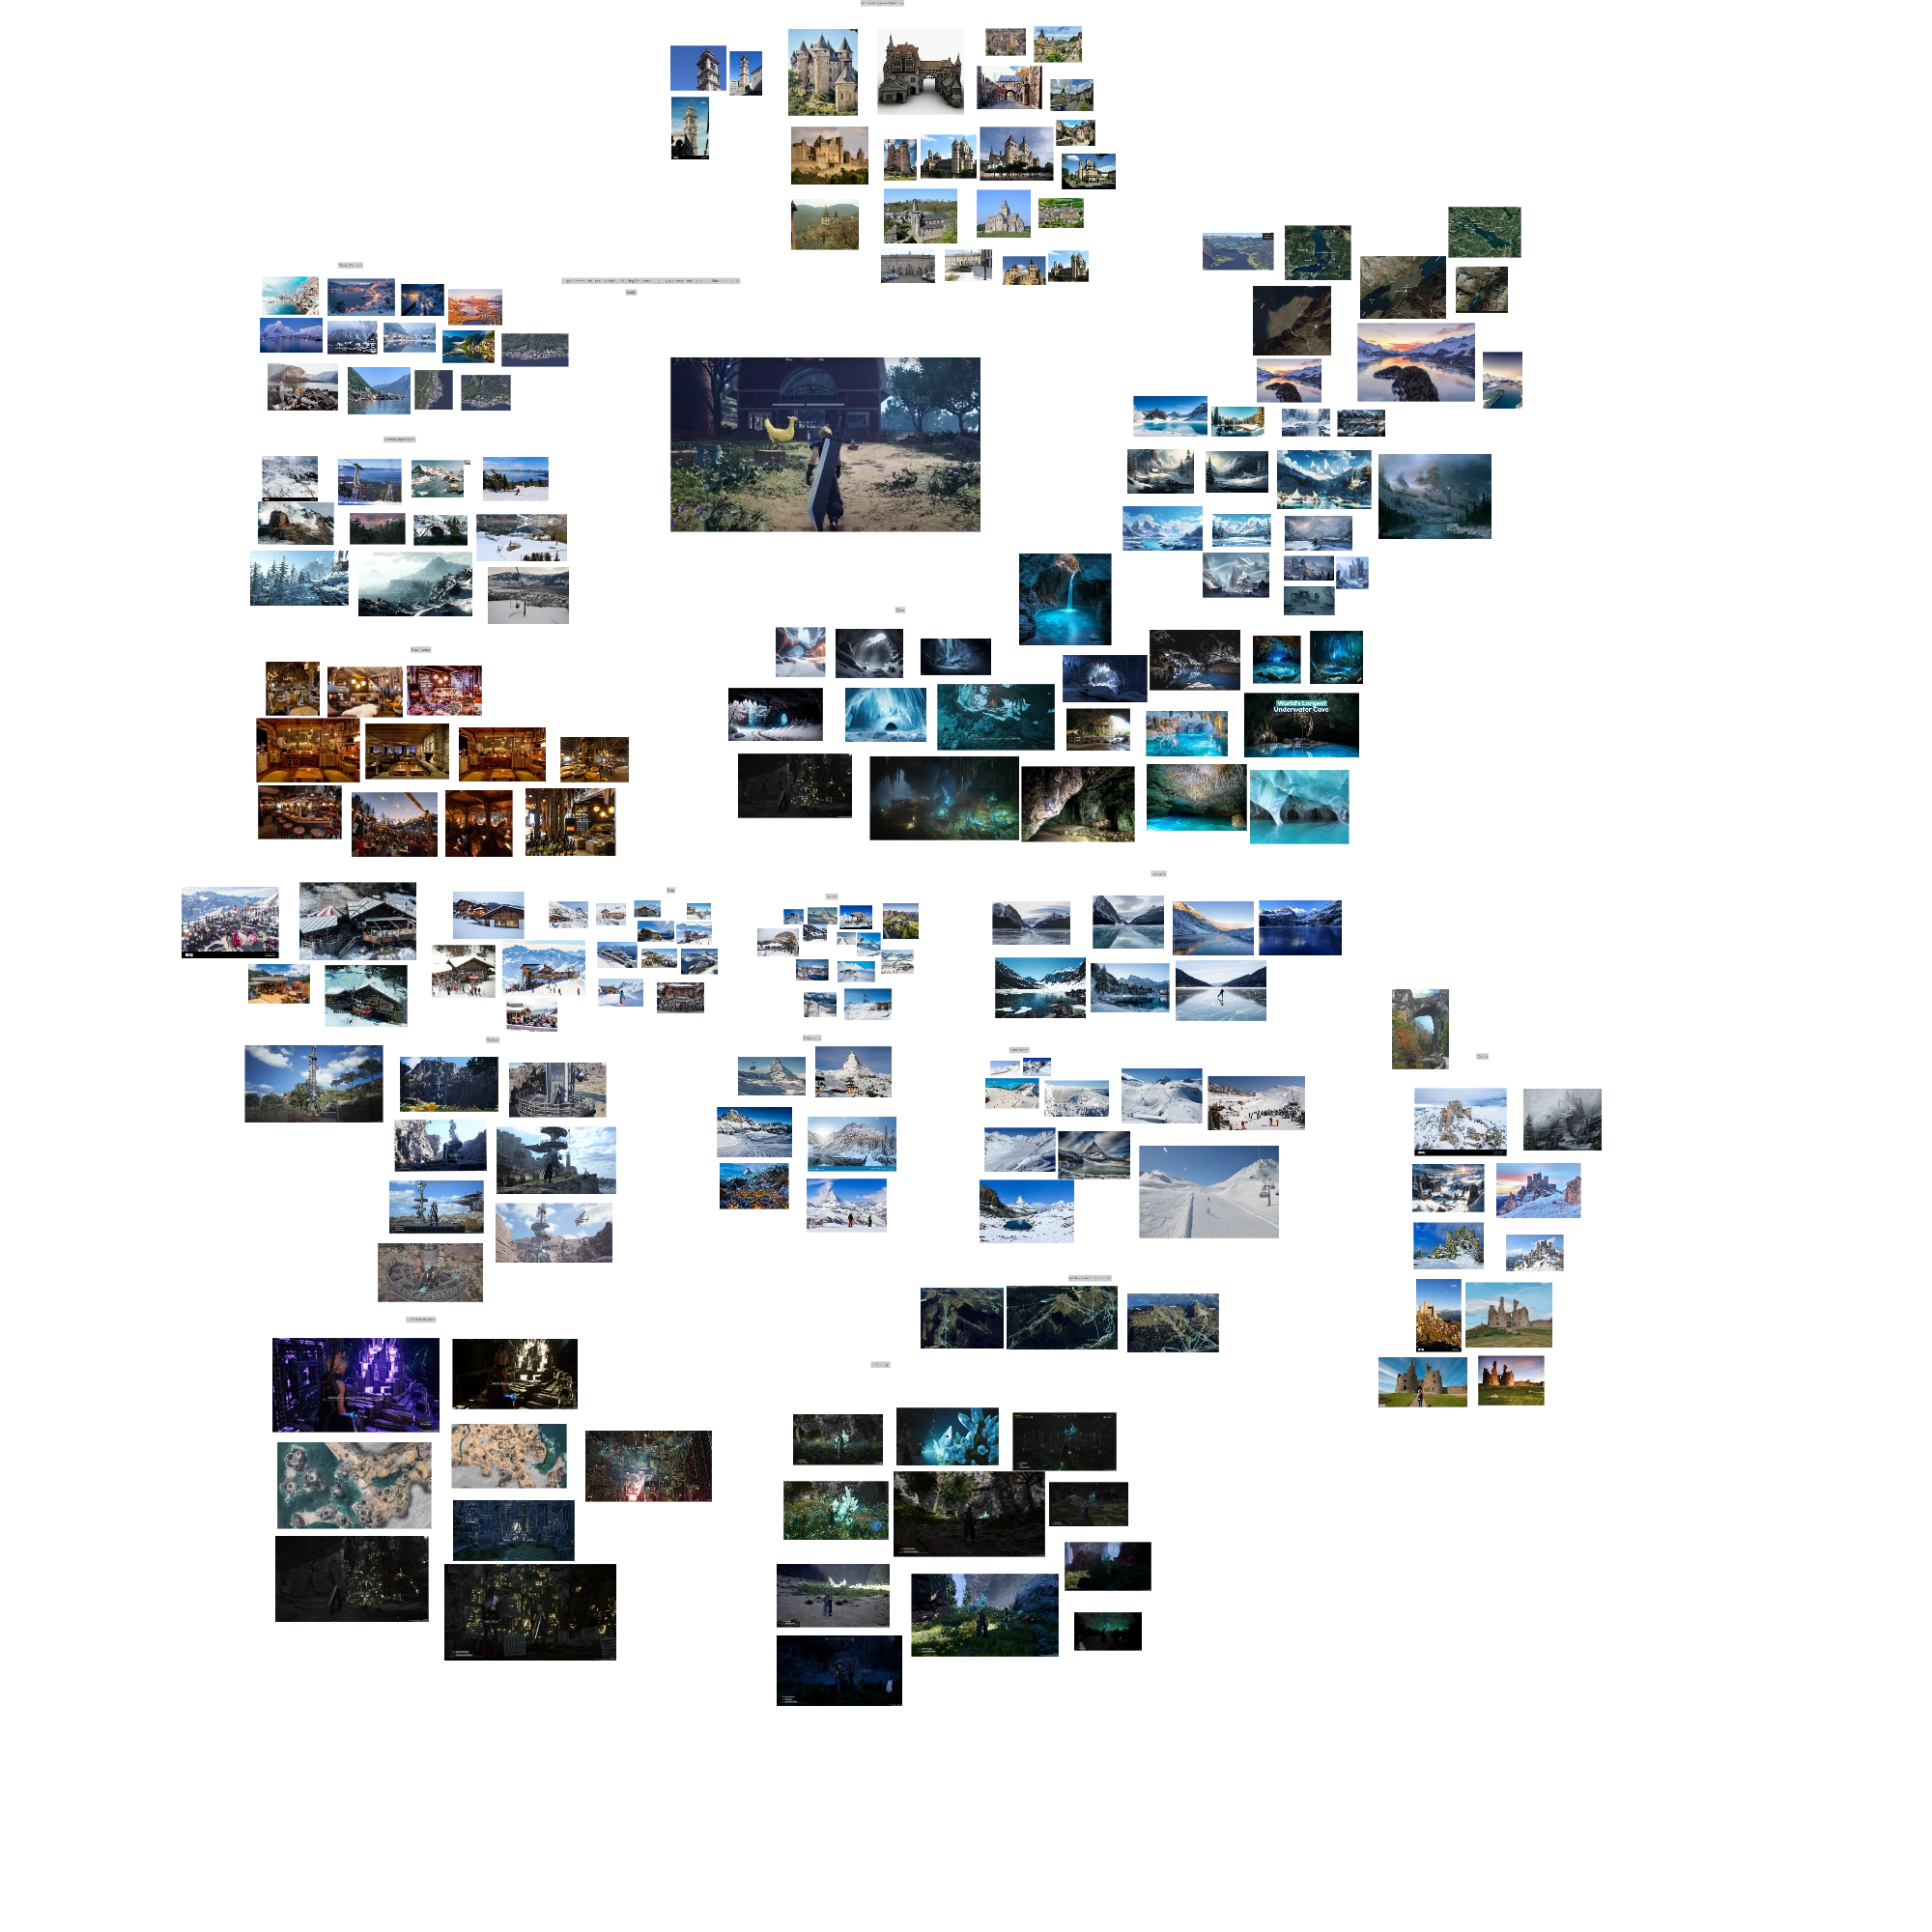
Before opening Unreal Engine or creating any top-down sketches, I spent significant time gathering visual and thematic references. I compiled these into a PureRef board, focusing on:
Real-world frozen landscapes and fjords.
Settlement layouts and architecture suitable for cold climates.
Ice surface textures, lighting, and atmosphere references.
This visual groundwork helped establish a consistent tone and informed later design decisions around traversal flow, POI placement, and world readability.
Reference Board Notes
Some of the reference images below may appear slightly compressed or difficult to zoom into. I chose a lower resolution to ensure faster load times and avoid issues with images not displaying properly. If you’d like to see the high-resolution version, I can provide it upon request.
Please note that this board does not represent every piece of research I conducted, including videos, gameplay analysis, and additional image references. You’ll also notice a few images that don’t directly relate to the final design. These were part of early iterations and discarded ideas during development, which I’ll discuss later in the breakdown.
Town Reference
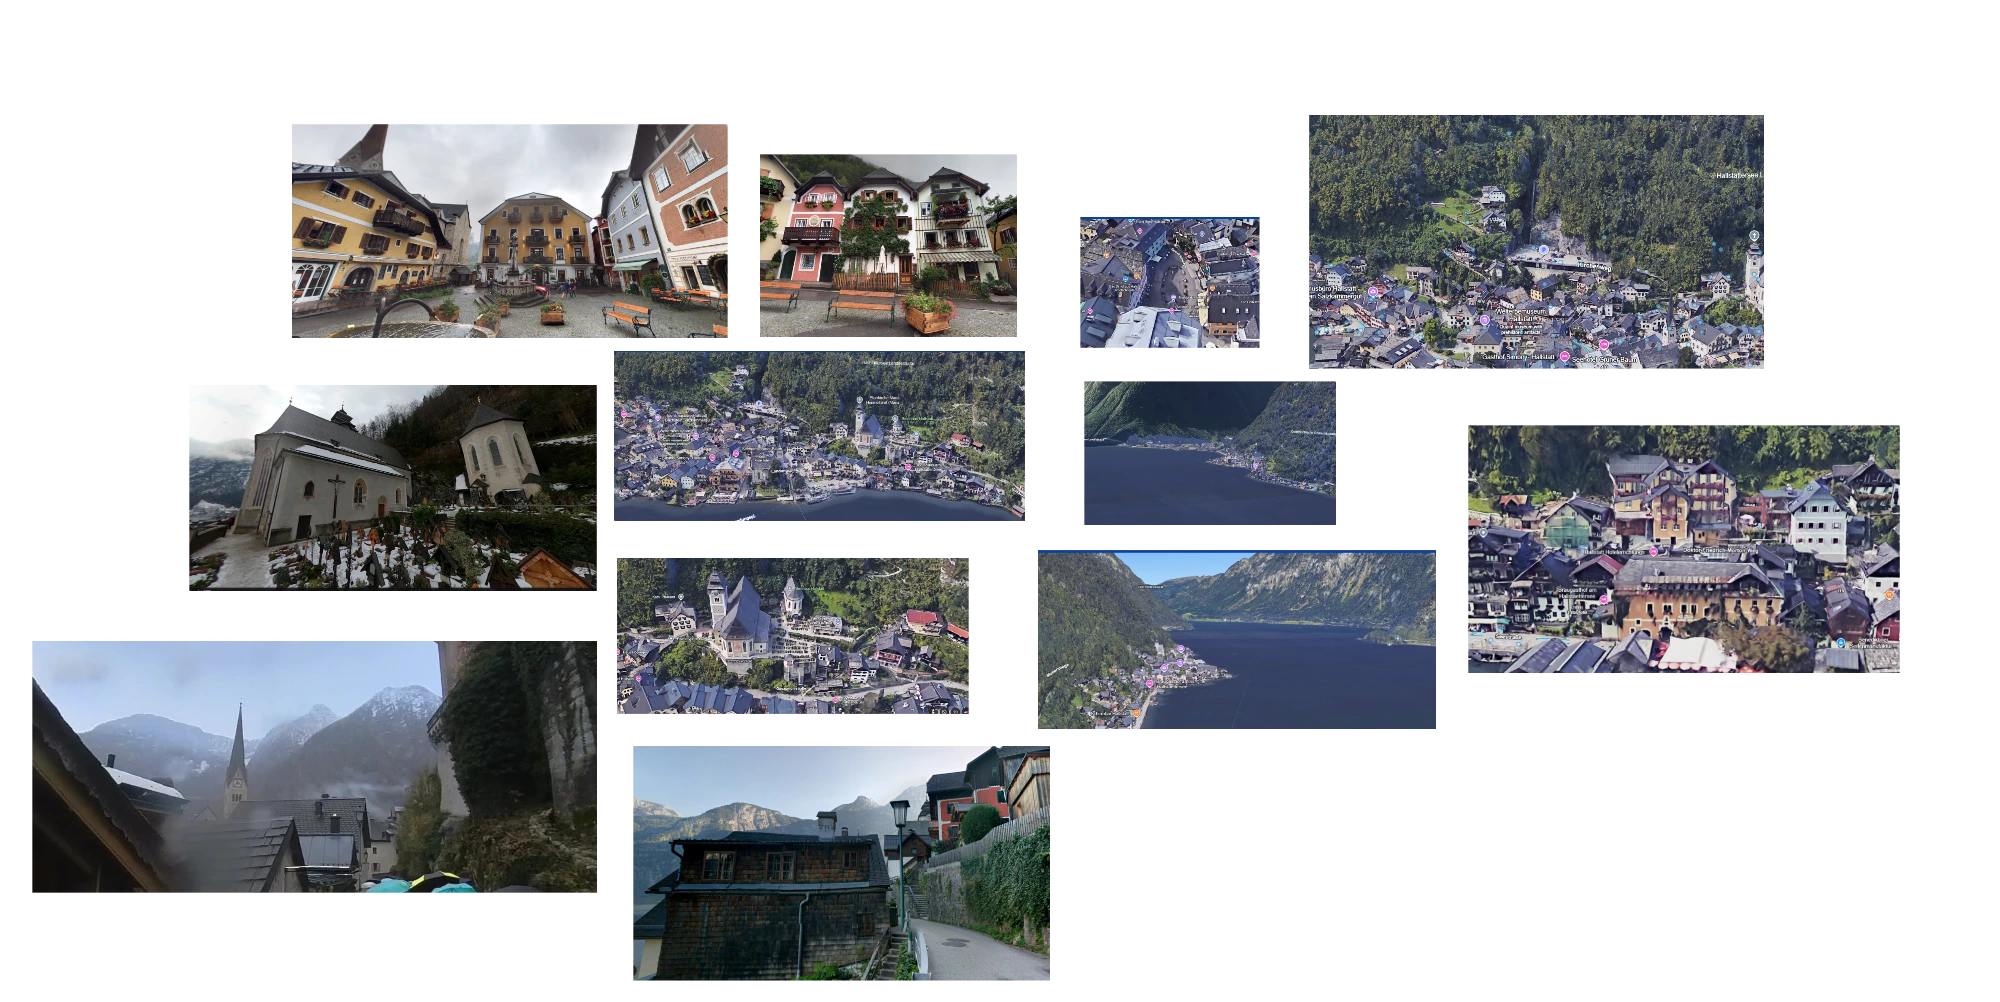
For the town, I drew inspiration from European lakeside settlements situated in fjords. The primary influence was Hallstatt, Austria, which perfectly matched the atmosphere and topography I envisioned.
The surrounding landscape, steep cliffs meeting calm water also aligned with the frozen fjord theme of the level. When comparing reference photos of Hallstatt with my town and terrain layout, you can likely spot several similarities.
Google Earth proved especially helpful for studying both the top-down structure of the town and ground-level perspectives.
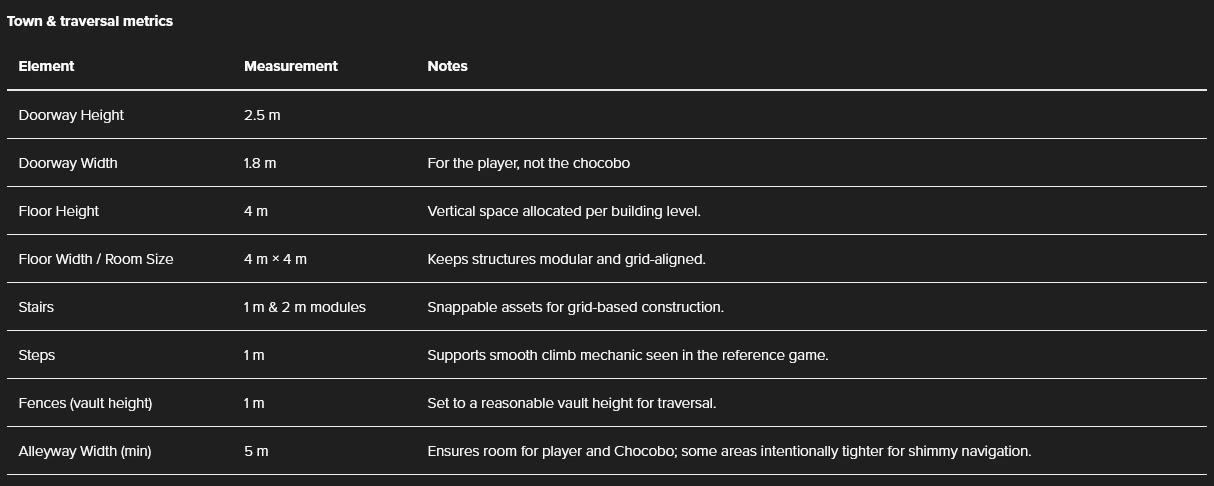
testing metrics & Preperation
Early in the project, I established a set of environment metrics based on in-game observation and personal research from Final Fantasy VII Rebirth. These measurements helped ensure scale consistency and modular construction throughout the town blockout.
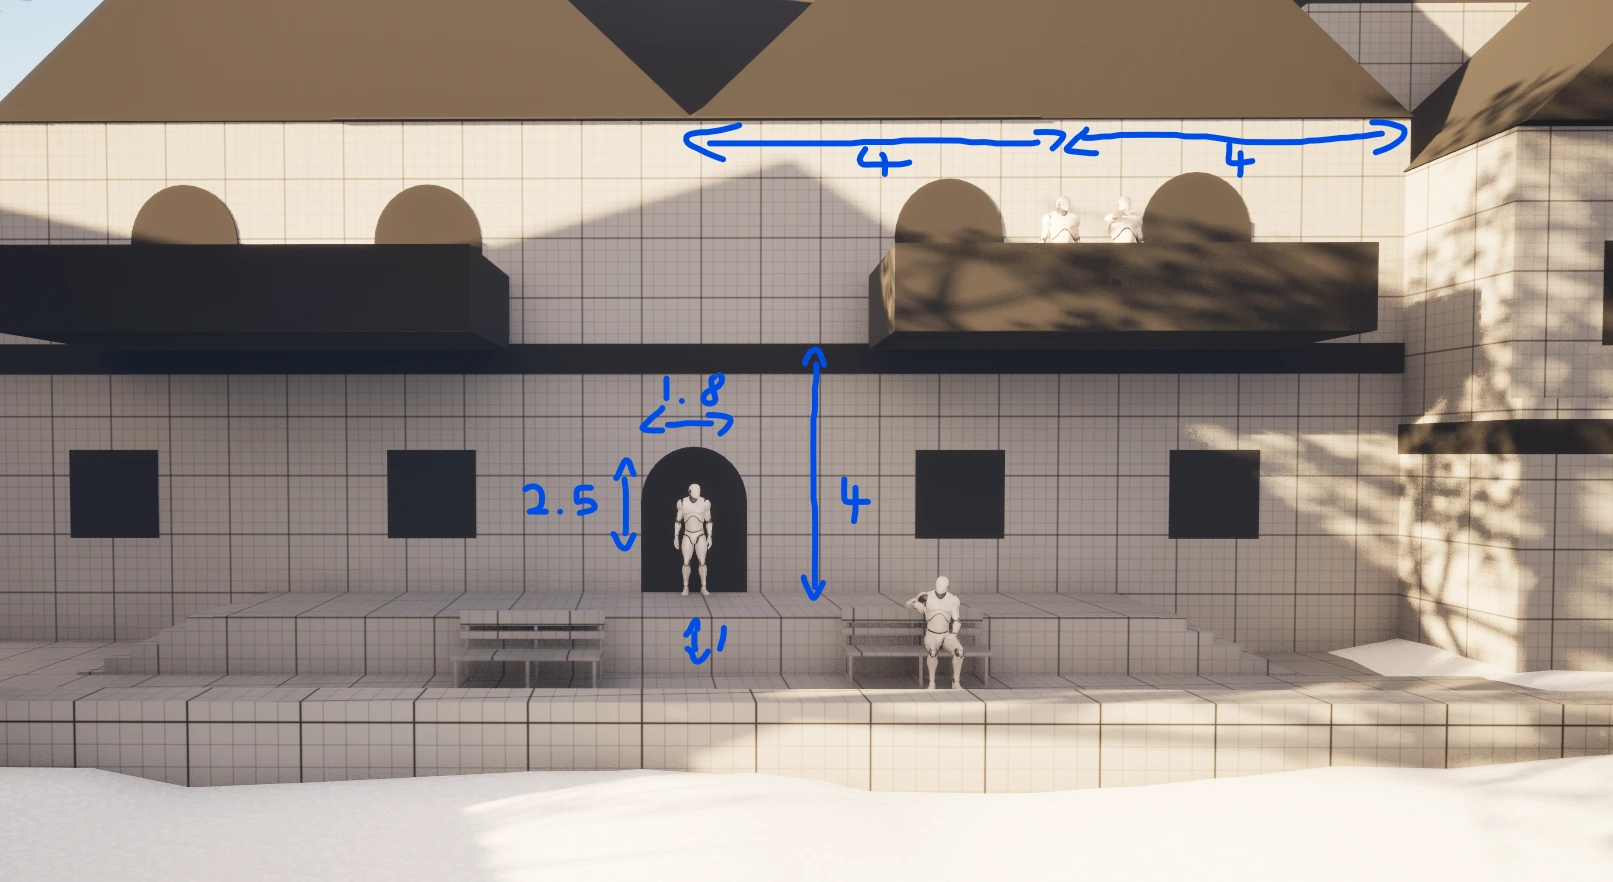
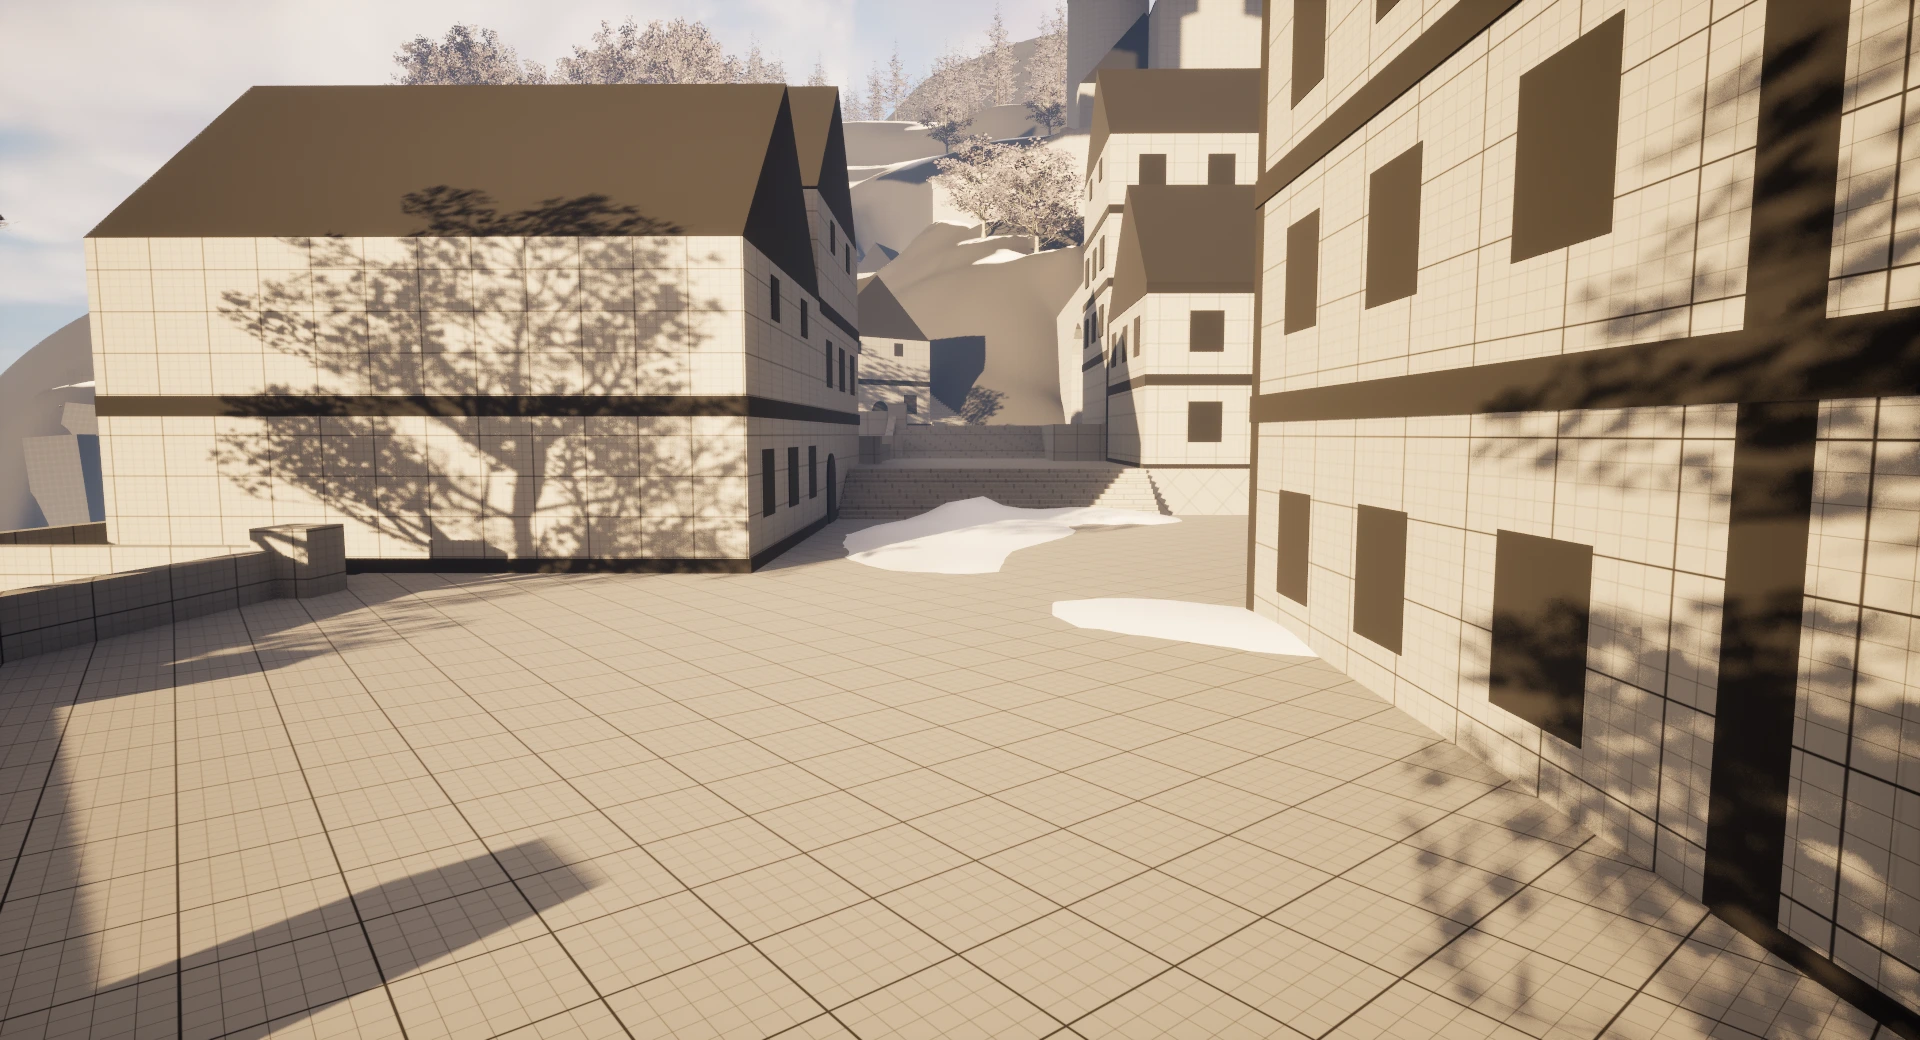
I tried to ensure at a minimum in most cases there was a minimum of 5m in corridors/alleyways. In some cases it may be a bit narrower. There are also points where the character has to do a side shimmy to navigate through tight gaps which happens quite often in FF7 rebirth.
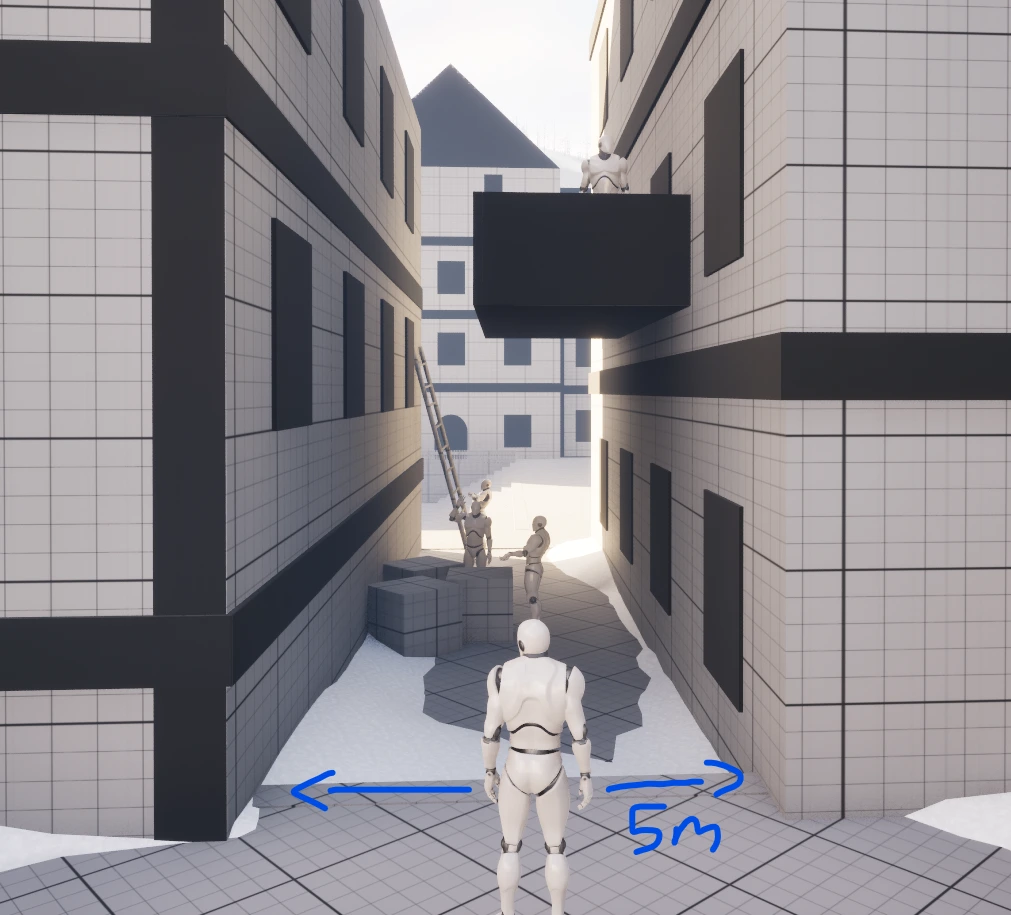
In some tighter areas, alleyways narrow slightly, reflecting Rebirth’s frequent use of close-quarters movement and side-shimmy navigation through tight gaps.
These metrics formed the foundation for the town blockout, keeping assets on-grid and ensuring consistent player readability. Looking back, loosening the metrics for structures (while maintaining consistent entrances and navigation paths) could have produced a more organic and varied layout, closer to real-world references such as Hallstatt, where buildings and streets differ in scale and form.
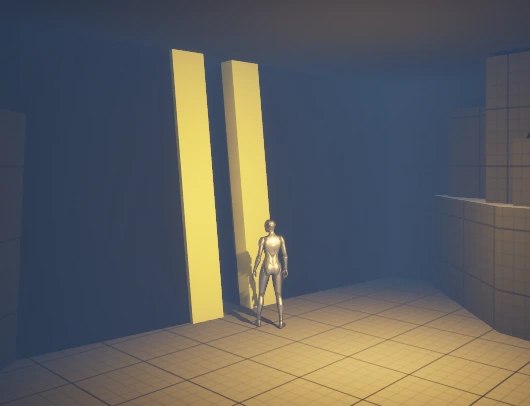
Example of where the chracter would have to ‘side shimmy’ in a cave in the open world.
POI Metrics and Spacing
During research and gameplay analysis of Final Fantasy VII Rebirth, I found there wasn’t a strict distance rule between Points of Interest (POIs). Distances generally ranged with a maximum of around 1000 m, depending heavily on regional layout and movement mechanics. For example, two POIs might appear close on the map but take longer to reach due to verticality or traversal obstacles within the zone.
With this in mind, I aimed for a maximum distance of around 1000 m between POIs in my own design. To visualise this during blockout, I initially created cylinders (1000 × 1000 m) centred on each POI to ensure overlapping exploration zones and maintain a cohesive gameplay flow.
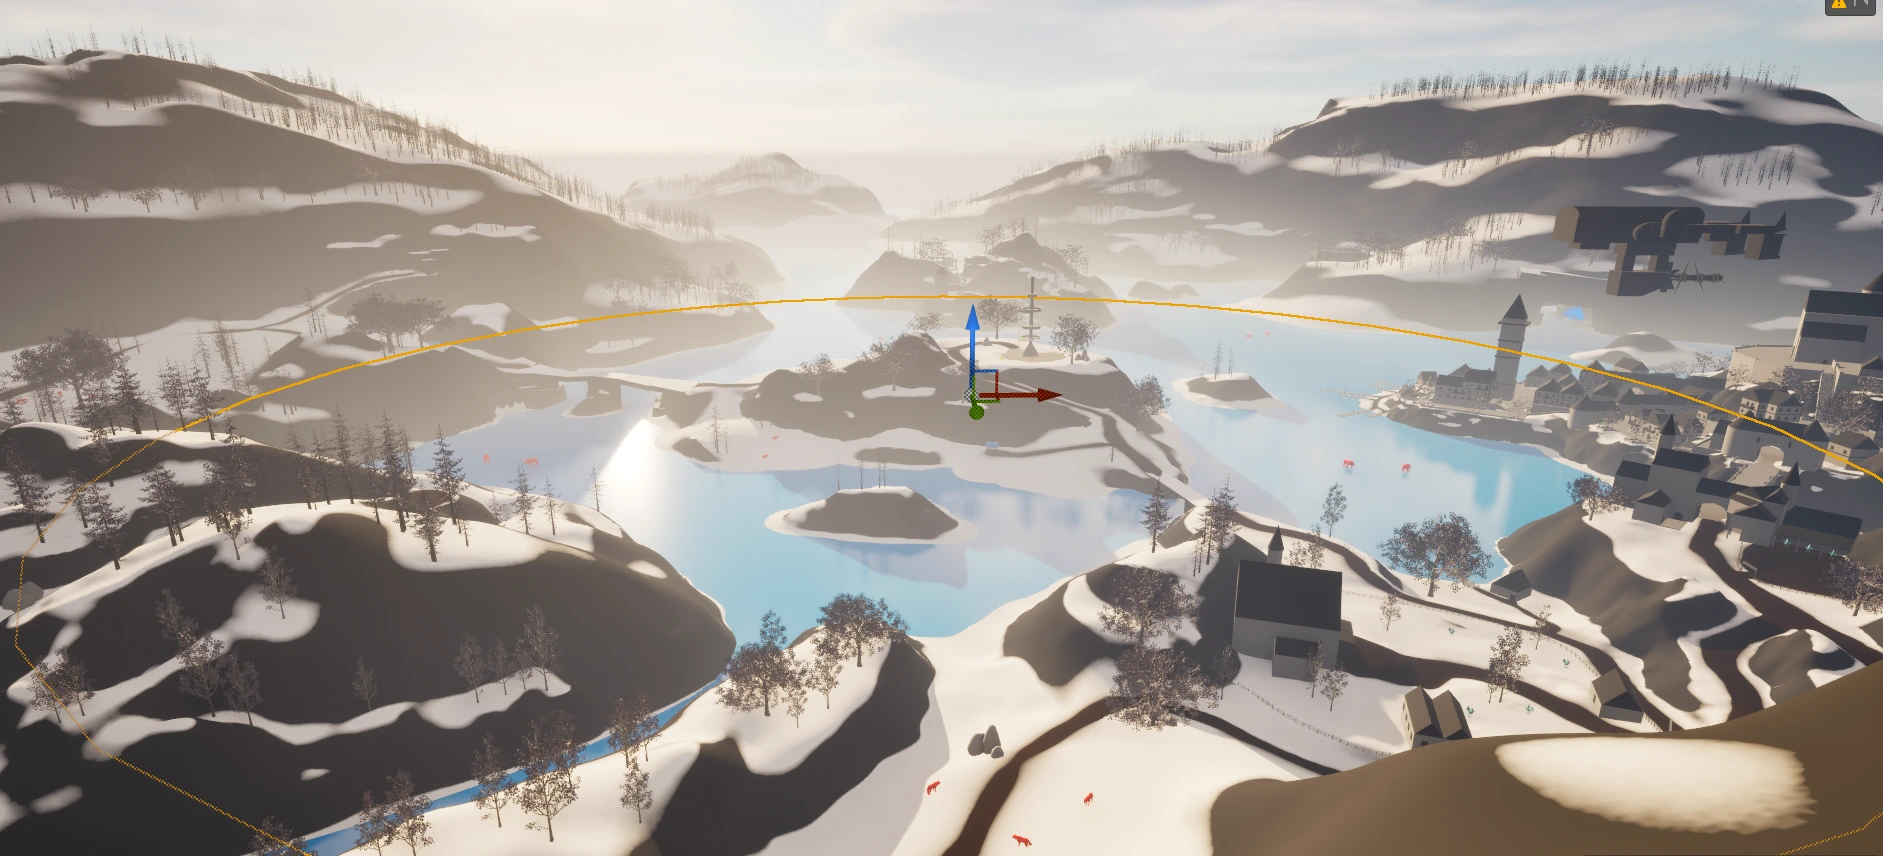
POI Distance Blueprint Tool
However, for a more elegant solution, I created a Blueprint which allowed me to see the distance between POI’s.
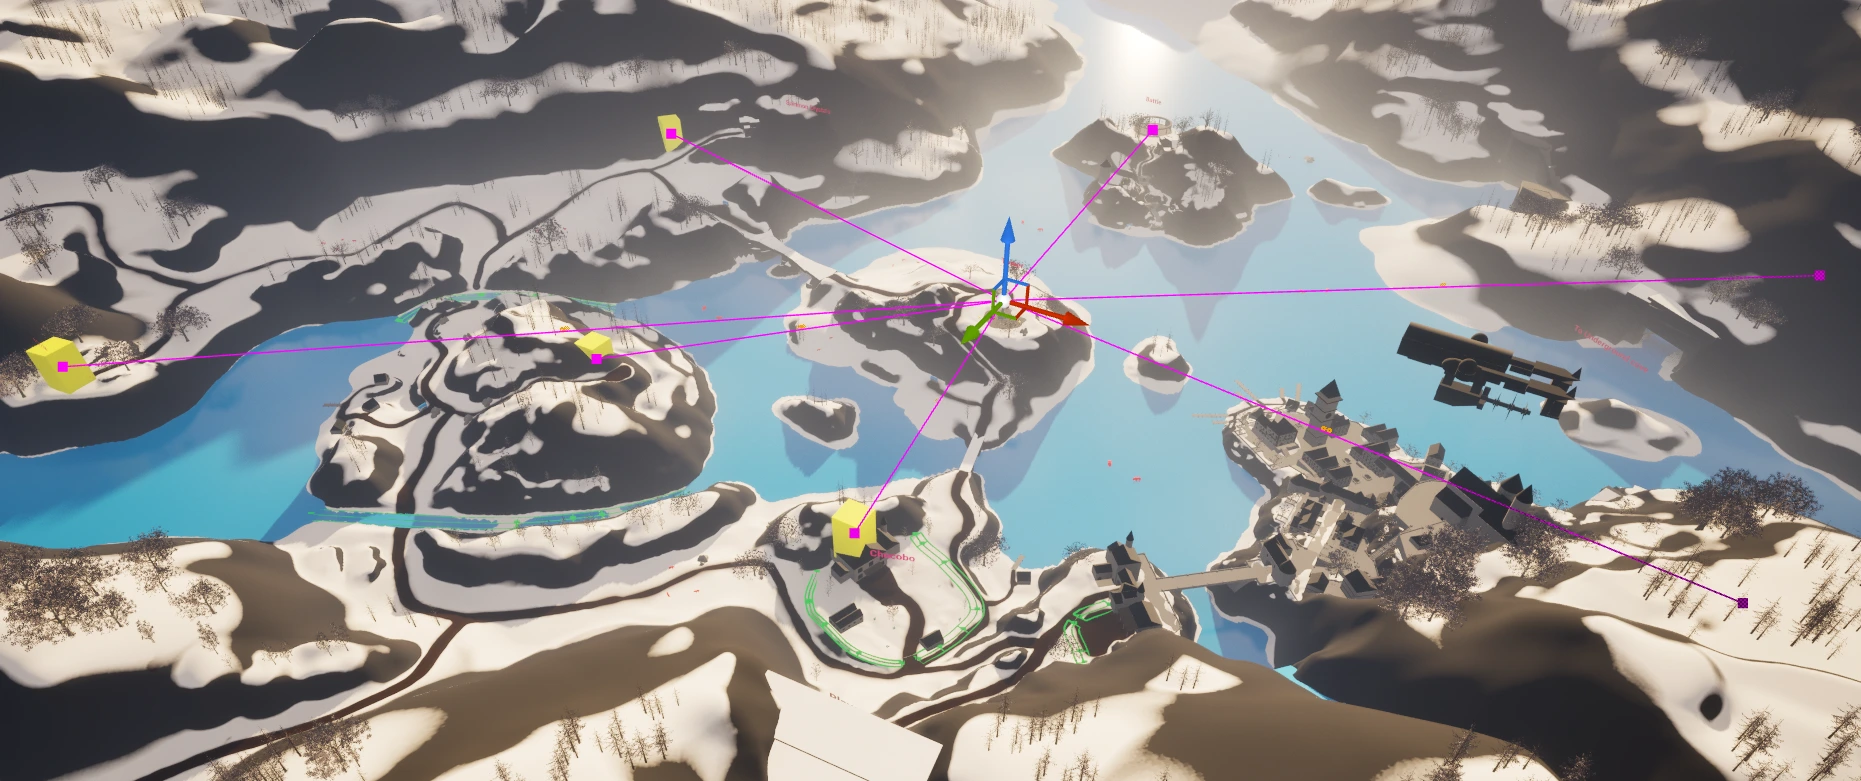
This tool essentially:
The Blueprint generates spline paths connecting each POI.
It searches for meshes tagged “POI”, minimizing setup time.
Each POI is represented by a yellow cube (tagged “POI” and set to visible in-editor).
The Blueprint outputs the exact distance between POIs, allowing for easy iteration.
While the tool’s visualization is fairly basic, it proved very effective for early-world layout validation. There’s definitely potential for improvement in both readability and data display, but it served its purpose well during blockout.
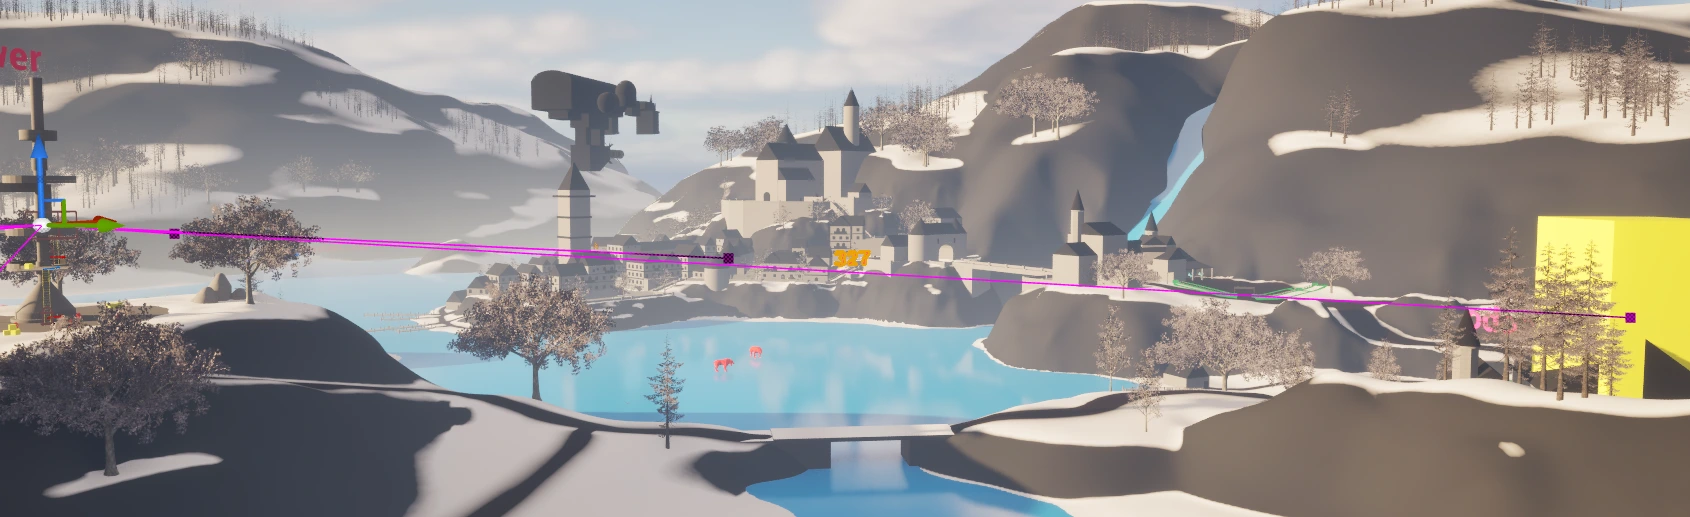
Chocobo Movement
For this open-world segment, much of the gameplay flow relied on the Chocobo’s movement speed and how quickly it could travel between POIs across the map.
The main concept was for the Chocobo to move at normal speed on snow, but accelerate dramatically on ice, giving the sensation of gliding or ice skating.
I also wanted to replicate the drifting mechanic from Final Fantasy VII Rebirth’s race courses, which felt like a natural fit for this environment. The idea was to create a traversal loop that was fast, fluid, and playful. However I didn’t have time to accurately replicate this and was more of a intention.
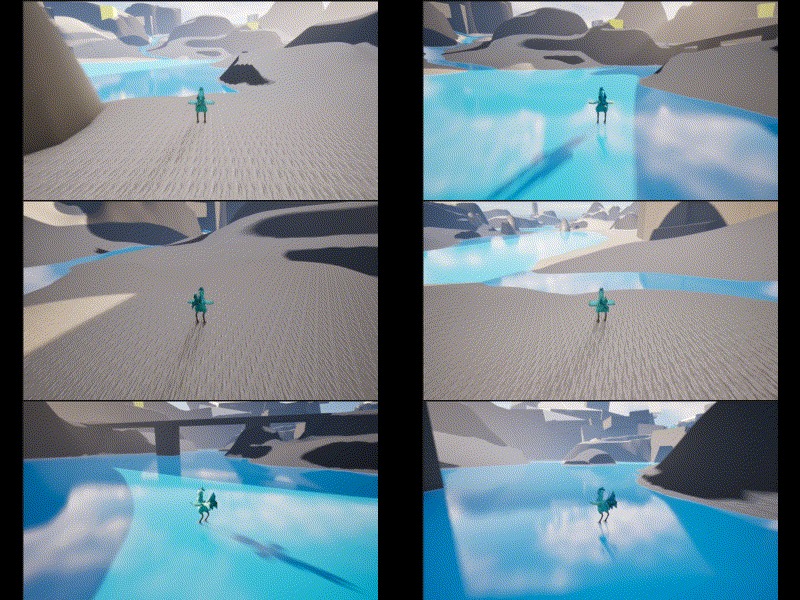
Prototyping and Iteration
Initially, I focused on getting the speed differential between snow and ice to feel right. Once that was working, I experimented with additional mechanics, such as:
Allowing the Chocobo to jump or glide across frozen surfaces.
Enabling short hops to clear small obstacles or reach platforms and ledges.
These ideas showed promise, but I ultimately kept the implementation simple due to time constraints and the prototype-focused nature of the project.
However, deciding on the speed early on allowed me to think about the size of the map, taking into consideration the consistent metrics of distance/time to POI’s in FF7 Rebirth.
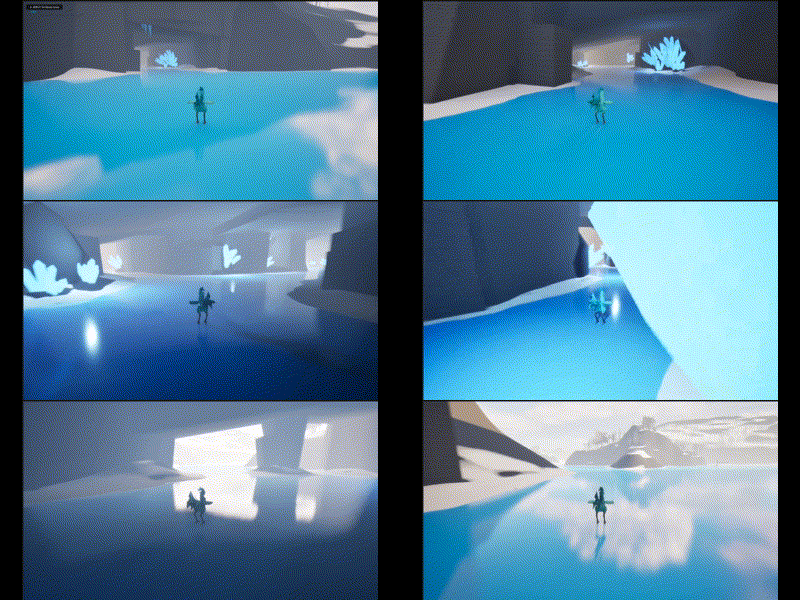

Reflections
While the core mechanic of increased ice speed worked well and supported the intended level flow, I believe the system could be expanded further.
Future iterations could explore:
A momentum-based movement system, rewarding players for chaining drifts or jumps.
Environmental challenges that require precise ice control (e.g., thin ice sections or frozen slopes).
It’s worth noting that this was a blockout/prototype stage, so there’s no animation system or finalized Chocobo model, and I don’t take credit for the model itself.
The focus was purely on game feel and traversal design, rather than visual or animation polish.
Assets created
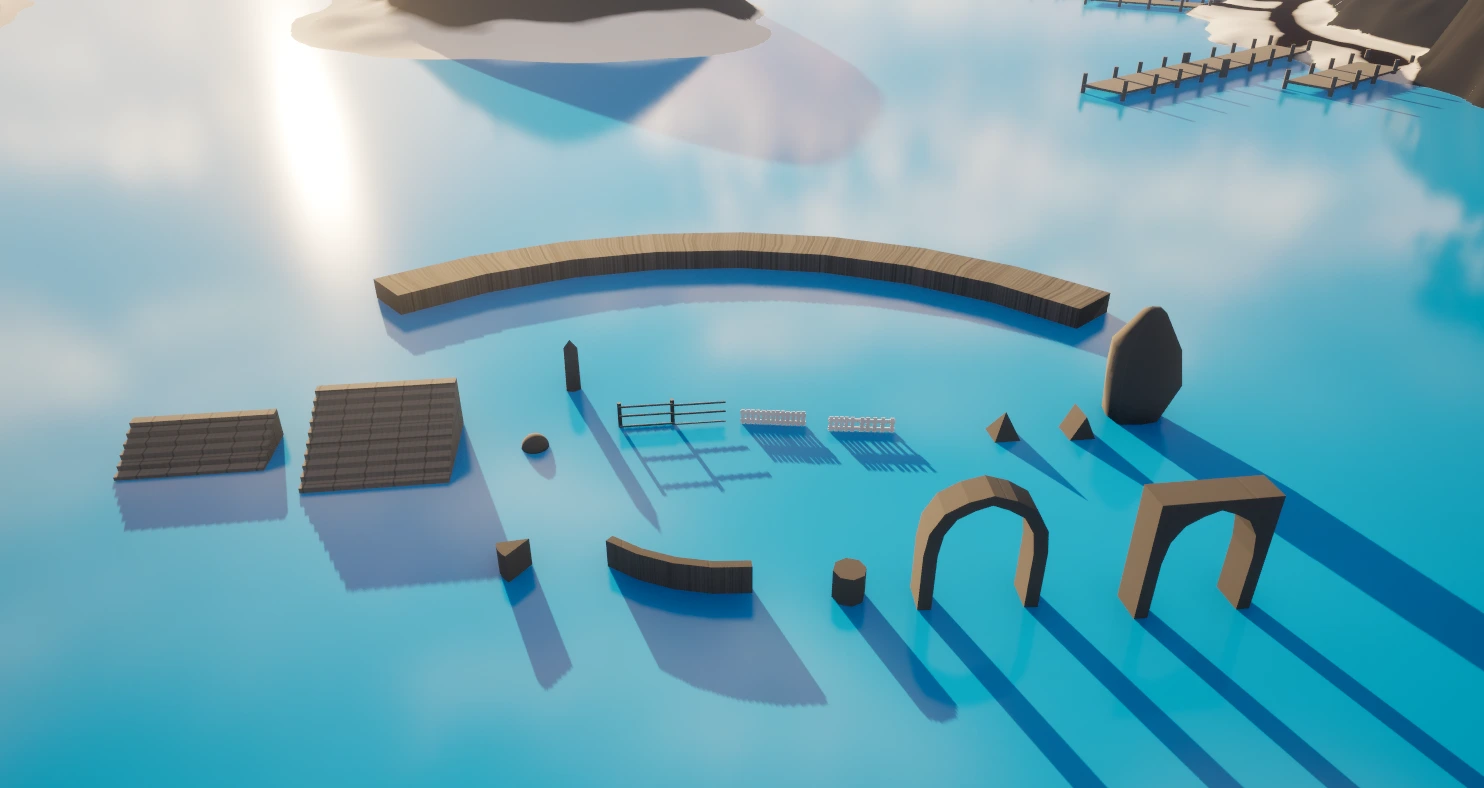
In most cases I used the basic primitives that UE5 offered to build this blockout. However in some cases I created unique assets in Blender or using the UE5 modelling tool to help me complete this blockout.
I prioritized reusability and scale consistency, keeping meshes aligned to 1 m × 1 m grid units so they could be easily scaled or reused throughout the scene.
Unique asset list:
Fences * 3
Rock
Crystal (For cave)
Archway
Archway with square support
Stair 2m x 5m
Stair 1m x 5m
90 Degree Circular shape
45 degree circular shape
Octagon (For a romanesque architecture feeling)
Triangular prism
Outside of the default unreal textures and assets, I used a foliage asset pack for the tree’s and bushes.
The landscape material was a simple material with world aligned blend for the automatic texture painting of the rock on sharp angles.
Initial iteration
For the initial top-down layout, I aimed to keep things simple. The plan featured a central tower positioned as one of the first landmarks visible when entering the zone. This tower would function like the Remnawave Towers in Final Fantasy VII Rebirth, once activated, it reveals the locations of surrounding POIs.
The frozen lake surrounded these POIs in a figure-of-eight layout, ensuring there were no dead ends and allowing players to “ice skate” smoothly around the entire area.
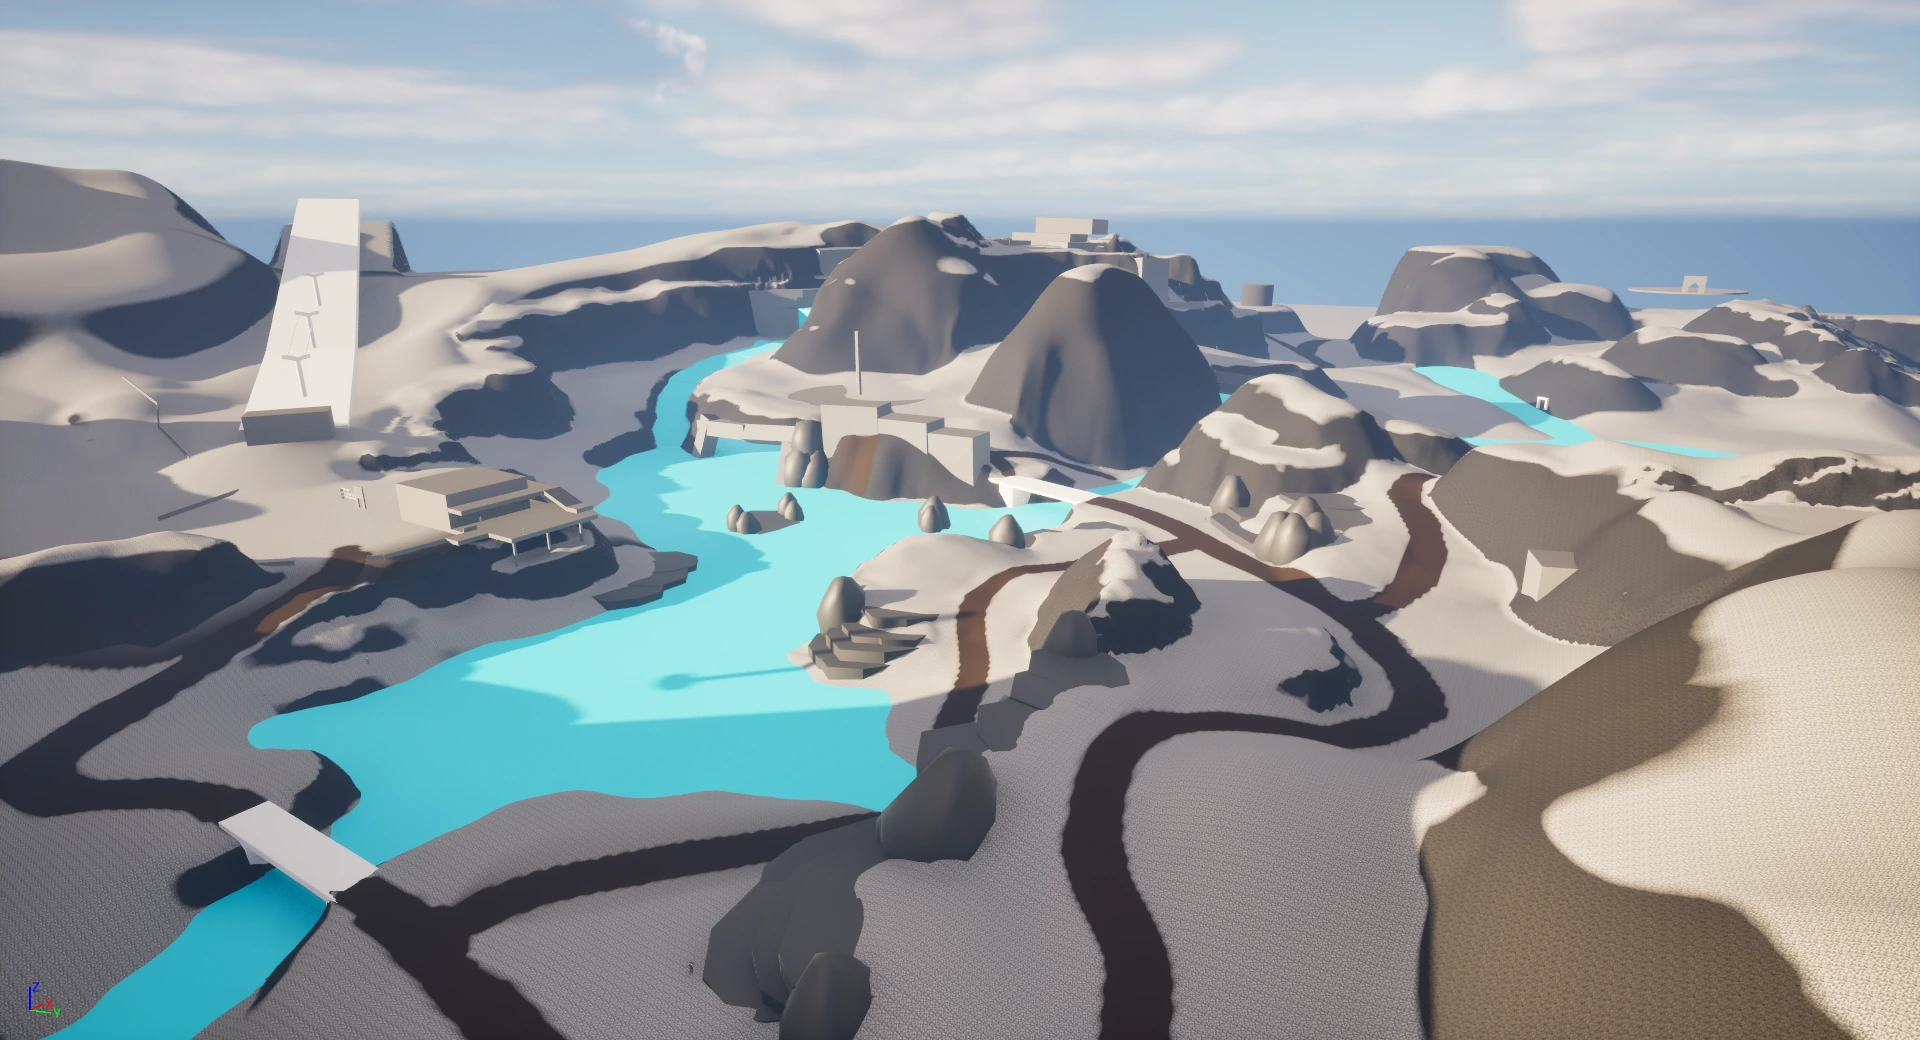
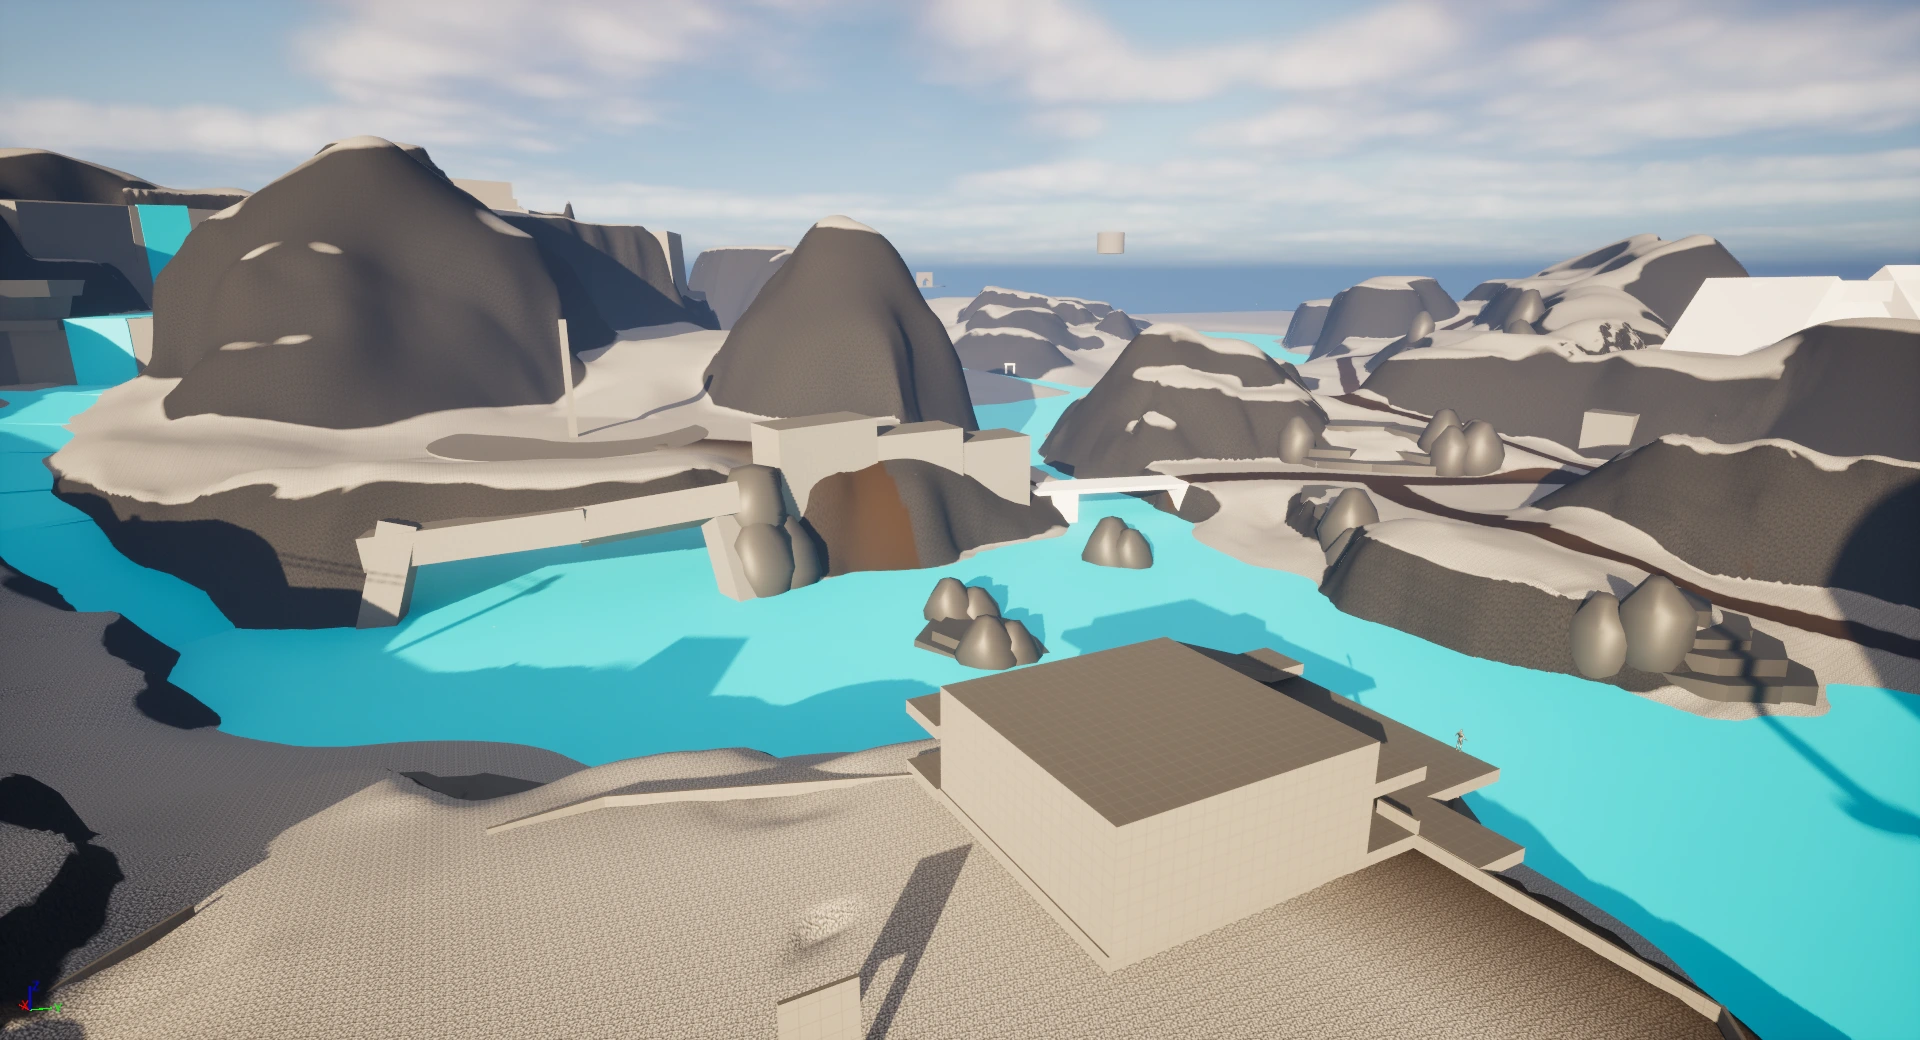
The first layout captured the basic principles I wanted, but several issues quickly became apparent. This version pre-dated my Hallstatt reference research, and as a result, the landscape felt artificial and cramped. Because of the limited space, players couldn’t ice skate fluidly around the lake, breaking the intended traversal rhythm.
On the left side of the layout, I originally planned a small encampment instead of a full town hub, something closer to a ski resort, complete with a visible ski slope and chair lift for context. However, this setup didn’t align with Rebirth’s open-world structure, which typically includes larger towns or safe zones where players can take on side activities and interact with NPCs.
Recognising these shortcomings, I decided to pause the iteration and return to concept development. This is when I began studying Hallstatt, Austria, as a real-world reference, which helped me re-envision the terrain and achieve a more natural topography.
Elements I retained moving forward:
A tunnel system to maintain a circular frozen lake layout and block line-of-sight between areas.
The central tower as a strong visual anchor.
The ski slope backdrop as an environmental detail (later cut for time).
Second iteration
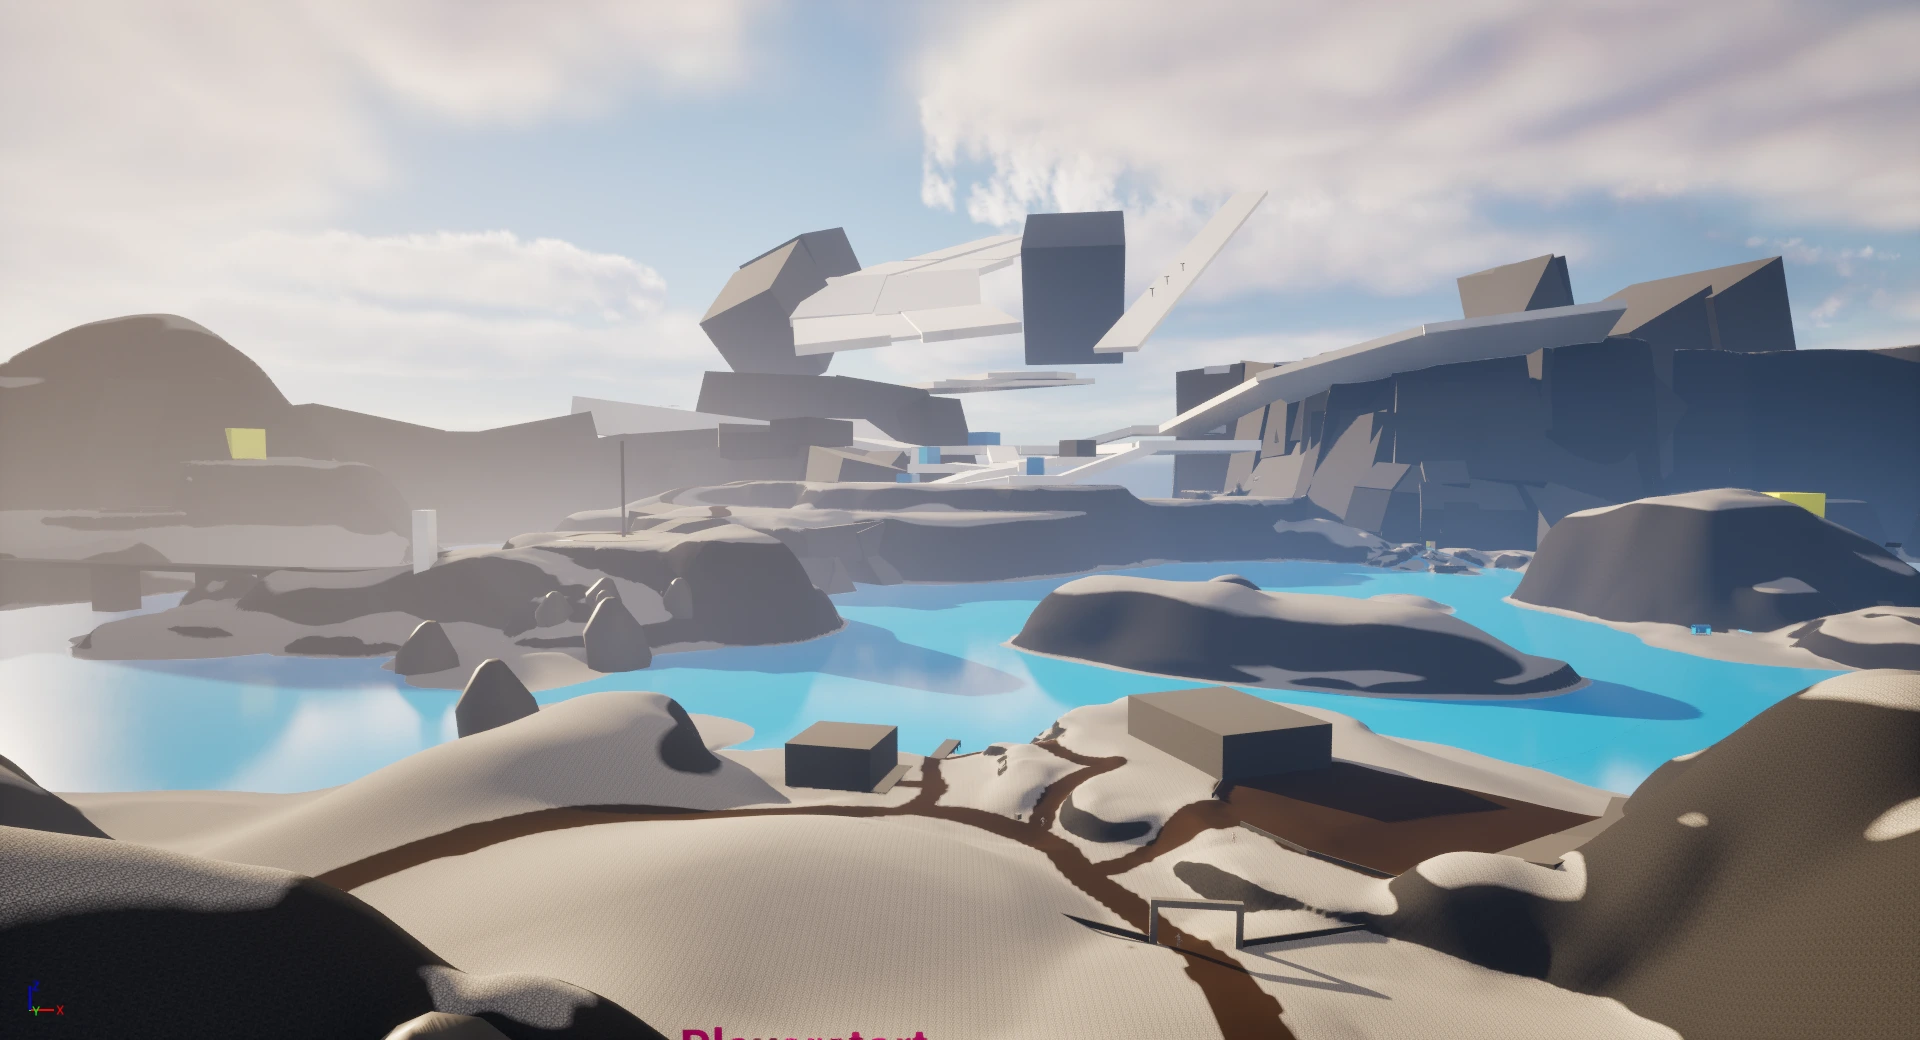
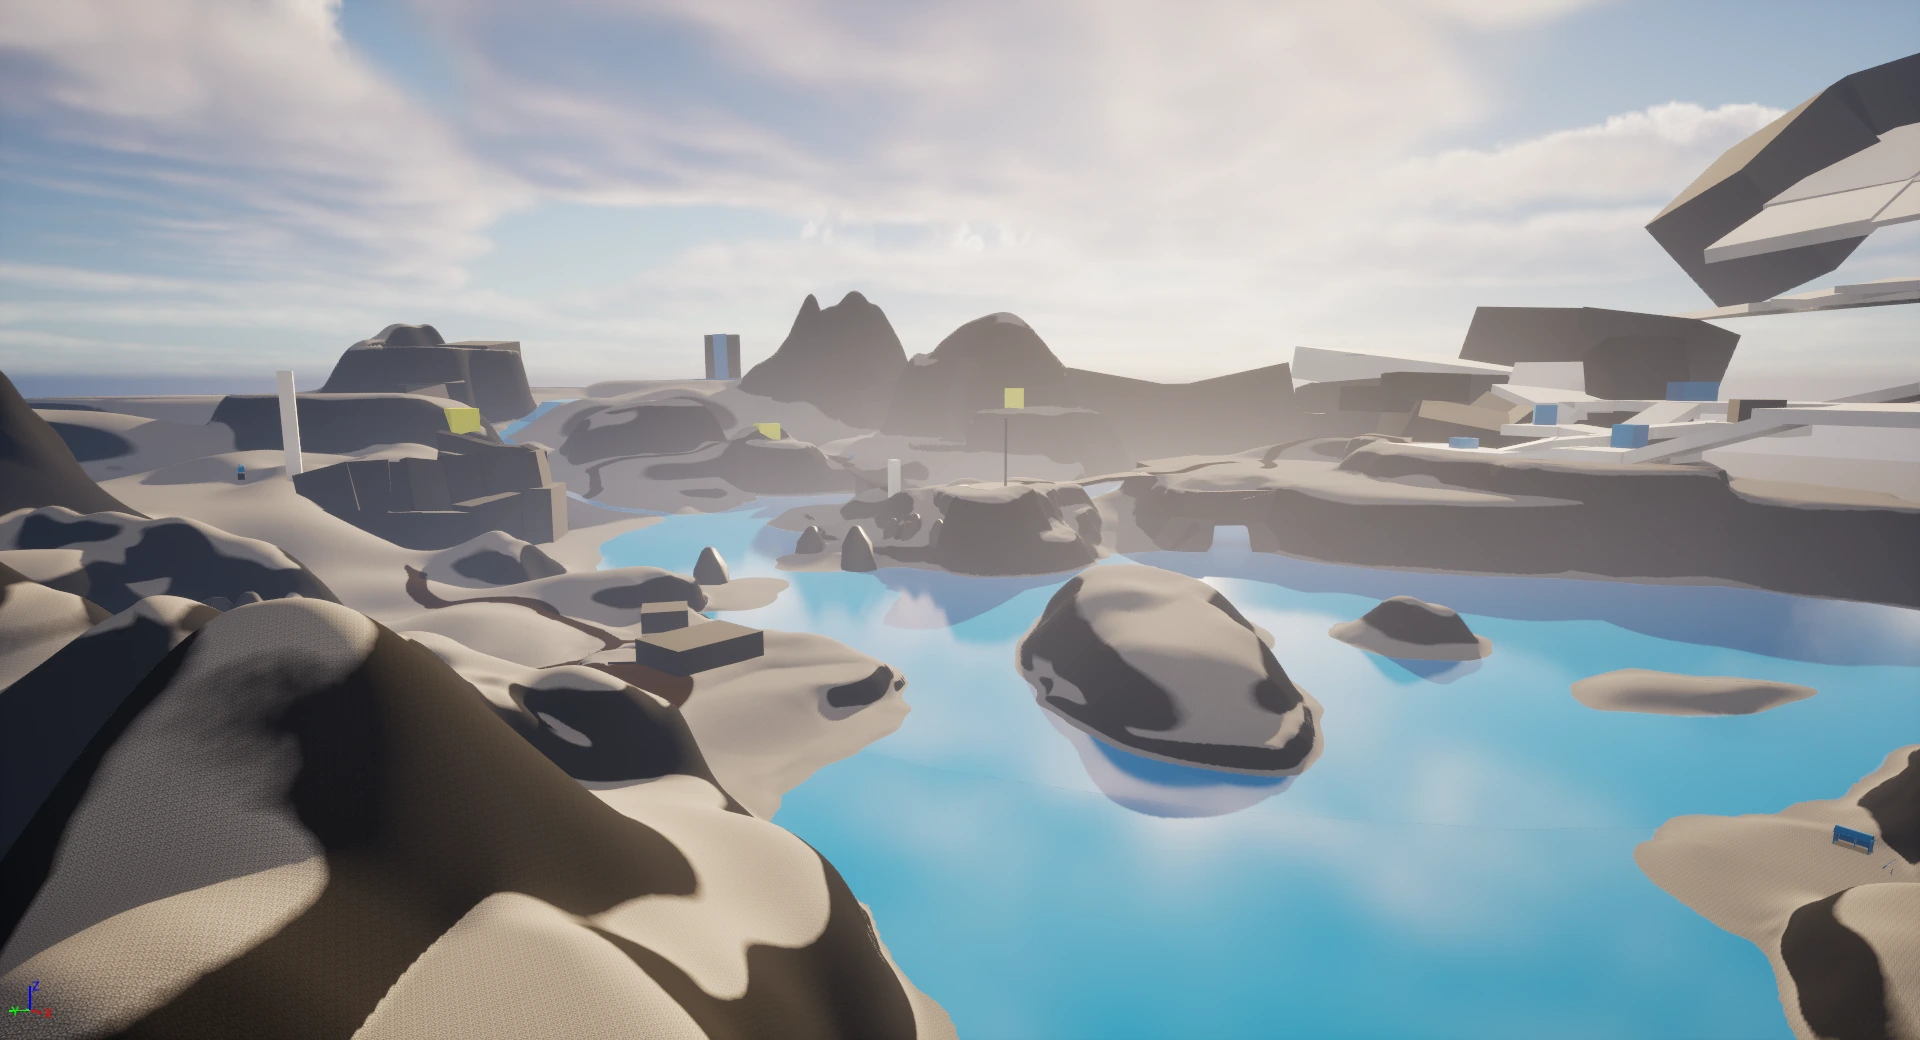
In the second iteration, I opened up the space significantly to support smoother Chocobo ice-skating traversal. The central tower remained the dominant focal point, and a town began to take shape at the base of a mountain—drawing inspiration from Hallstatt’s mountainside layout. I also placed two square structures representing a Chocobo stable near the zone’s entry point, ensuring players could access their mount early on.
This version felt much closer to my design goals:
The layout was more readable and encouraged organic exploration.
The tower and town acted as clear objectives visible from multiple POIs.
The yellow cubes (POI placeholders) helped confirm visibility and spacing between key landmarks.
However, several issues remained:
Players focused on the main story might find the town too far from the starting point. The towns in FF7 Rebirth are usually where you progress the main story, so this could frustate players that just want to focus on progressing the story.
There wasn’t yet a clearly defined path leading to either the tower or the town.
The terrain still lacked natural flow and didn’t look natural.
Refinement and Final Layout Direction
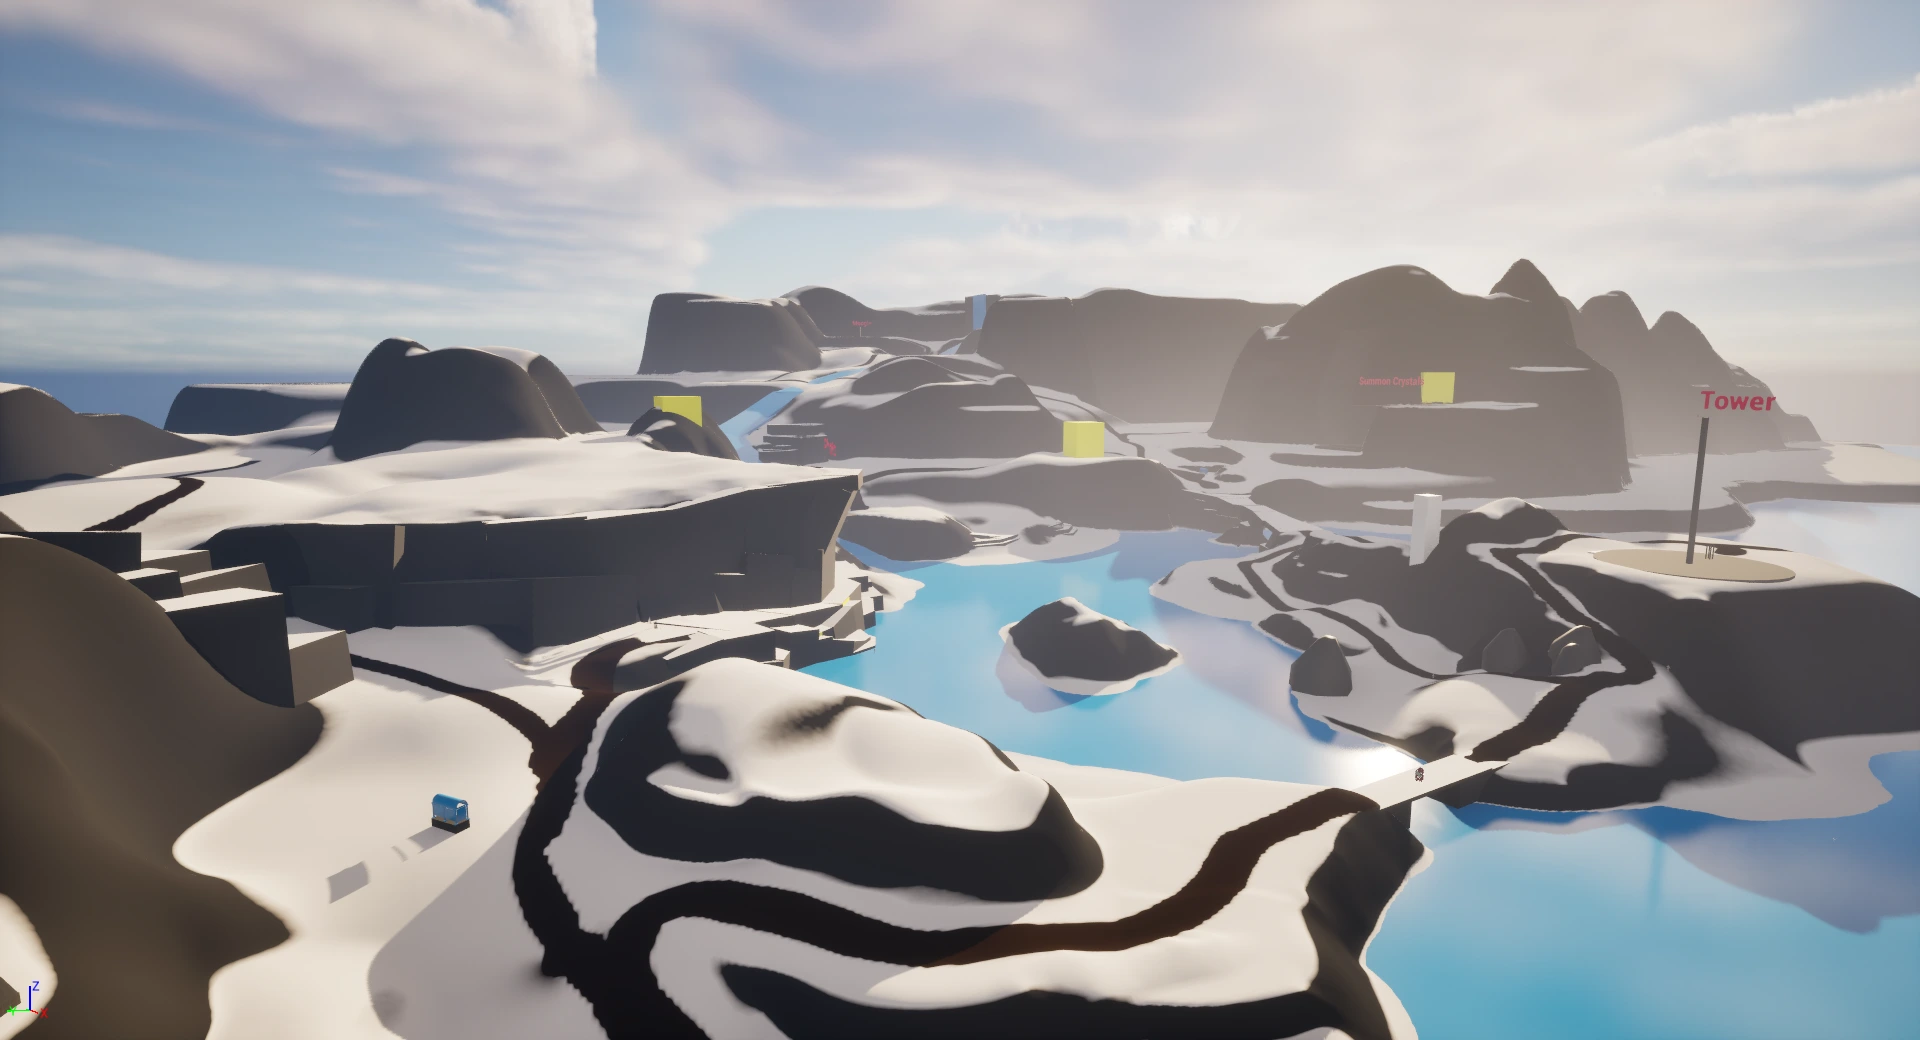
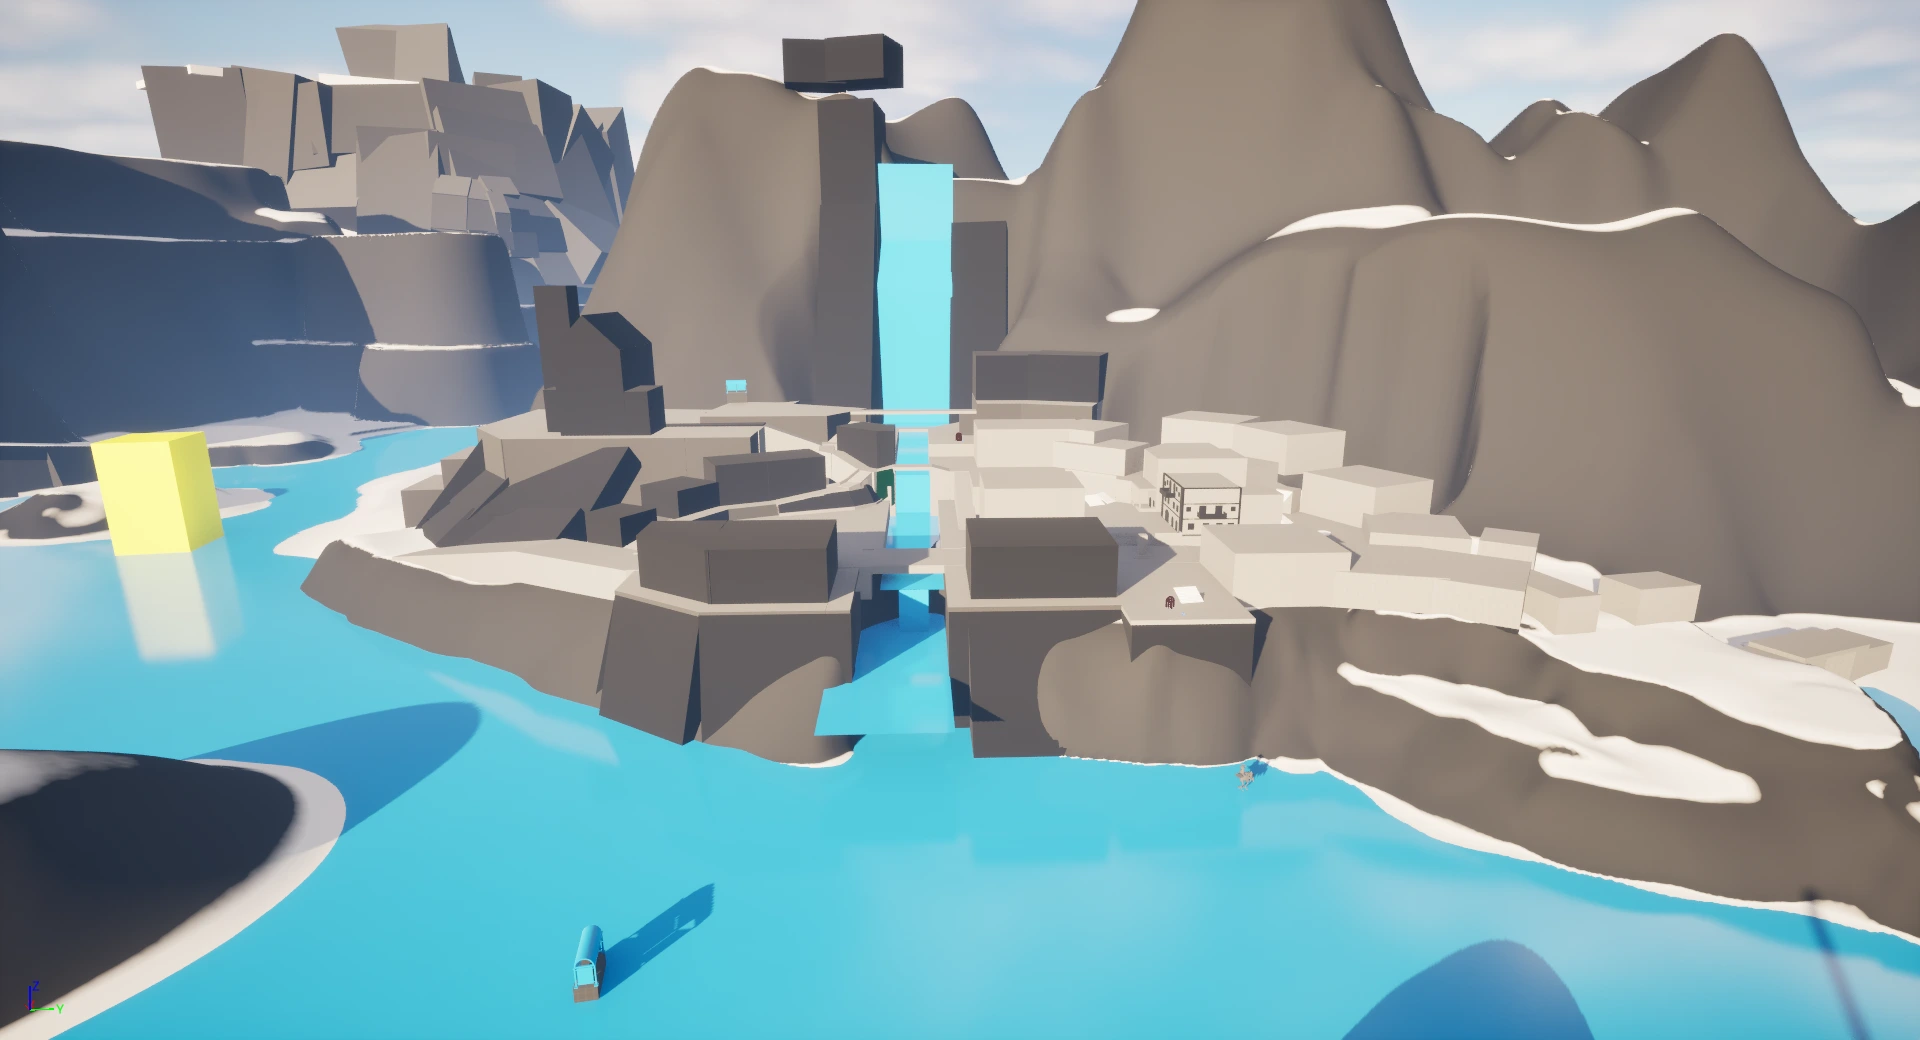
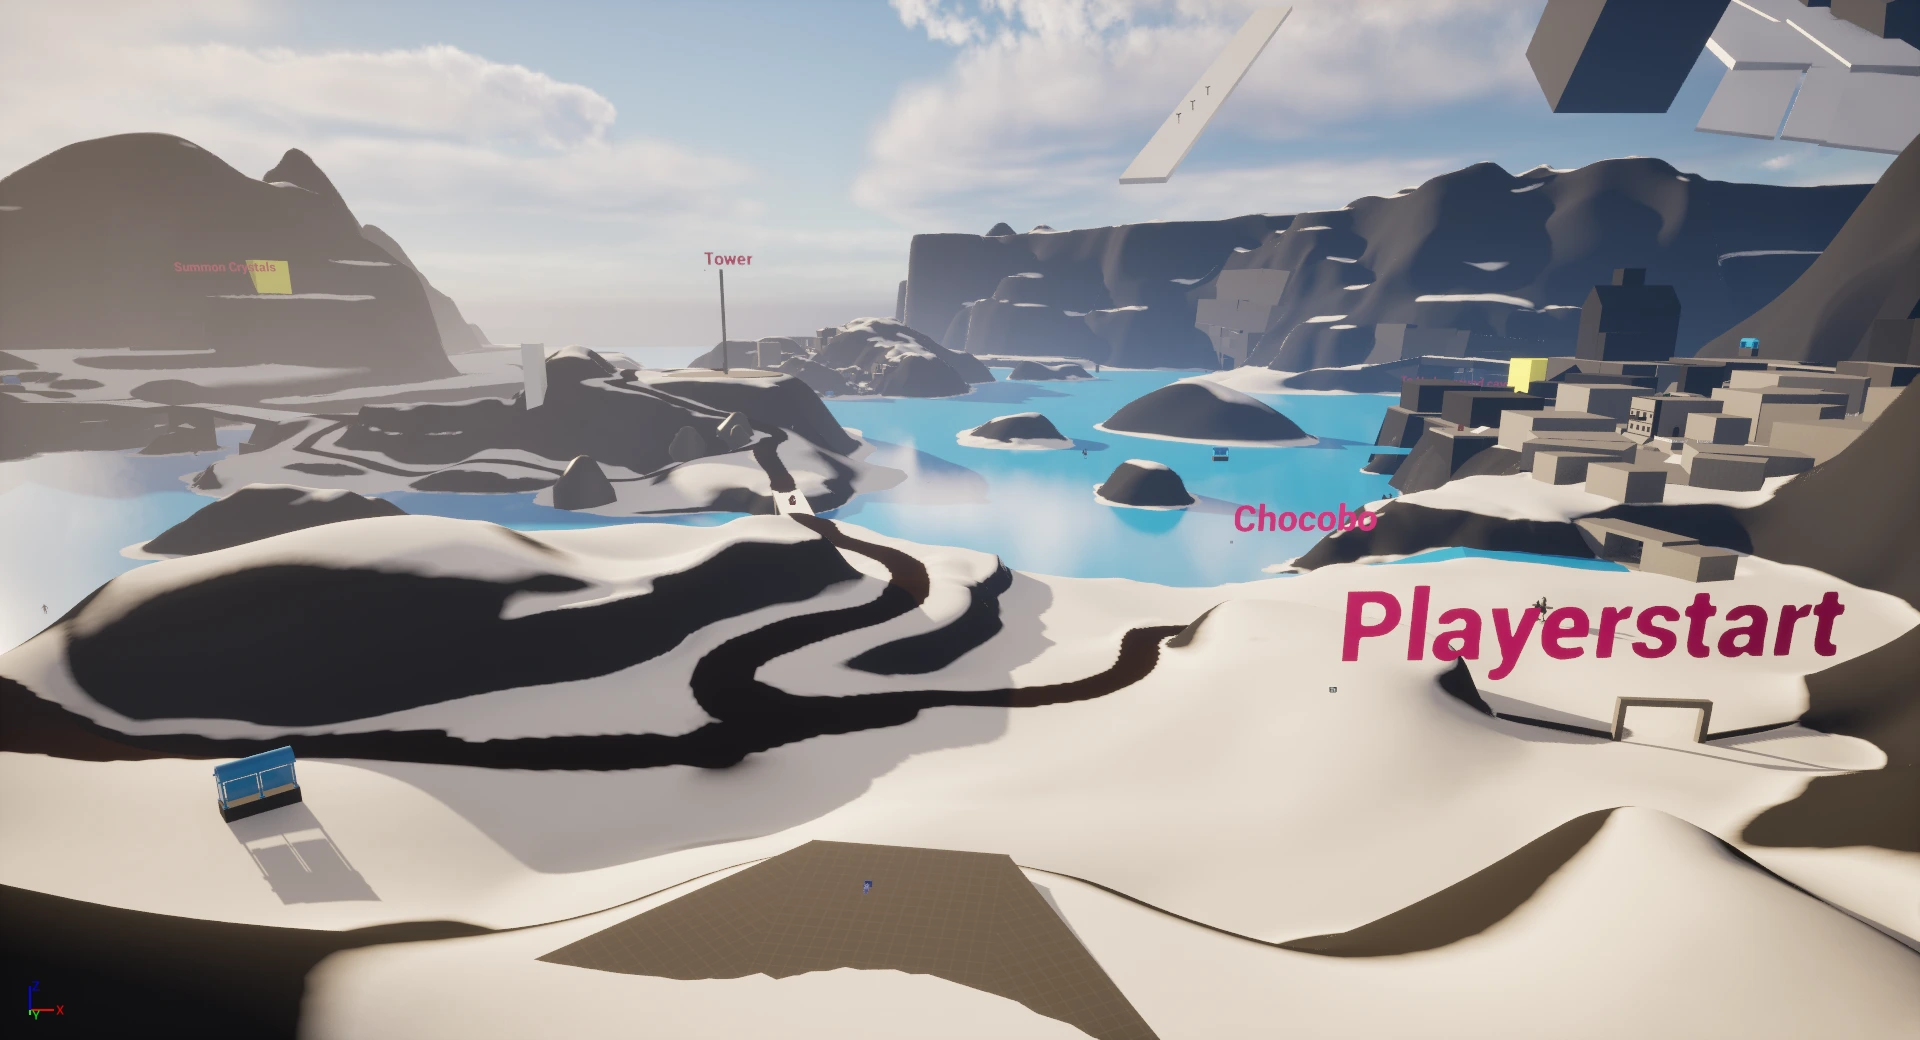
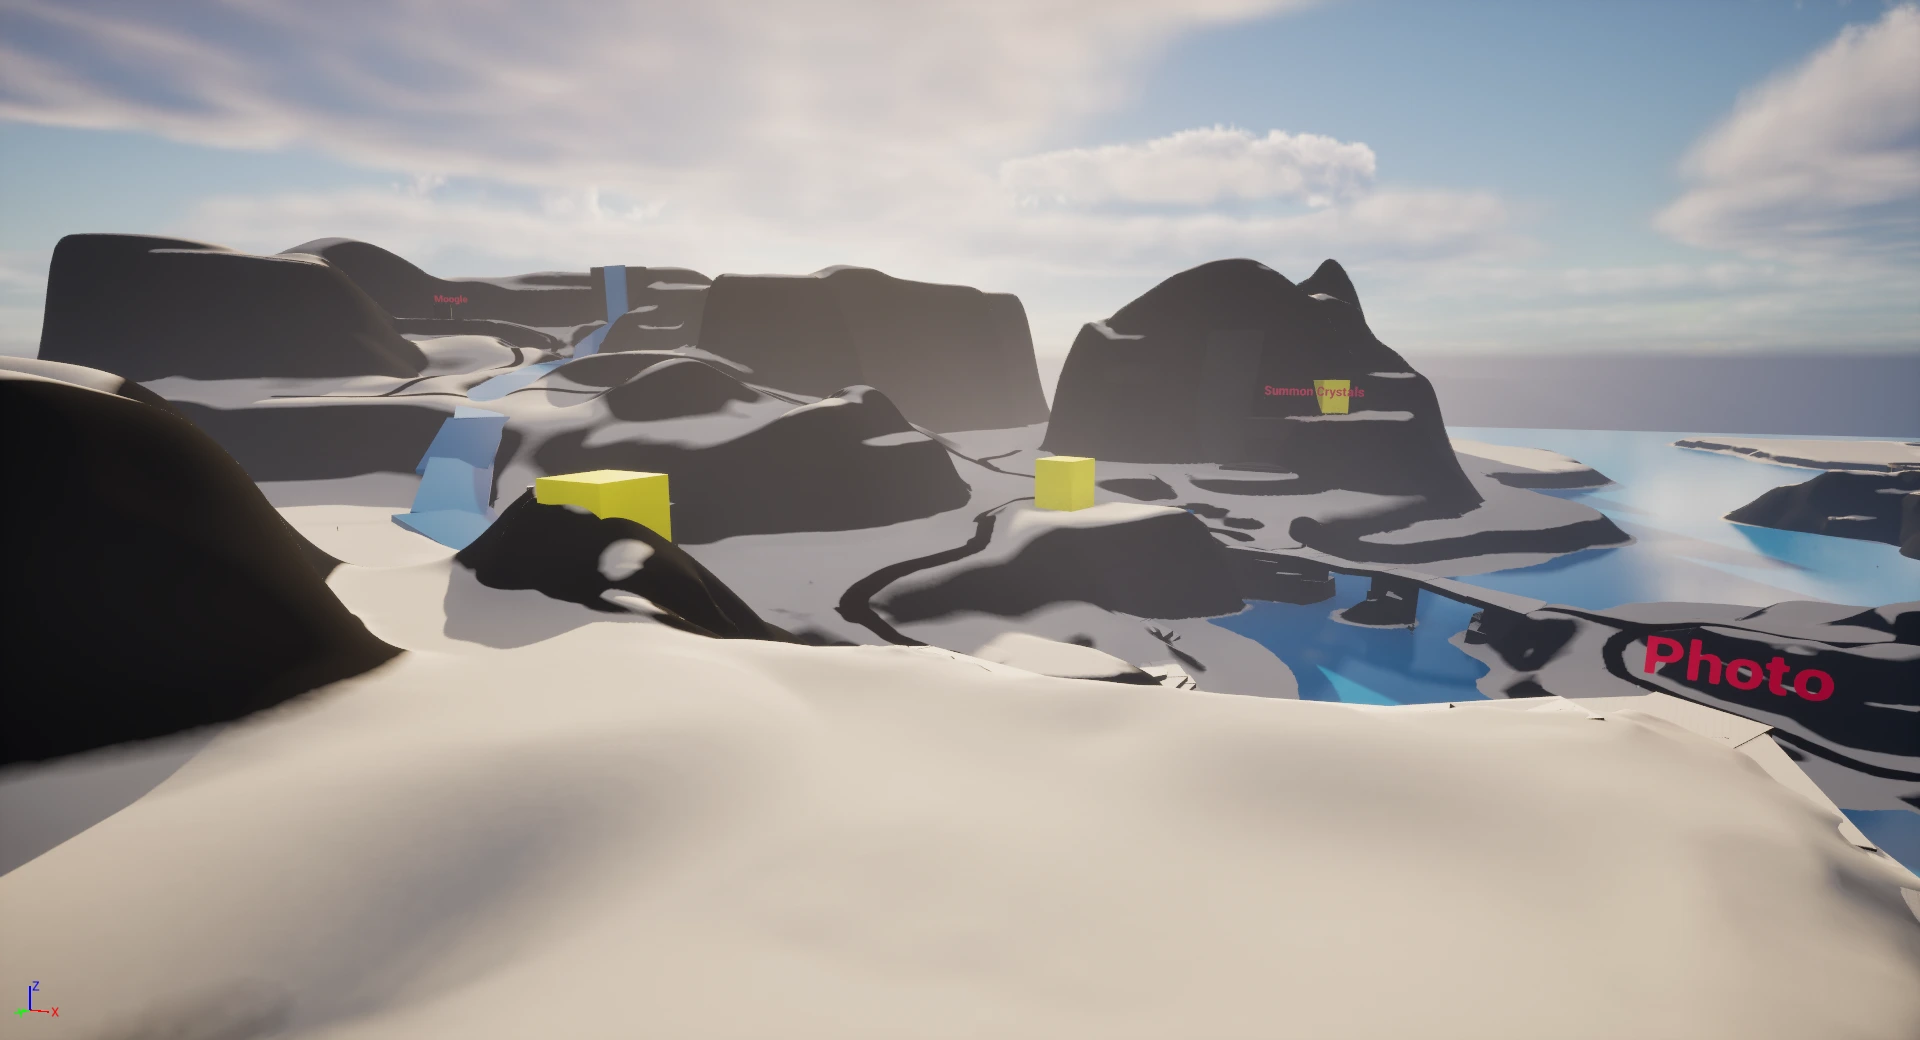
To address these problems, I,
Moved the town closer to the player’s starting area for easier access.
Added a clear path connecting the starting point, tower, and town.
Retained the Chocobo stable’s position, maintaining early chocobo access
Expanded the lake and islands, providing more skating space and improving the sense of scale.
This iteration delivered the experience I was aiming for: fast traversal, open exploration, and a believable fjord environment.
The extra spacing between islands also gave flexibility to expand the level naturally in the future, rather than carving artificial routes through mountains.
From this stage onward, I focused on iteration and polish, refining terrain shapes, readability, and flow until reaching the final result.
Ultimately, I dropped the ski slope concept mainly due to time constraints and its limited gameplay impact (though it would have been a nice visual callback to the original Final Fantasy VII).
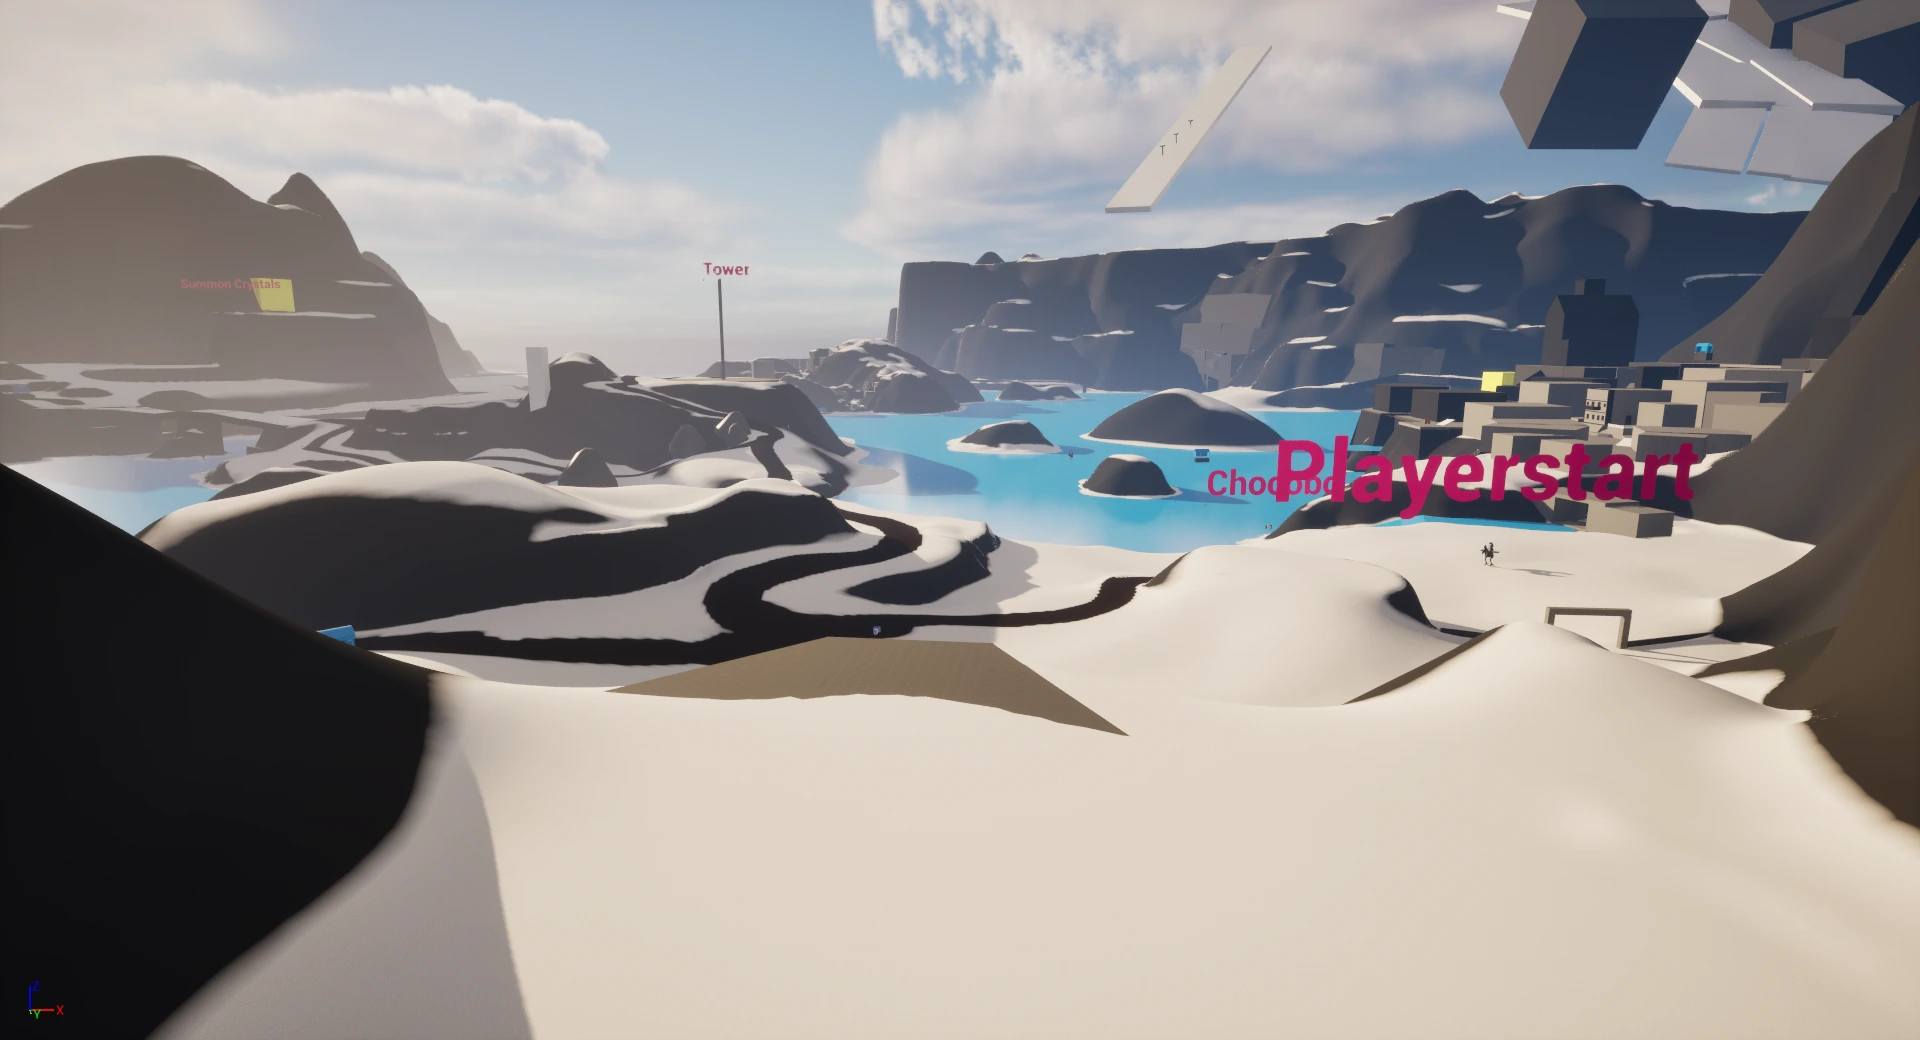
You can see how the iterations changed by the images above.
Points of Interest
Below, there is information, pictures and videos of the points of interest littered throughout this level, as well as the town.
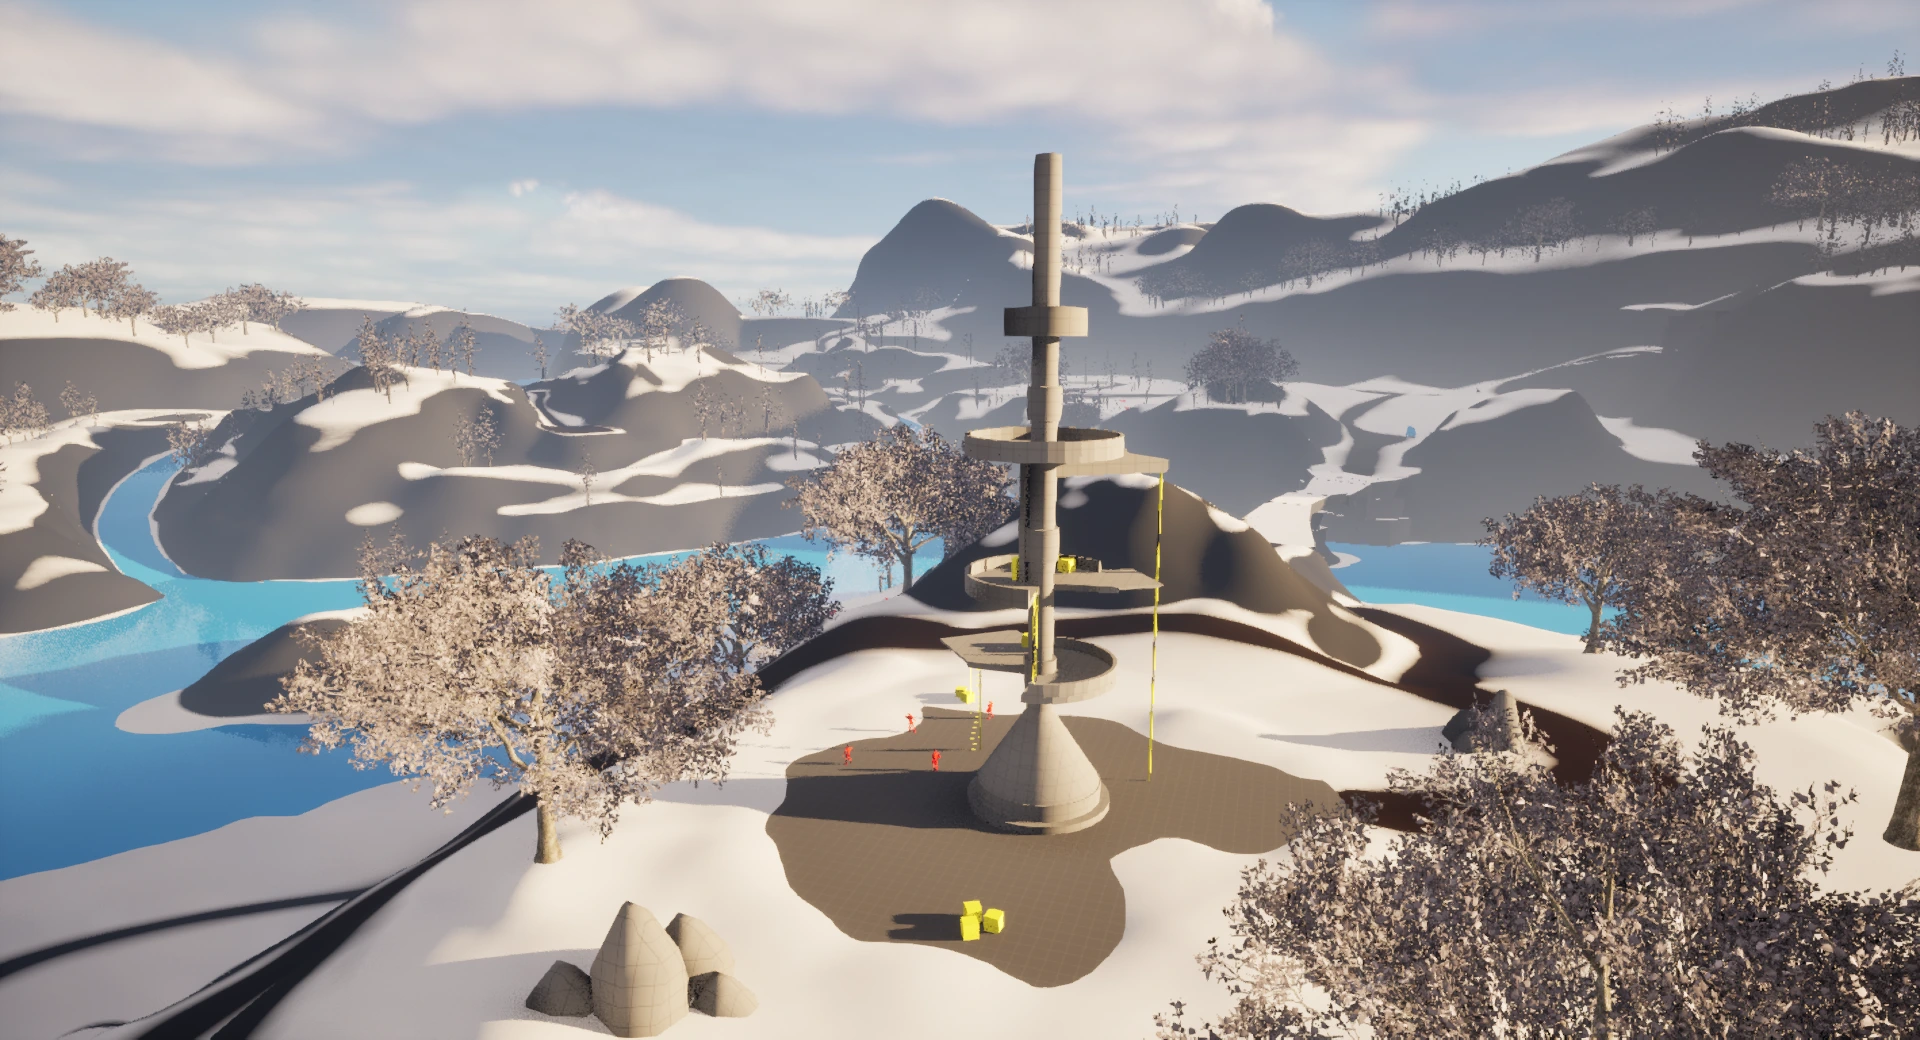
Remnawave Towers
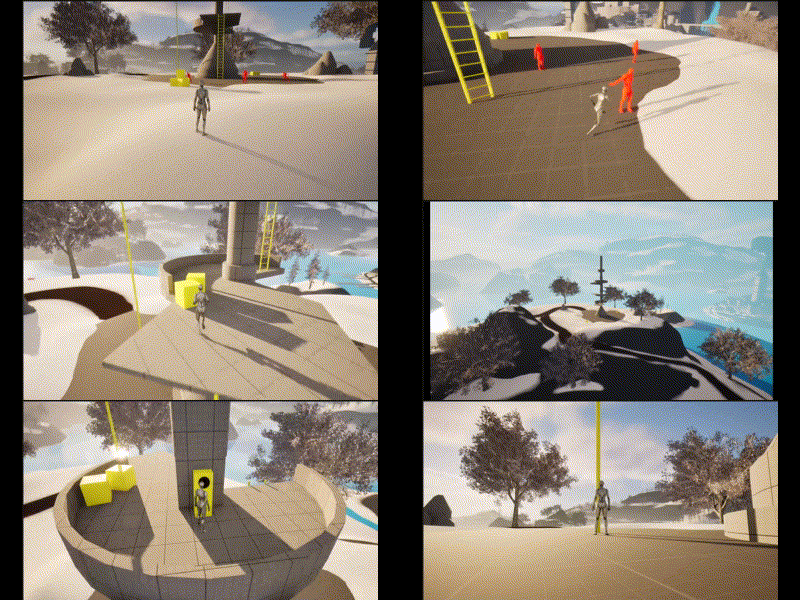
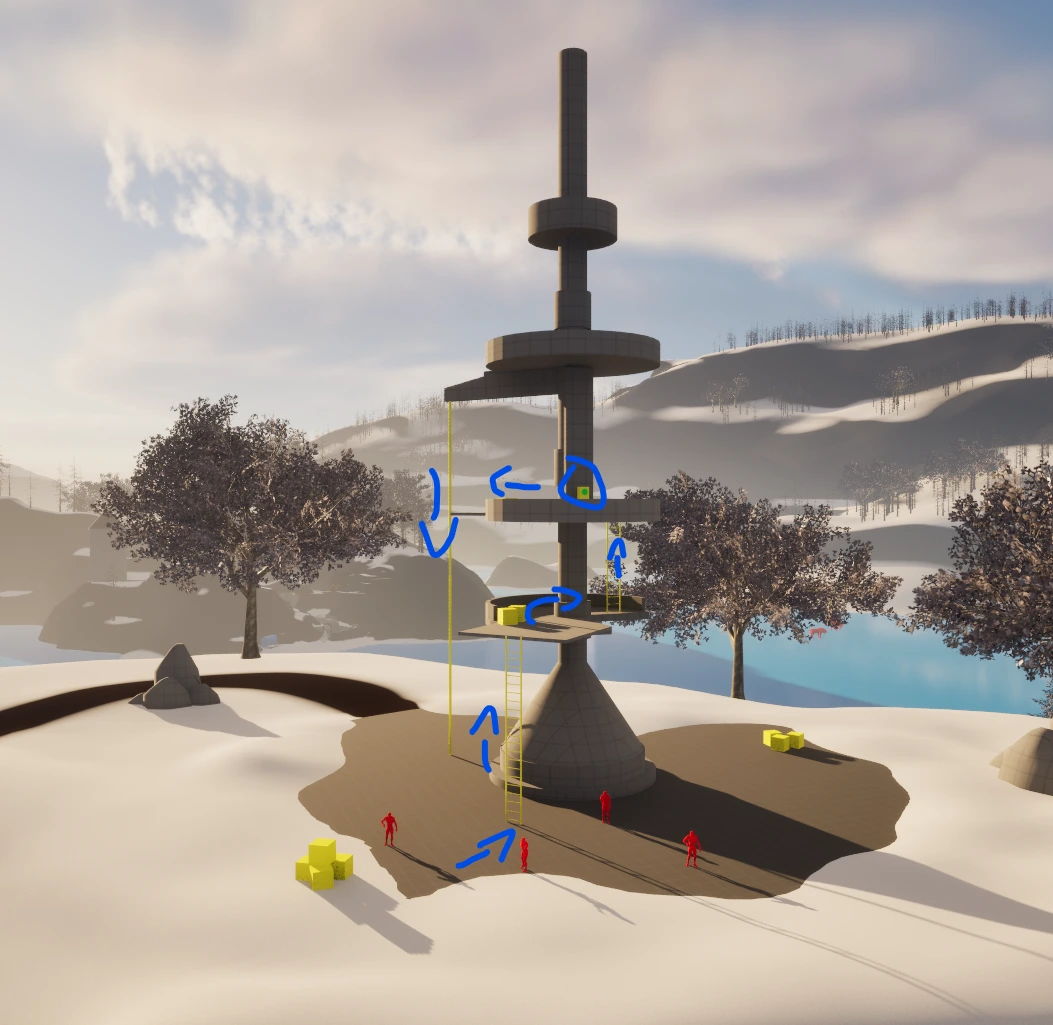
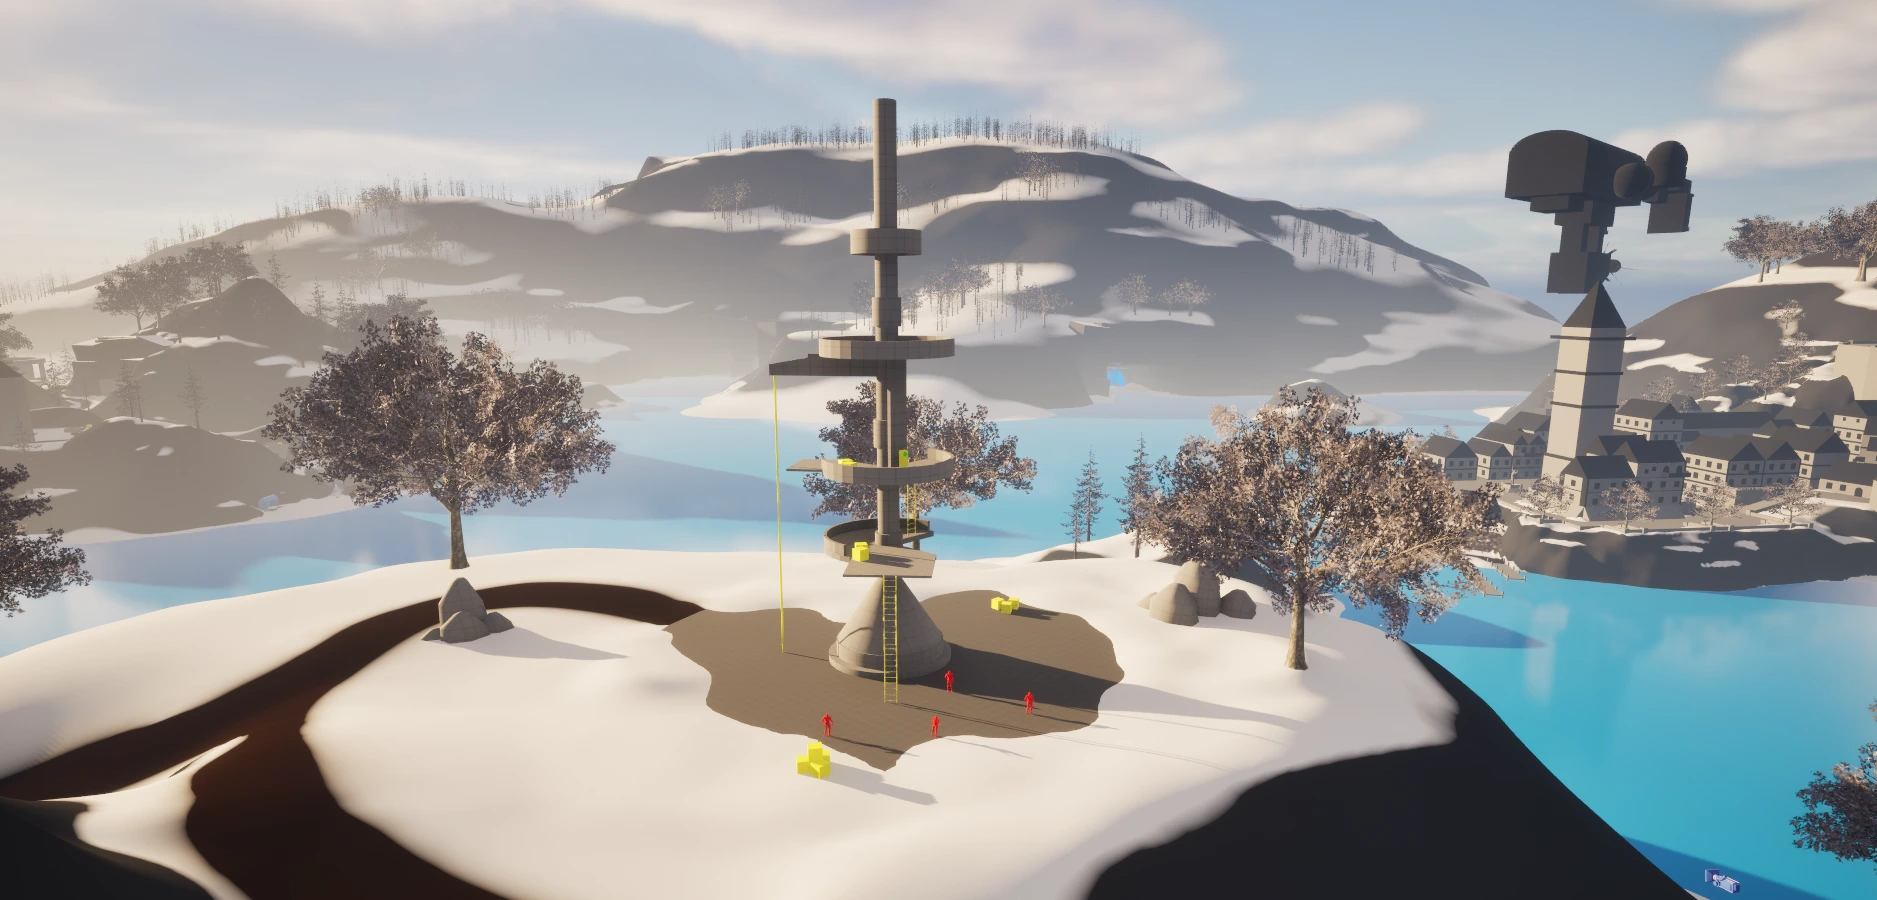
The Remnawave Tower placement was established early in development. Since activating a tower reveals nearby POIs, positioning it at the center of the map made sense both thematically and functionally.
As in Final Fantasy VII Rebirth, the tower is guarded by enemies and requires the player to complete light traversal challenges to reach the activation point. This ensures the tower feels like a focal objective and a rewarding discovery.
Lifesprings
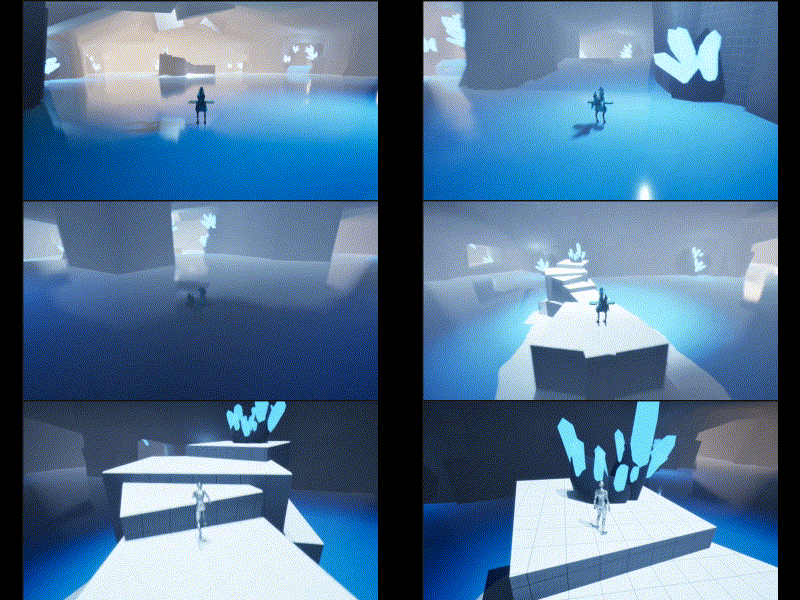
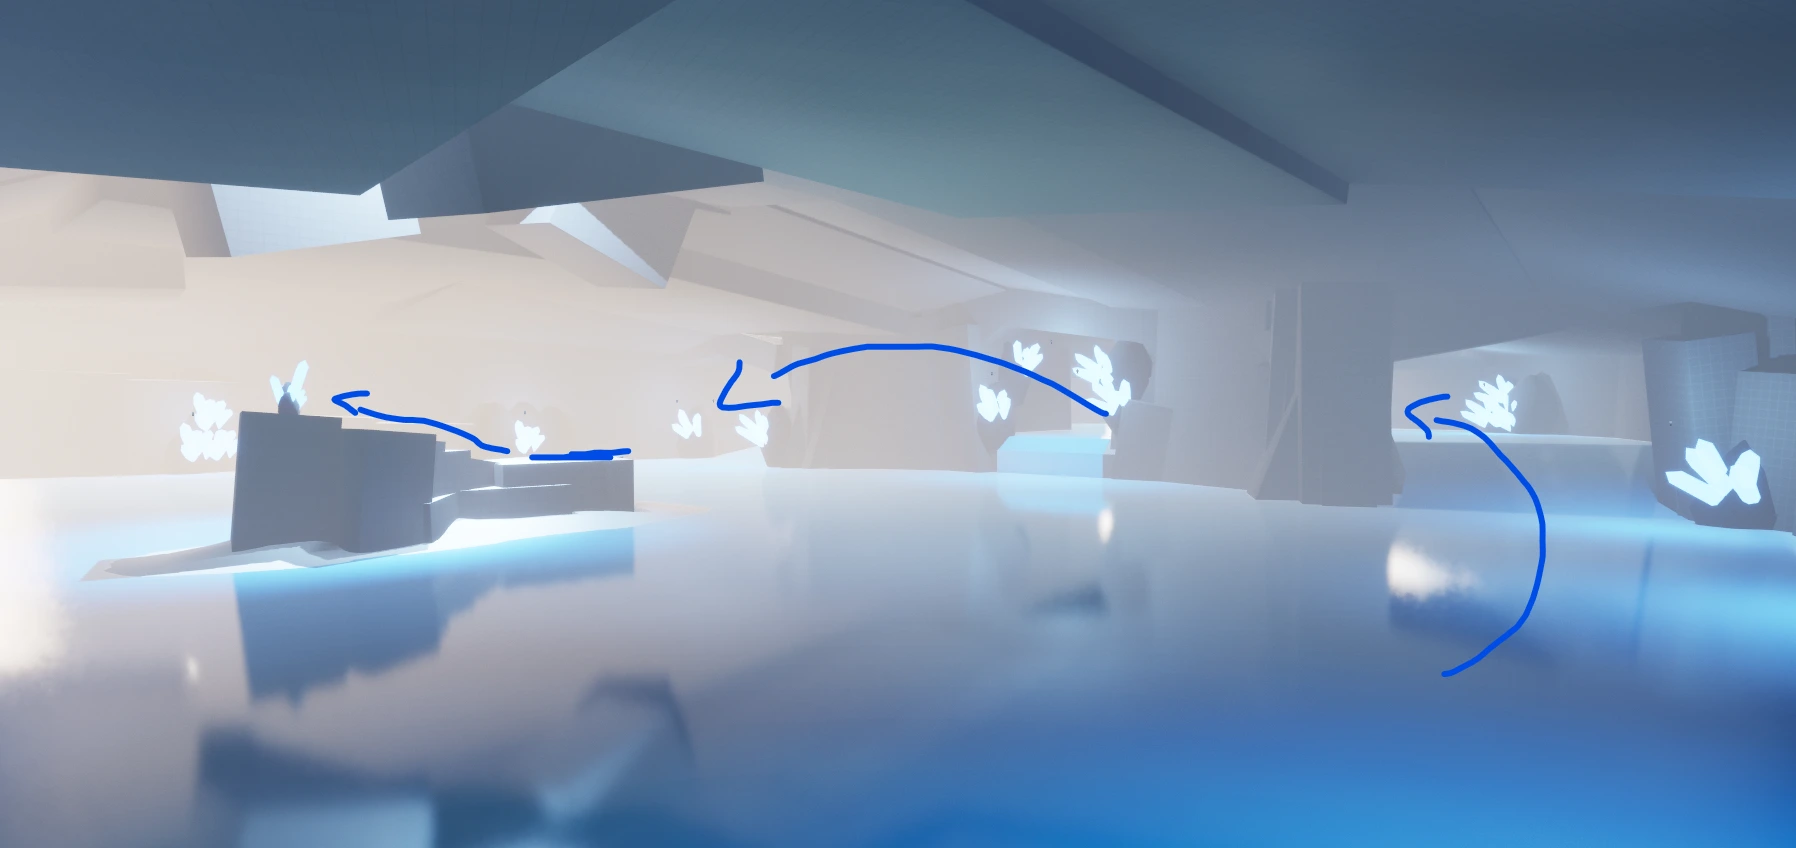
The Lifespring underwent a few iterations during development.
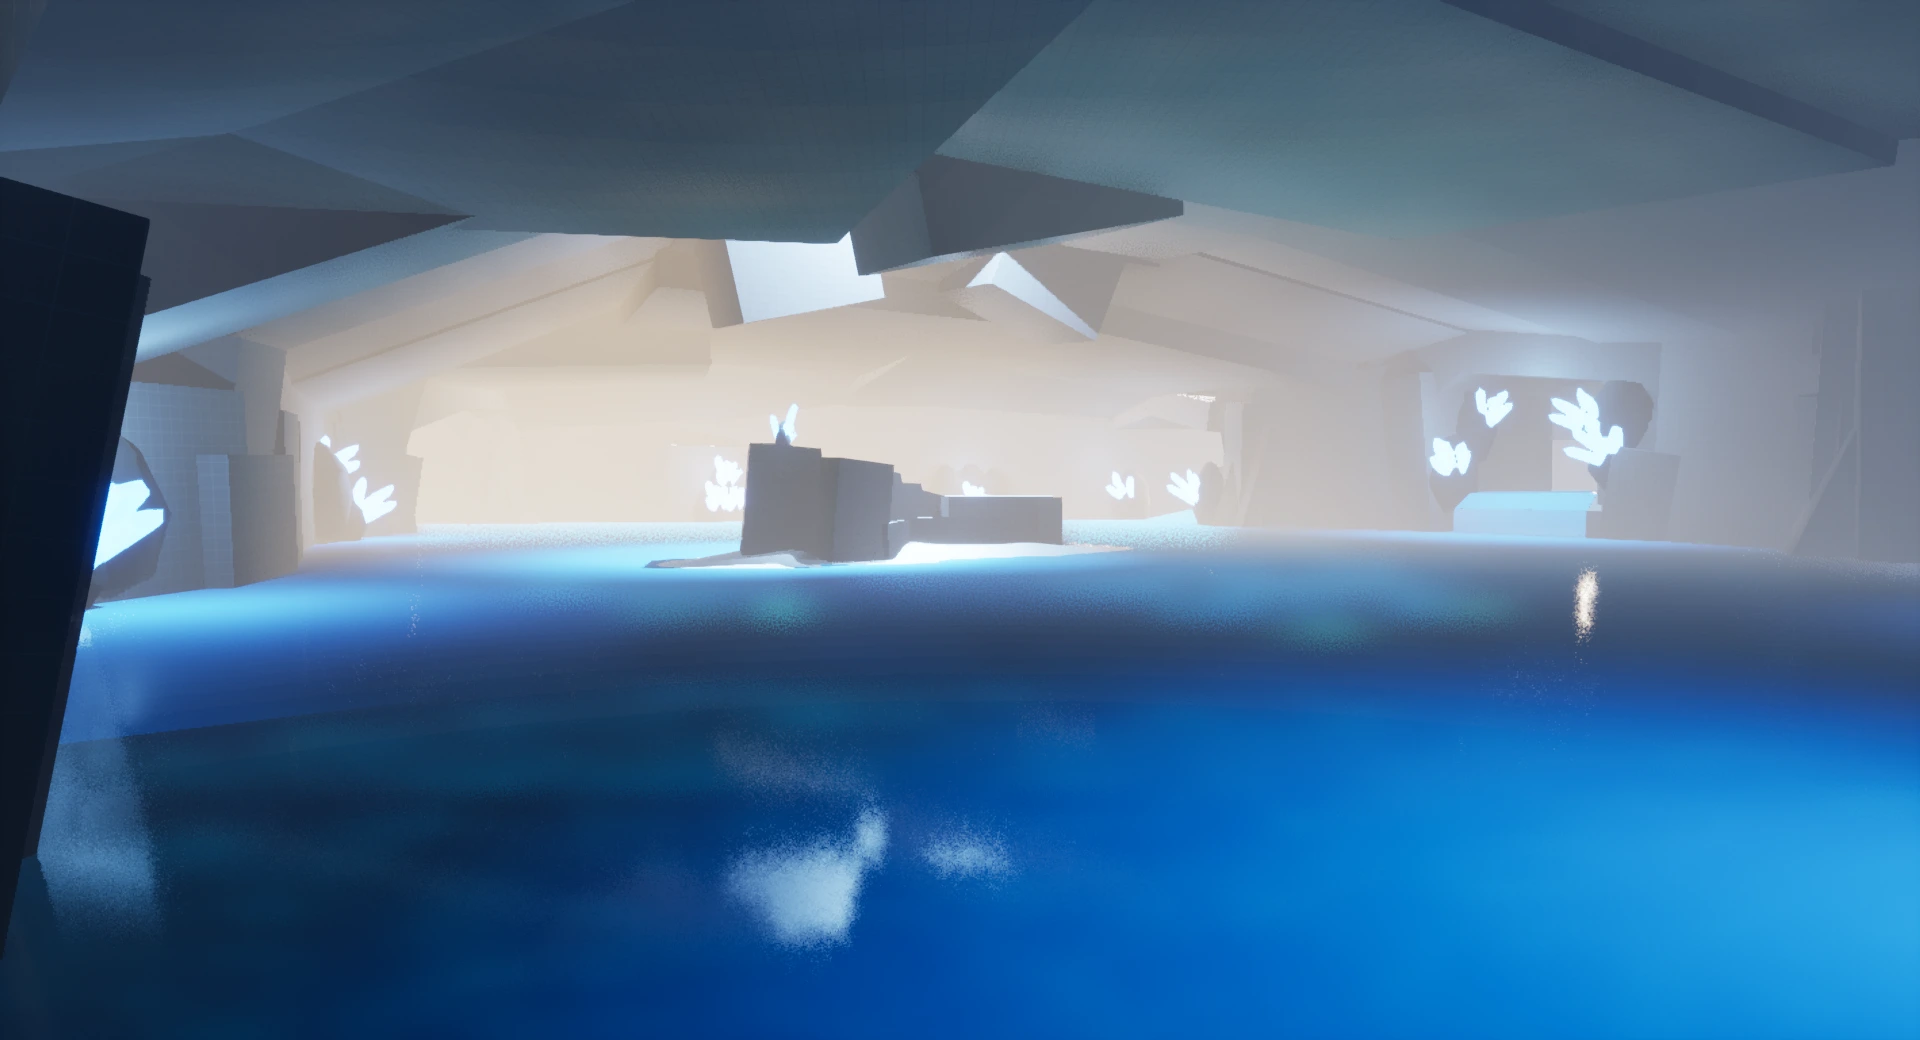
Initially, it was placed in an easily accessible location requiring no traversal. However, I later experimented with a jump-based approach, allowing players to gain speed on the ice and leap across to reach the Lifespring.
While the jumping mechanics remain a little rough at the prototype stage, the idea was to encourage momentum-based movement and make the discovery more interactive. Players can control glide direction and speed, which adds a touch of skill to the approach.
Fiend Intel / Combat Assignments
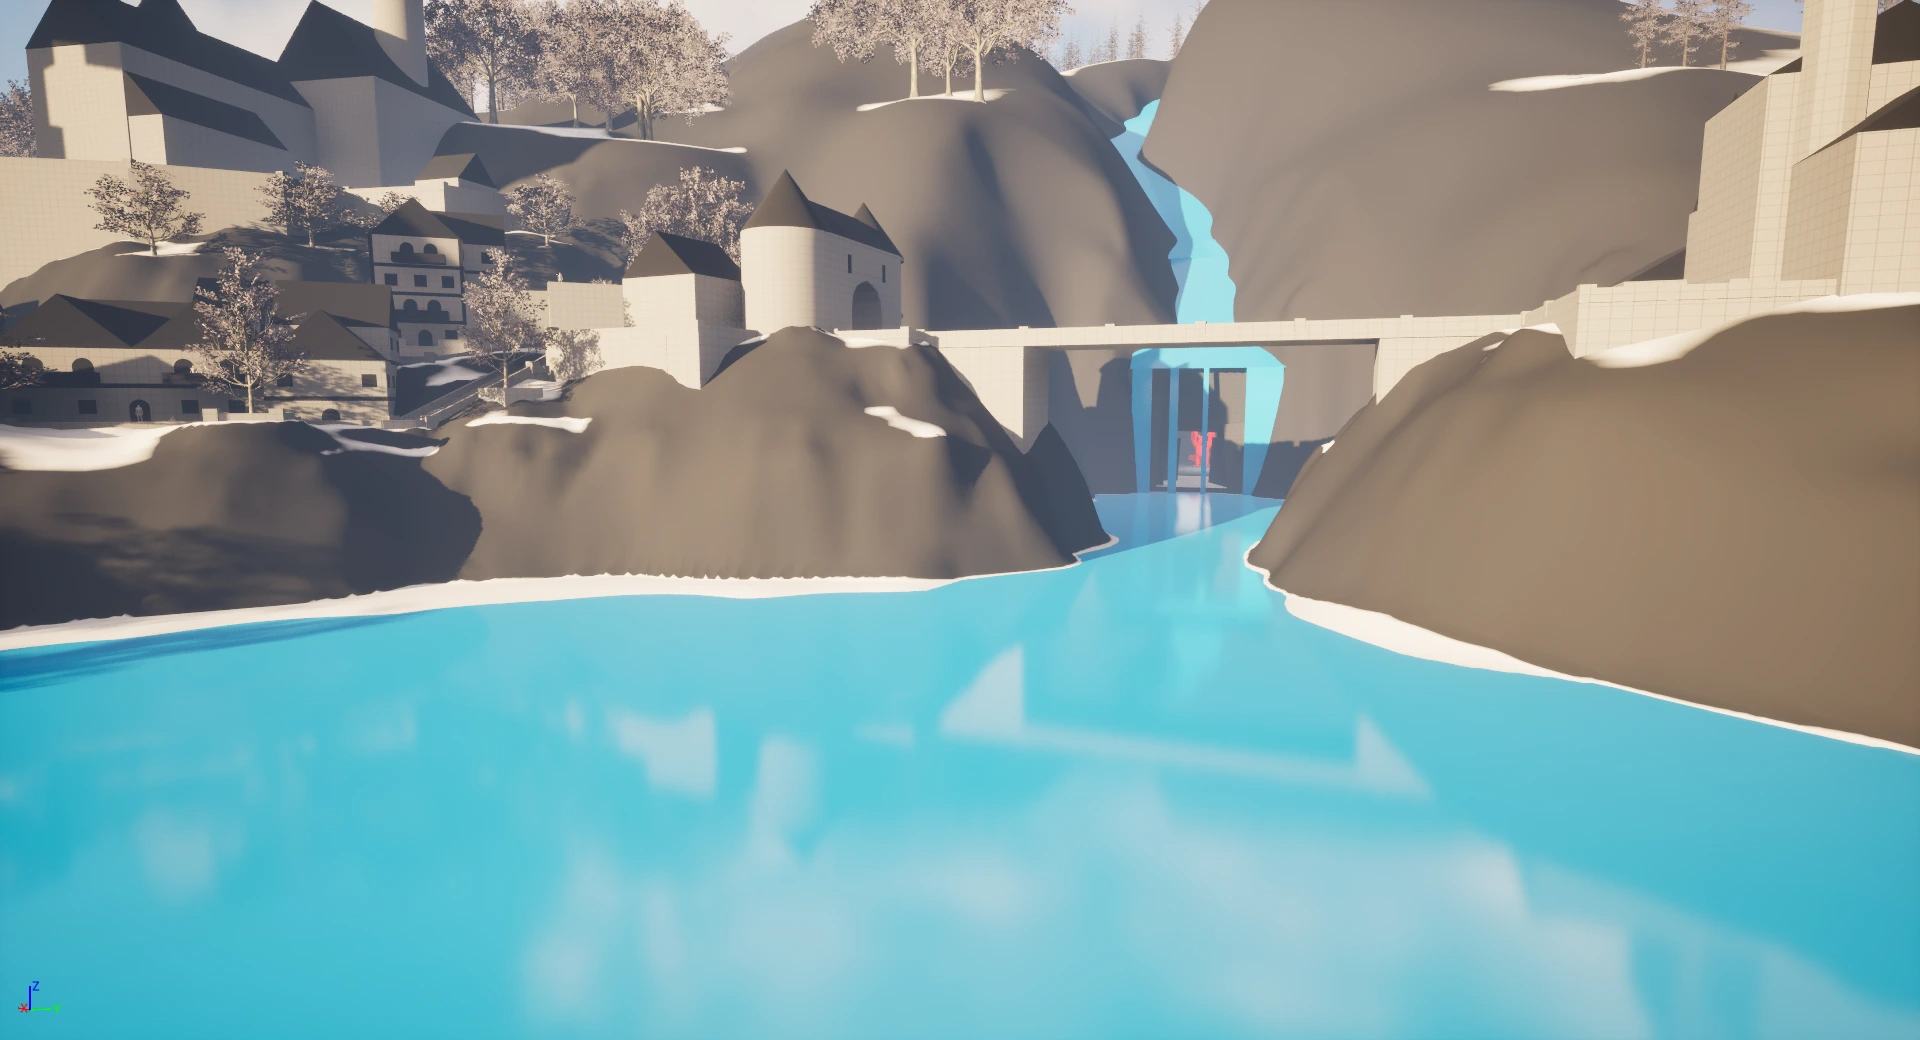
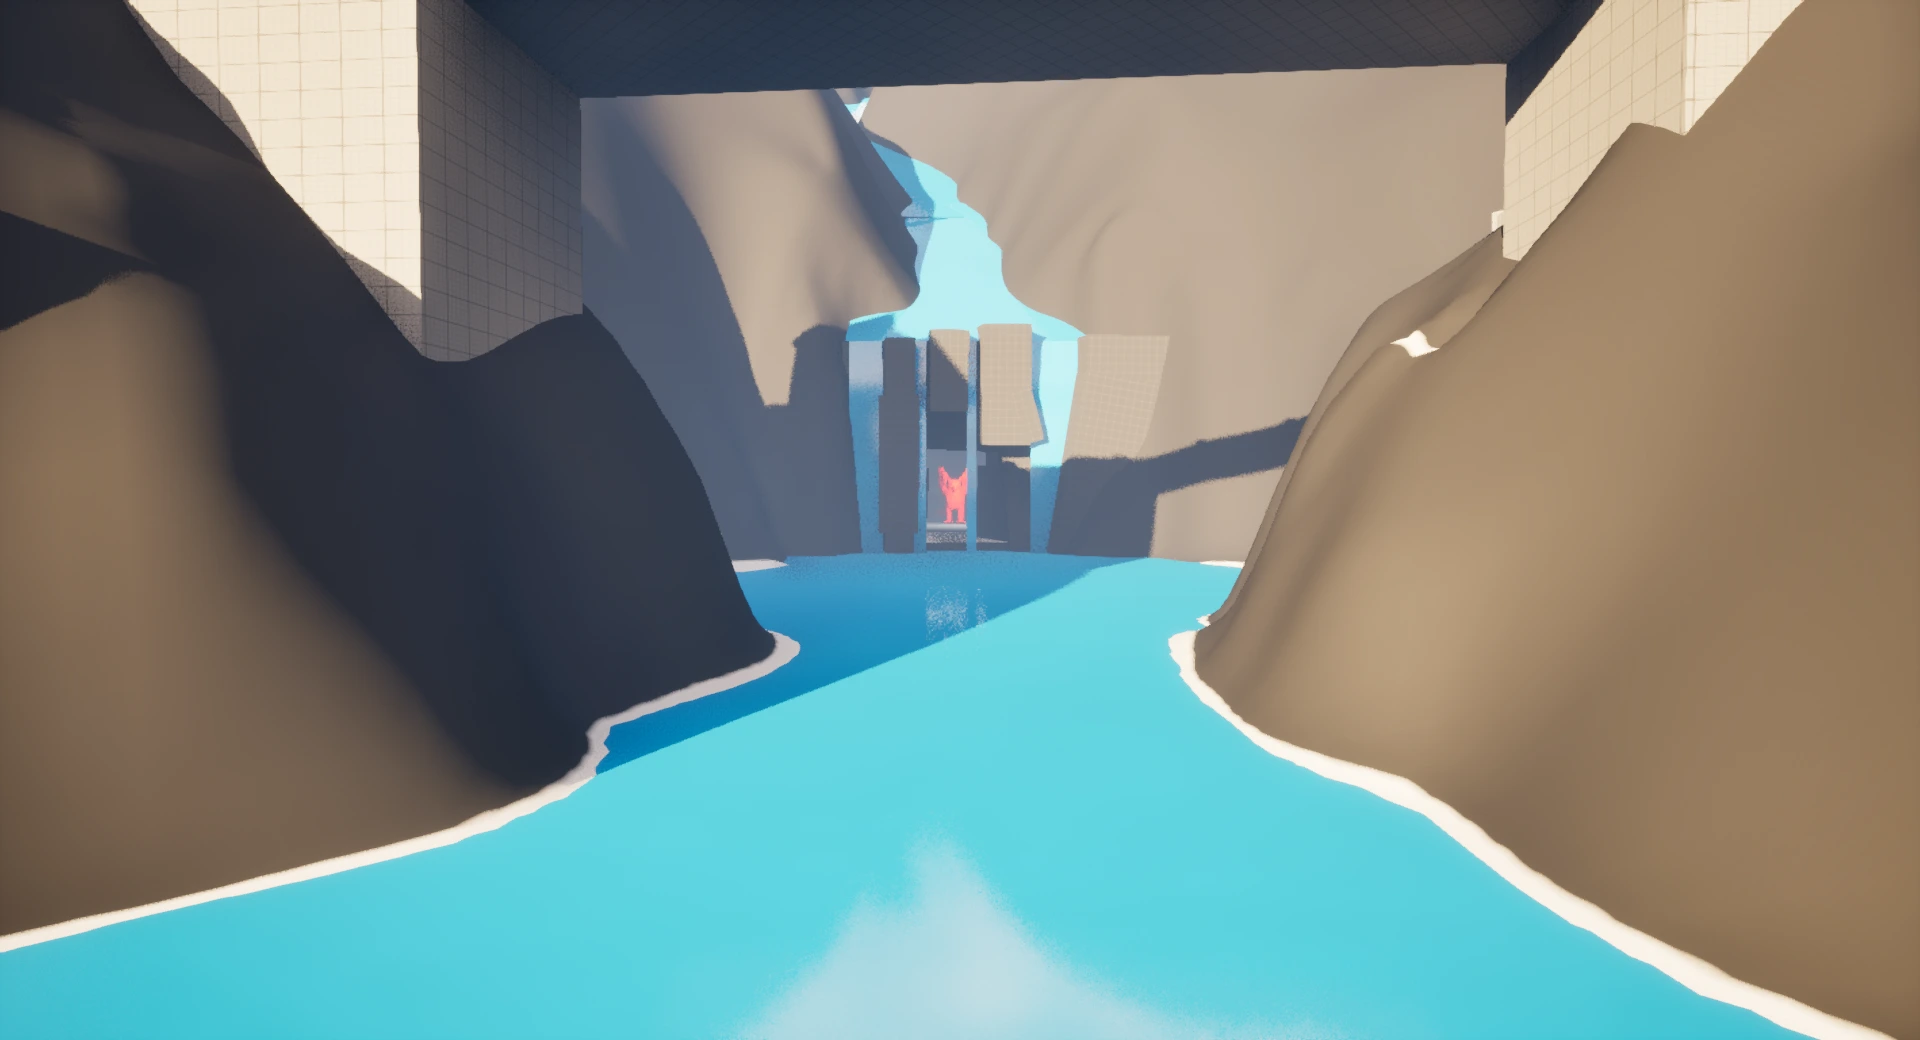
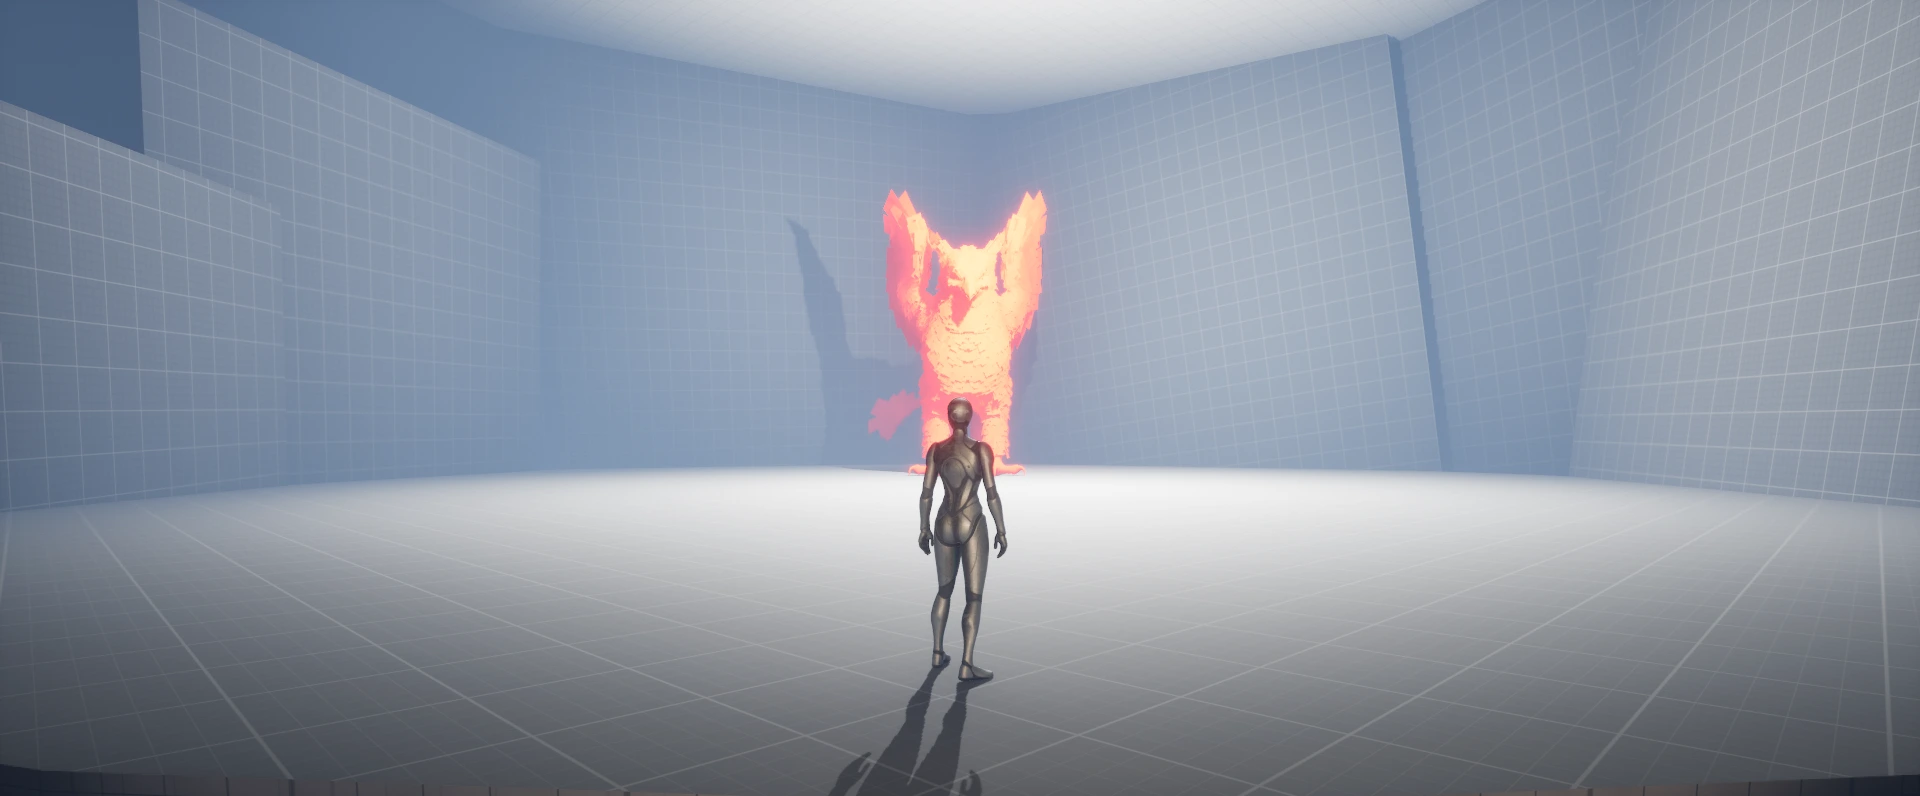
For the Fiend Intel encounter, I selected a location beneath a waterfall near the town. This made the area visible from the bridge leading into the settlement, helping to naturally draw the player’s eye and breadcrumb the encounter without the need for explicit guidance.
The area also provides sufficient open space for combat, ensuring that enemy encounters play out smoothly.
Divine Intel / Sanctuaries
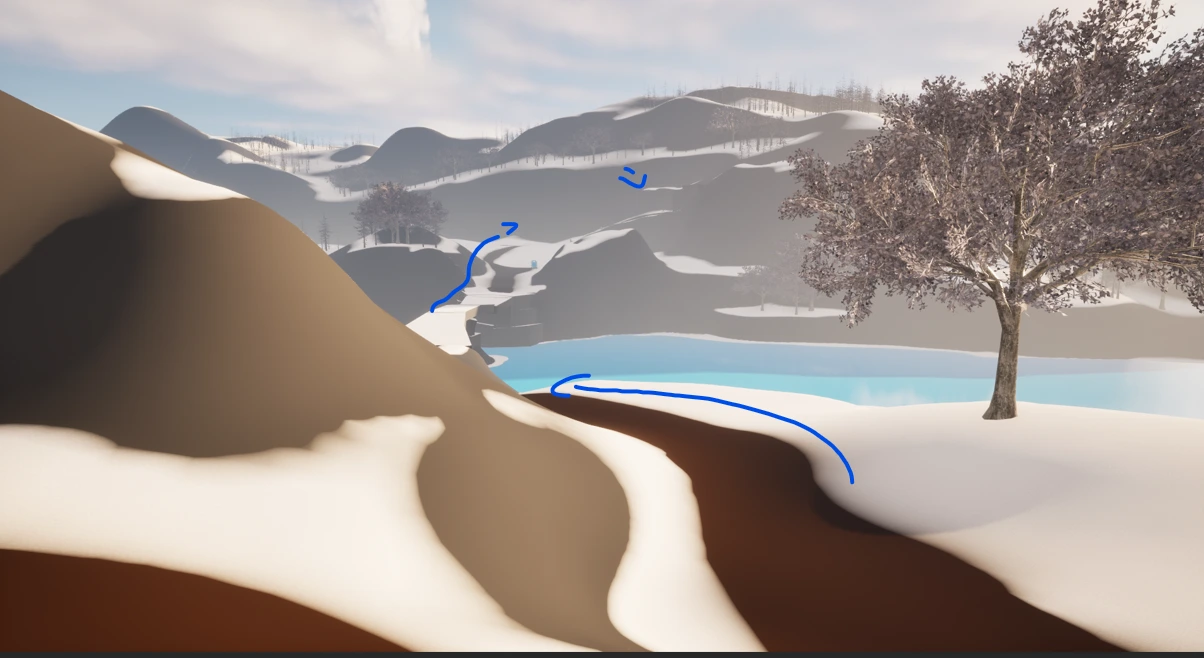
The Divine Intel Shrine is designed to be easily discoverable from the tower’s vantage point.
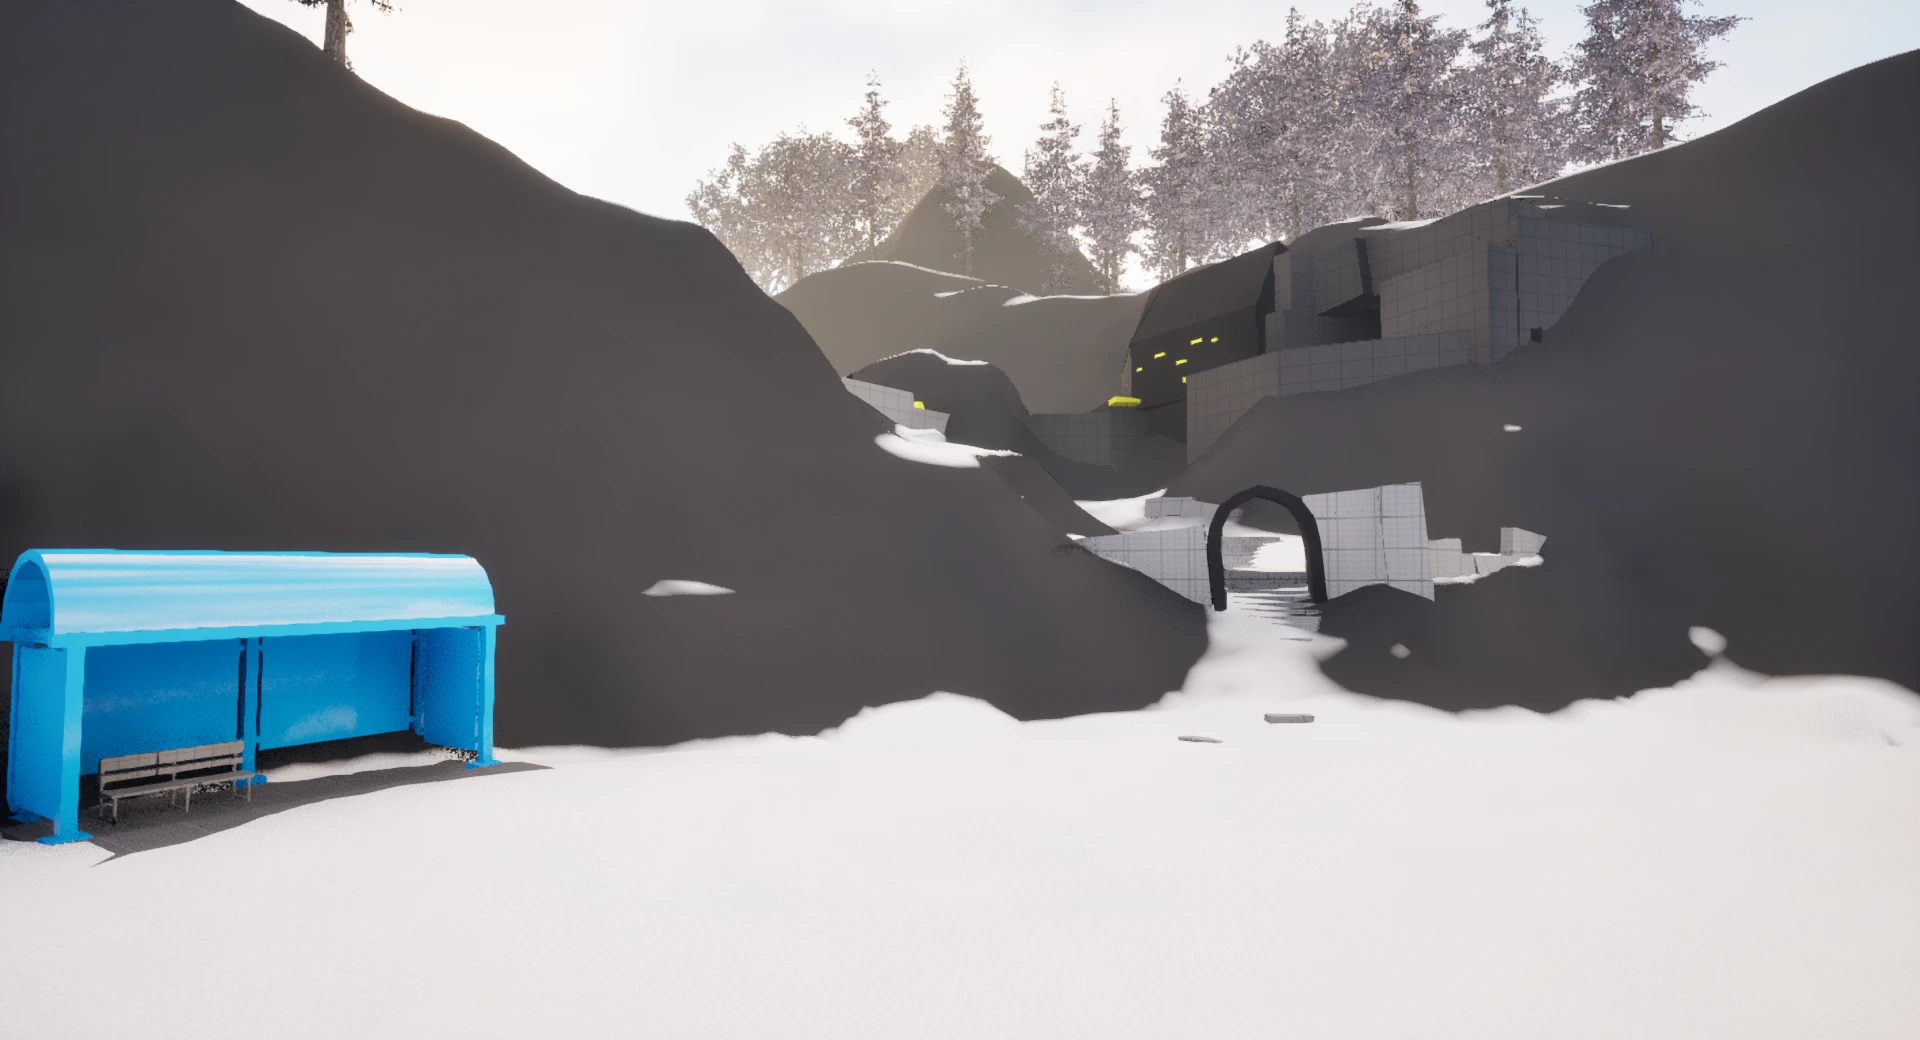
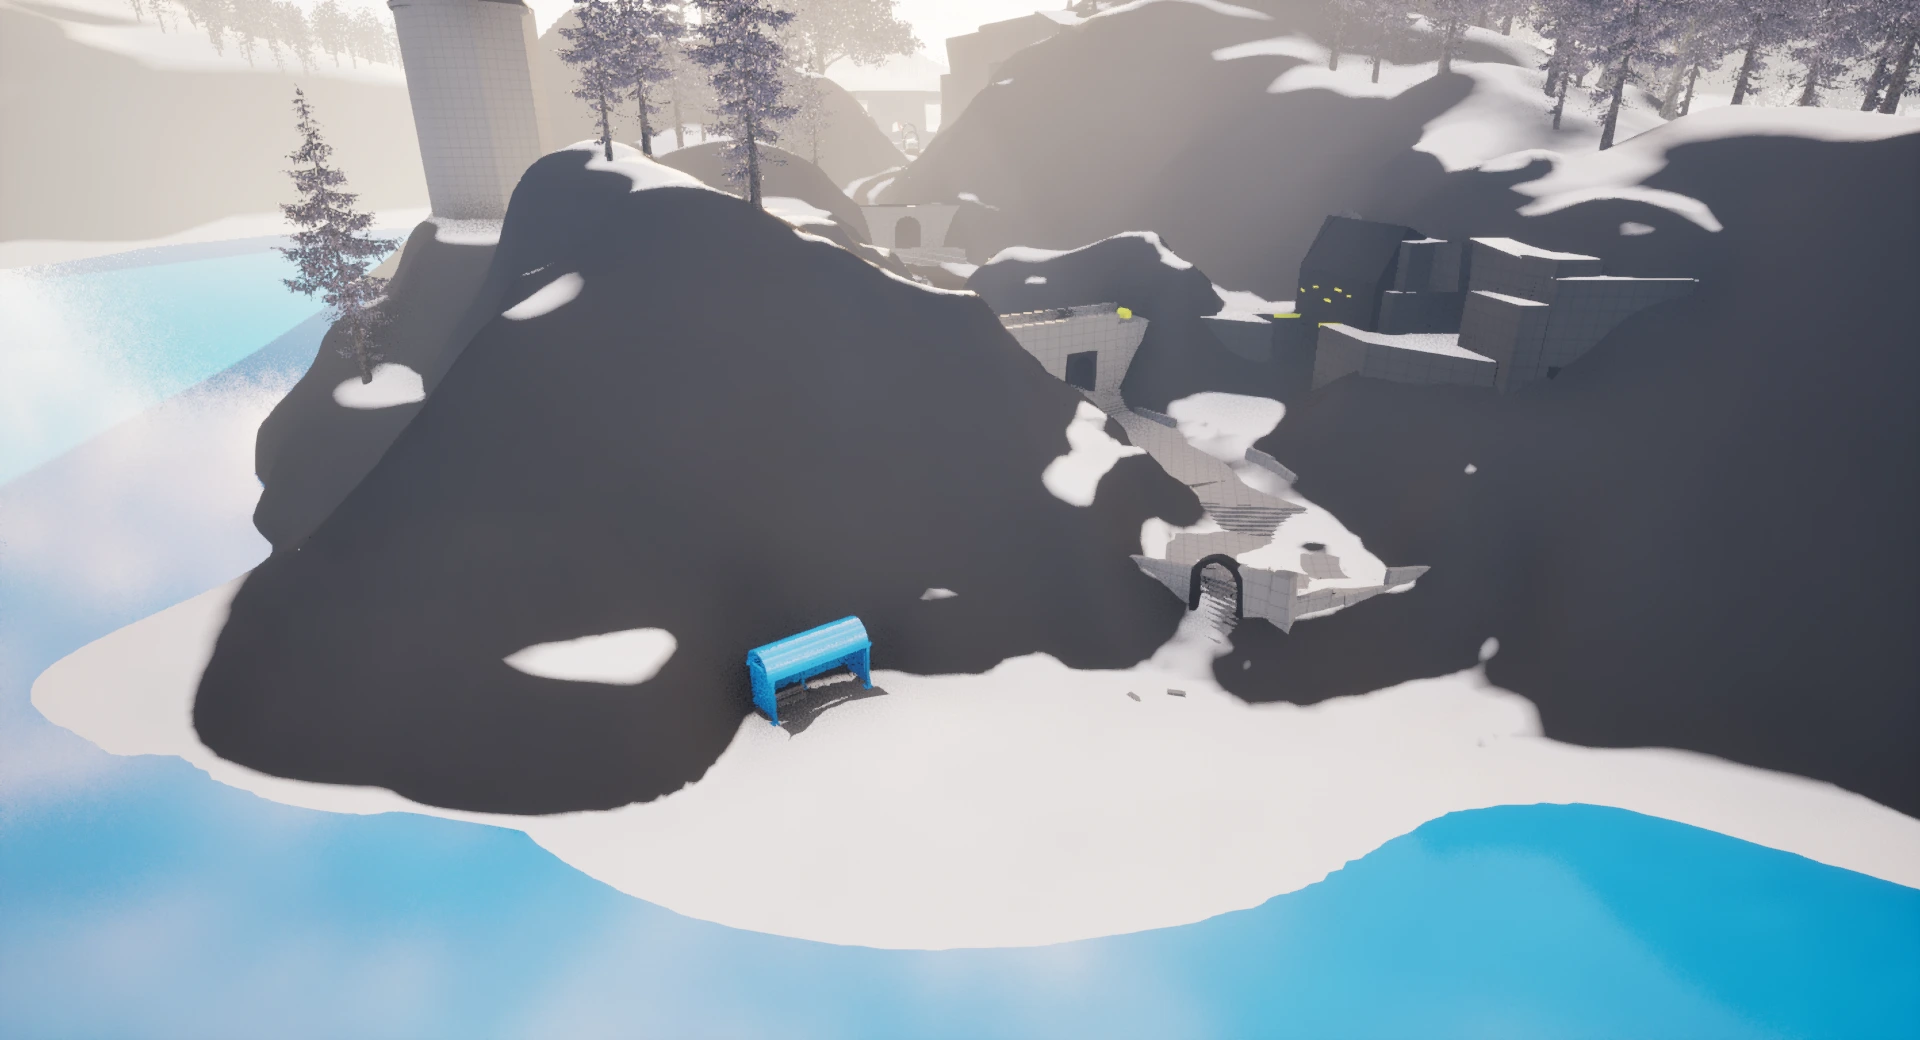
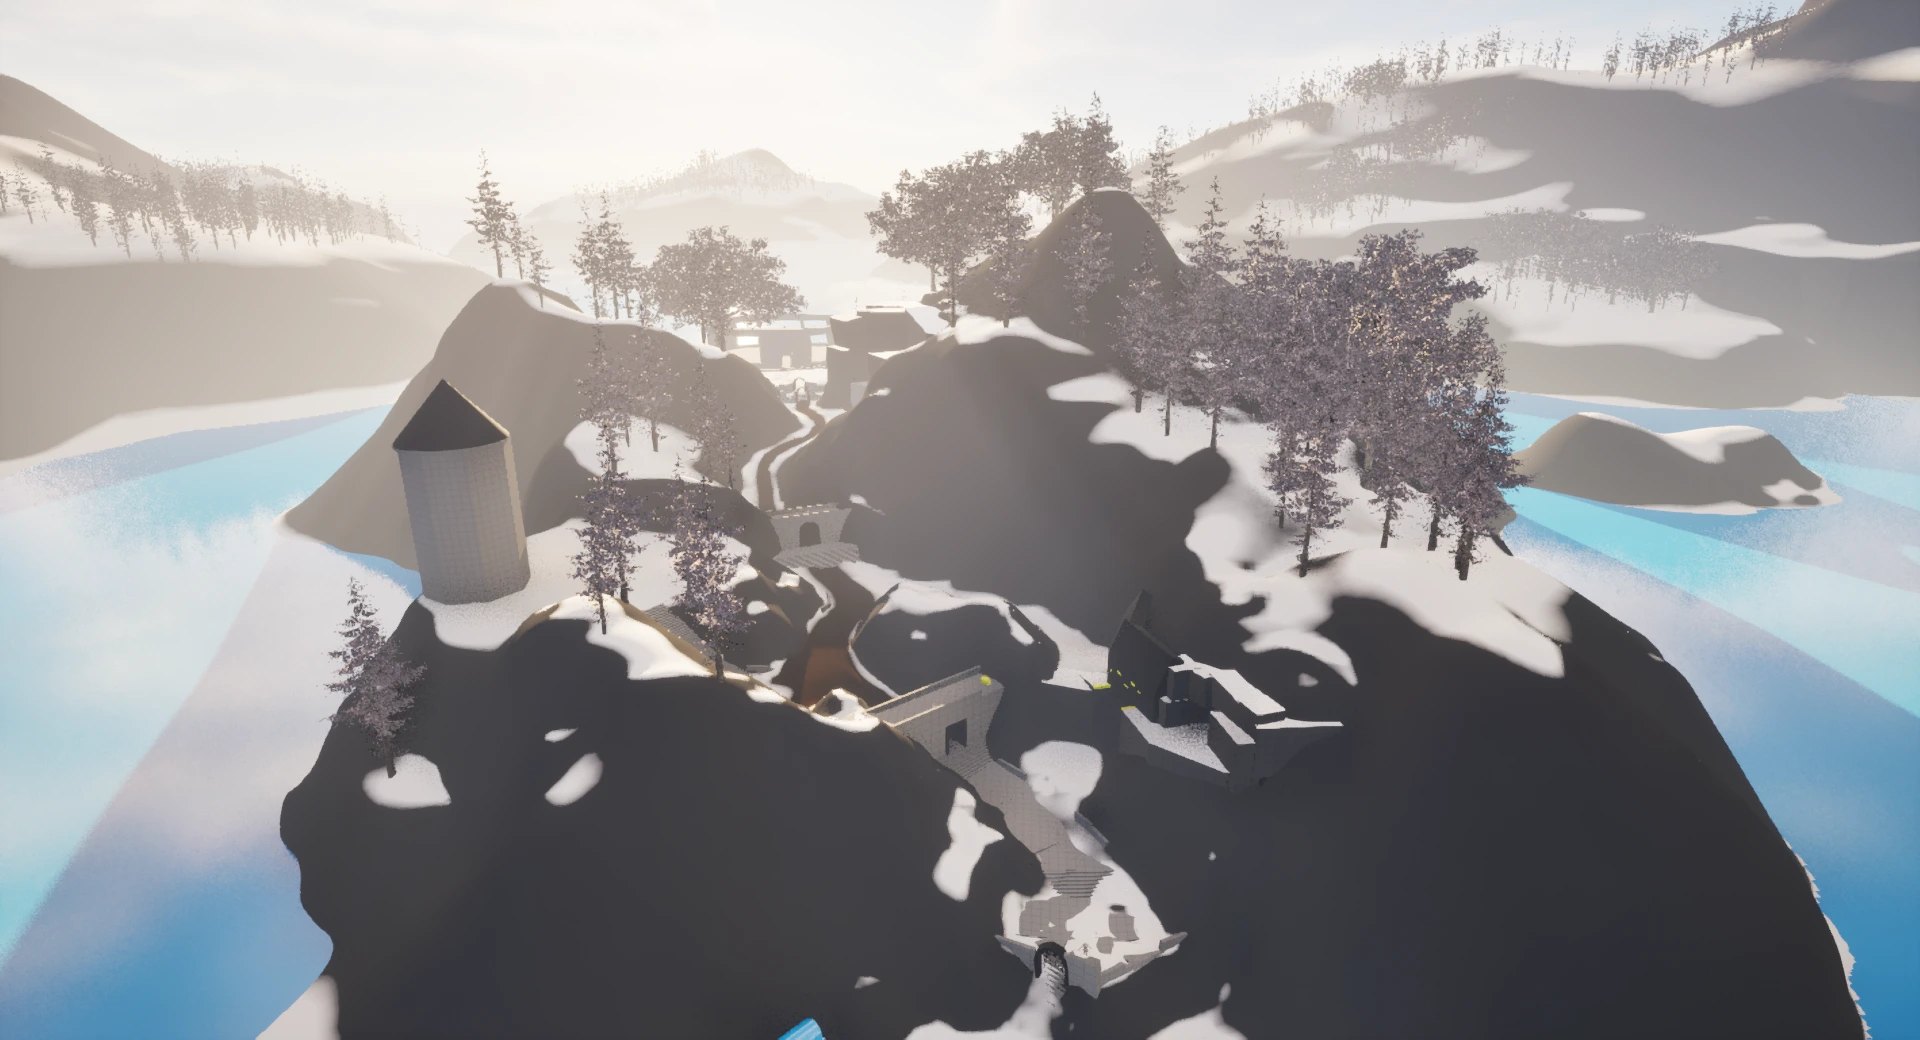
To subtly guide players toward it, I added a visible “rest stop” (bus stop) nearby, a familiar landmark type from FF7 Rebirth’s open world.
Around the shrine’s entrance, I placed what would be glowing cubes with sigils, echoing the visual storytelling of the original game, where similar props hint at the summon or divine power awaiting within.
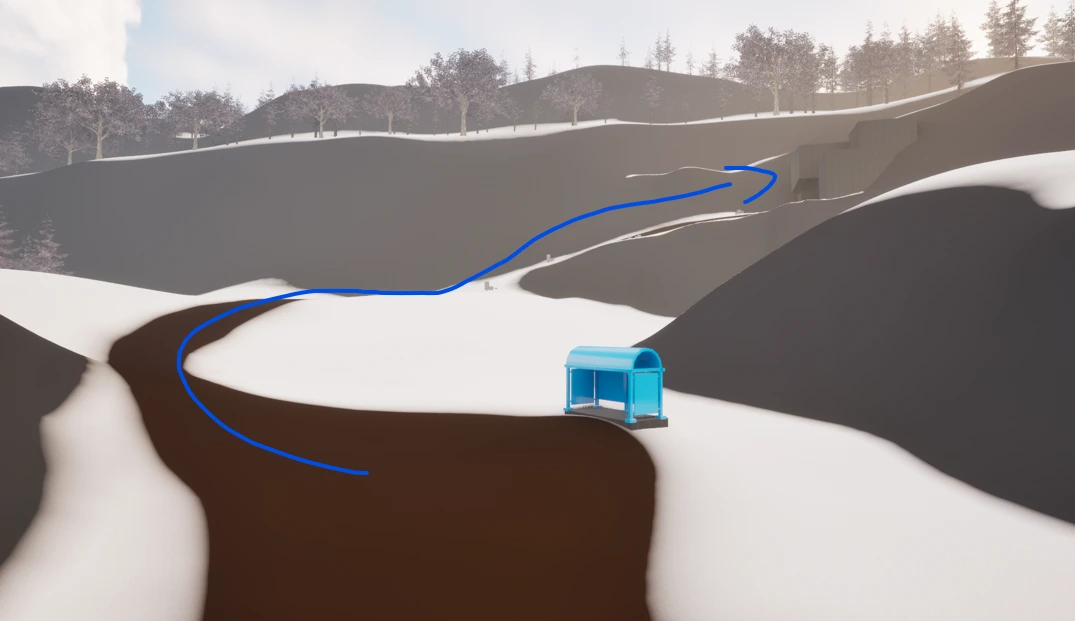
Using the rest stop as a breadcrumb to the cave entrance
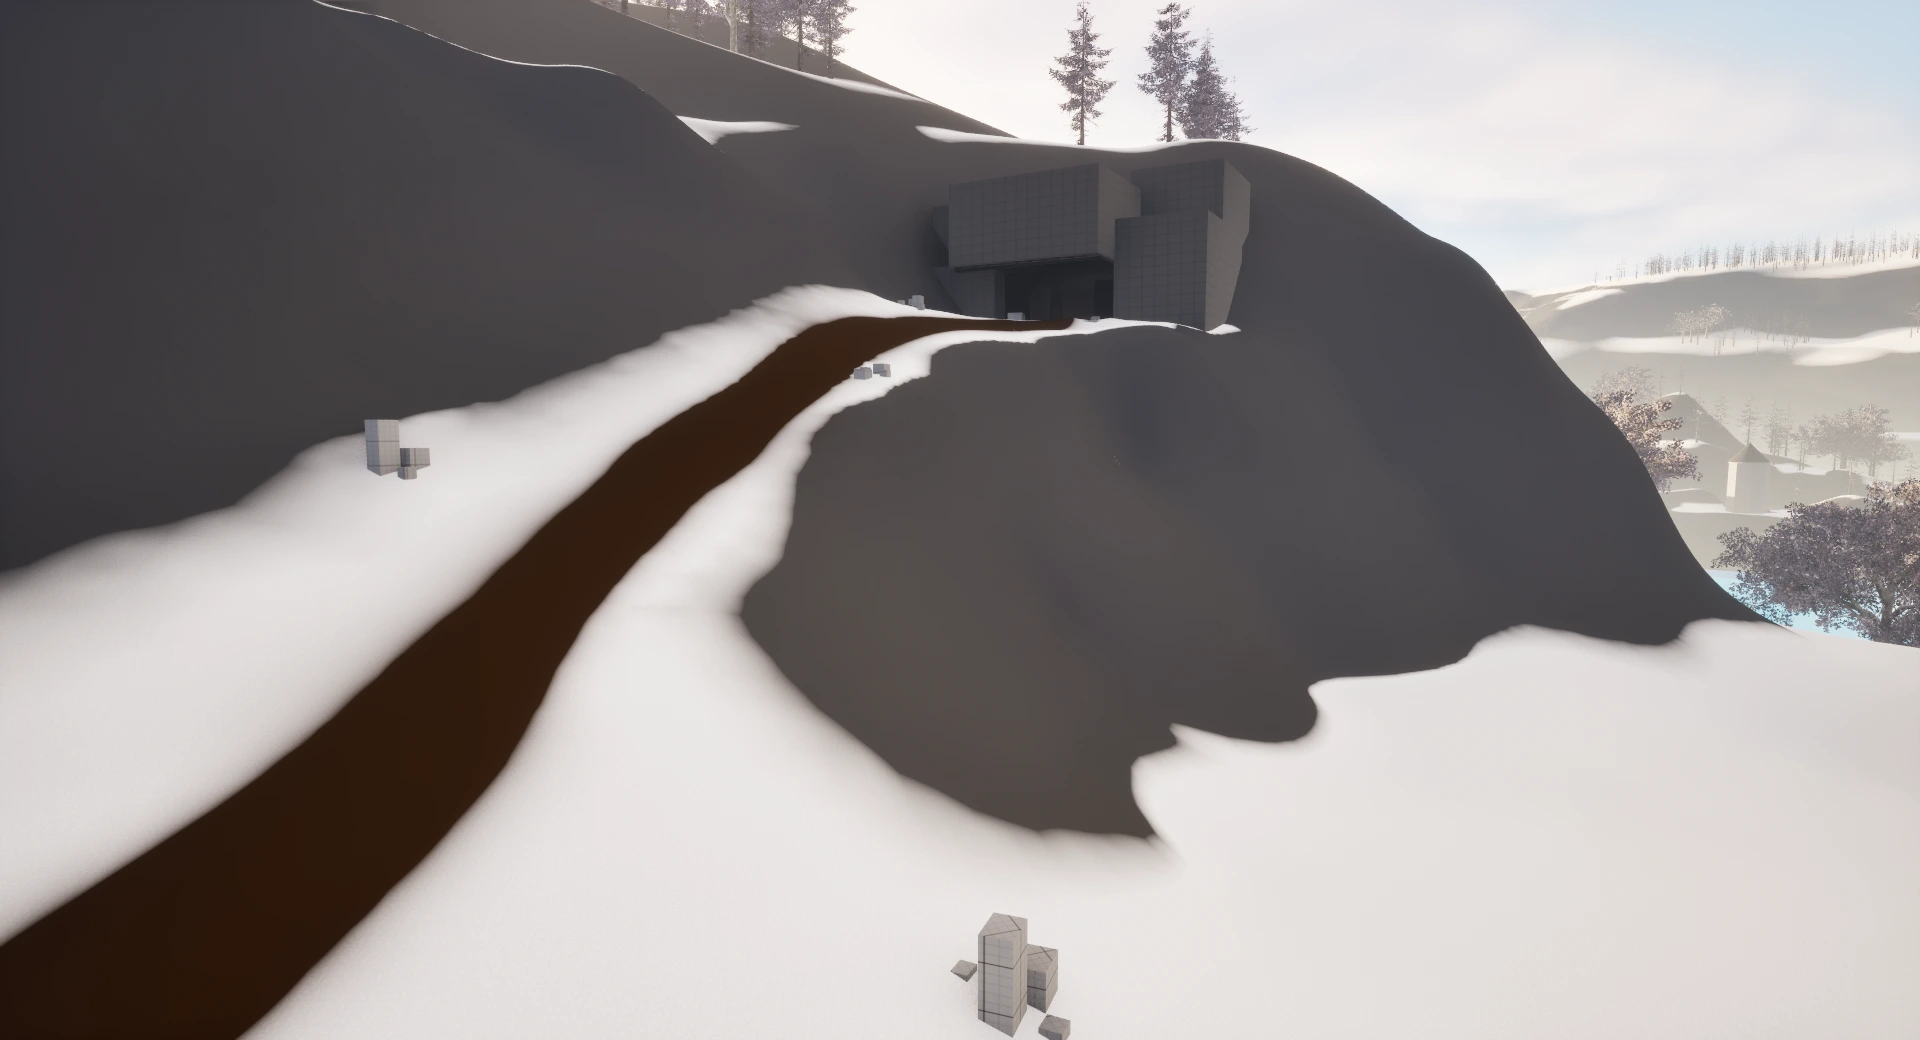
These cubes represents what would be the ‘glowing cubes with sigils’ from FF7 Rebirth.
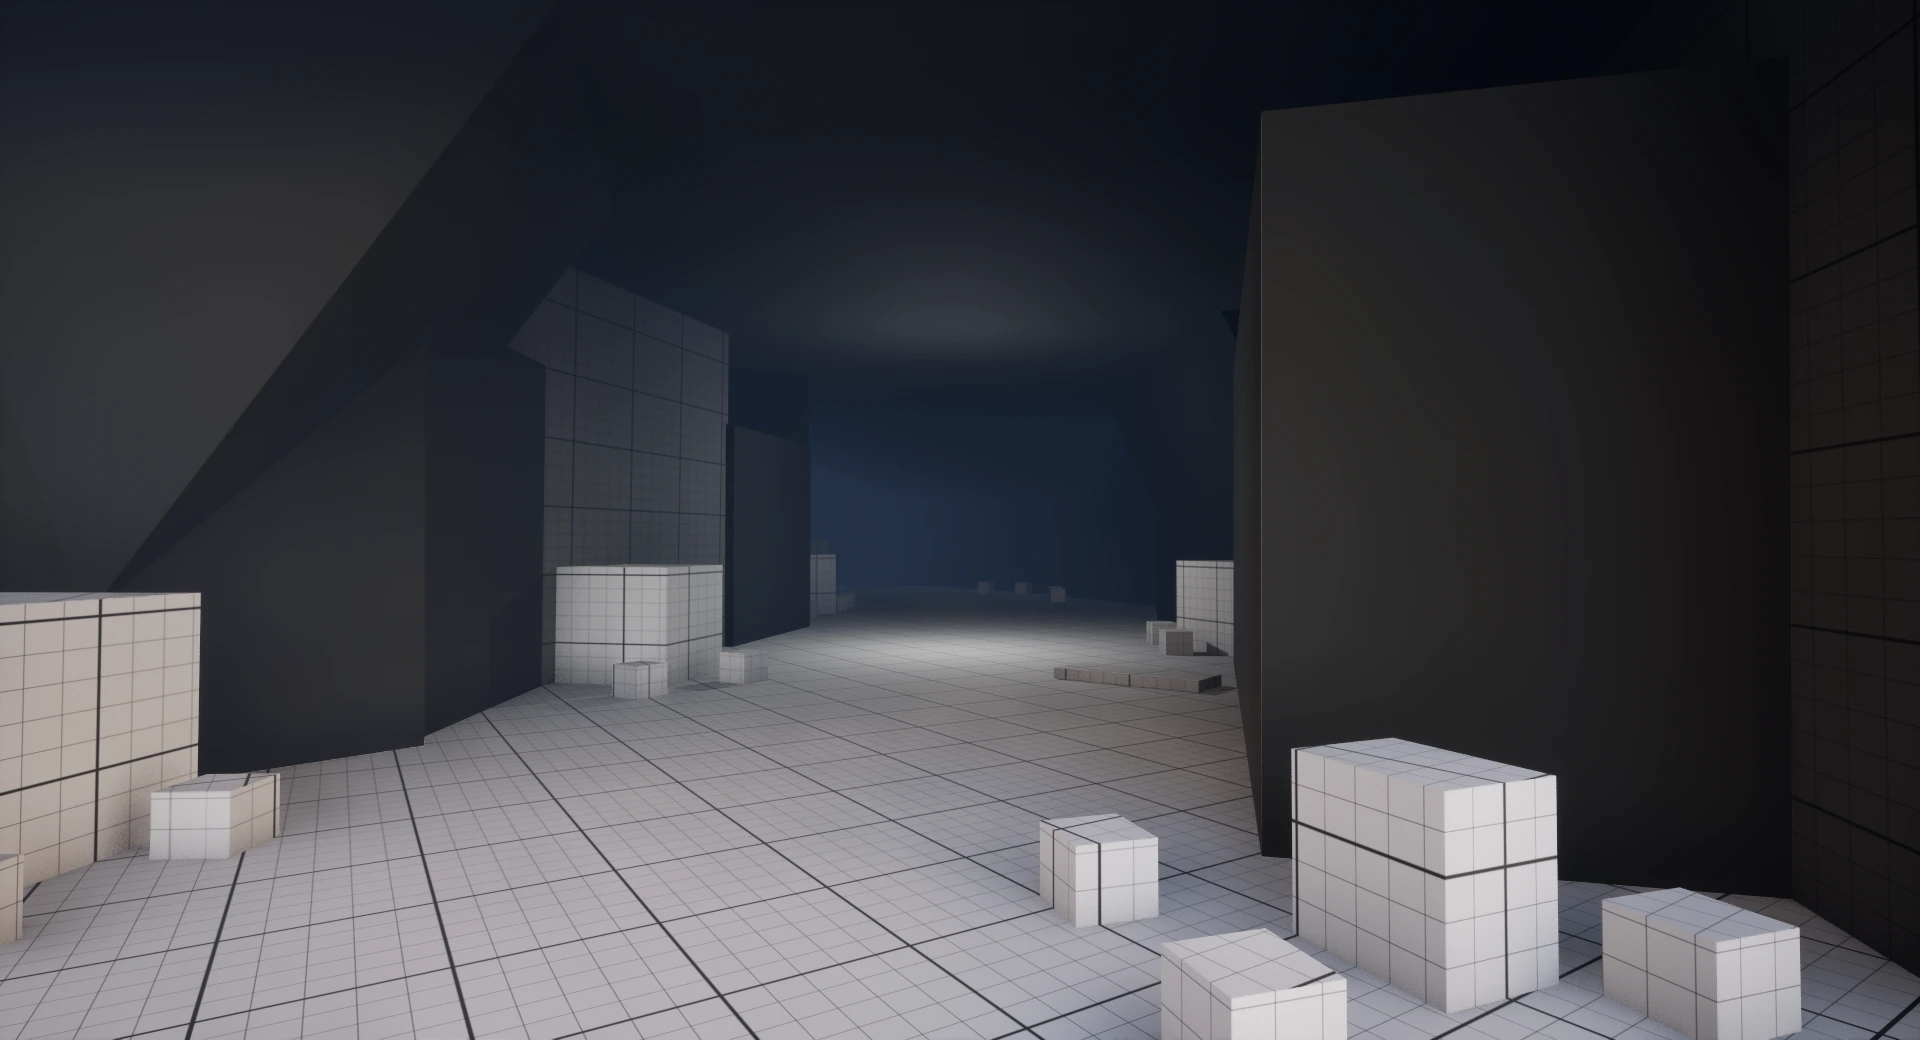
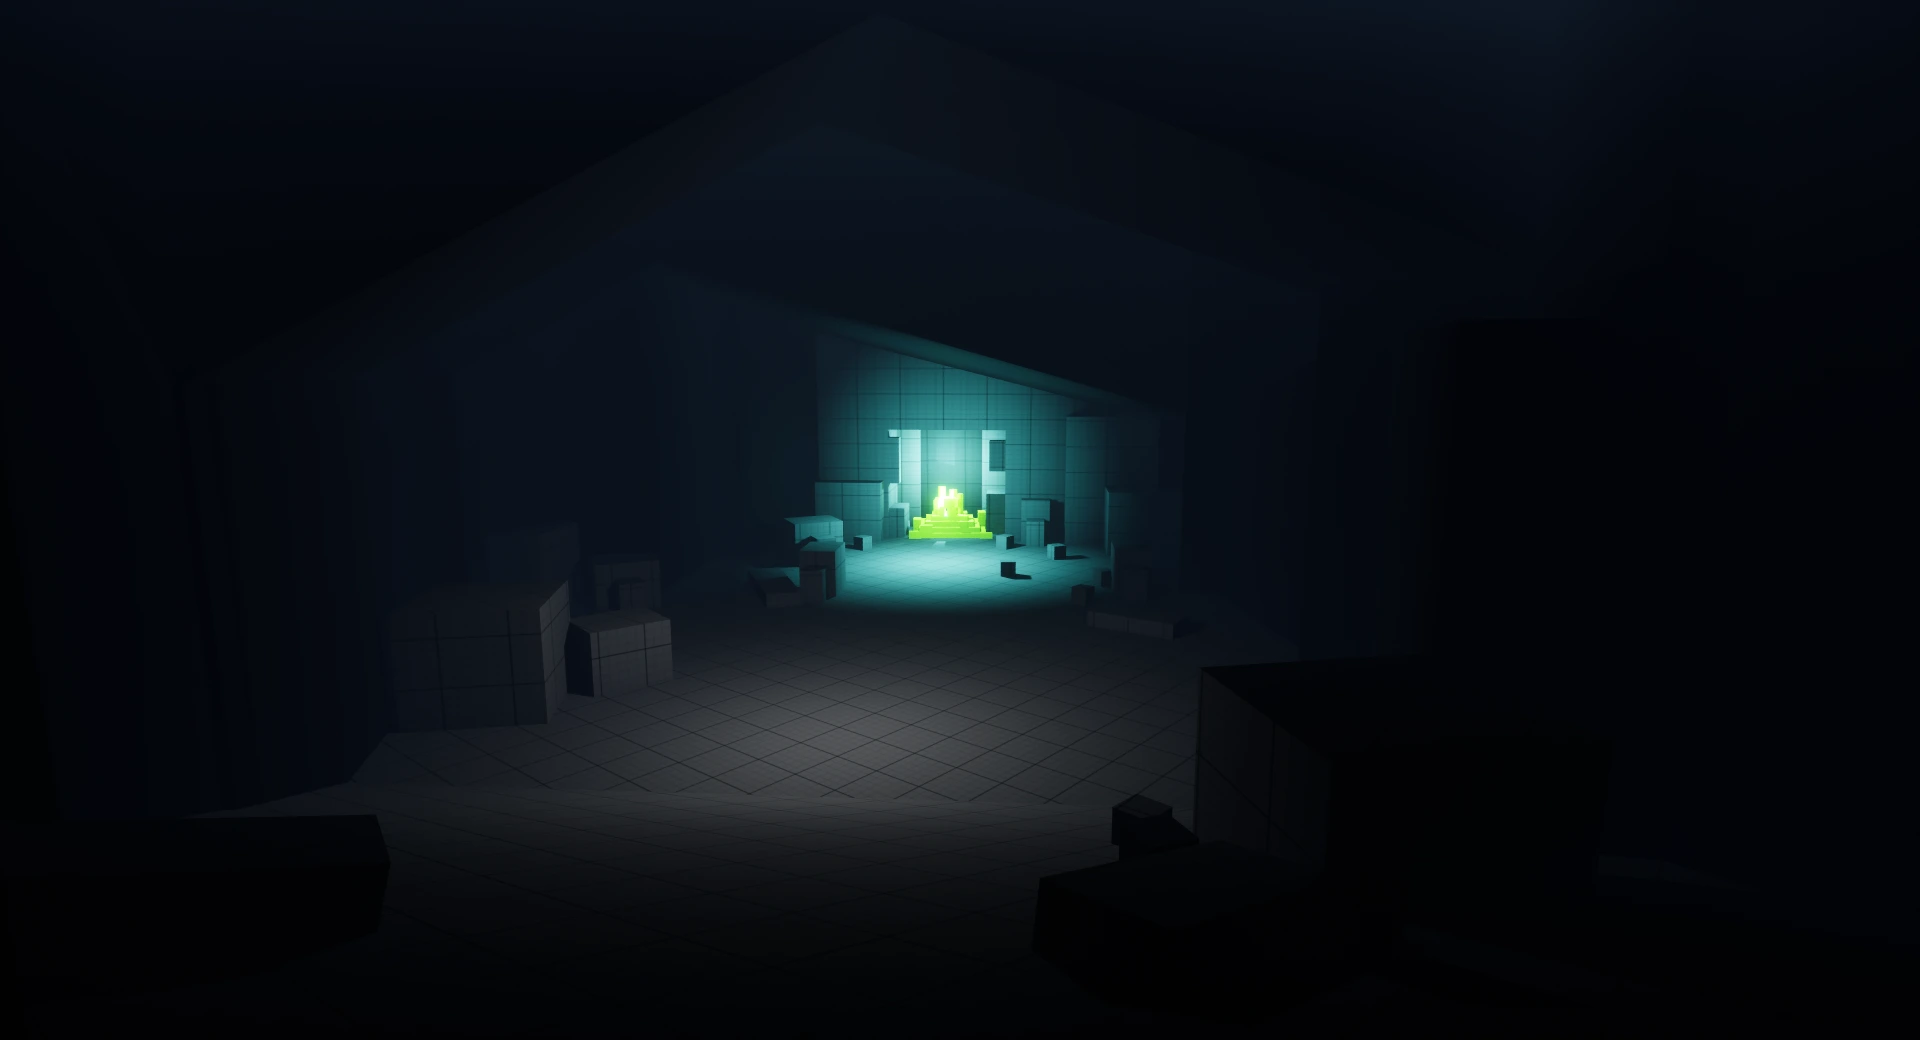
In FF7 Rebirth, you would activate these divine intel and then do a mini game.
Protorelics
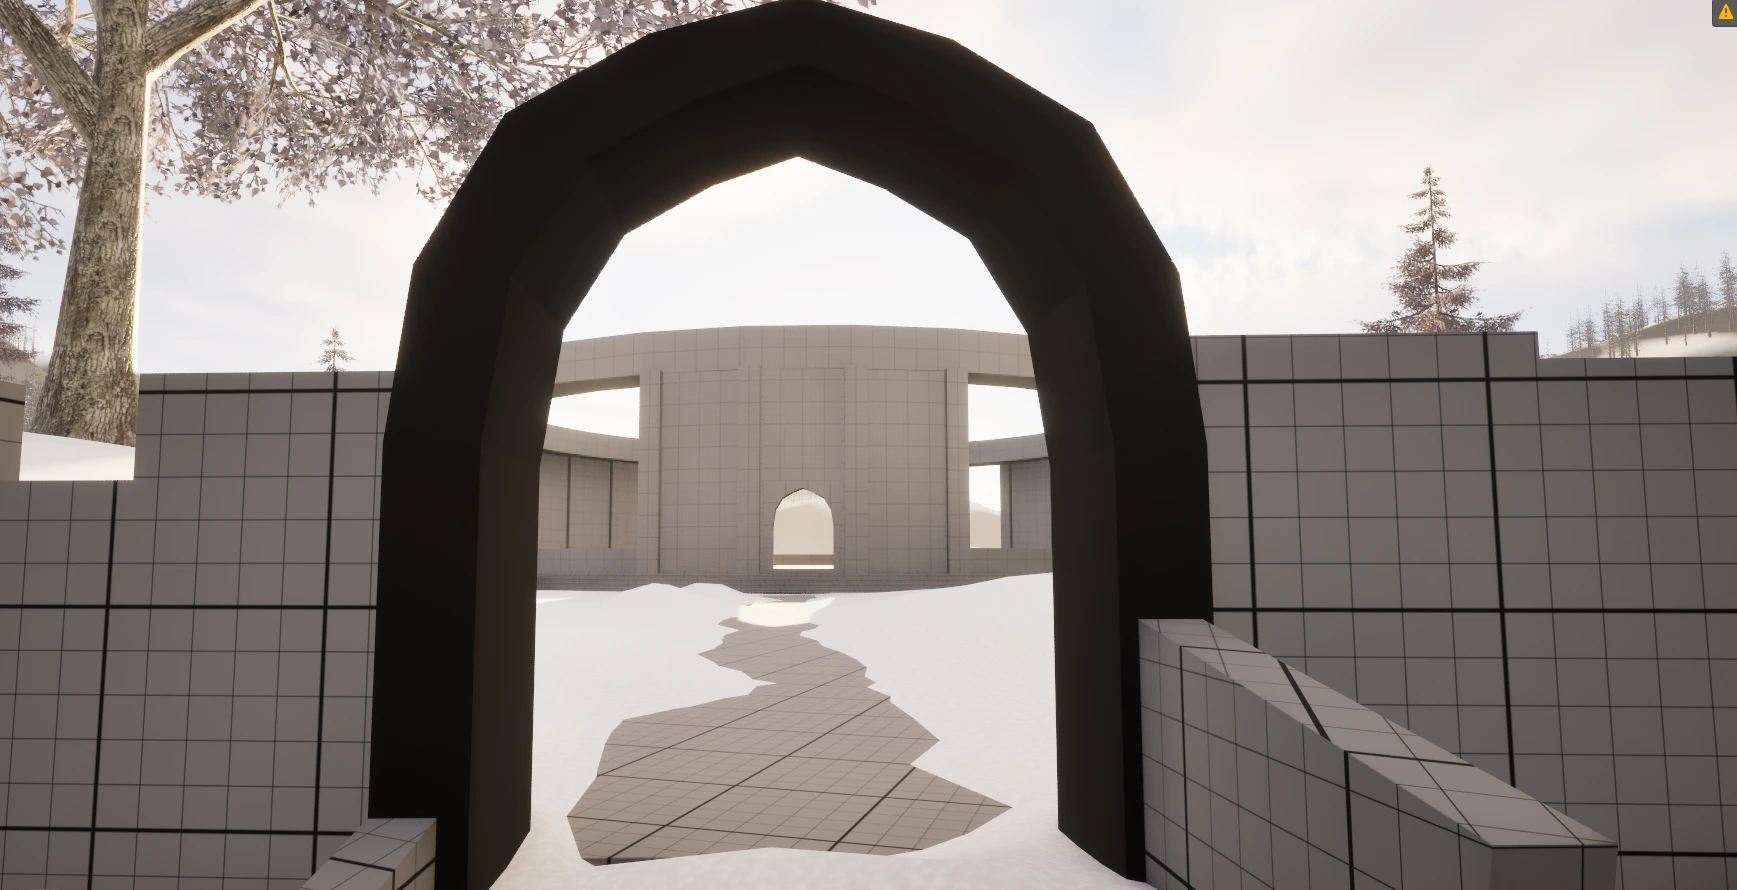
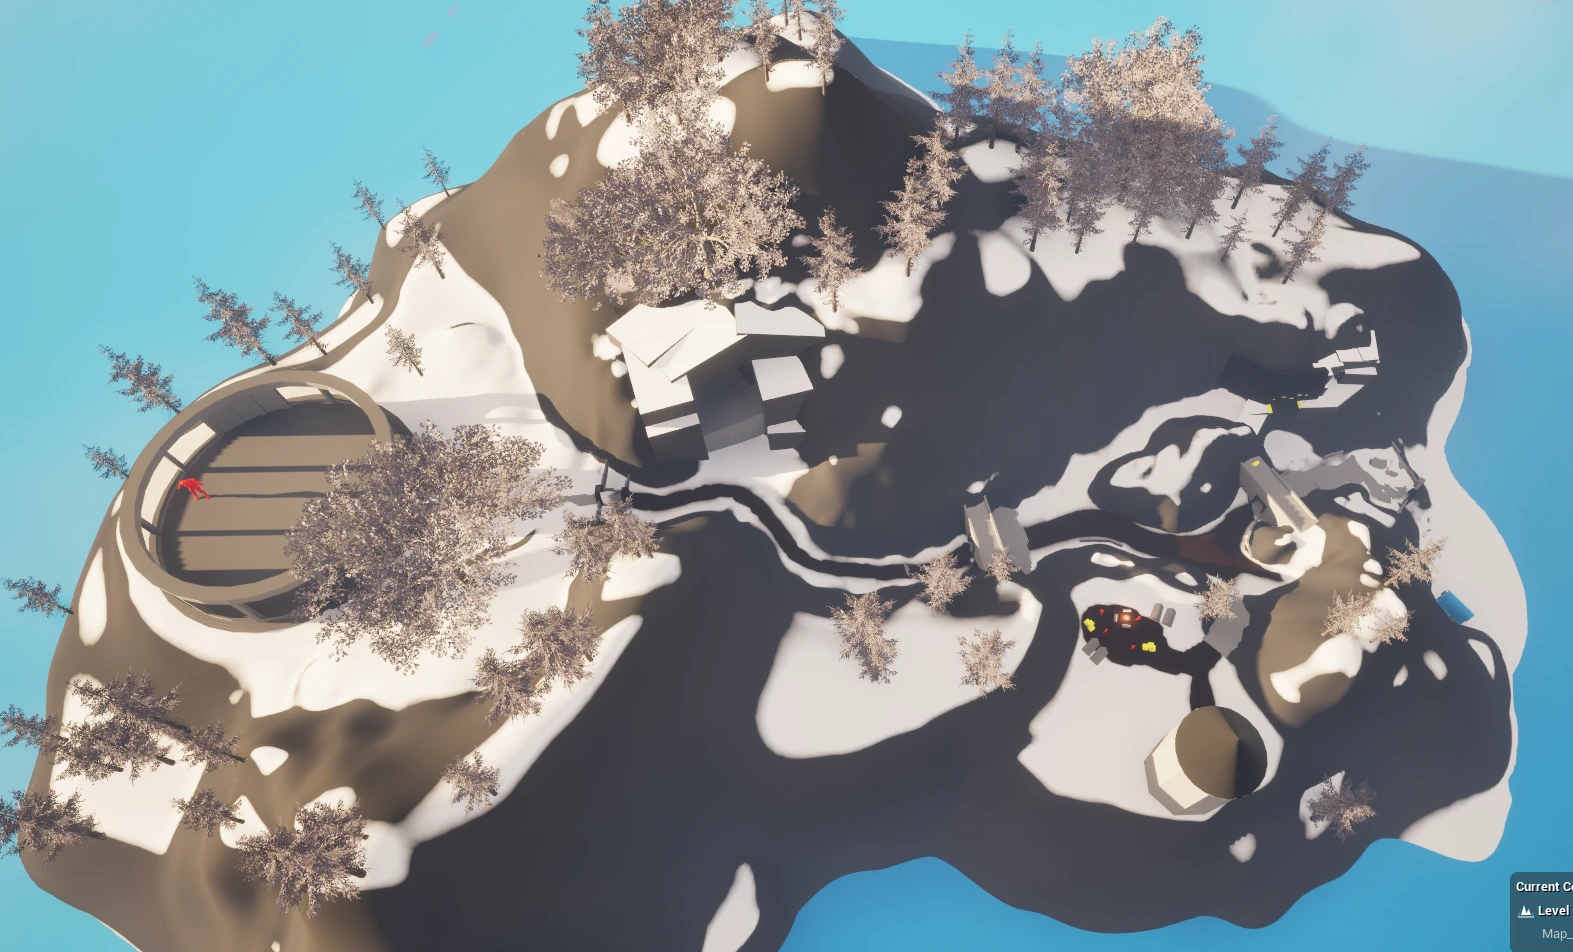
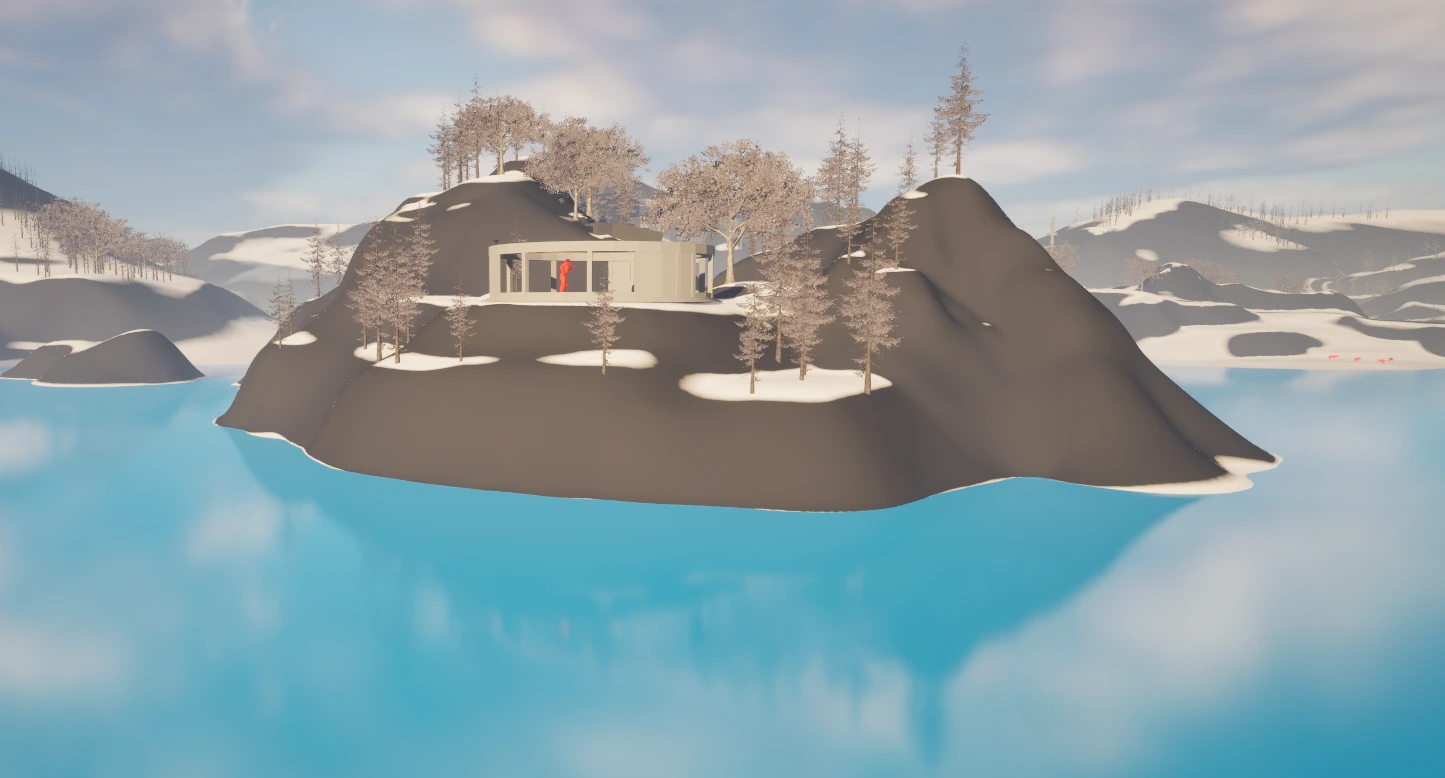
I spent additional time developing this POI since Protorelics represent some of the longer, multi-step side quests in Final Fantasy VII Rebirth. In this case, the entire island is dedicated to the Protorelic quest line.
The design intent was to create a self-contained mini-adventure with clear exploration beats, light combat, traversal variety, and a boss encounter to cap it off.
Overview of the Experience
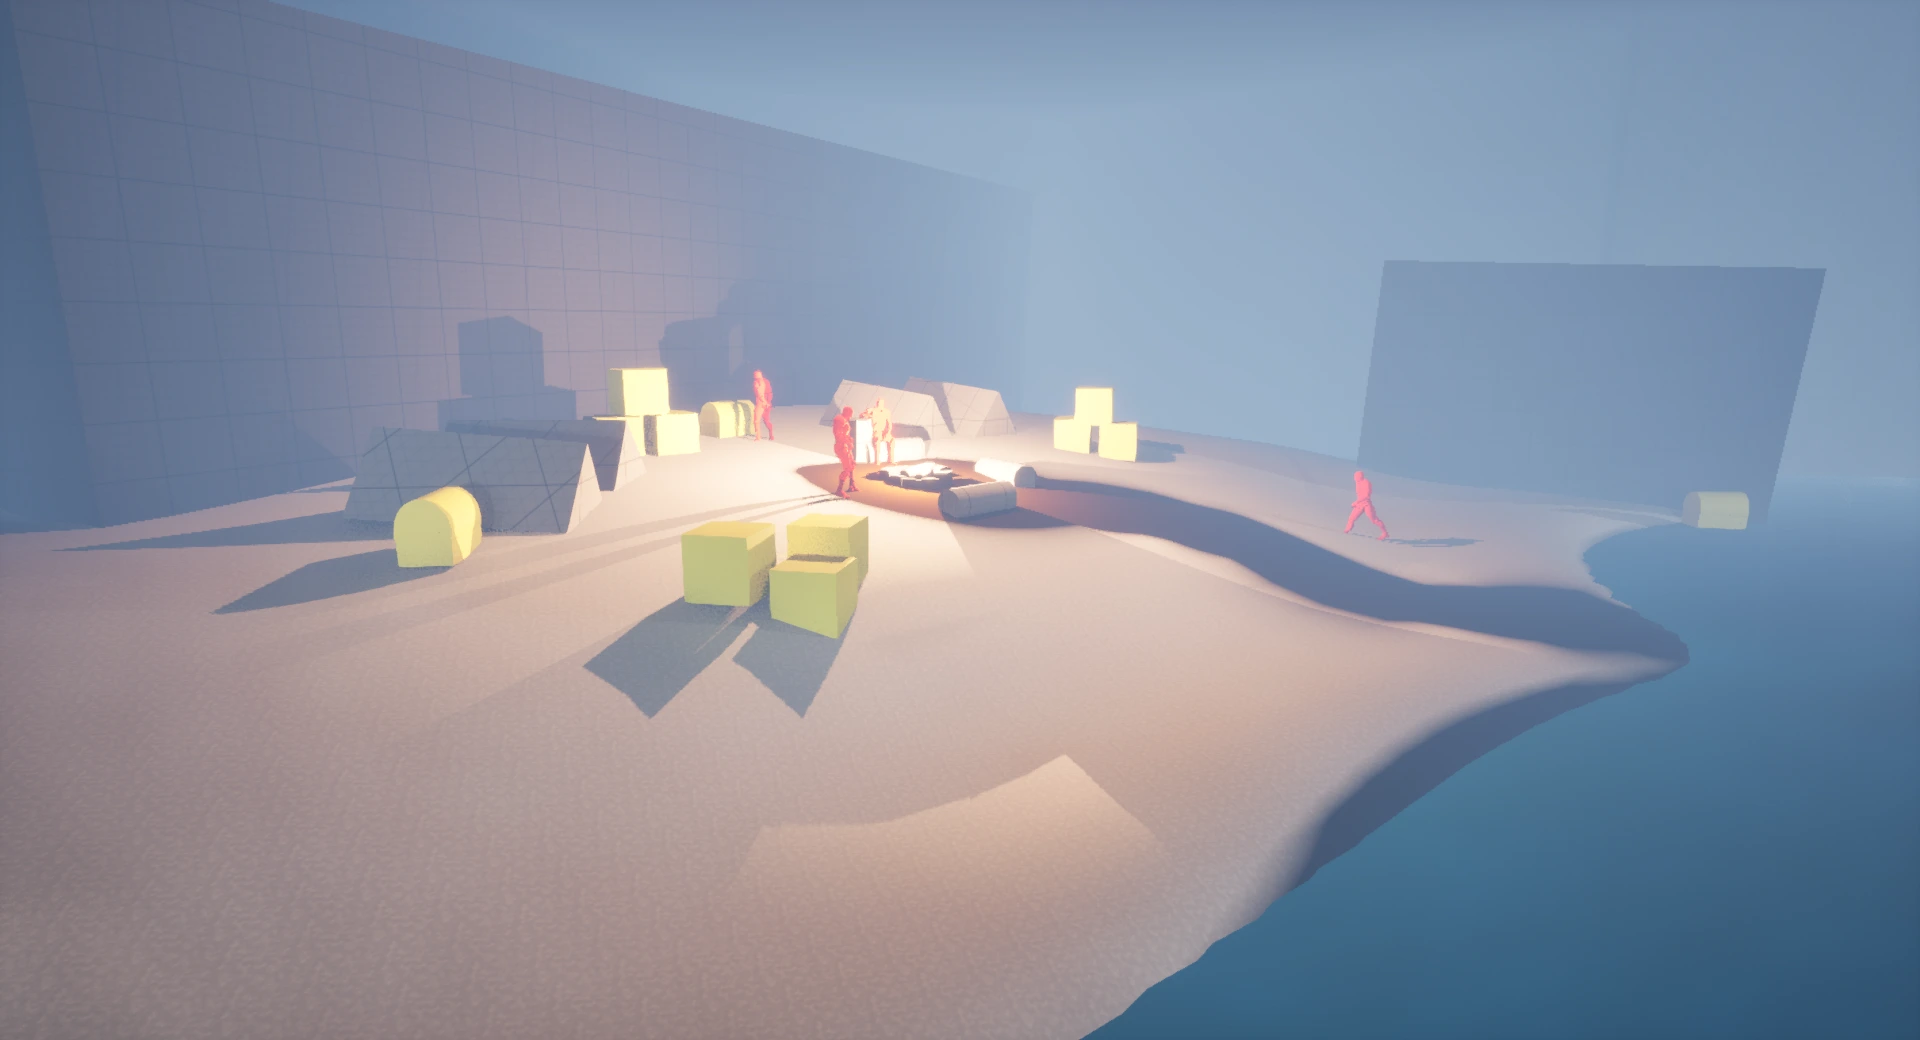
Players begin by exploring an abandoned island scattered with ruins and rubble, suggesting a long-lost settlement. A bandit camp has been established among the ruins, an optional encounter that gives players a choice between engaging in combat or continuing exploration.
Progression naturally guides players toward a gap leading into a cave, where they must use the hook mechanic to swing across environmental obstacles.
The sequence culminates in a boss battle inside a large enclosed structure at the far end of the cave.
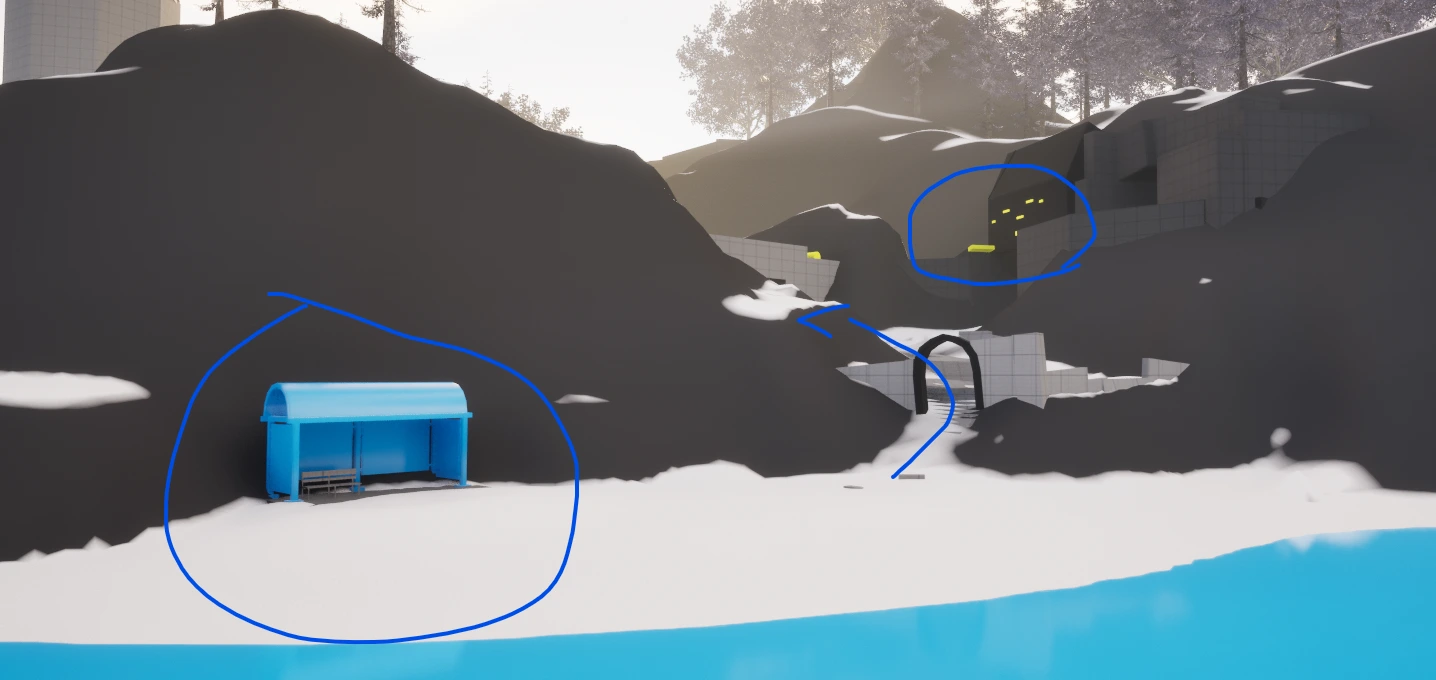
1.Initial Approach
The rest stop is placed to immediately catch the player’s attention and provide a familiar landmark. Rubble and ruined structures hint at deeper exploration opportunities, and visible climbing holds signal interactive routes.
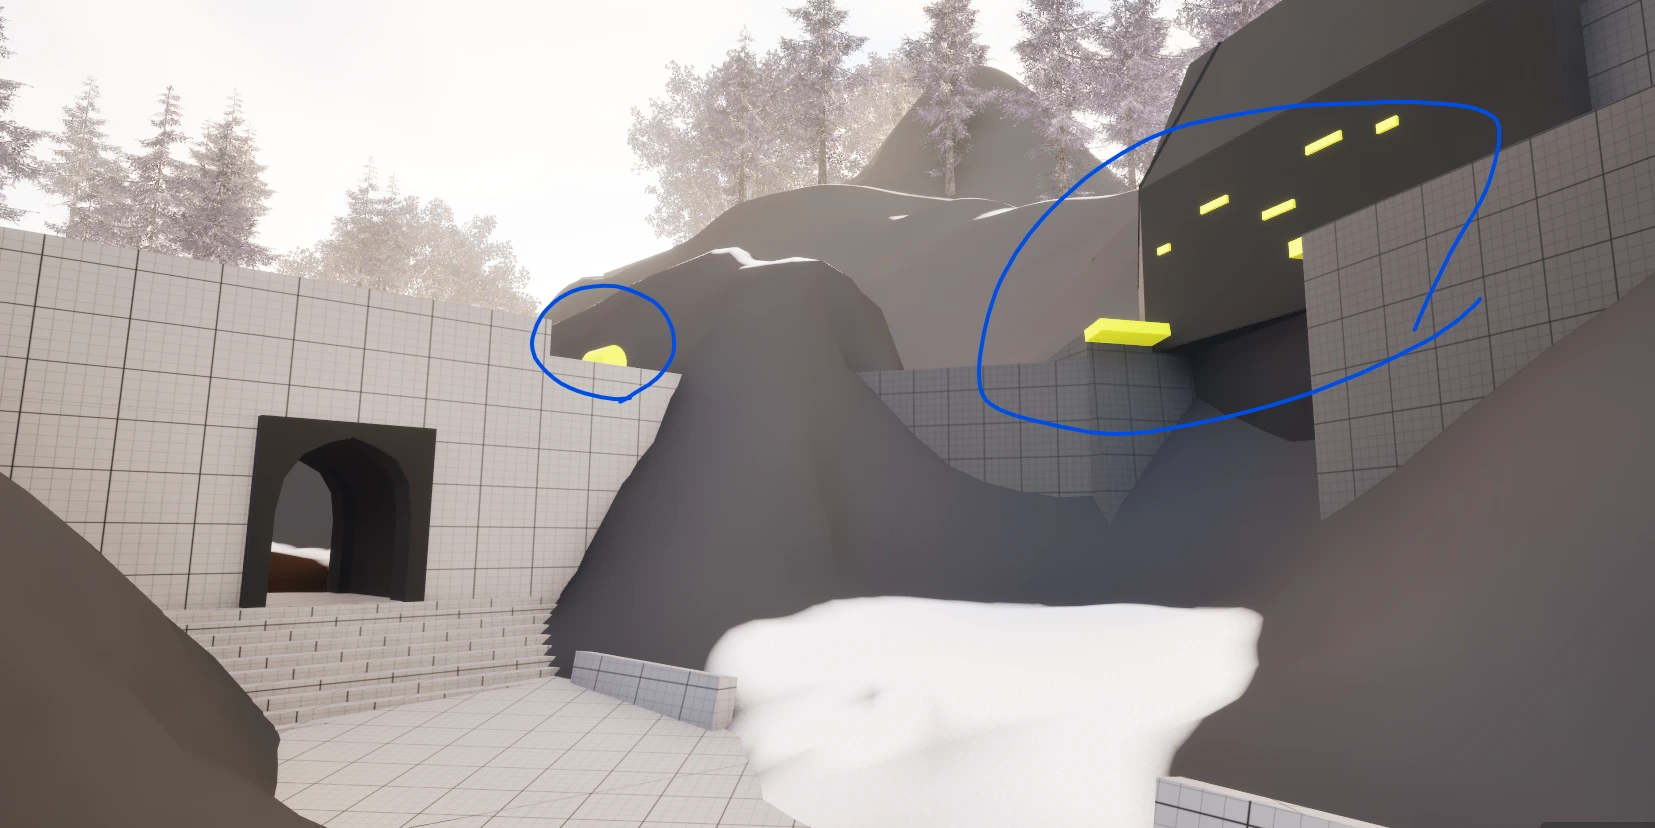
2. Exploration and Vertical Progression
As players ascend through the ruins, they can spot a treasure chest on a higher ledge, a deliberate visual cue encouraging vertical exploration.
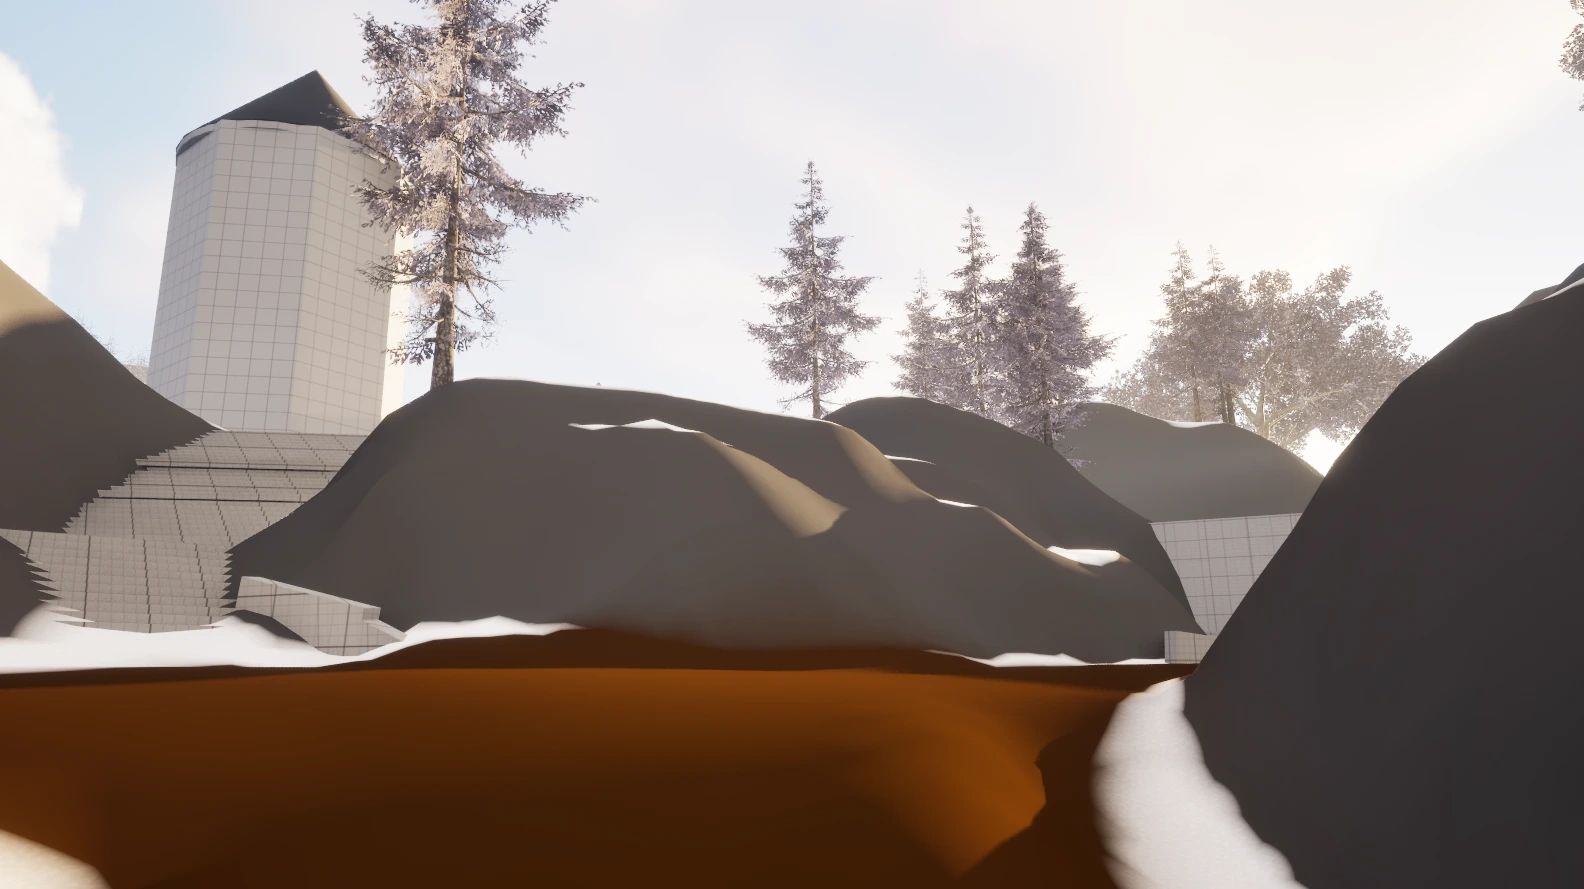
Choice Point
Upon passing through a broken gateway, players are given three distinct choices:
Turn left to backtrack and collect the visible chest.
Ascend the nearby stairs toward the tower to encounter the bandit camp and loot.
Take the climbing footholds leading toward the cave entrance.
This design encourages agency and nonlinear exploration while keeping all paths visible and easy to reorient around.
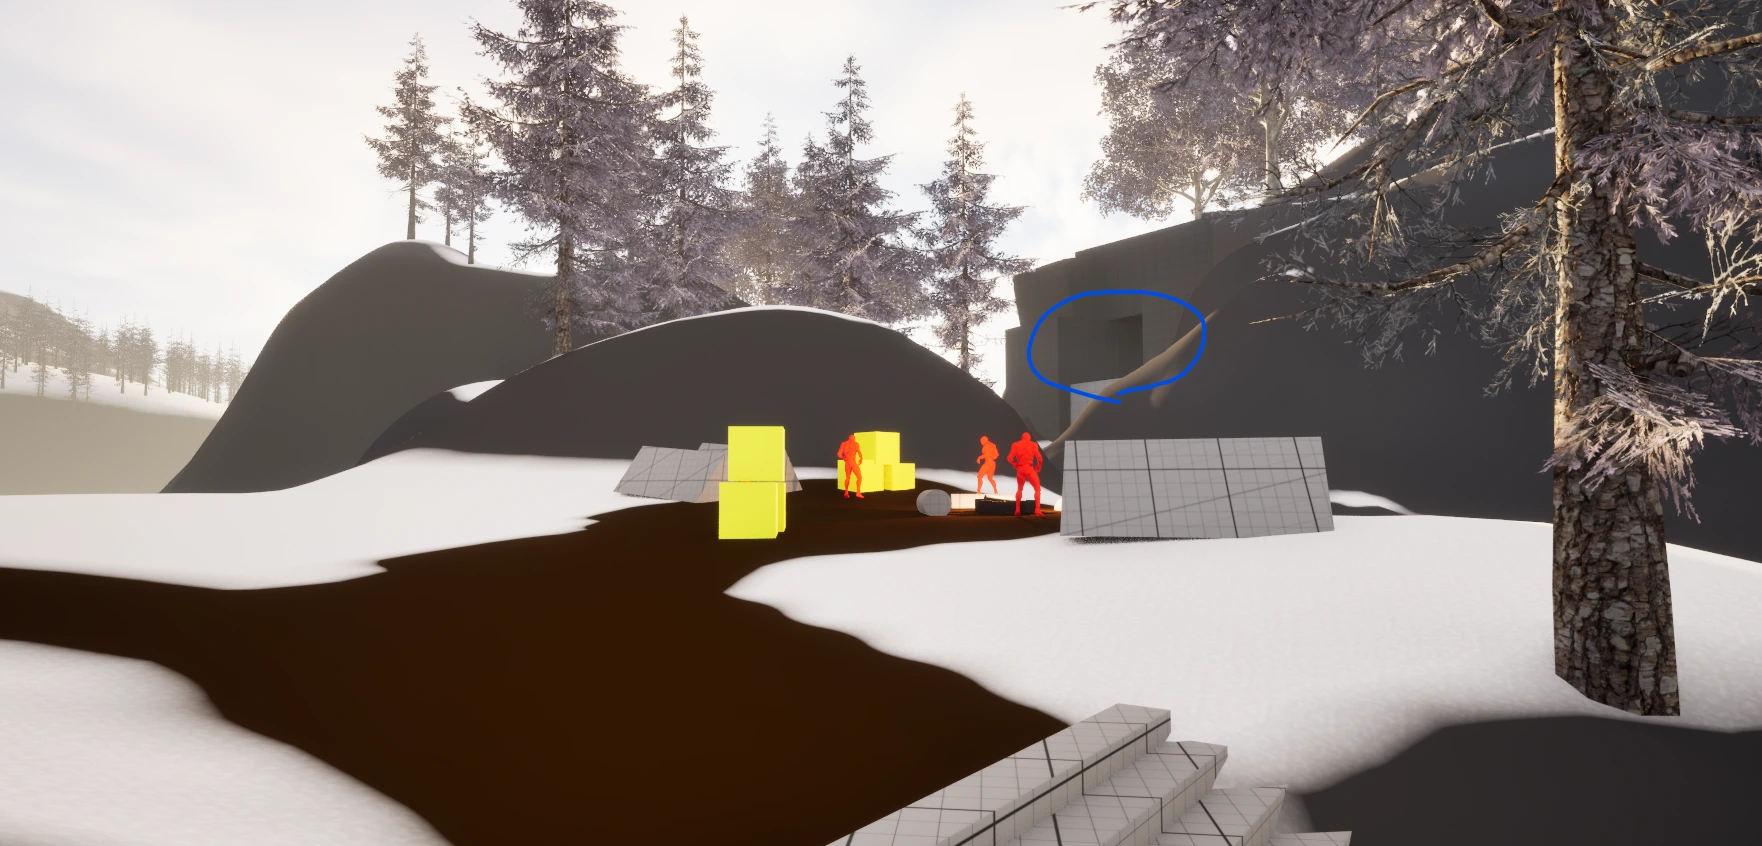
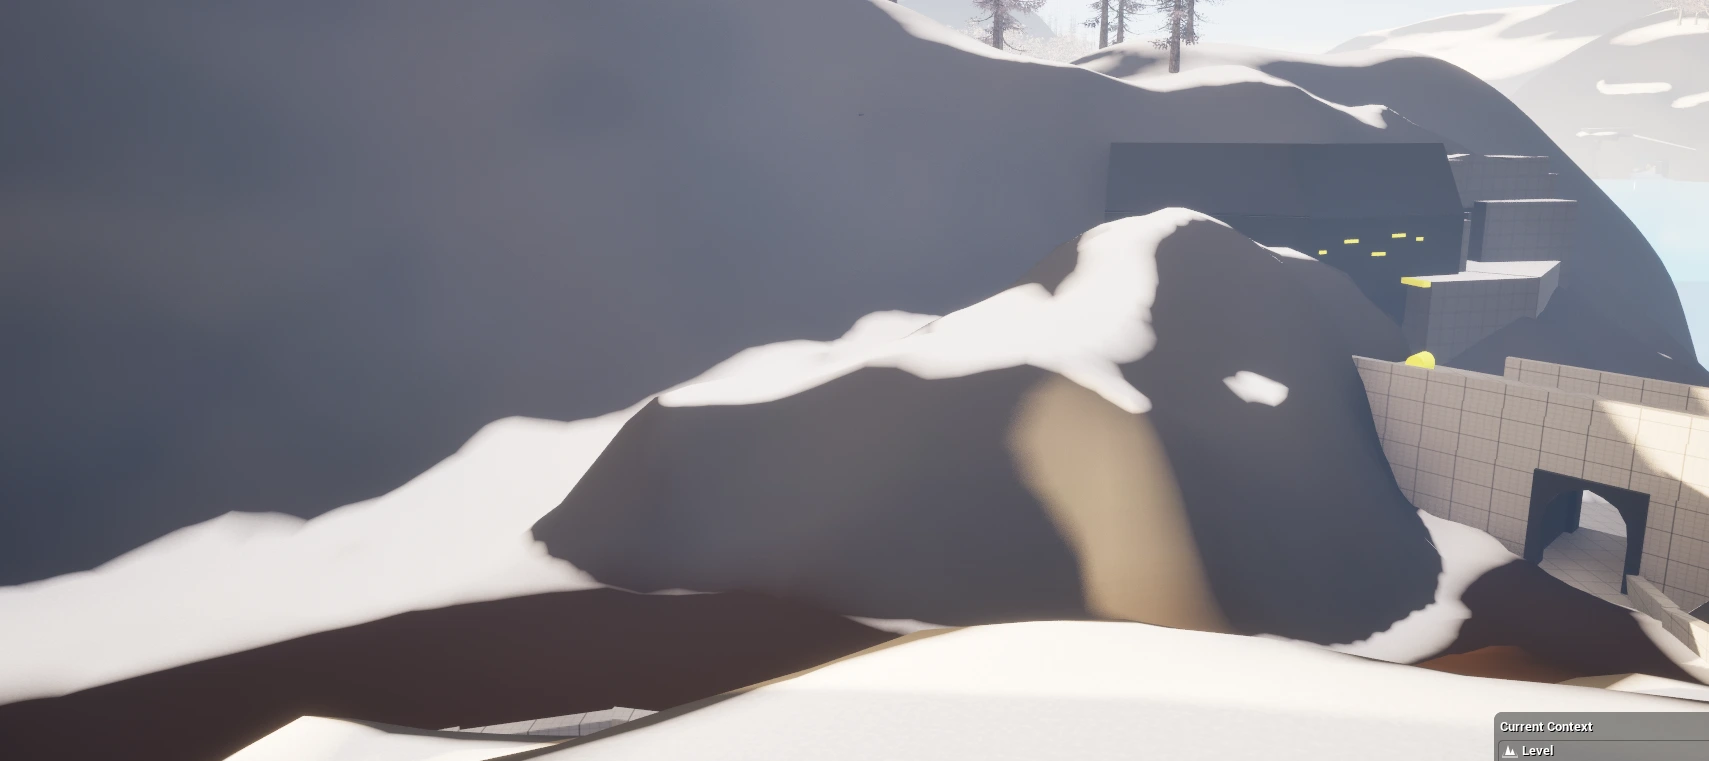
Once players have explored and got all the loot, they can proceed to the critical path. The door they see will be locked and they will be unable to get over this wall. So they will have to doubleback and if they haven’t already, they should see another pathway to where the earlier climbing footholds were on the way back.
3. The Cave Section
After the player collects loot and explores, they eventually discover that a door blocking progression cannot yet be opened. This encourages natural backtracking and redirects them toward the cave path spotted earlier.
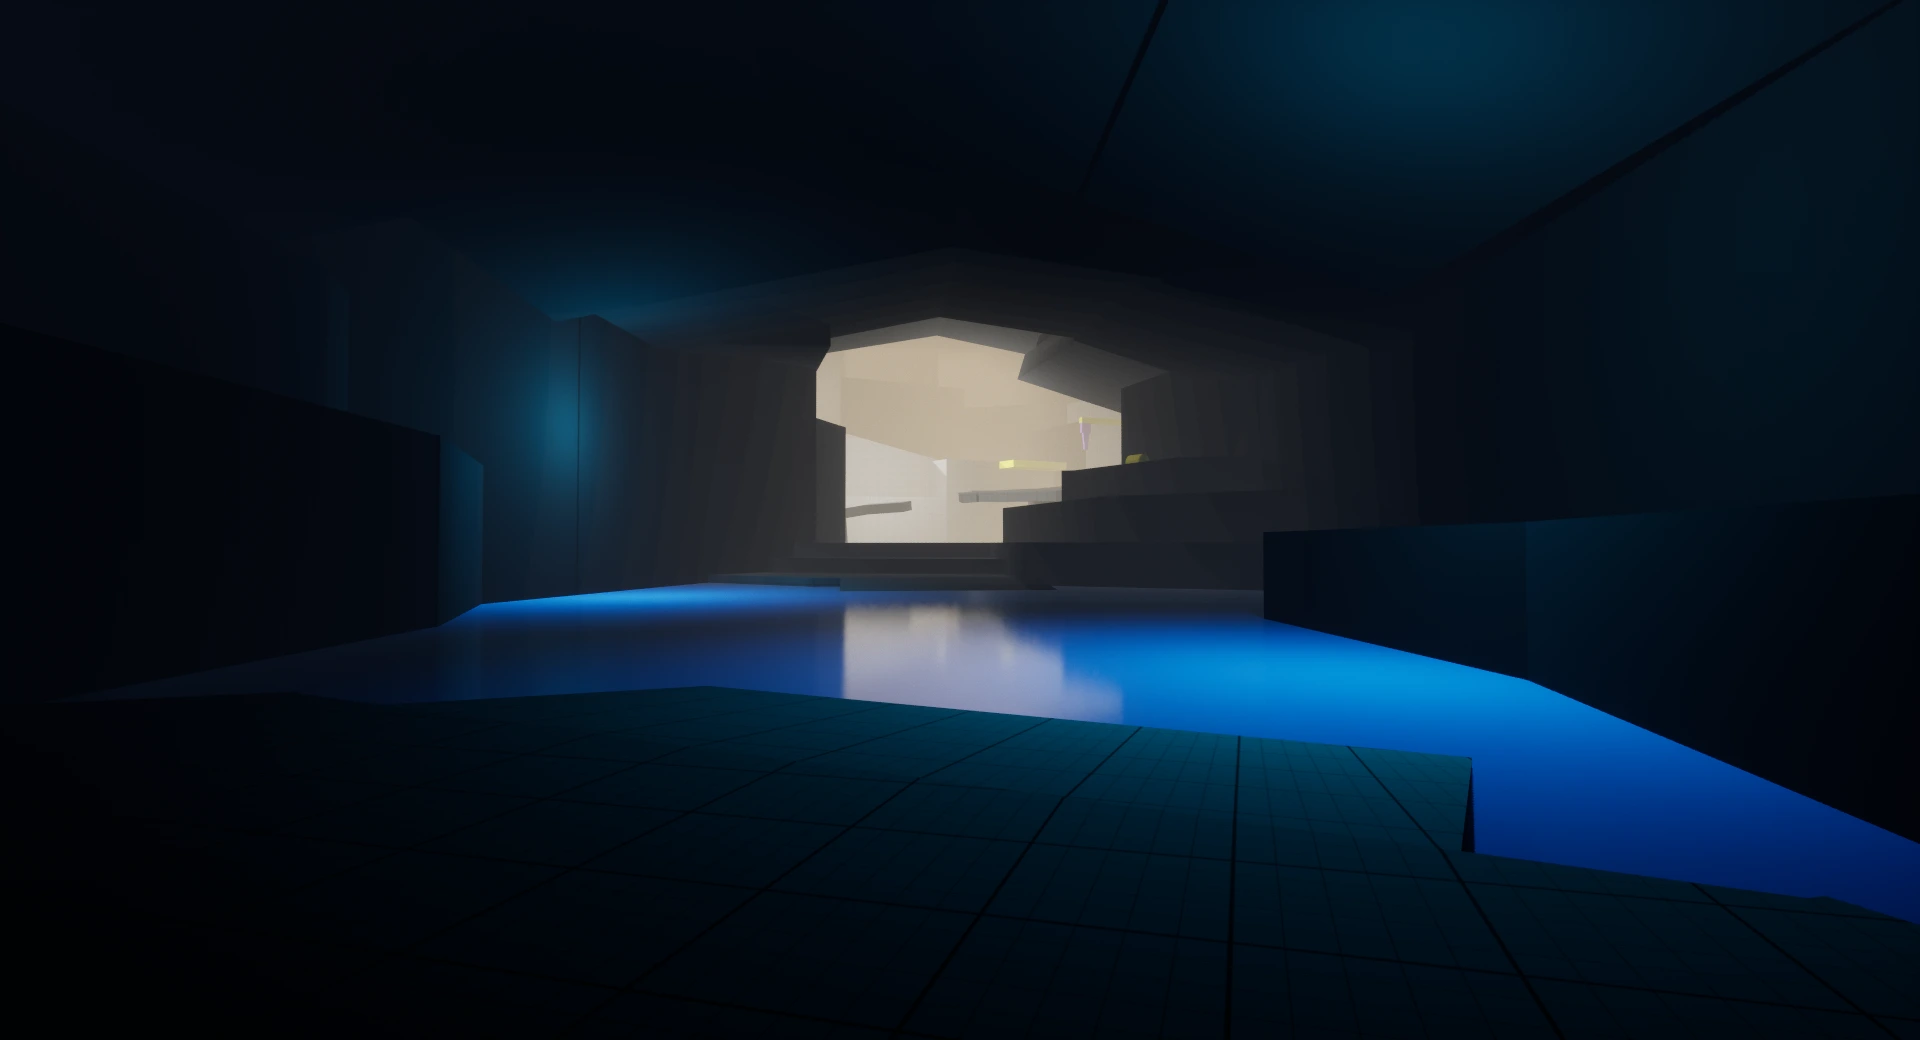
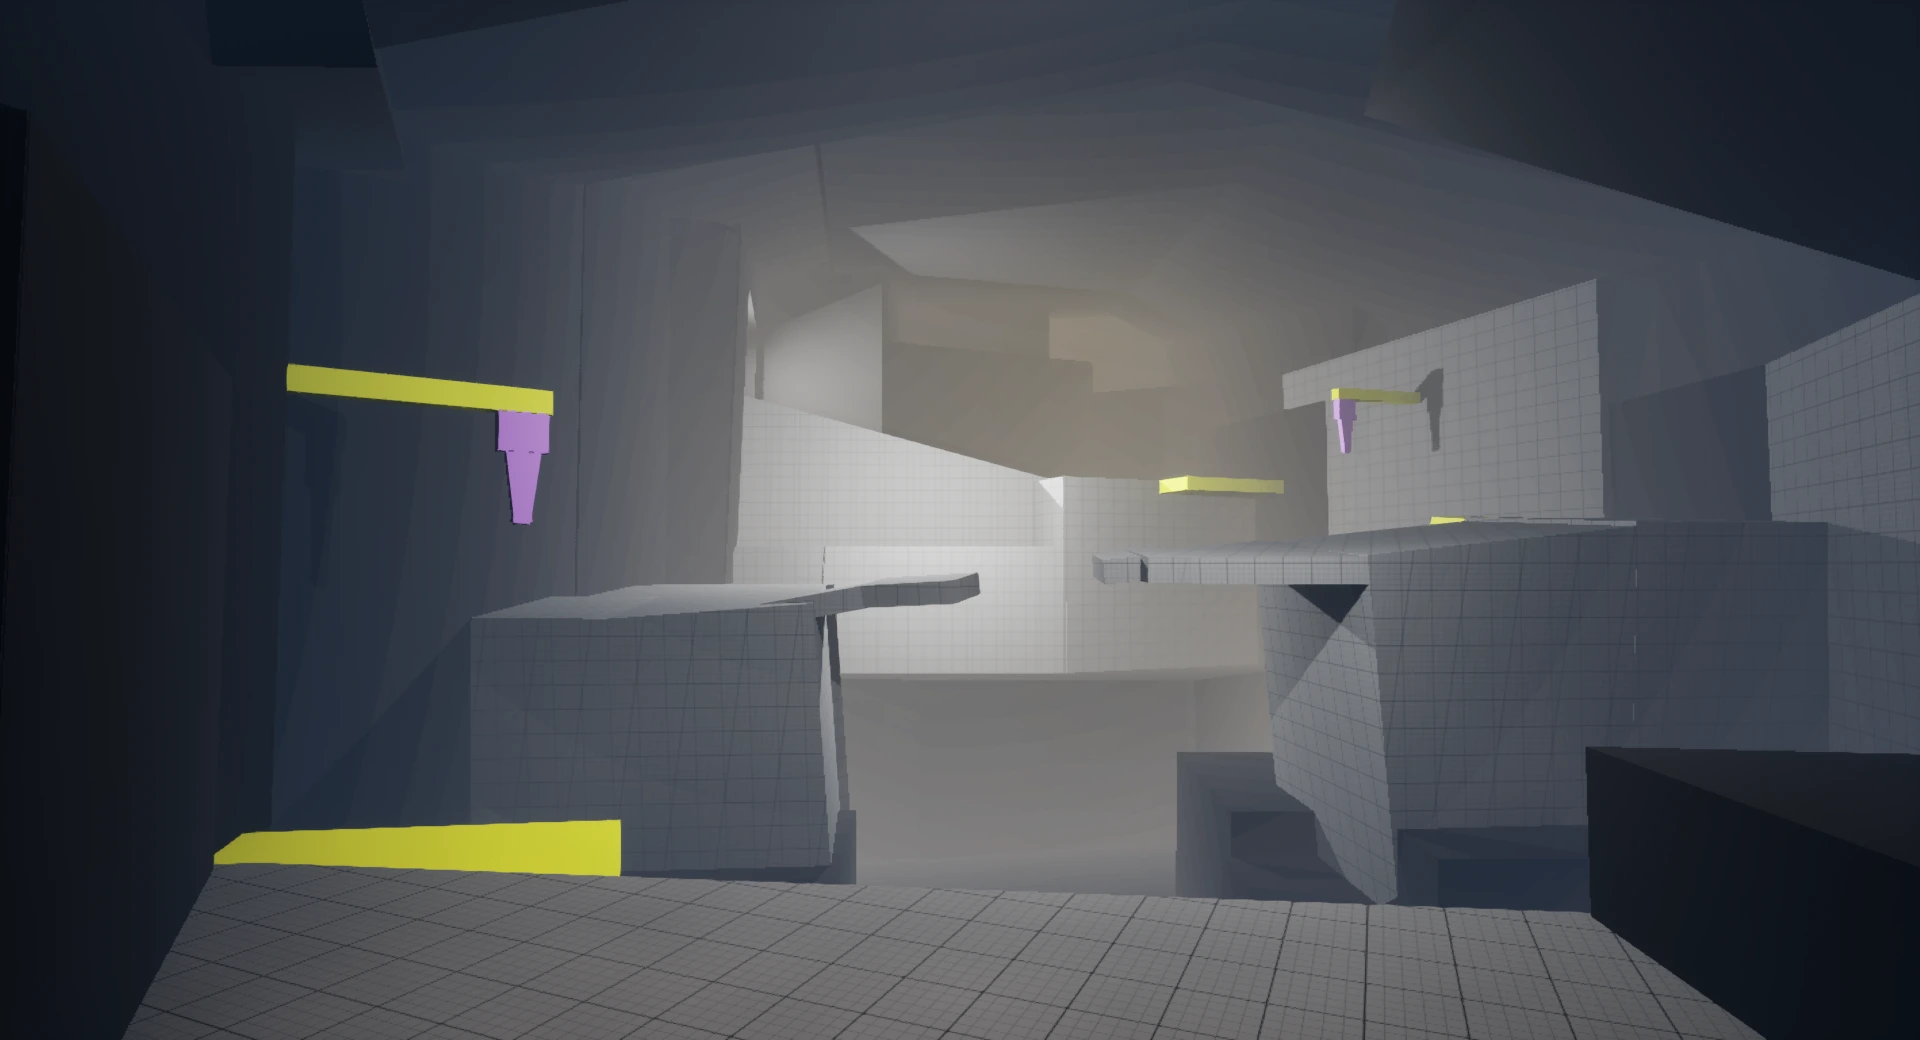
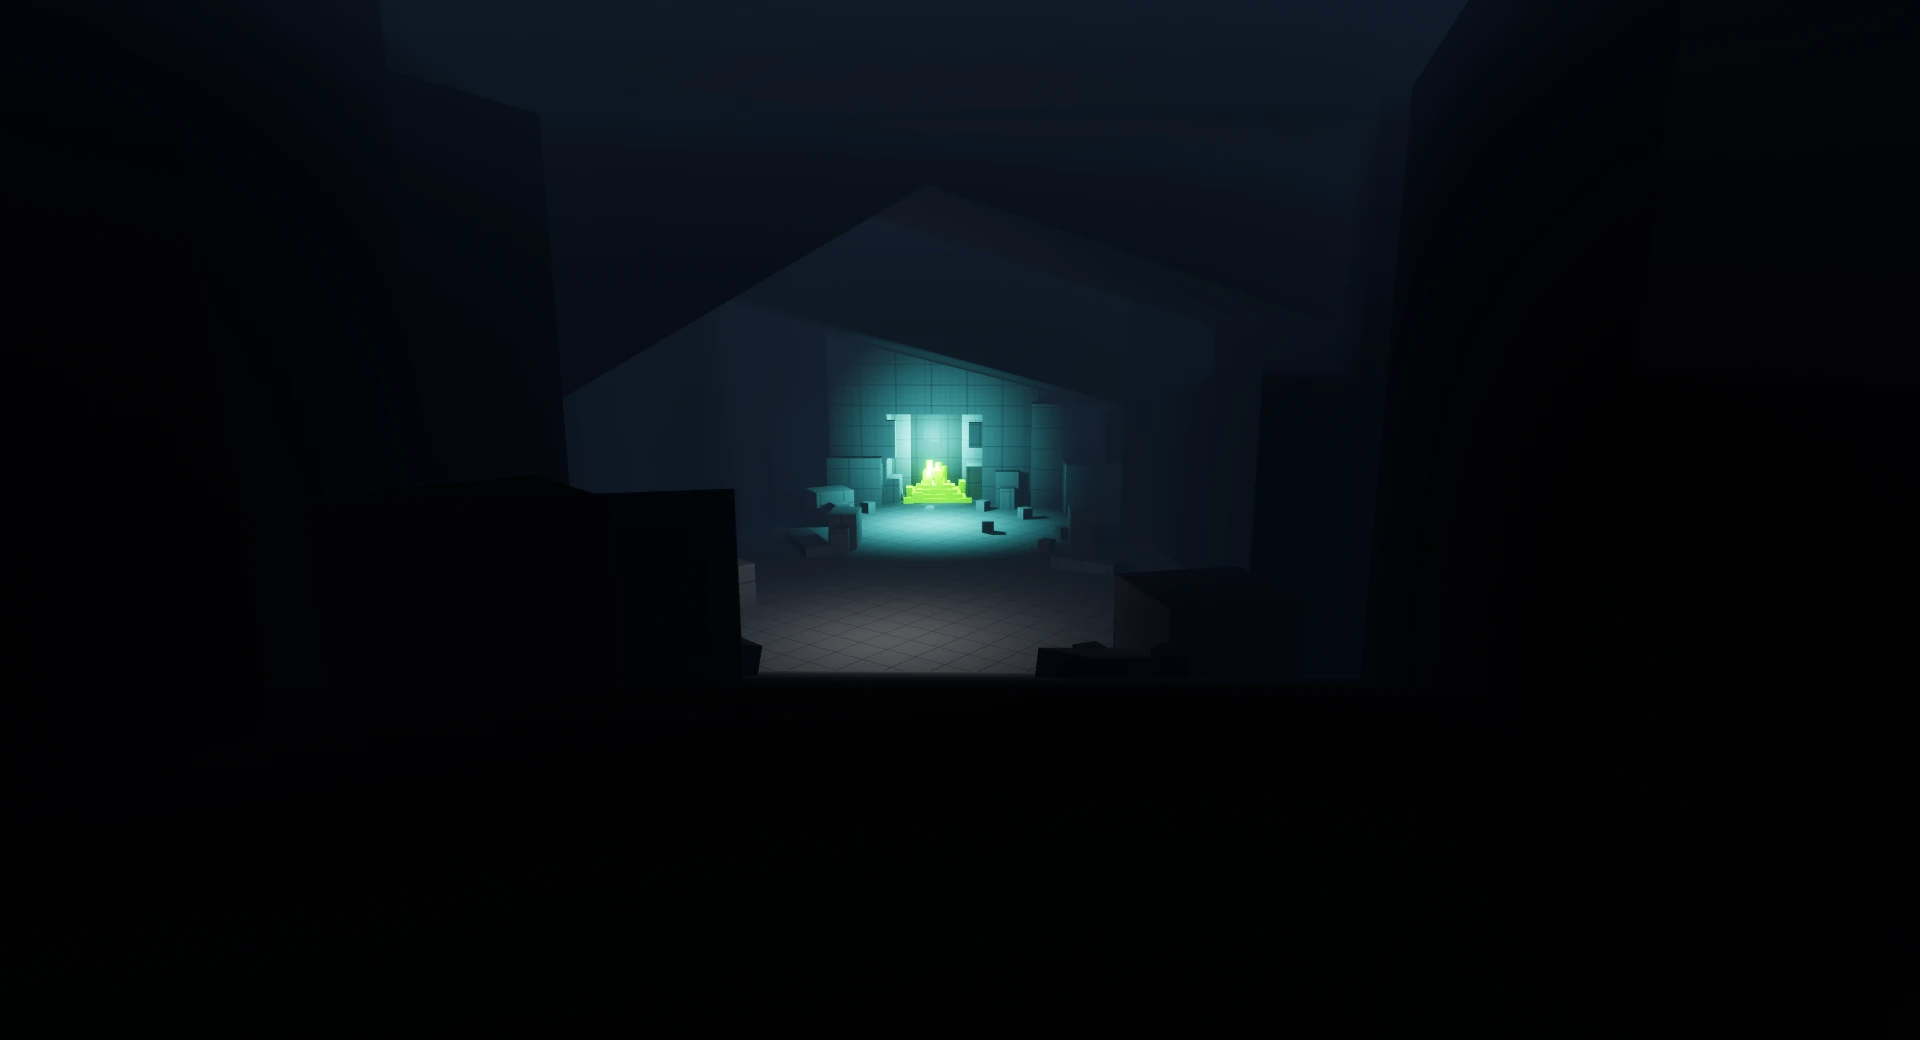
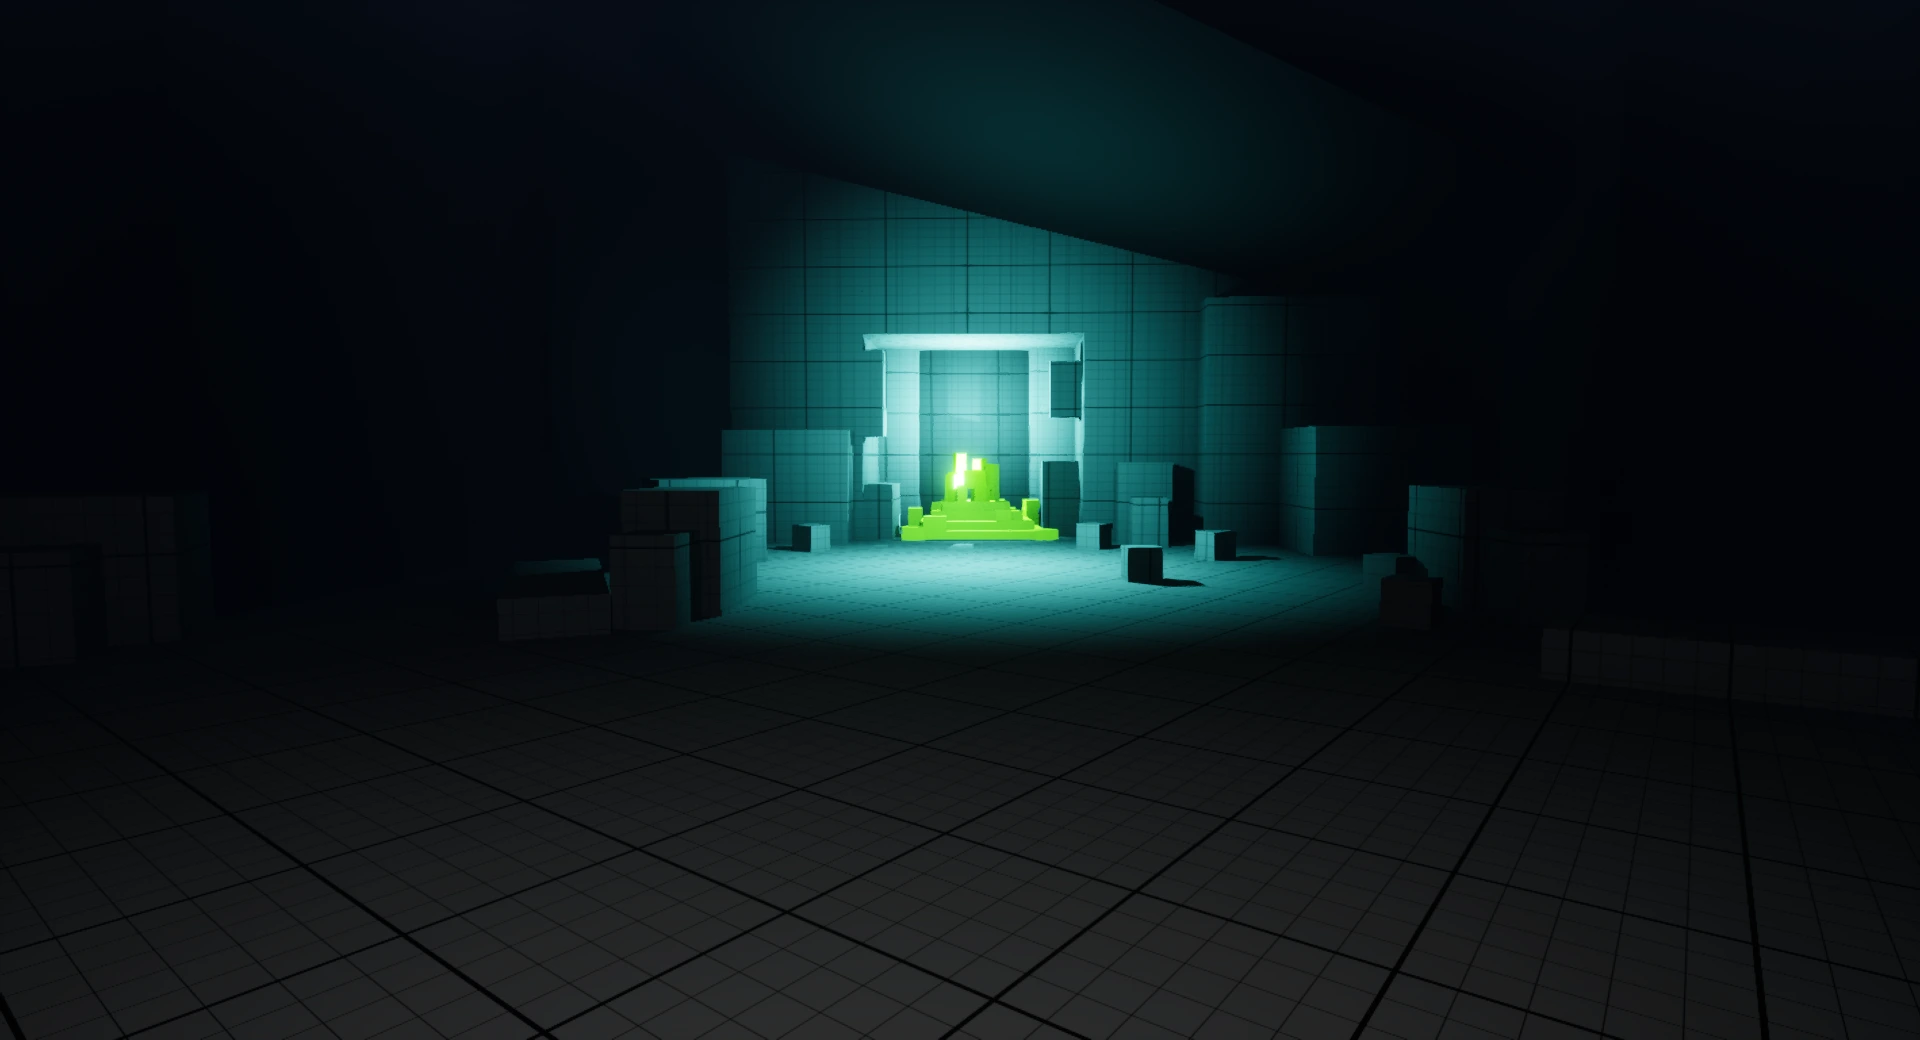
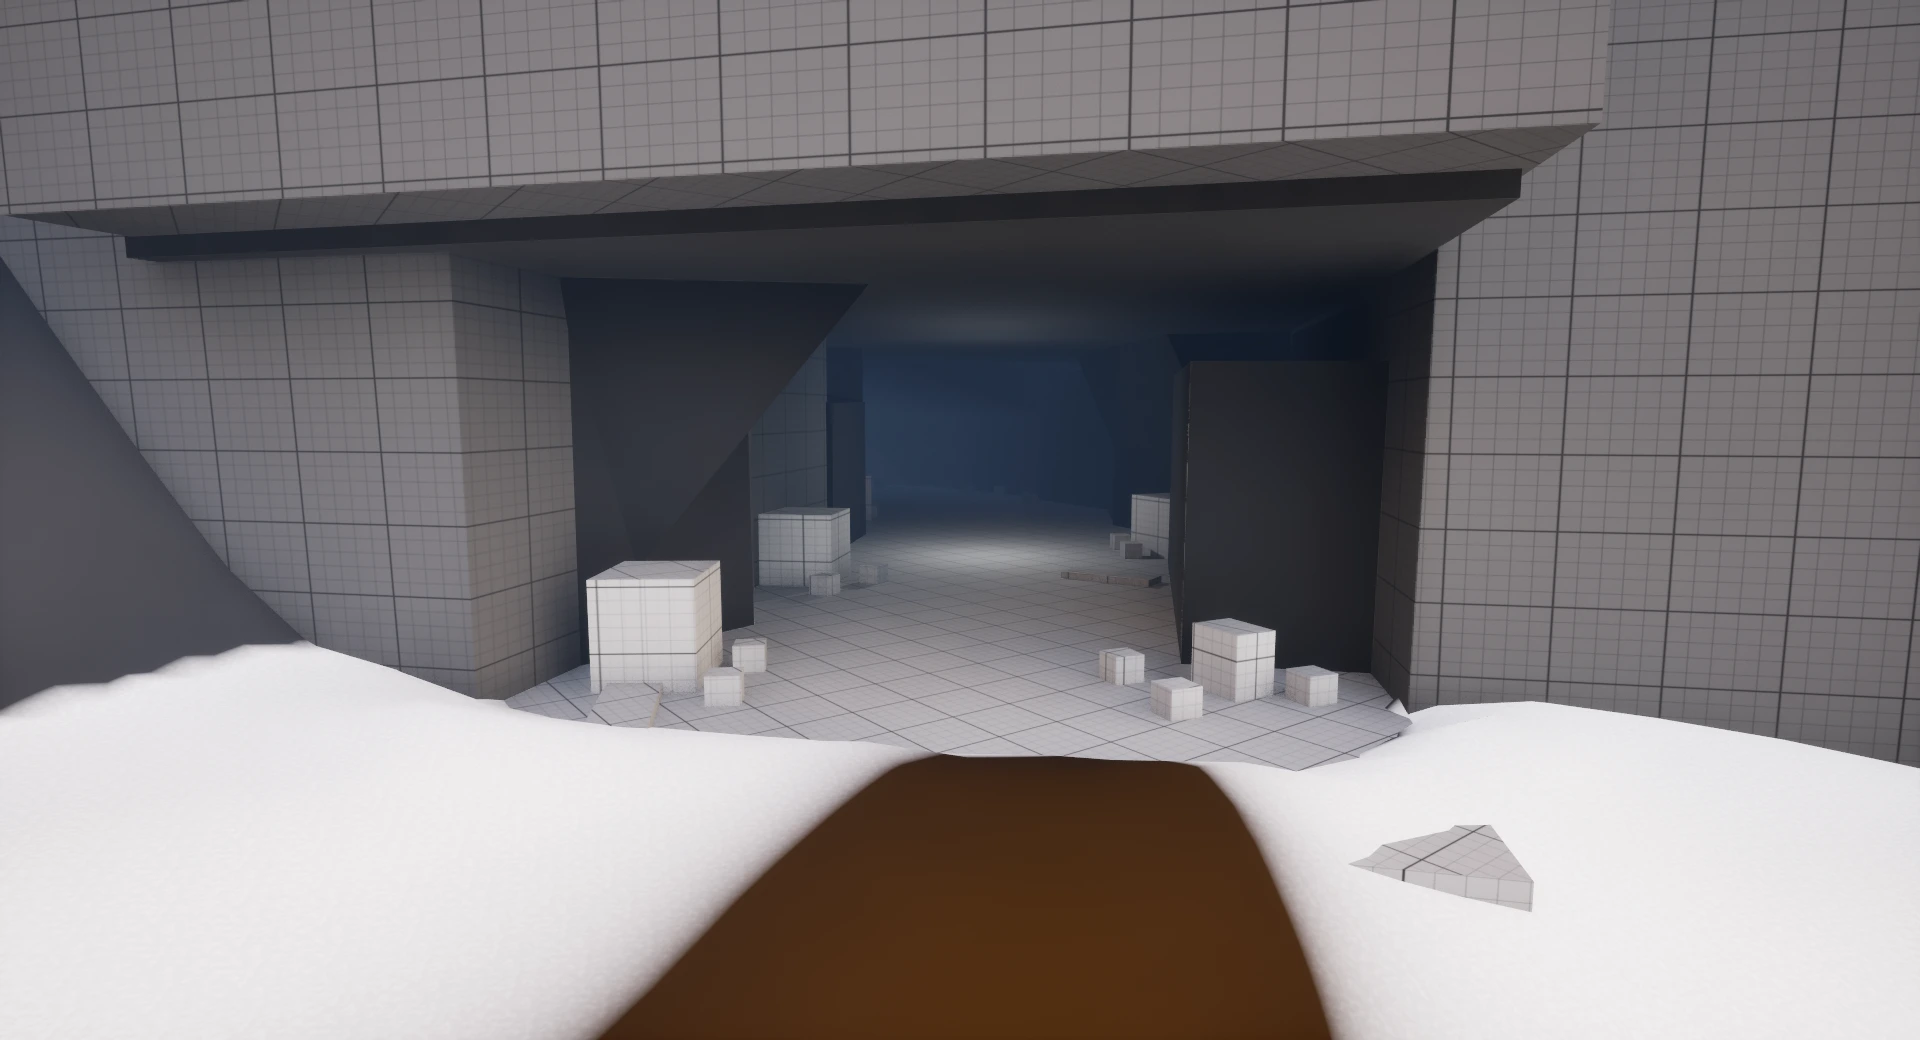
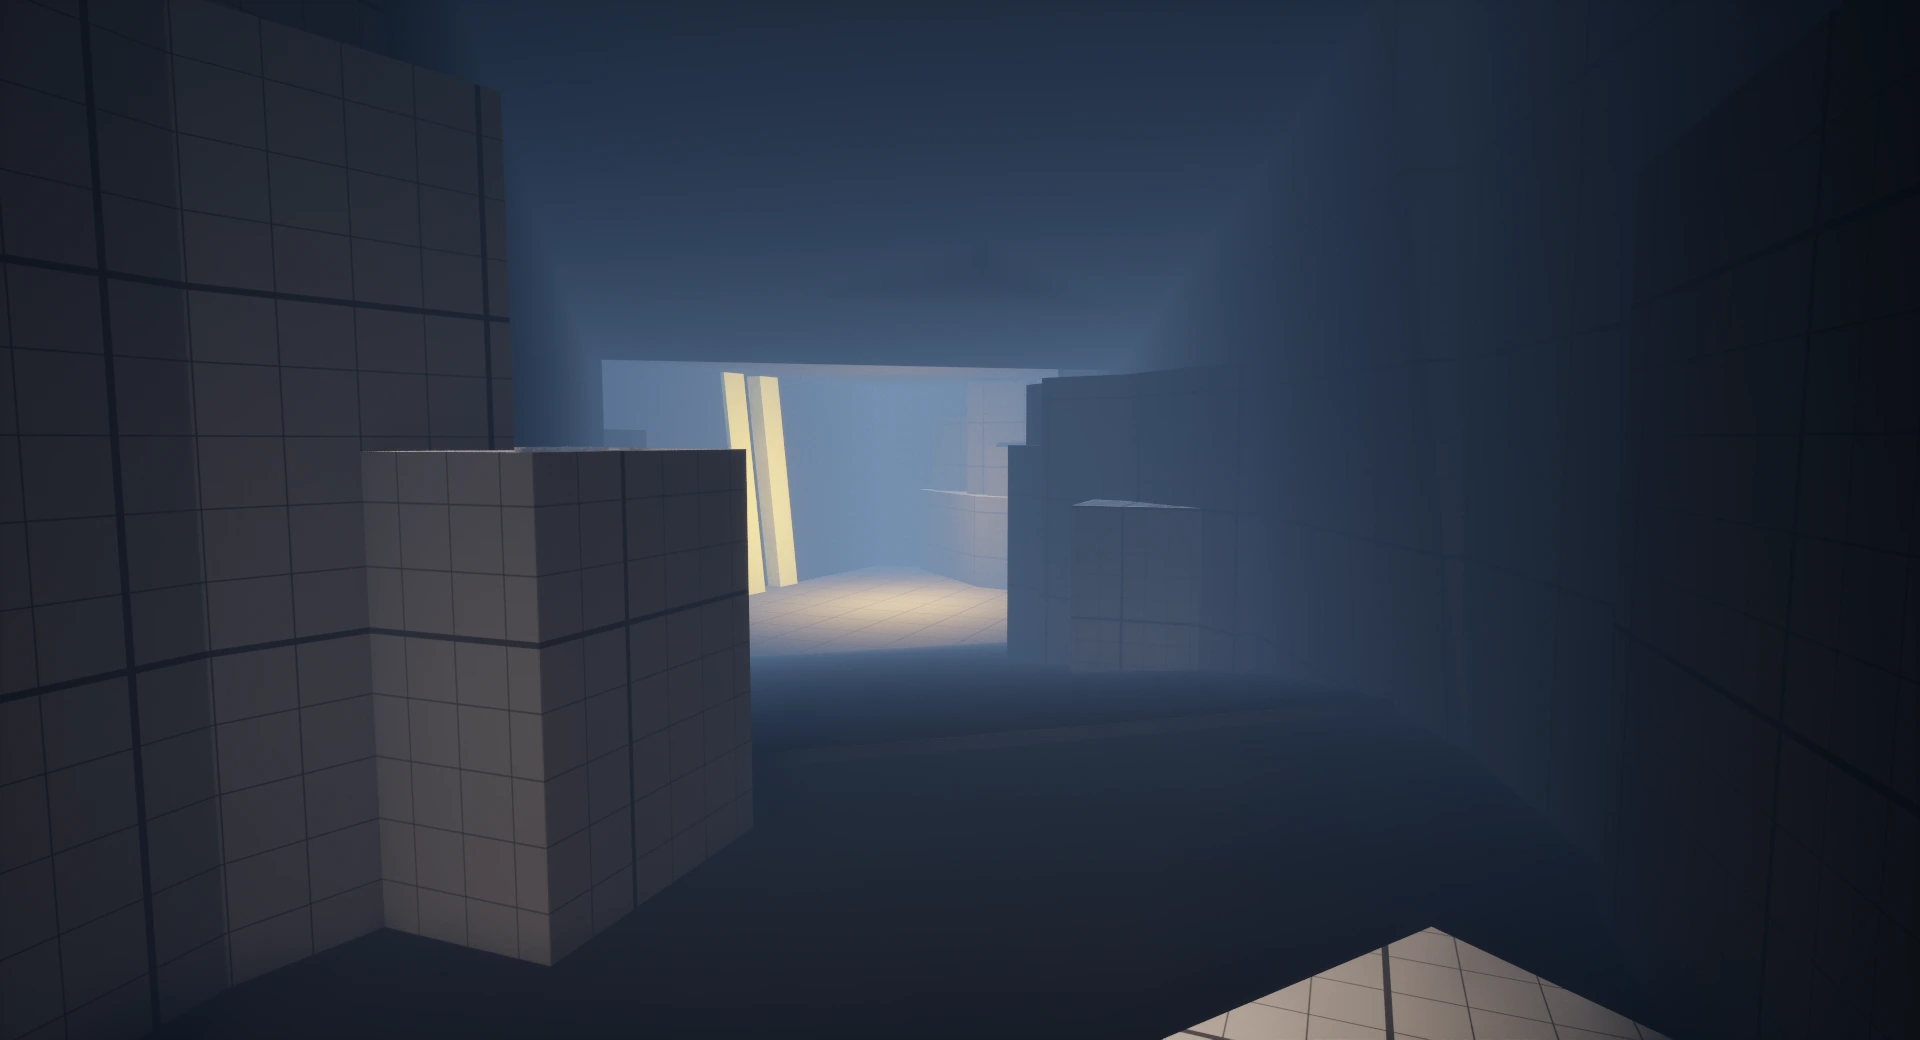
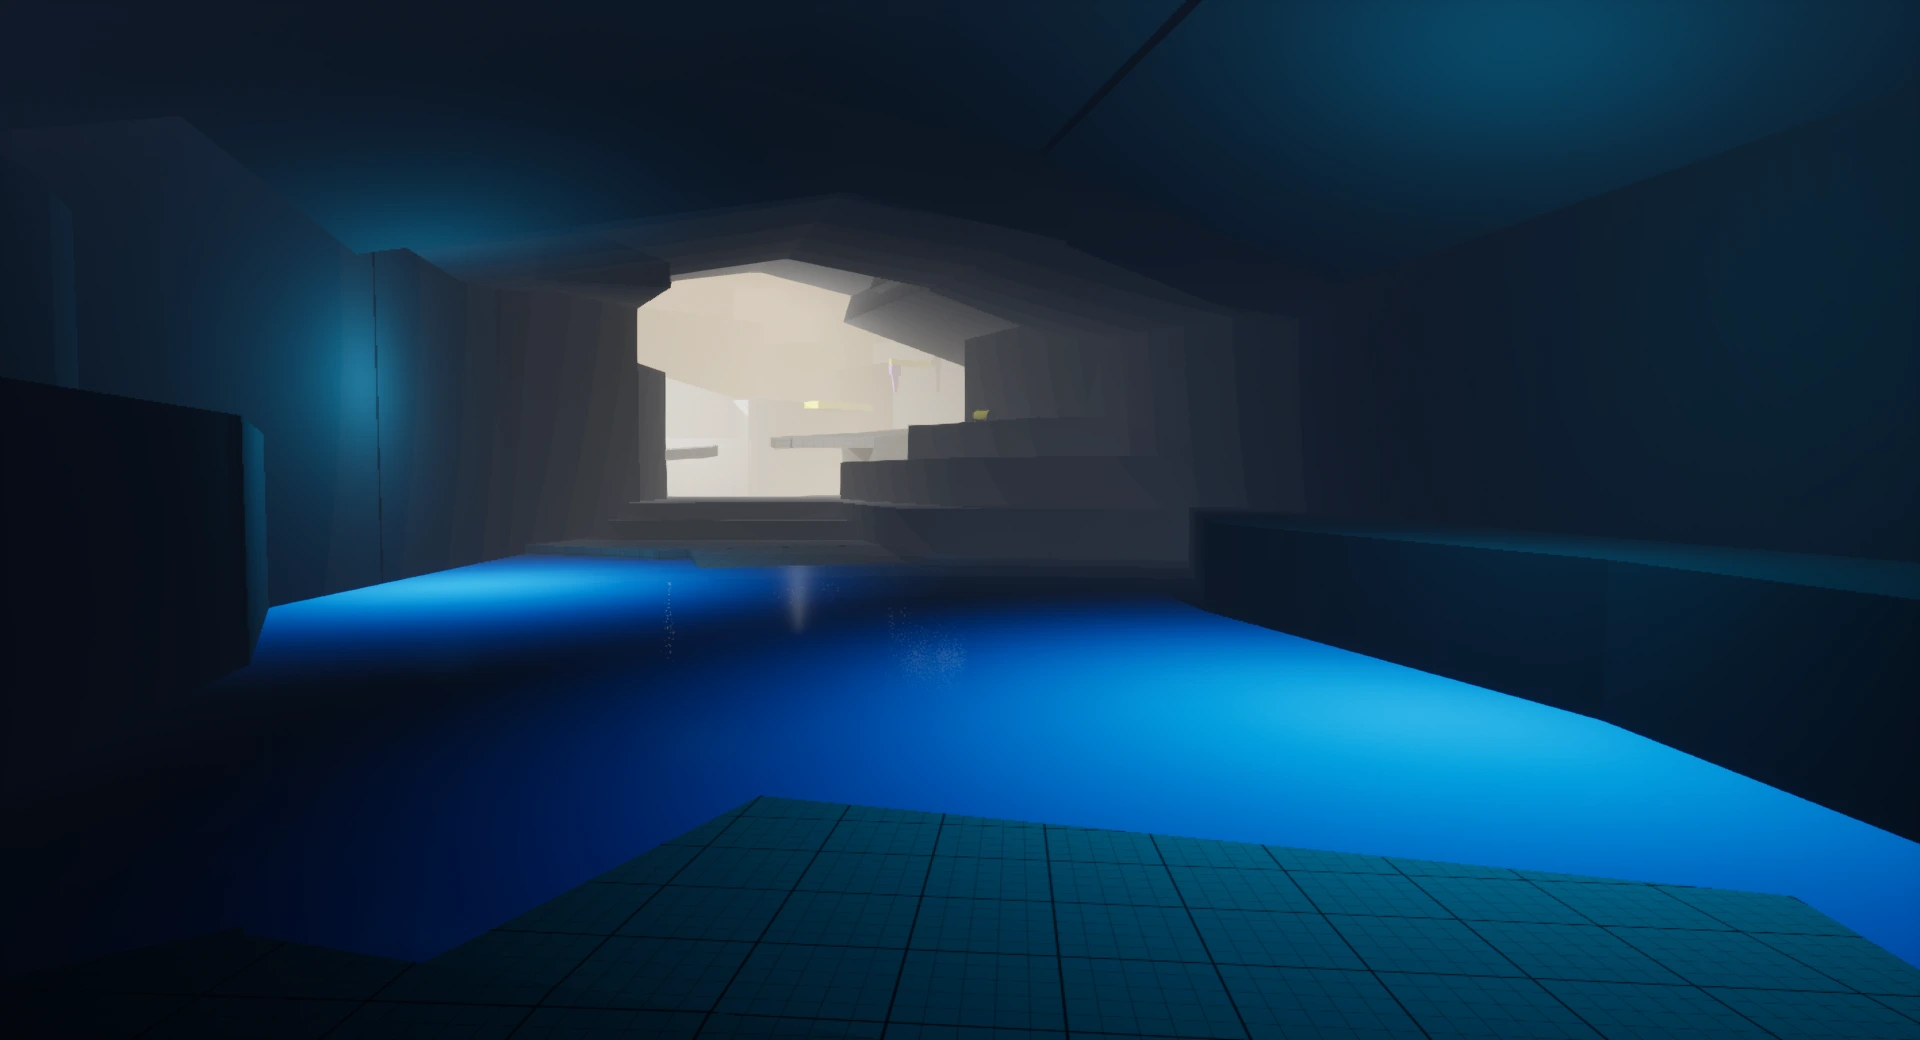
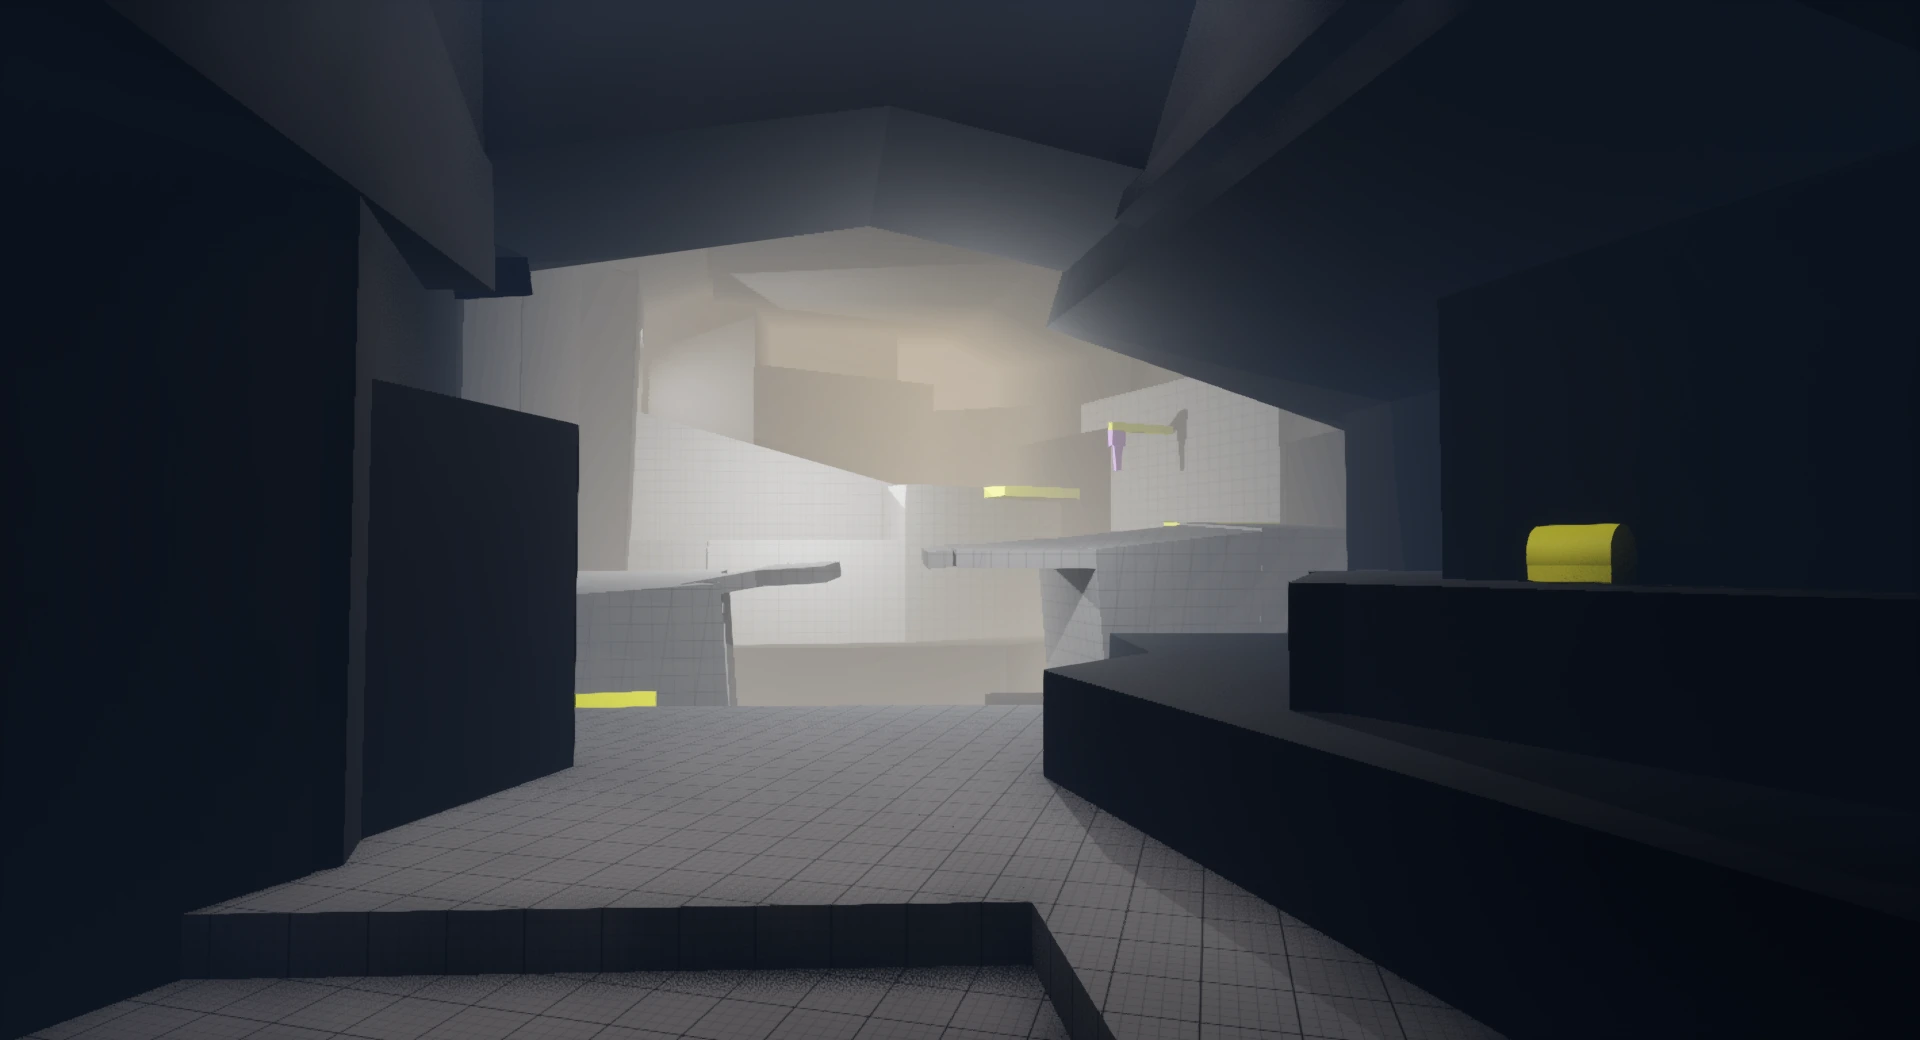
Inside, the player must shimmy through a narrow gap, swim across flooded sections, and swing over a chasm using the hook. Environmental cues (lighting, chest placement, and framing) guide them intuitively through each stage.
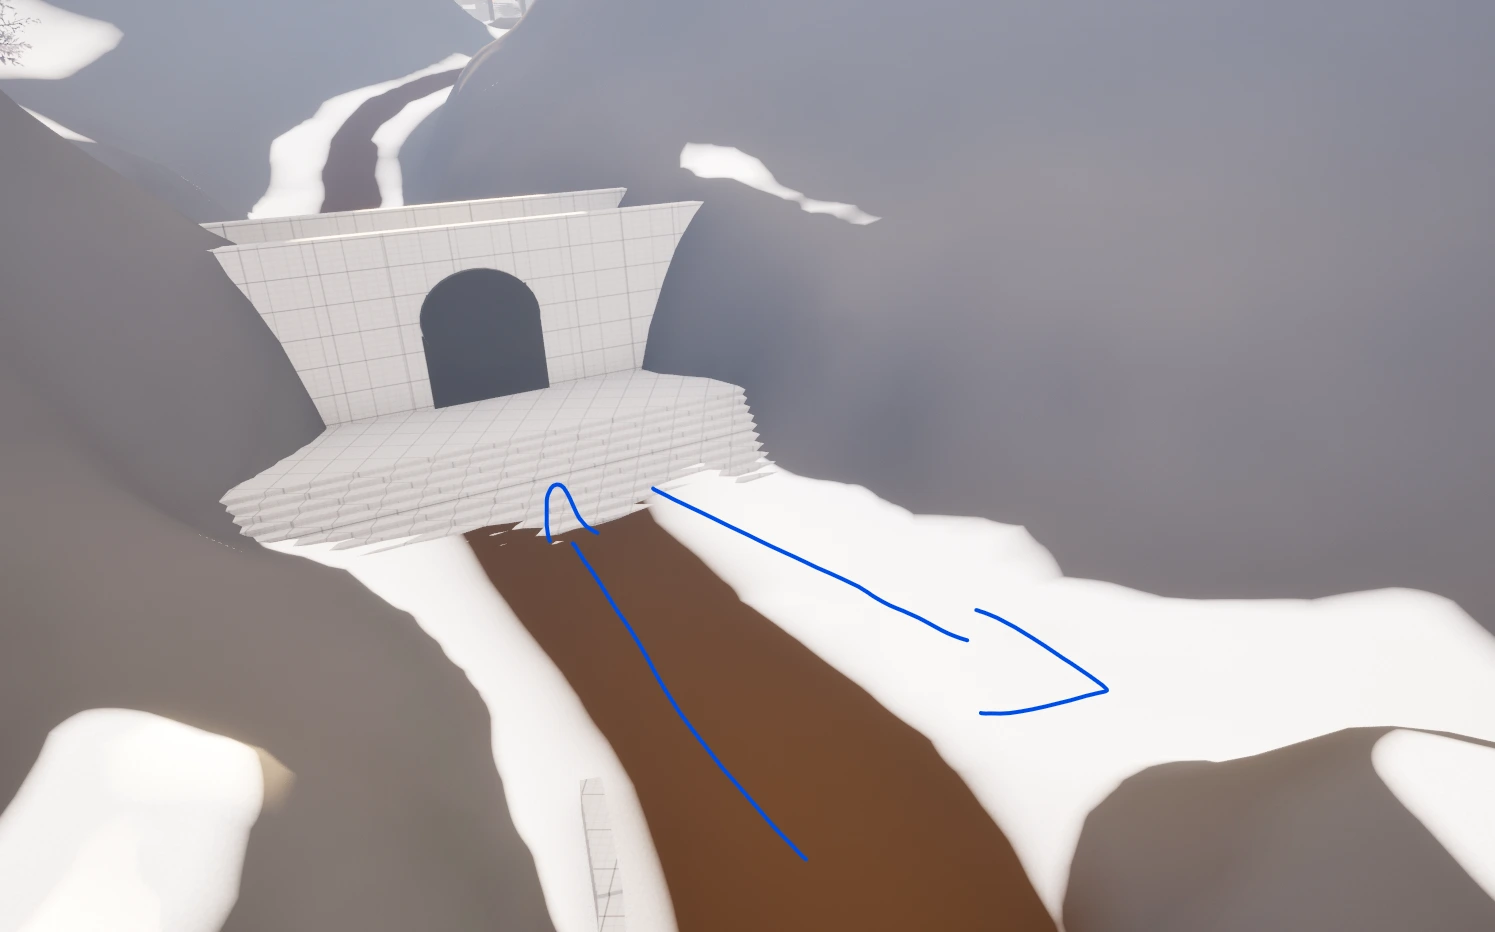
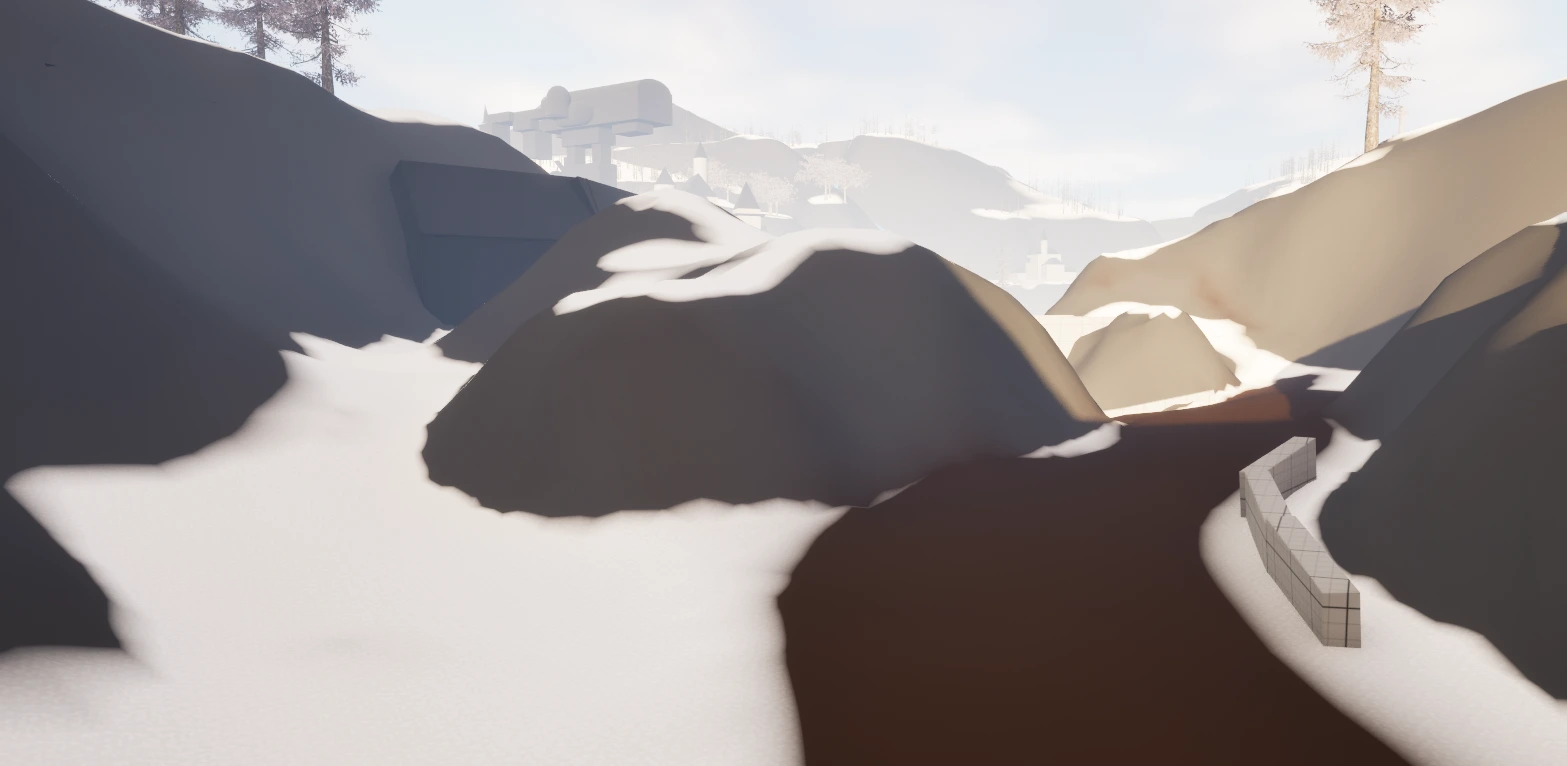
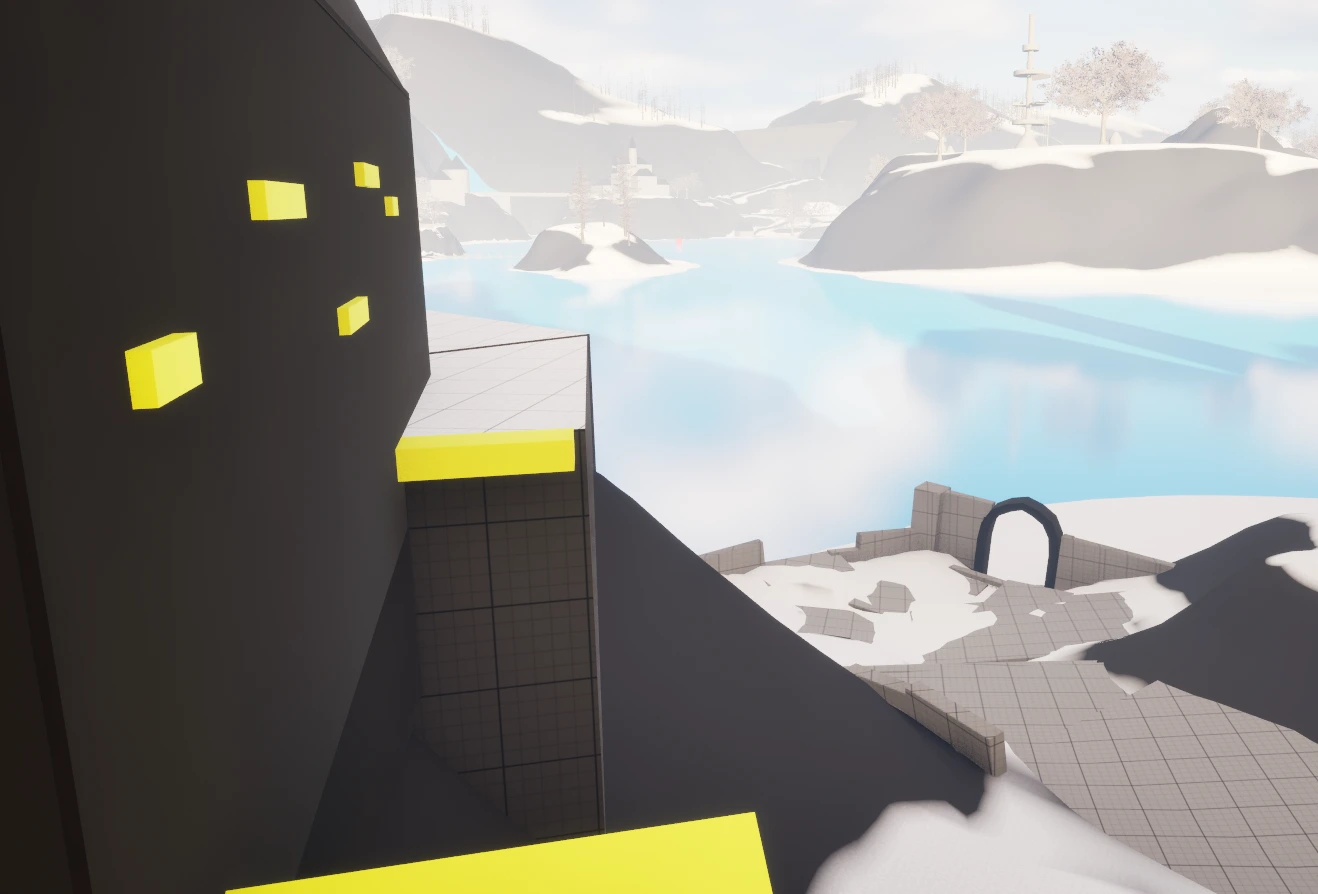
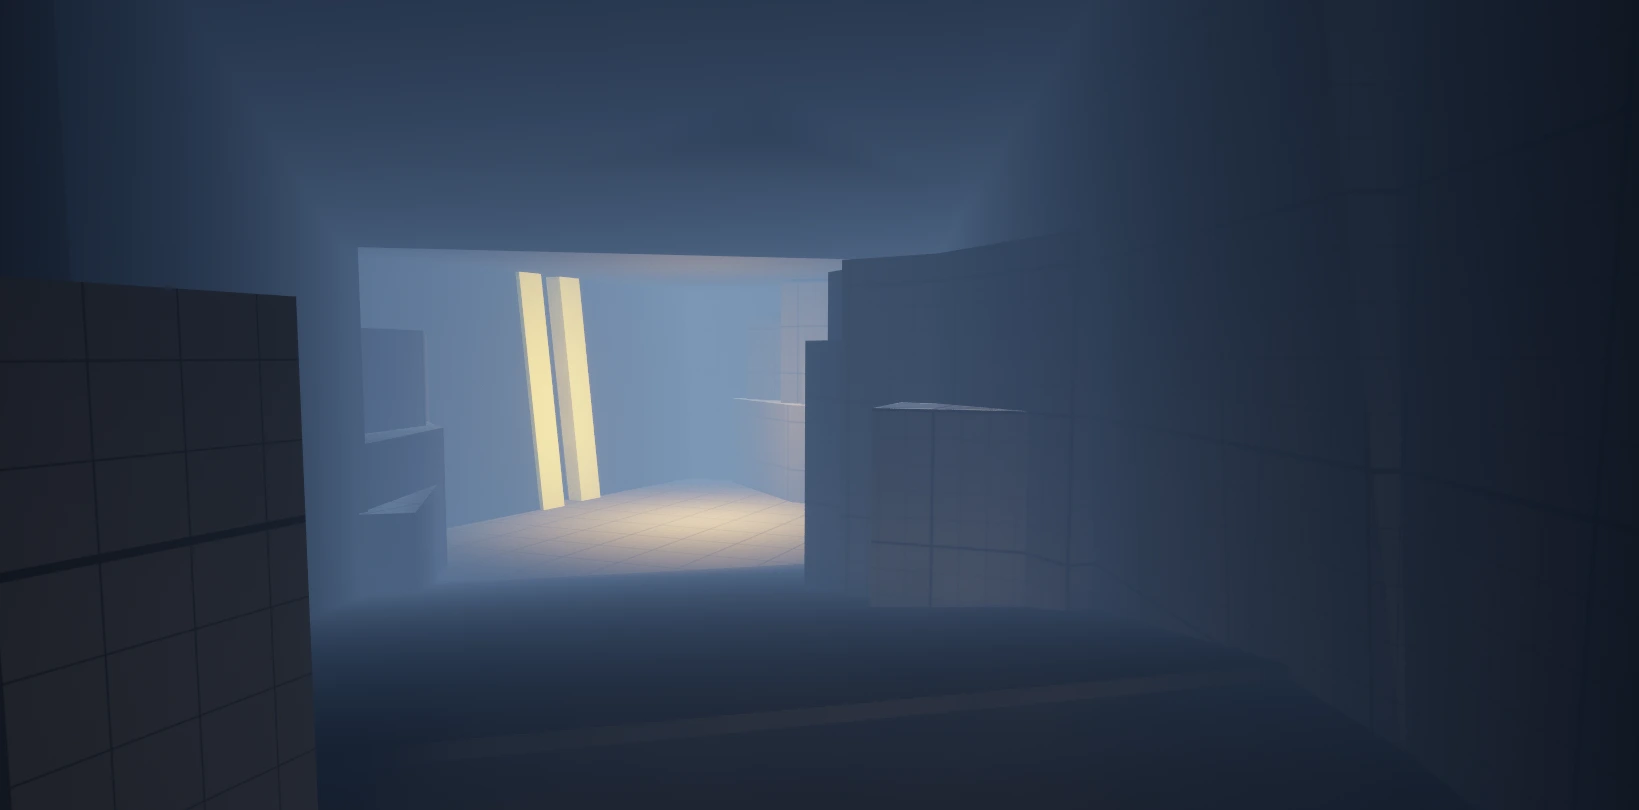
Inside the cave they will see a gap in which they can side shimmy through.
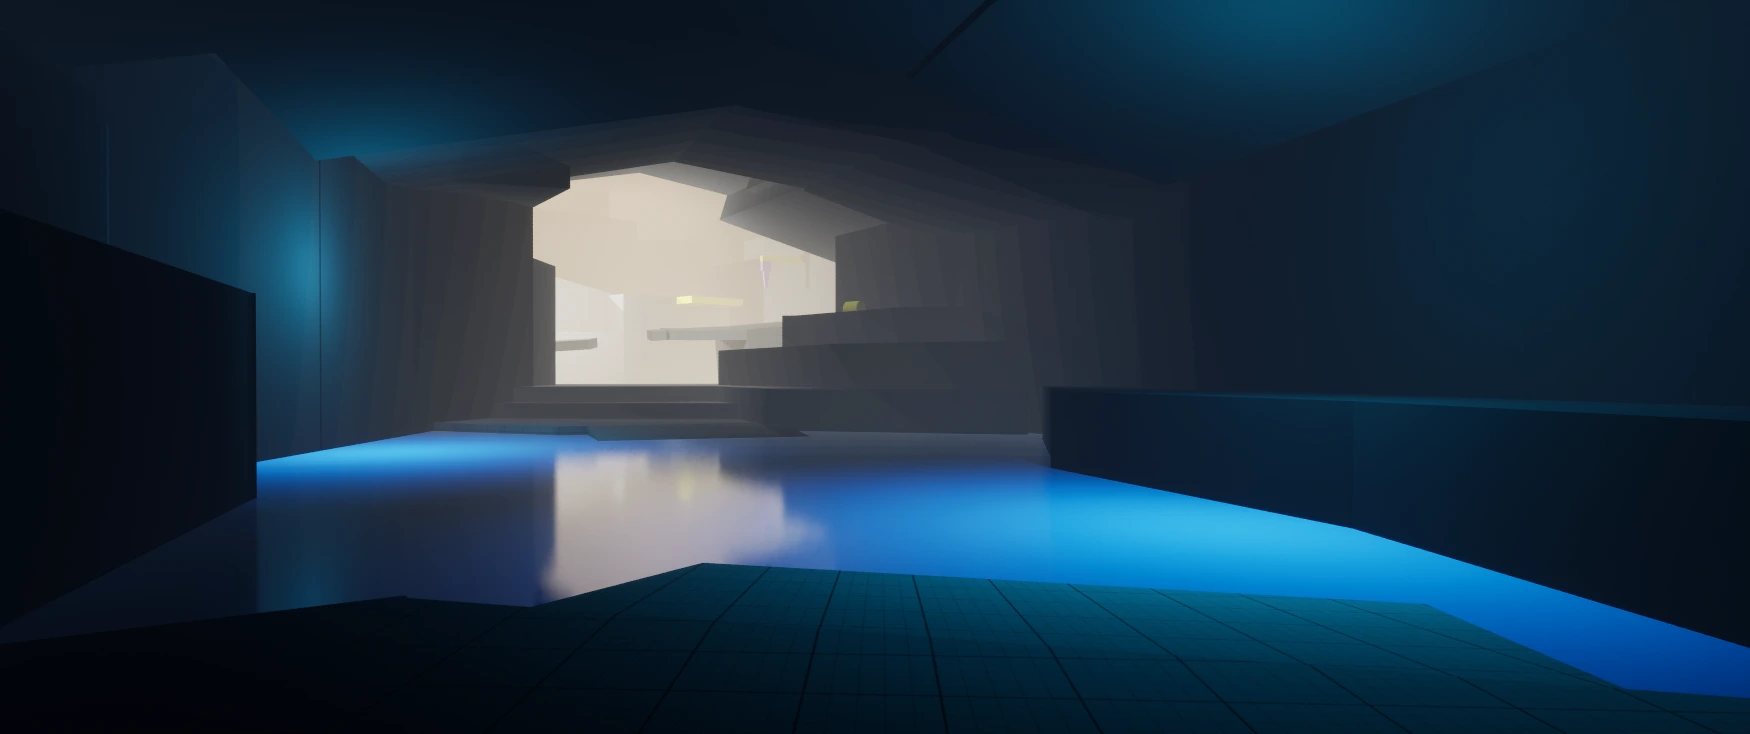
They will be presented with this view and will have to swim through the water here. They should be able to see a chest they can climb too.
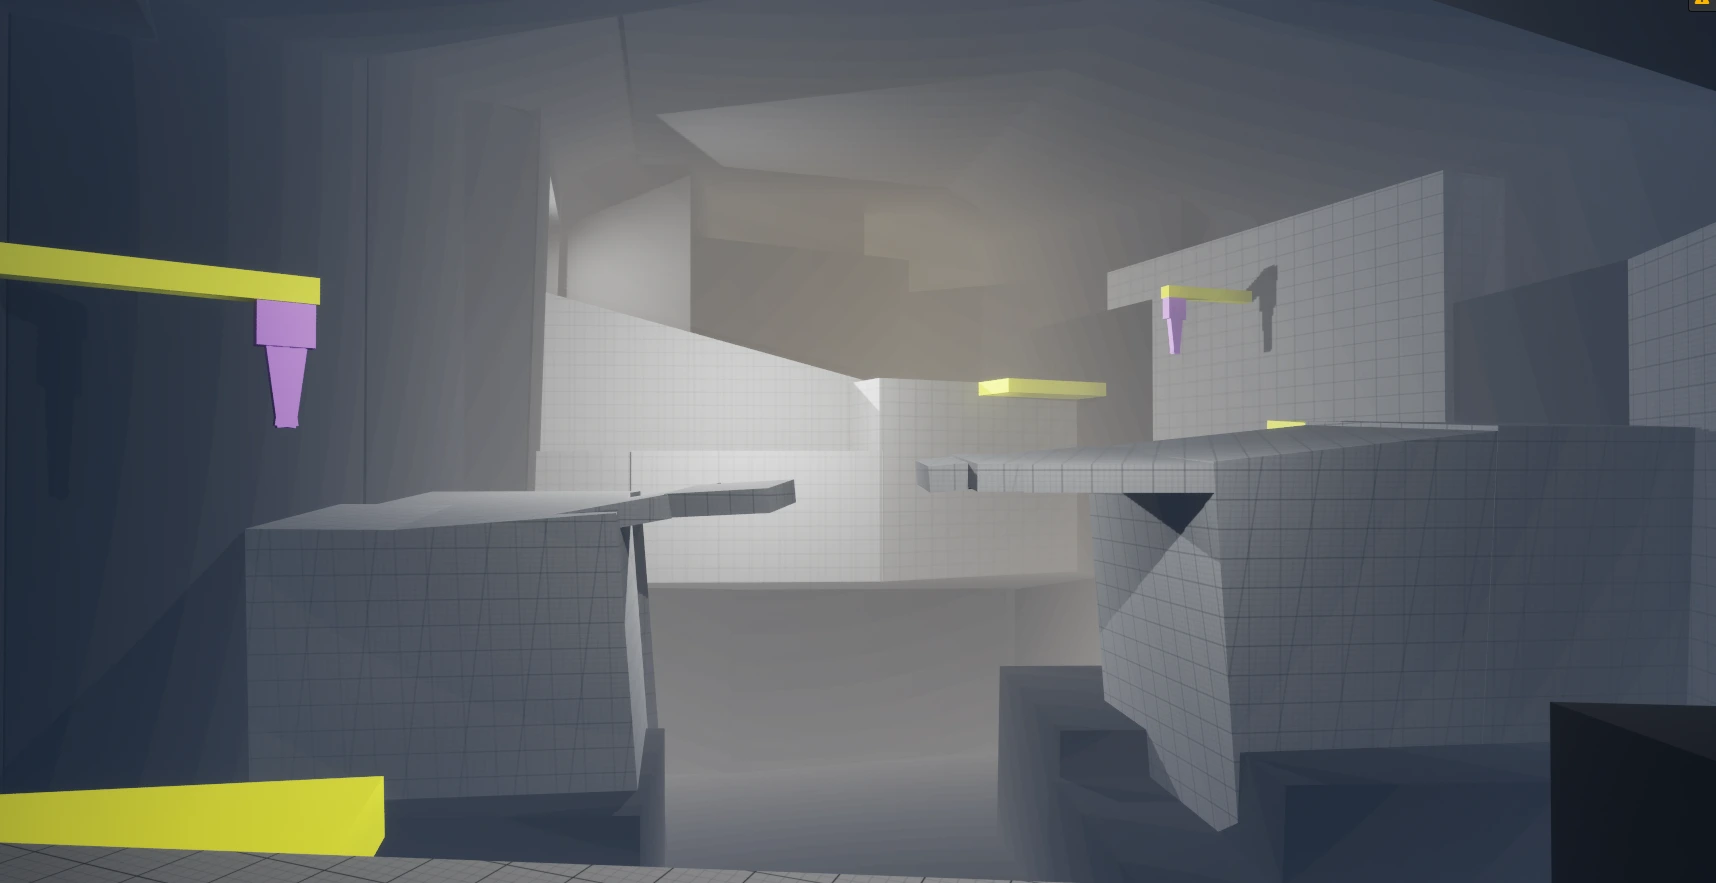
They will arrive at this chasm and using the hook they can swing accross.
4. Climax and Return Loop
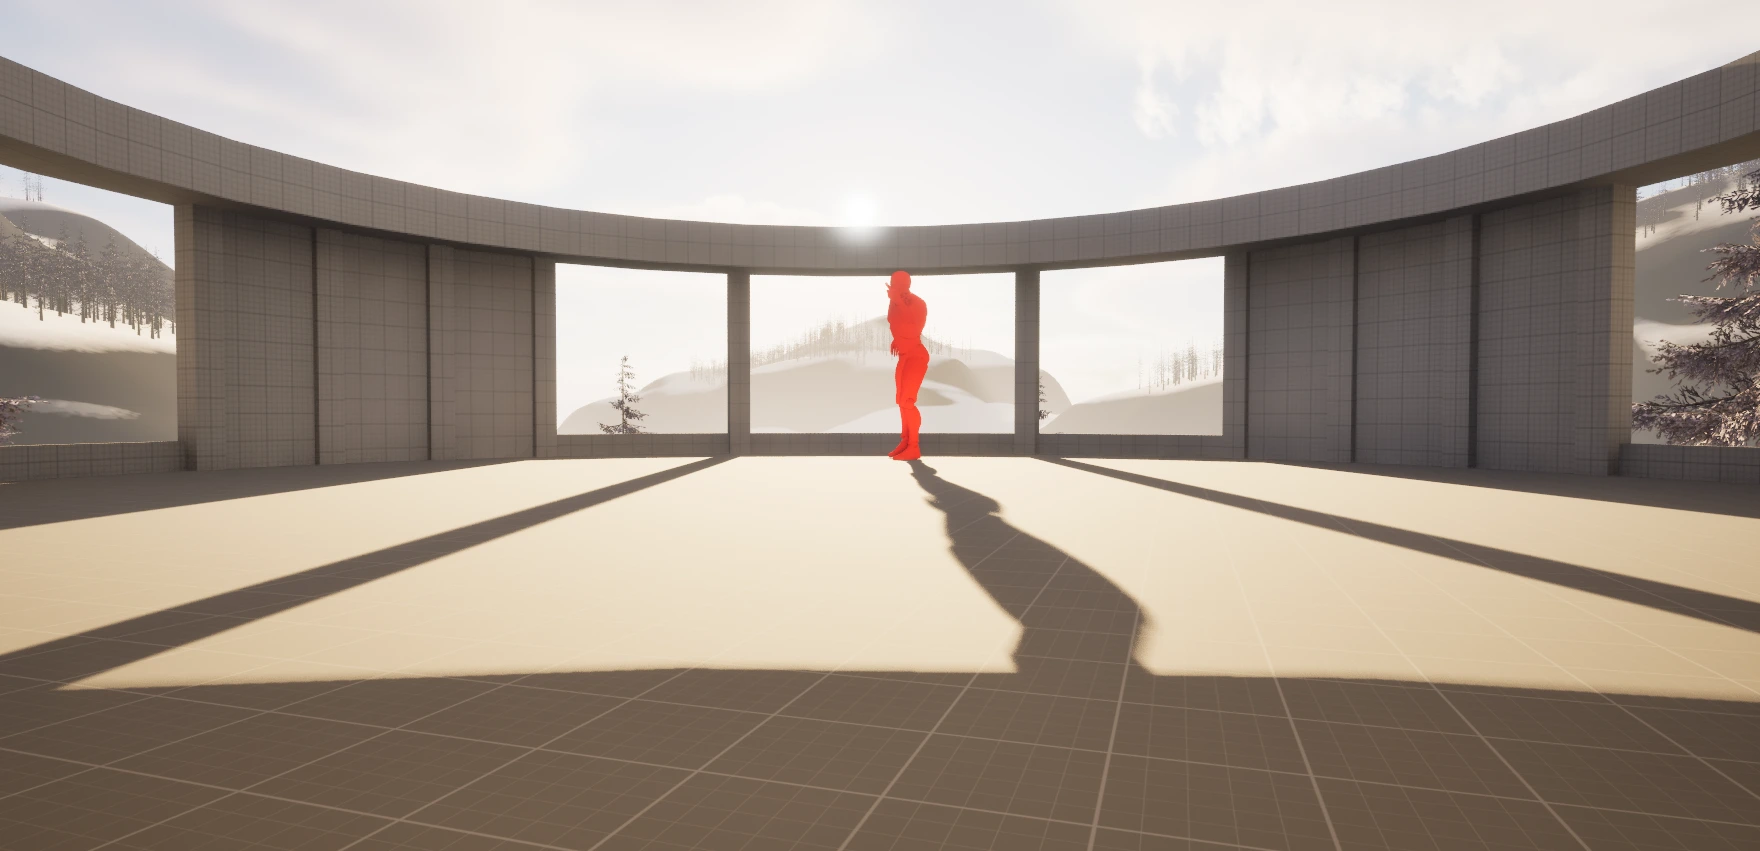
Emerging from the cave, the player finds a large building that houses the boss encounter.
After defeating the boss, they can unlock the previously sealed door, completing a looped route back to the starting area.
Moogle Intel
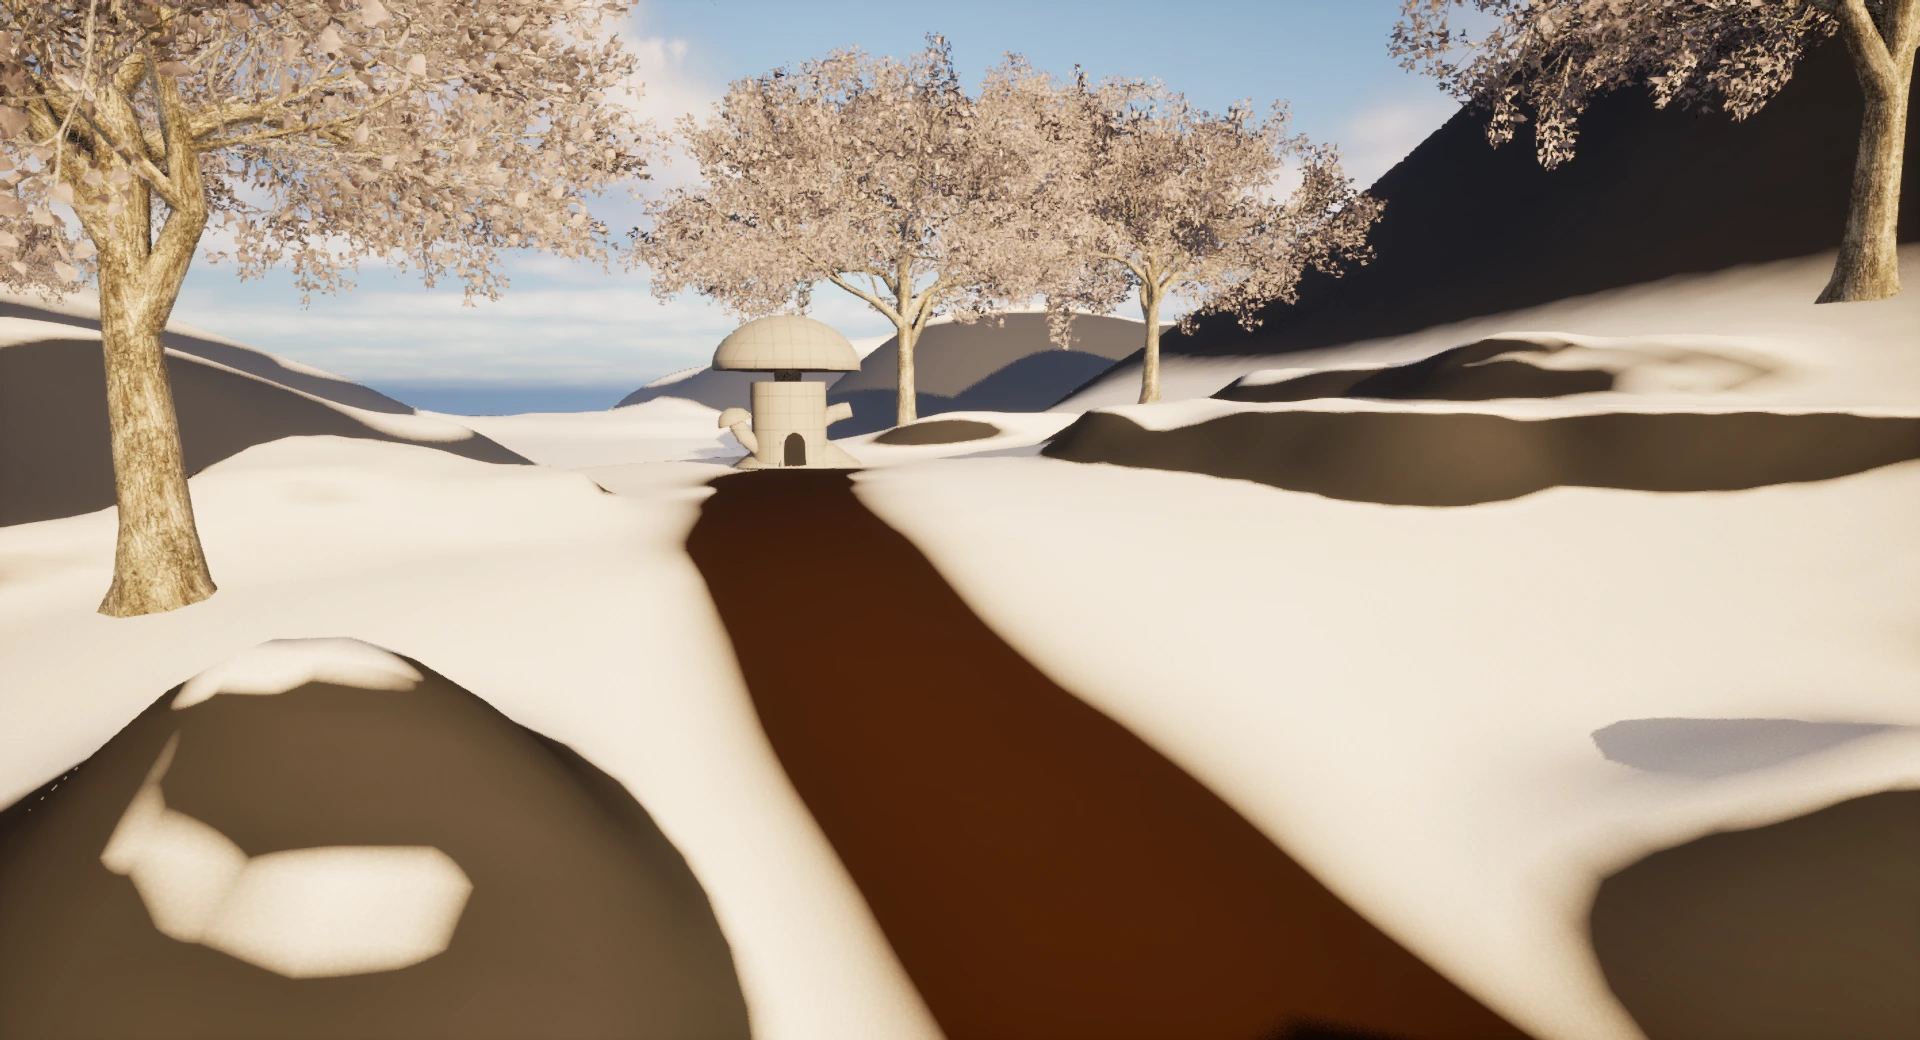
The moogle intel is a fairly straightforward POI, the main challenge was finding a place for it in the open world that is visible from another POI.
It is placed in a raised area and can be seen across a lake, near where the player would take a photograph side objective.
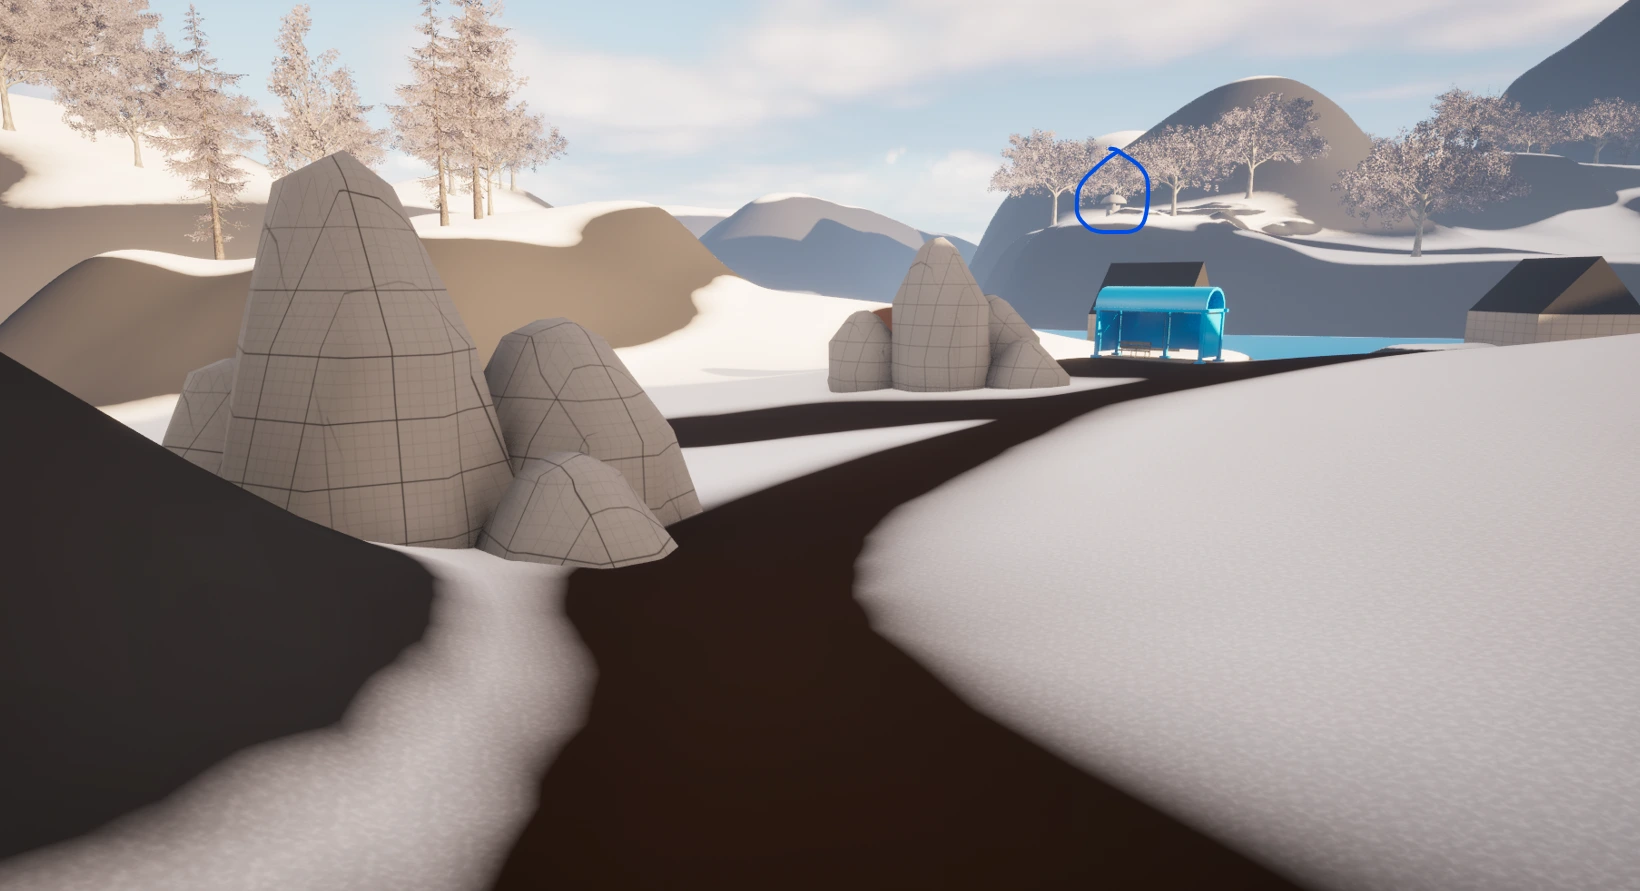
This is the view coming from another POI. The moogle tree is quite small scale in game, so I tried to make it stand out by placing it high up accross a lake.
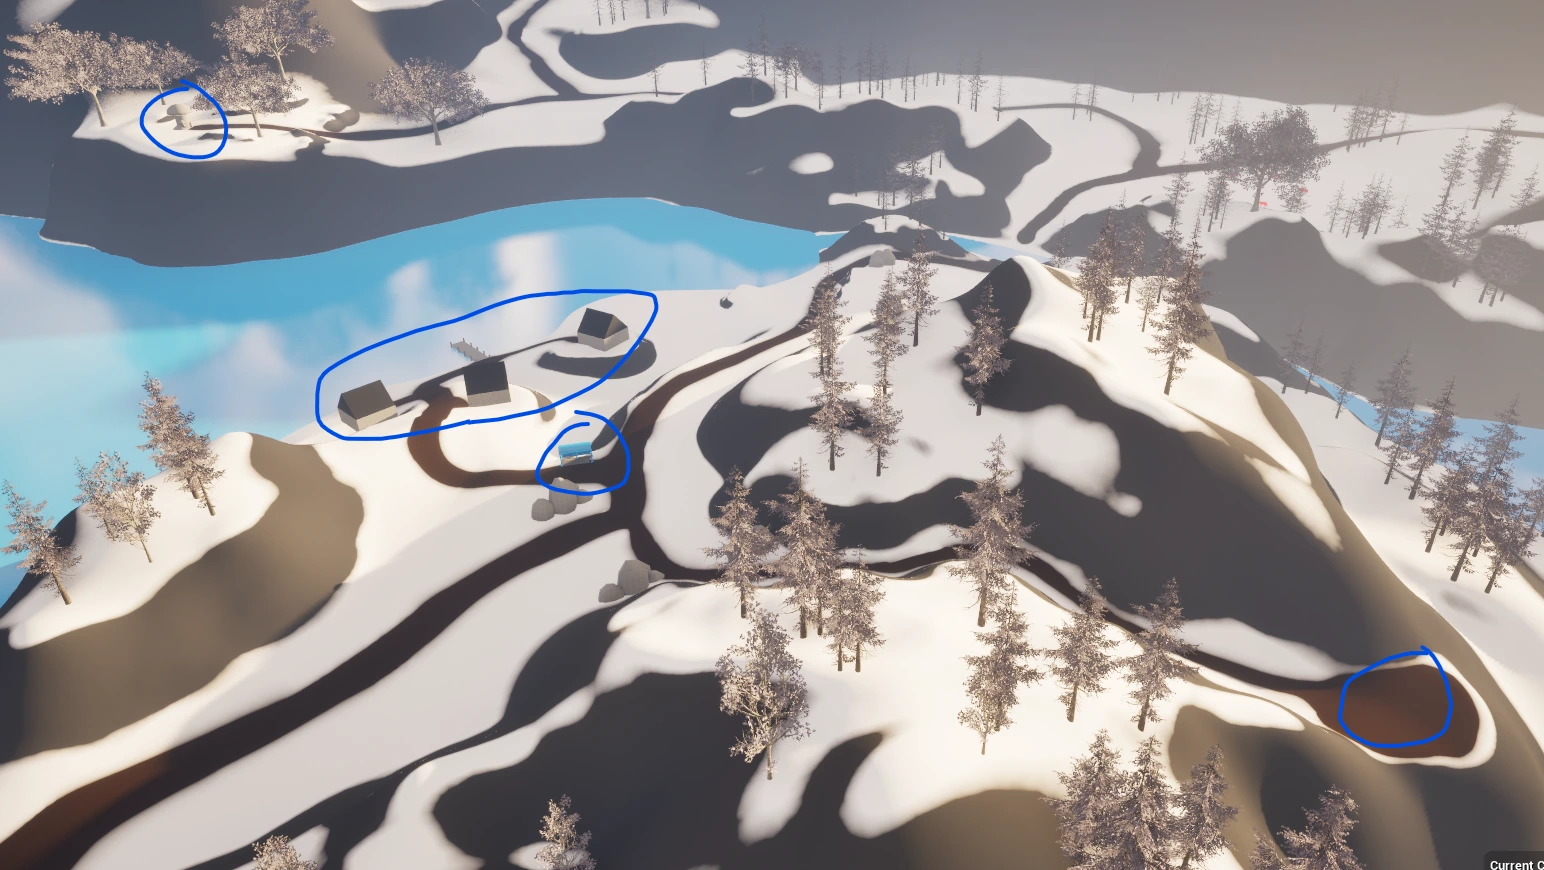
This shows that other POI’s are in view of the moogle tree. Hopefully the player see’s this from the rest stop and the buildings when exploring. If not they should see it on the way back from the photo POI shown in the bottom right.
Photograph taking
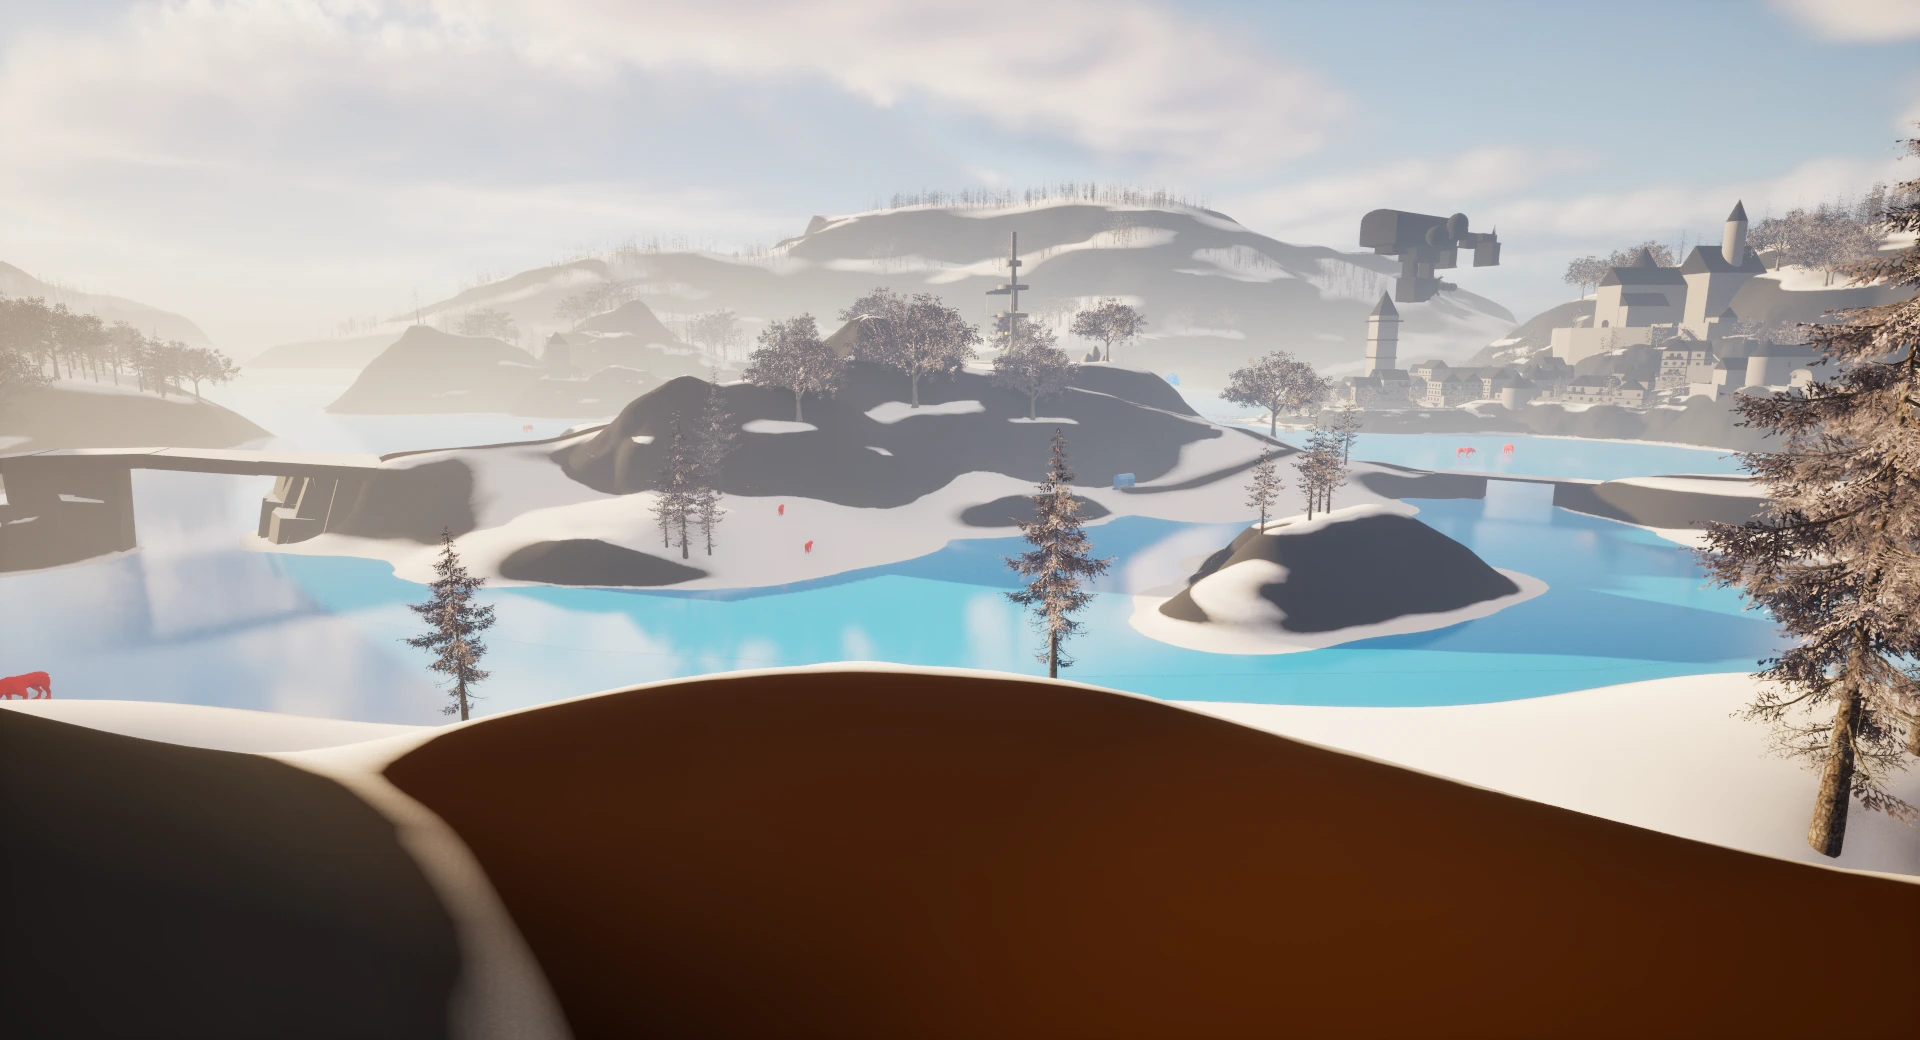
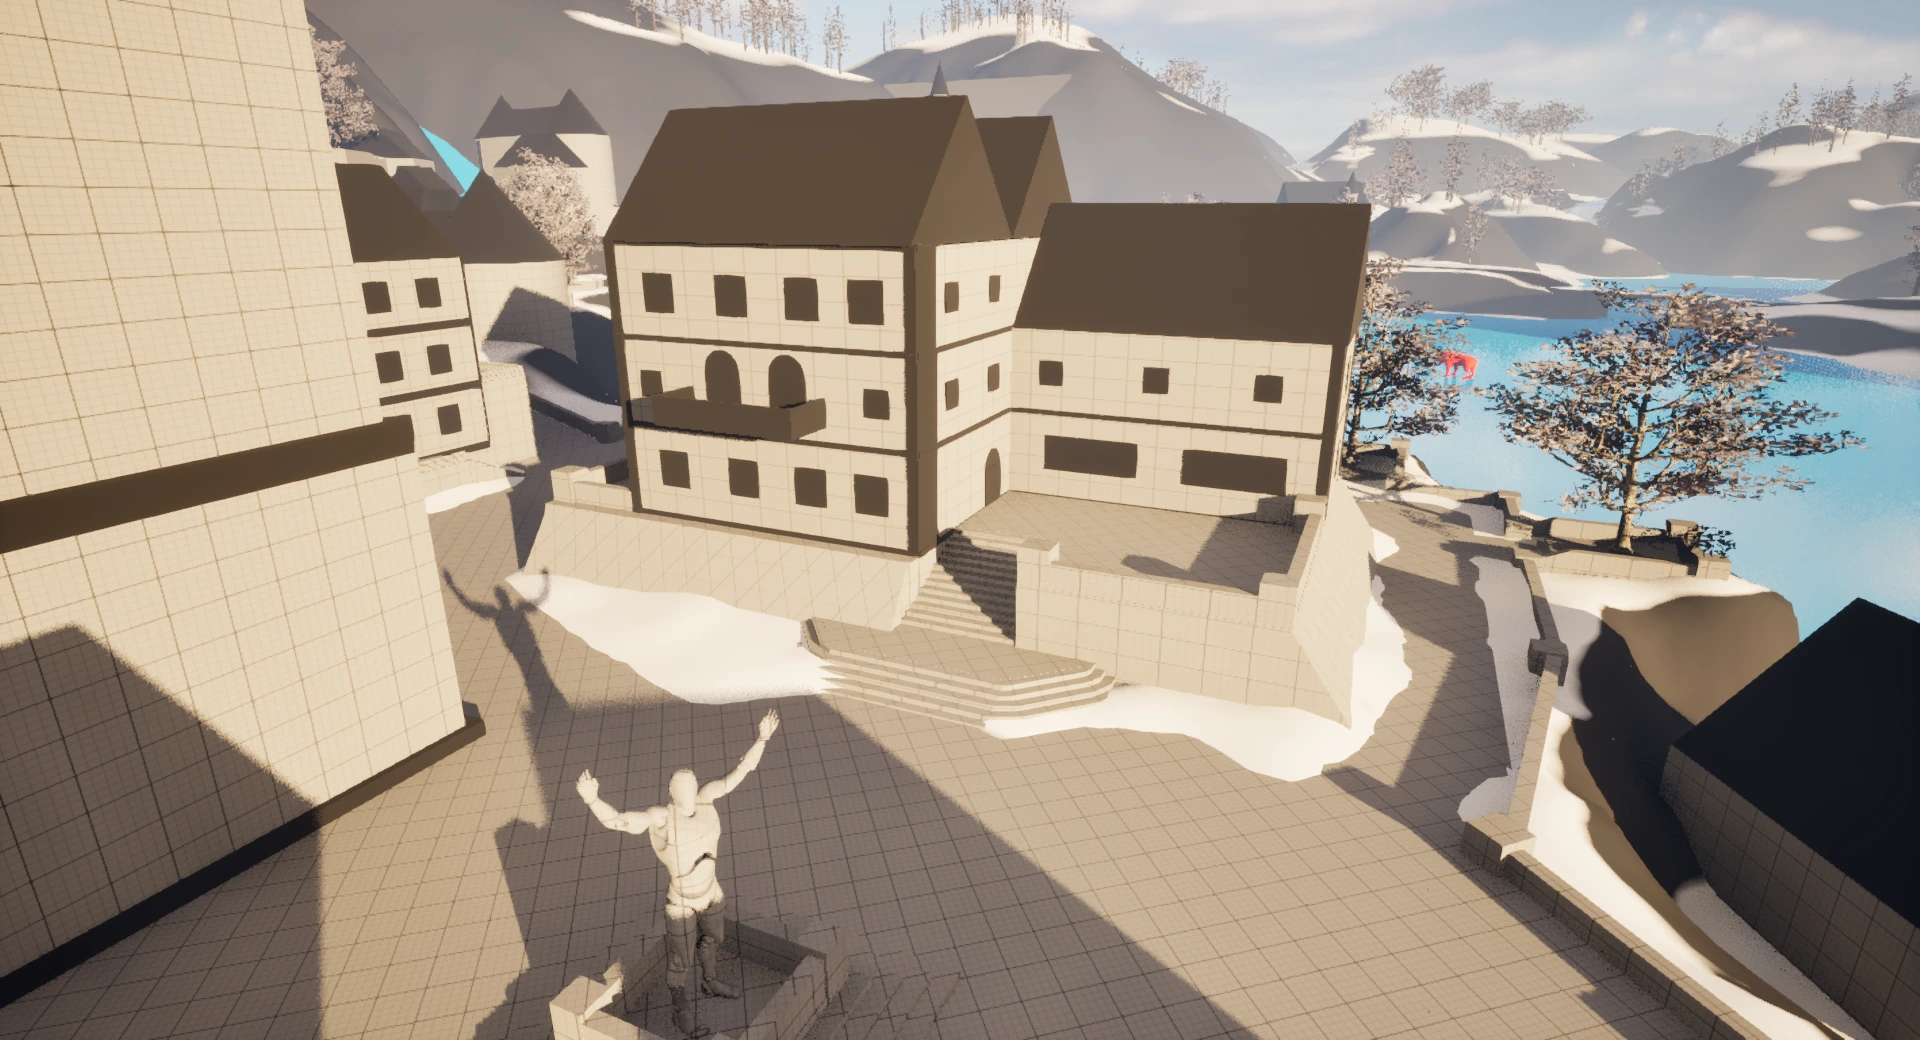
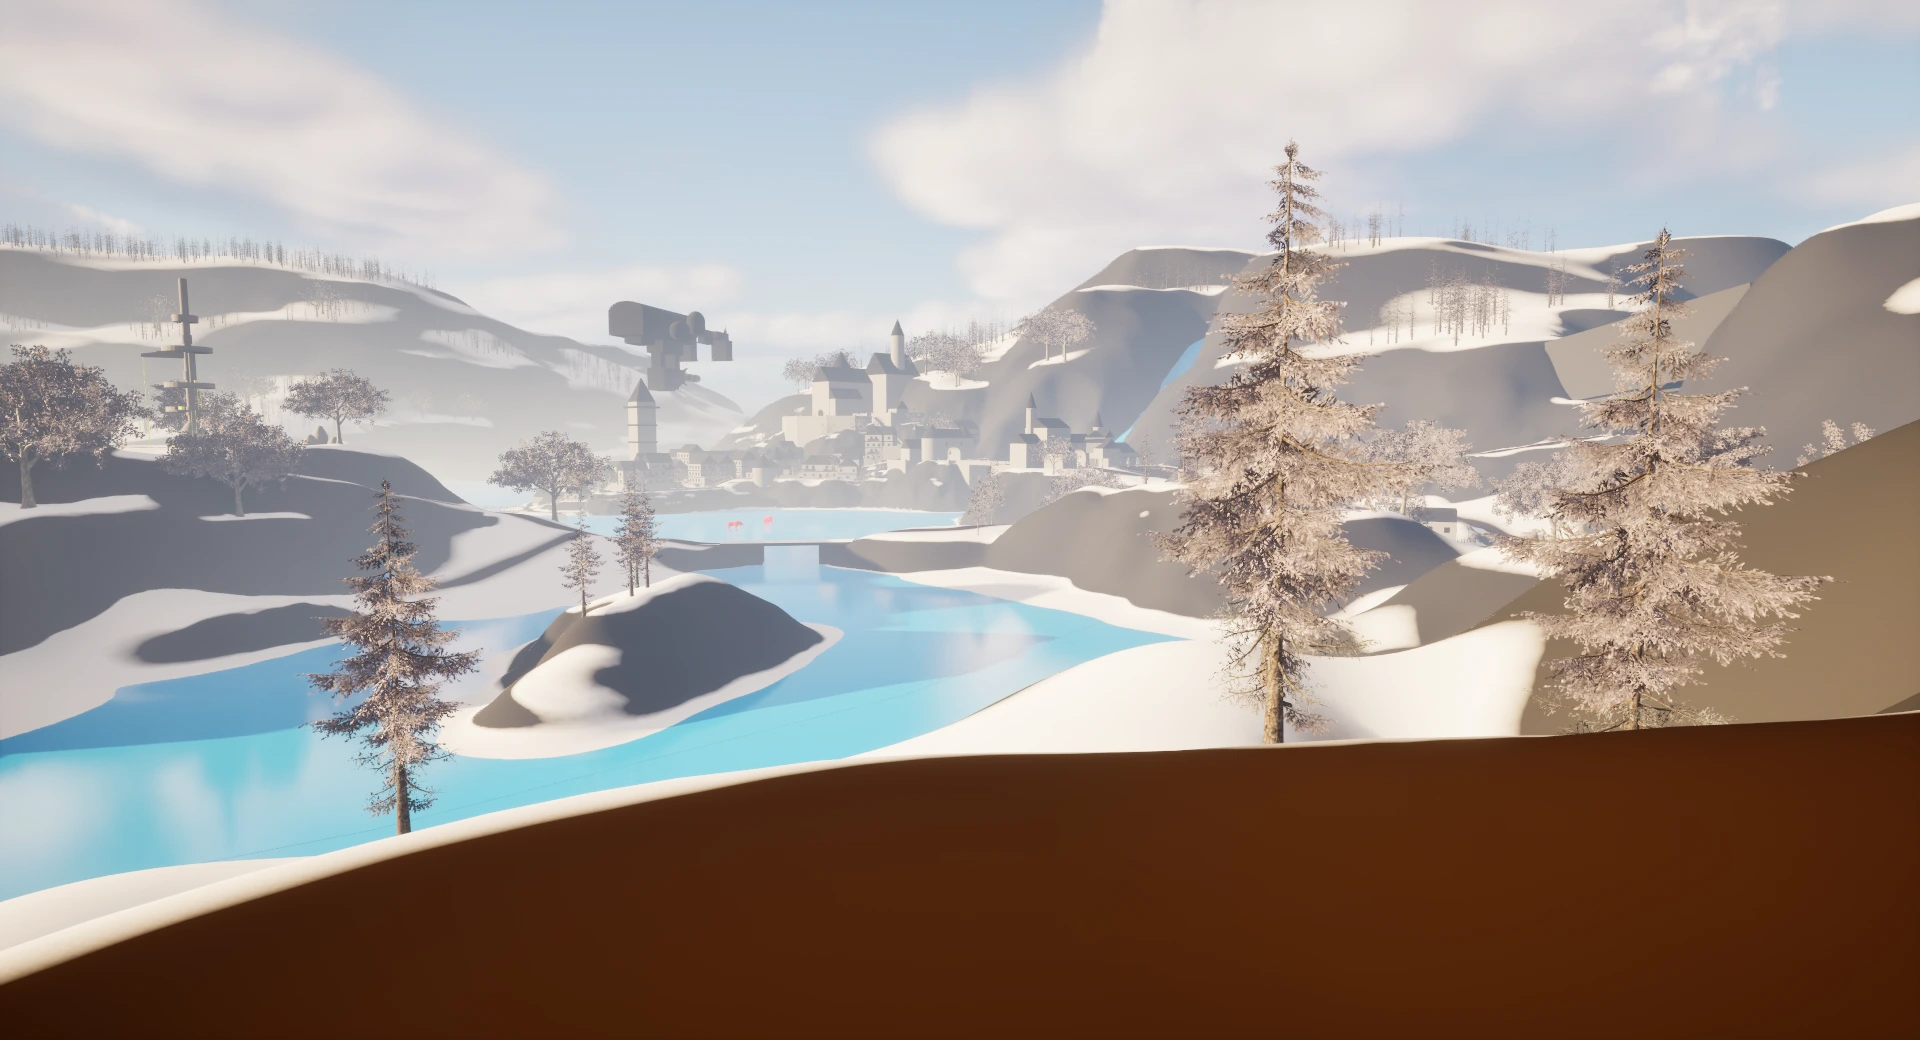
For the photograph taking POI, there needed to be a raised area that gives a good view of the landscape. There usually isn’t any gameplay associated with this part, it’s more about giving the players easy access to this area and a good view to take a picture.
I thought this area would work as it gives a nice view of both the town and the surrounding landscape, so they have a choice of what part of the environment to take the picture.
Treasure Chests
In the treasure chest POI you have to find 3 treasure chests. They are littered accross the small section of this POI, some in obvious locations and some in less obvious locations. In this POI I added in enemies to get a sense that this was a ‘hideout’.
It is quite a distance from the central tower POI, but with the ice skating mechanic, players can quickly reach this.
Town Hub
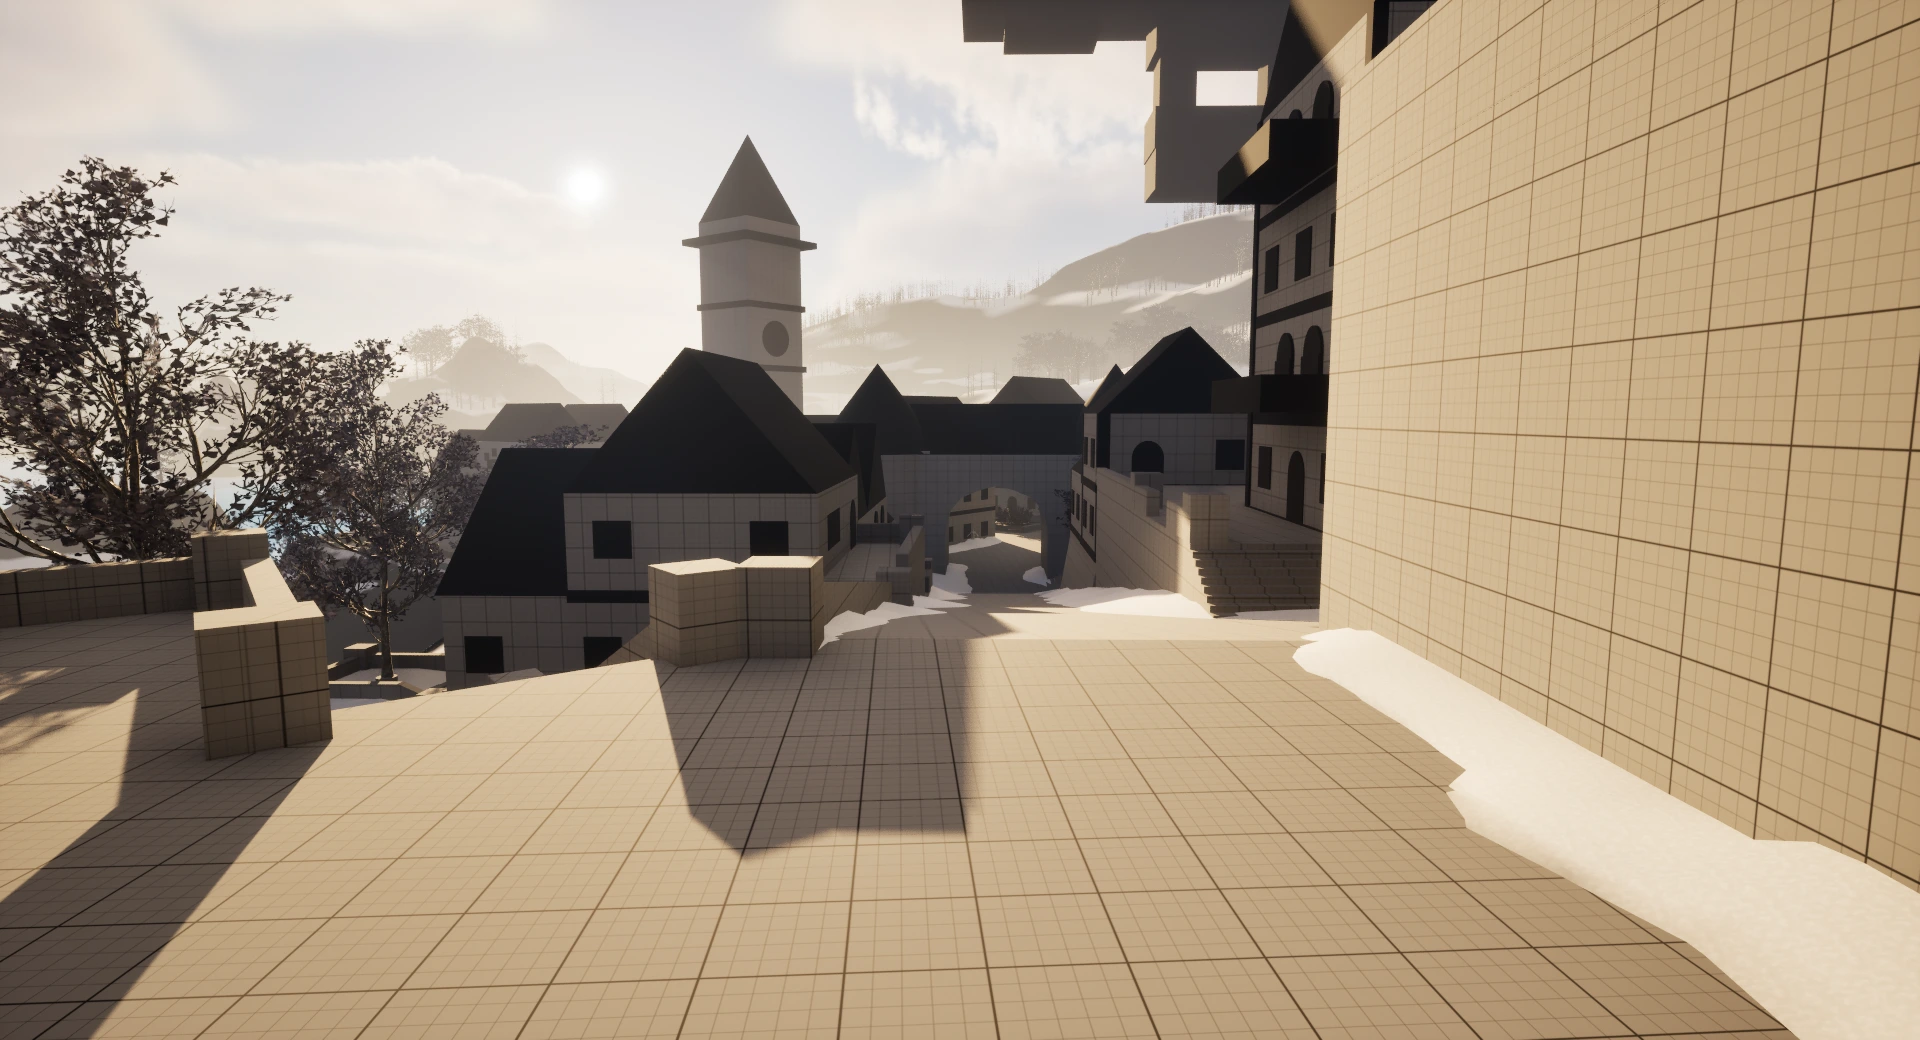
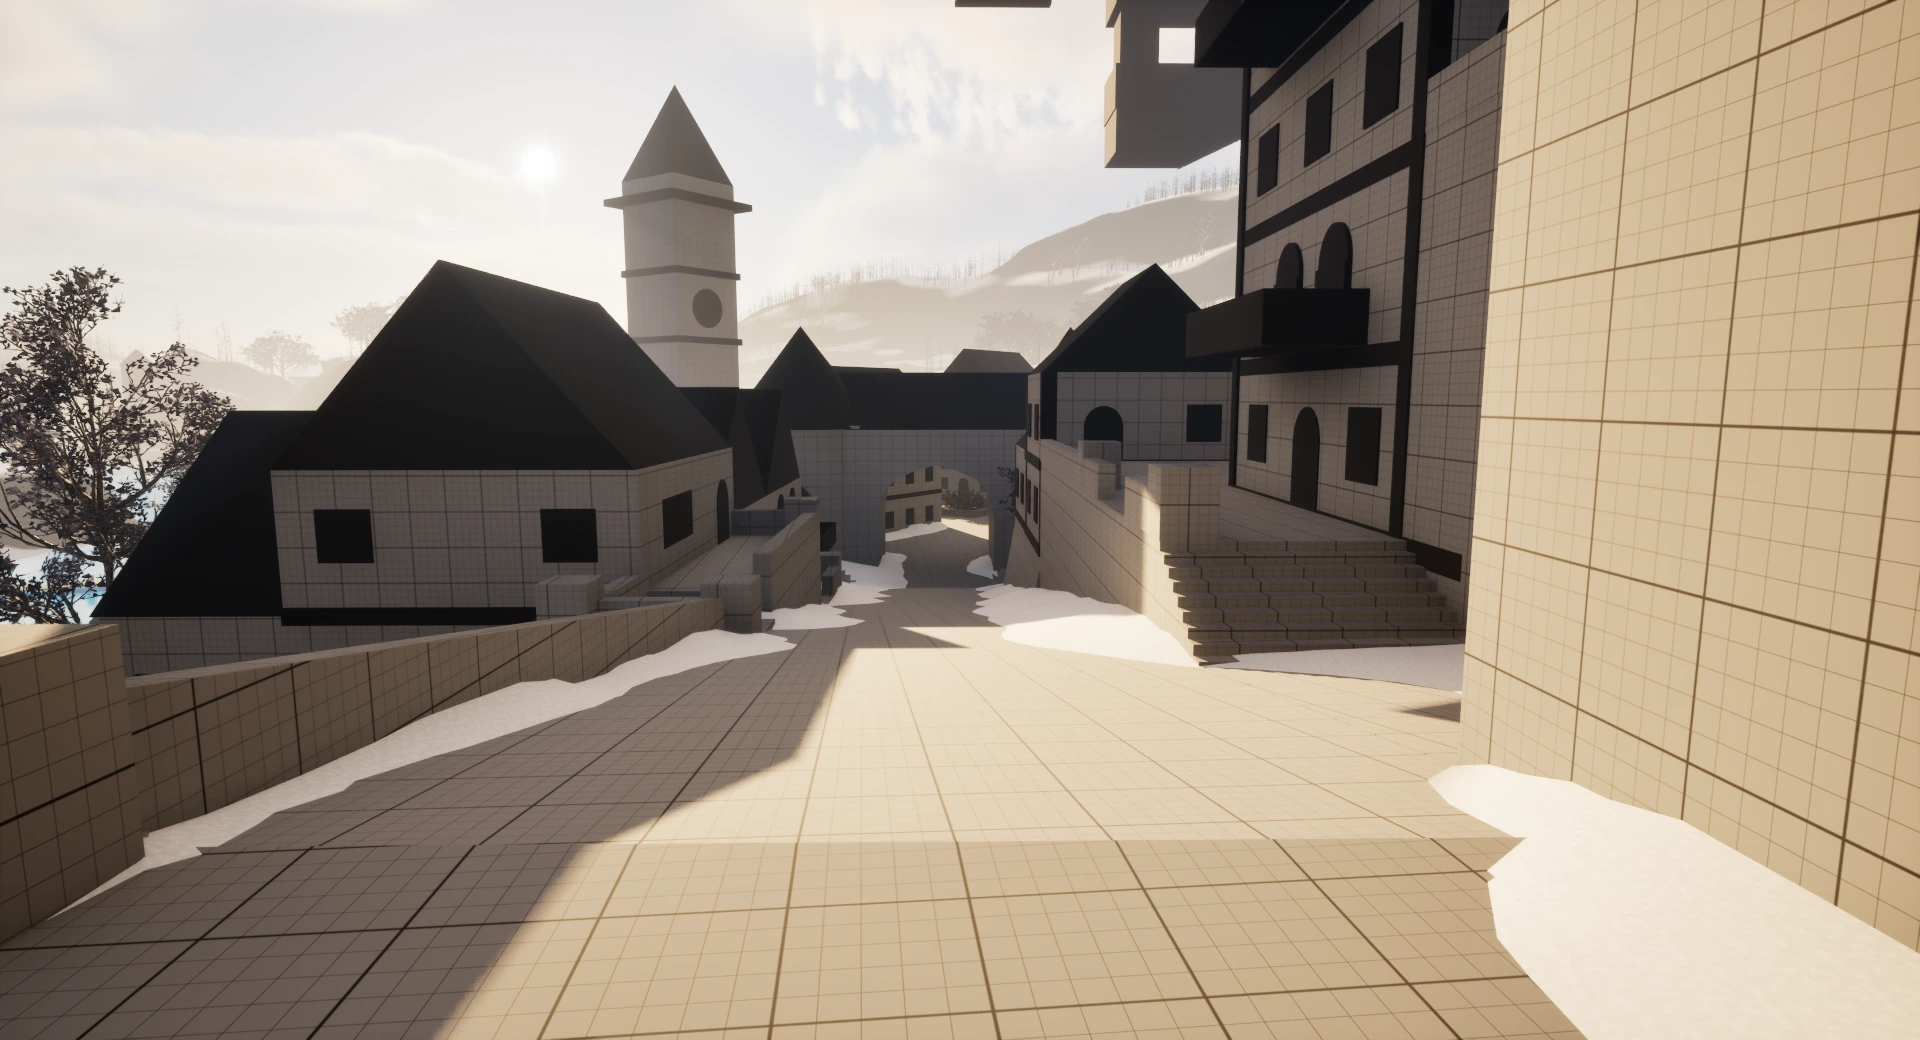
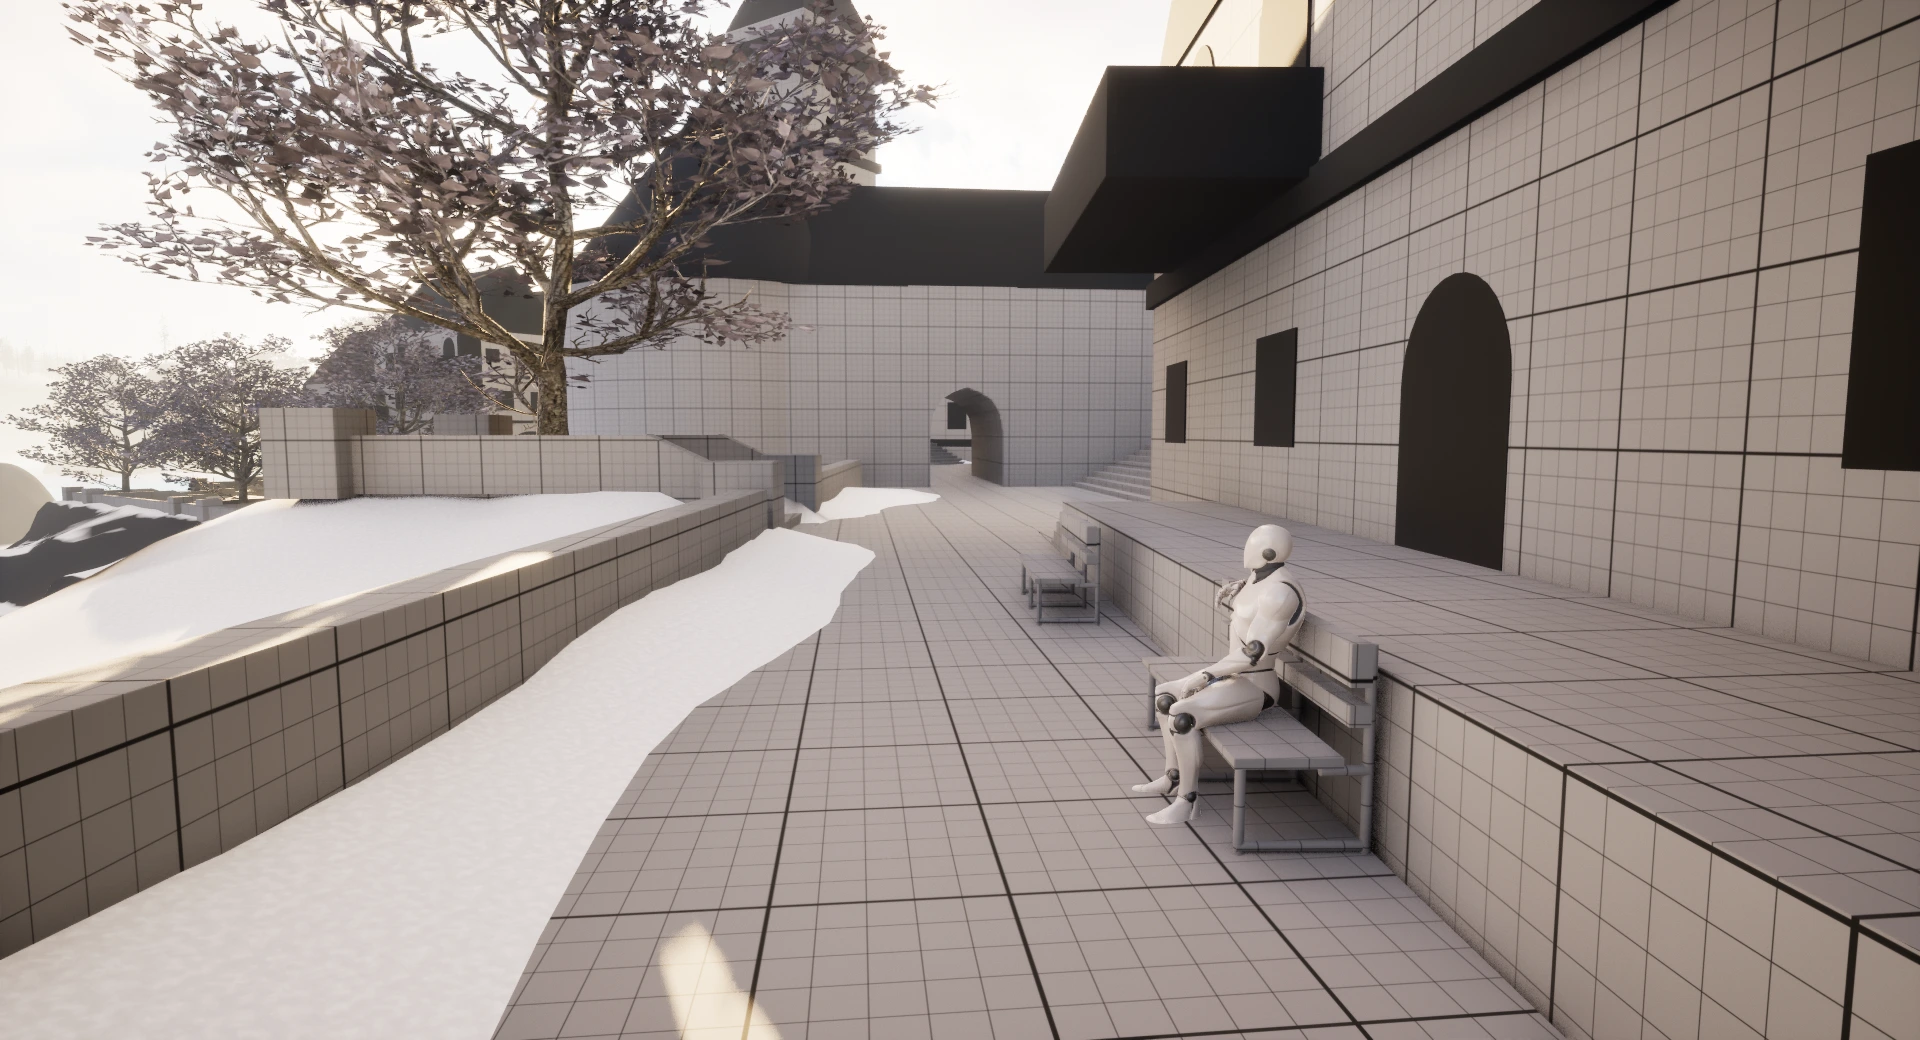
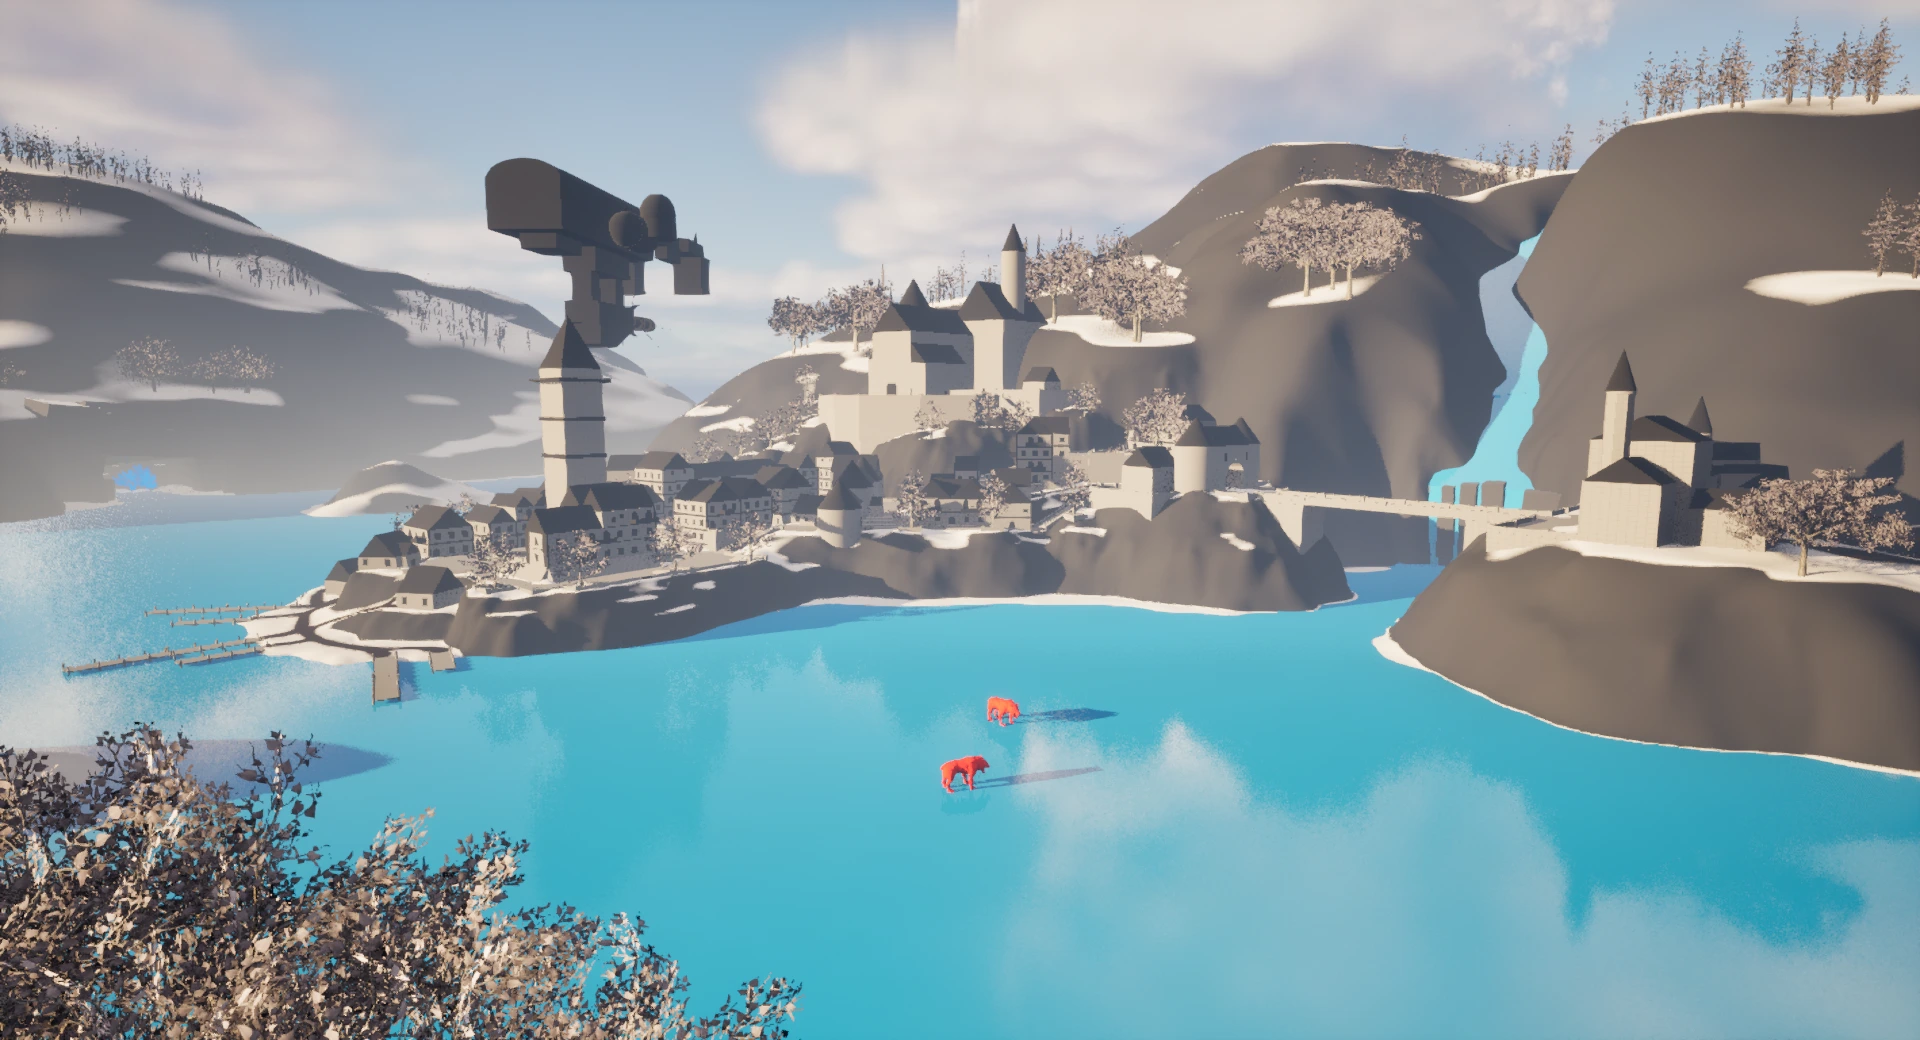
The Town Hub was by far the most time-intensive part of this project it became almost a standalone project in itself.
Taking inspiration from Hallstatt, Austria, presented unique challenges due to the town’s steep verticality and interconnected stairways built into the mountainside. Translating that natural, organic layout into a modular and metrics-friendly Unreal environment was difficult
One of the key challenges was maintaining the natural flow and charm of Hallstatt while keeping buildings snapped to grid metrics and modular systems. This constraint often resulted in a loss of the natural asymmetry that gives Hallstatt its distinctive look.
In hindsight, a smaller-scale approach, focusing on one distinct section of the town rather than the whole, would have allowed for greater polish, refinement, and iteration on fine detail.
Process
The town design began once the overall world layout had been established.
In Final Fantasy VII Rebirth, towns are typically self-contained hubs located along the edge of each open-world zone. Following this principle, I placed the town against a mountainside, giving it both a visual anchor and a logical boundary within the playable space.
To ground the design in reality, I studied Hallstatt’s urban layout, building materials, and spatial rhythm. One key feature that stood out was the waterfall running through the town. This became a central environmental element in my version — scaled up for gameplay visibility and designed to flow through the heart of the settlement, eventually connecting to the frozen lake below.
The church overlooking the town acted as a strong navigational landmark, helping players orient themselves as they moved through the vertical streets and pathways.
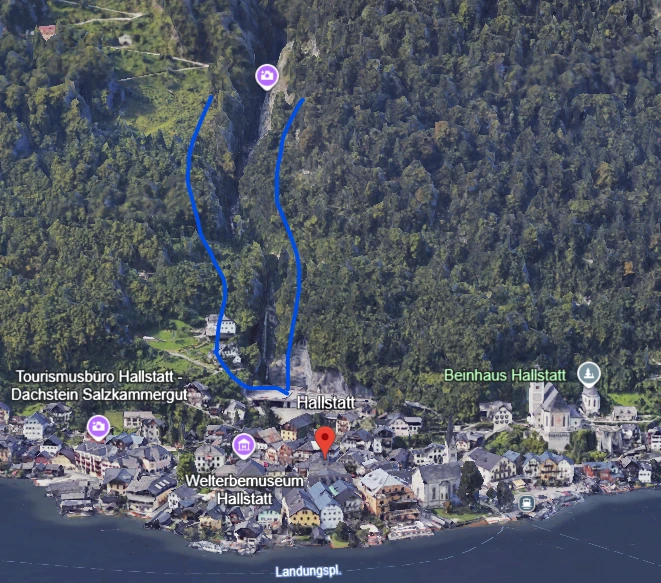
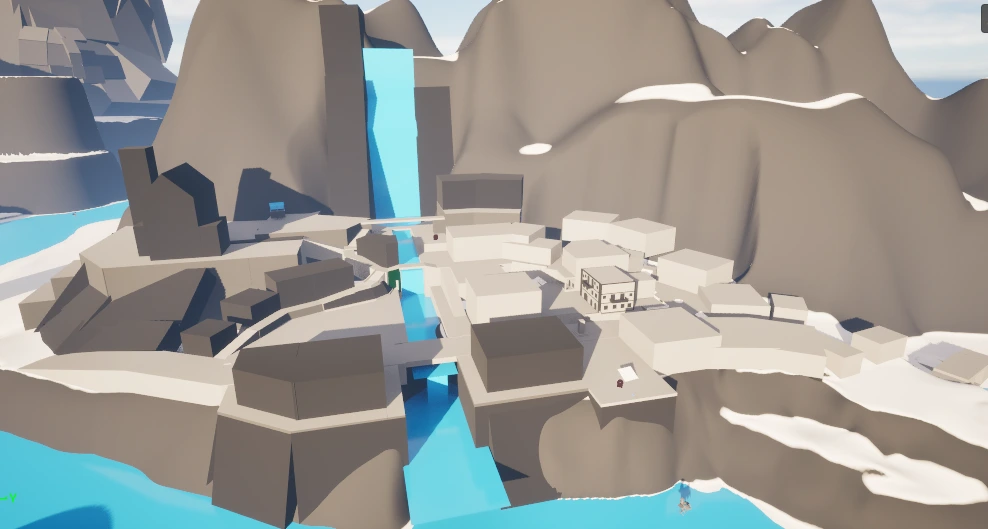
While verticality remained a core design focus, my initial layout became overly complex. The network of paths and staircases made navigation unintuitive, and the overall composition drifted away from the Hallstatt inspiration.
At this stage, I decided to pause development and re-evaluate the layout.
Next iteration
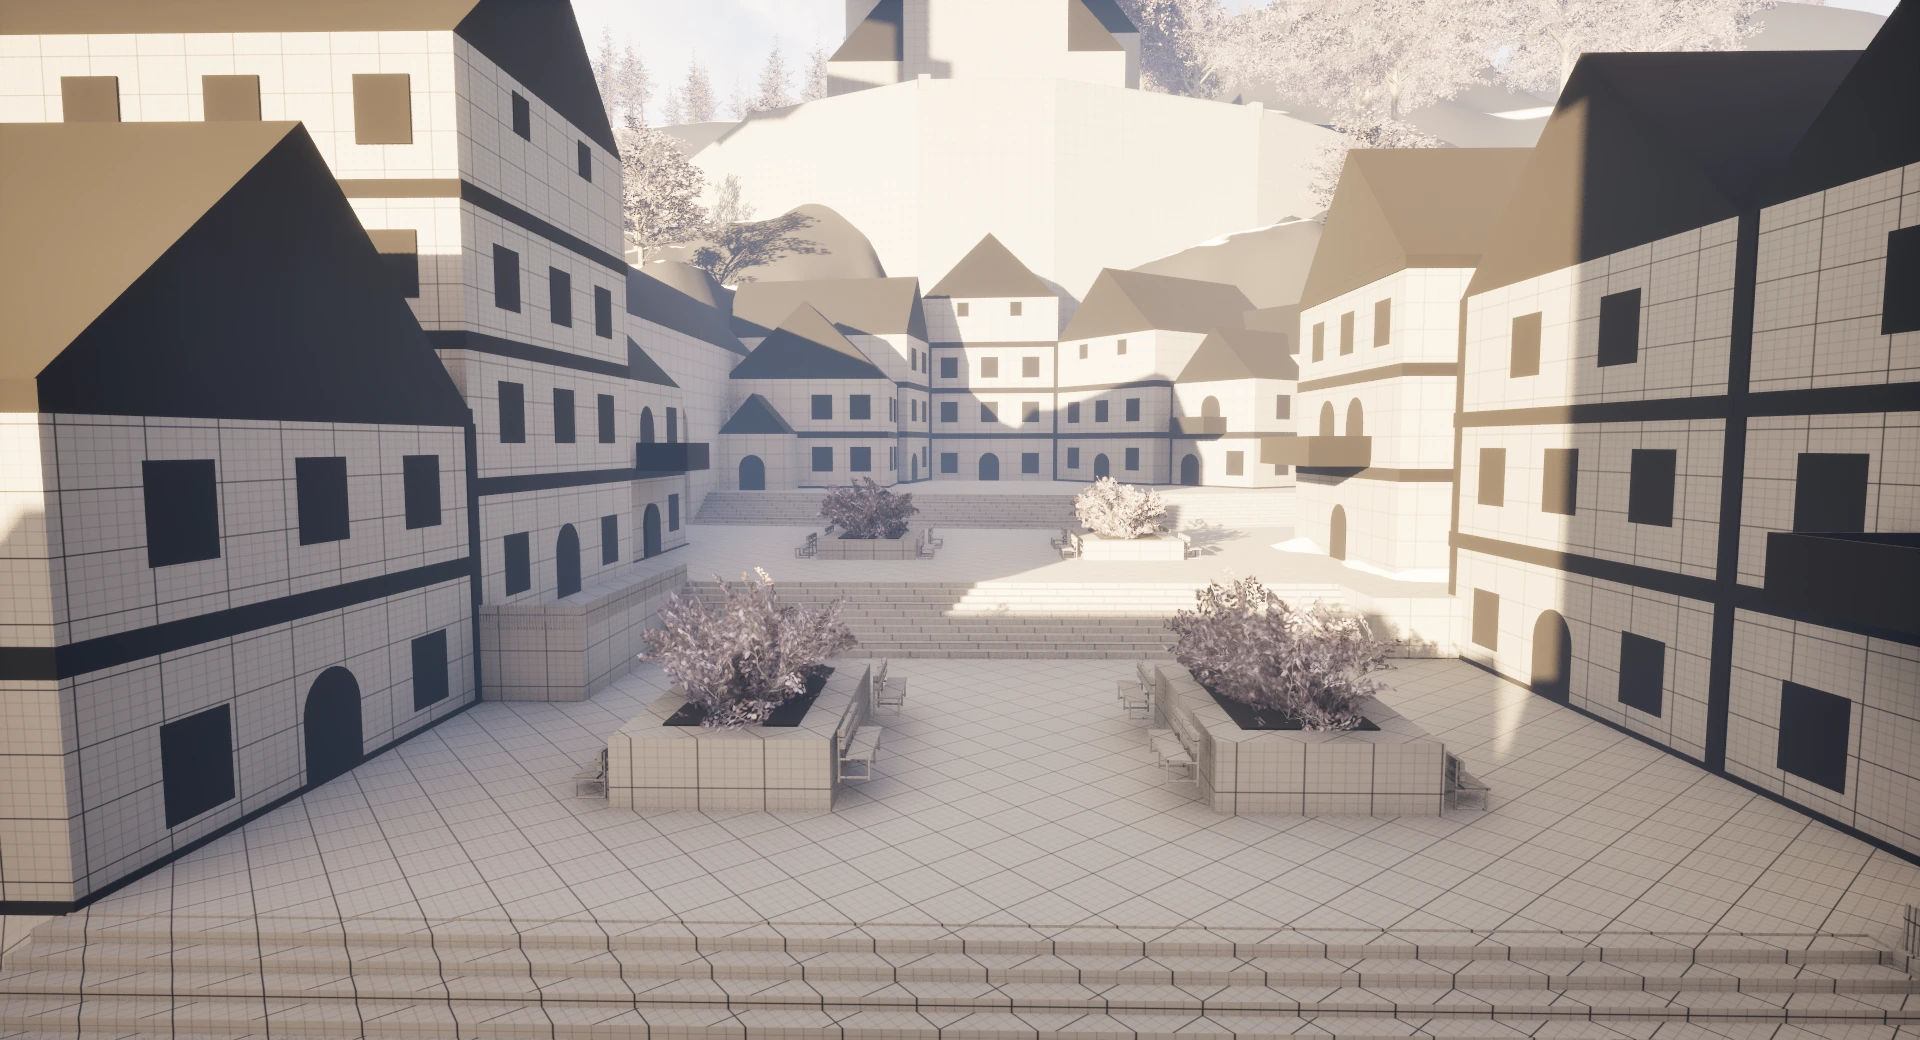
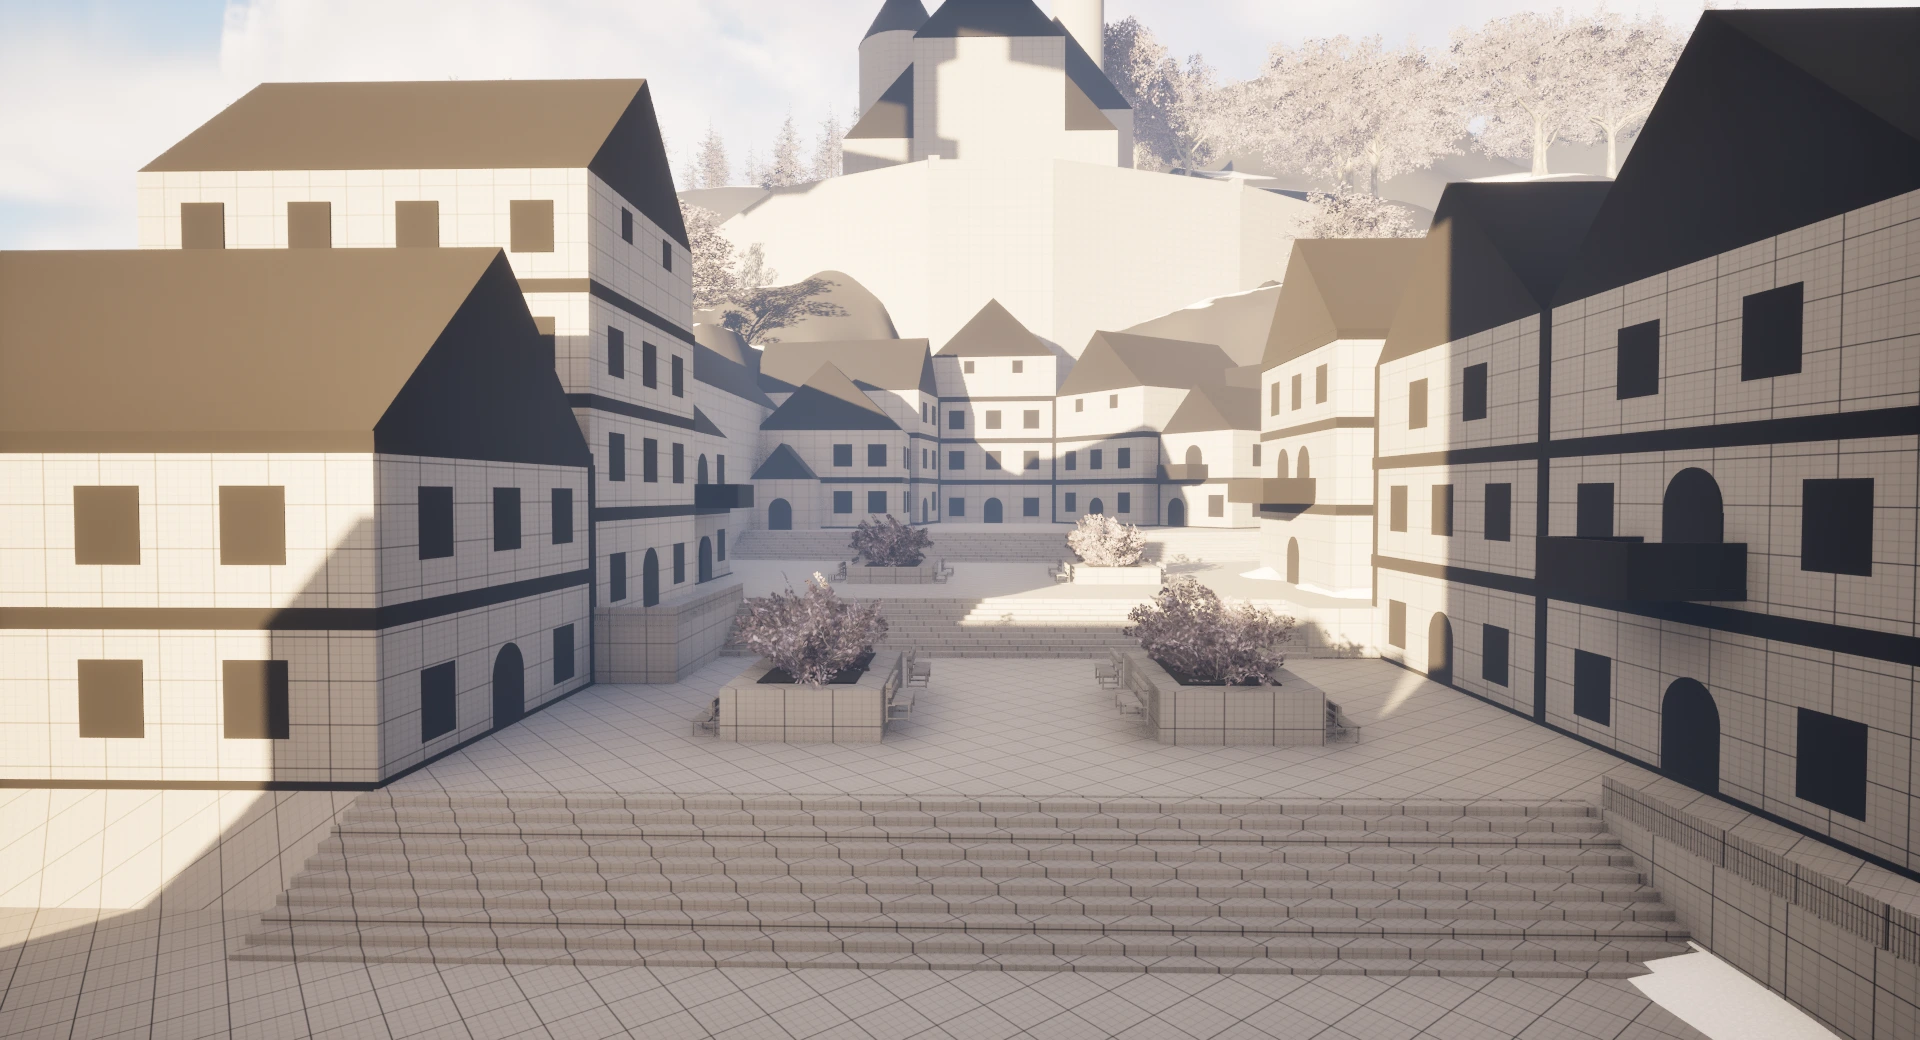
During the redesign phase, I drew inspiration from Romanesque architecture, incorporating arched forms, stone detailing, and varied roof silhouettes.
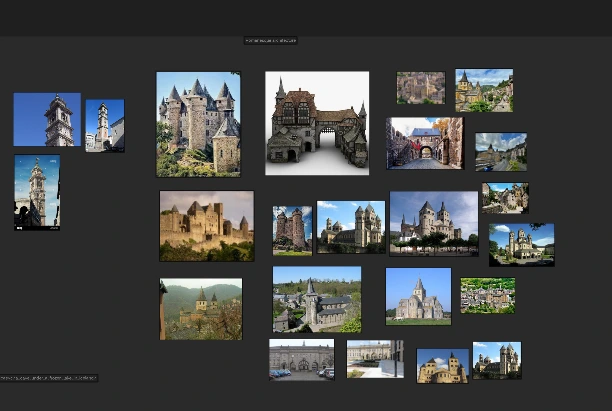
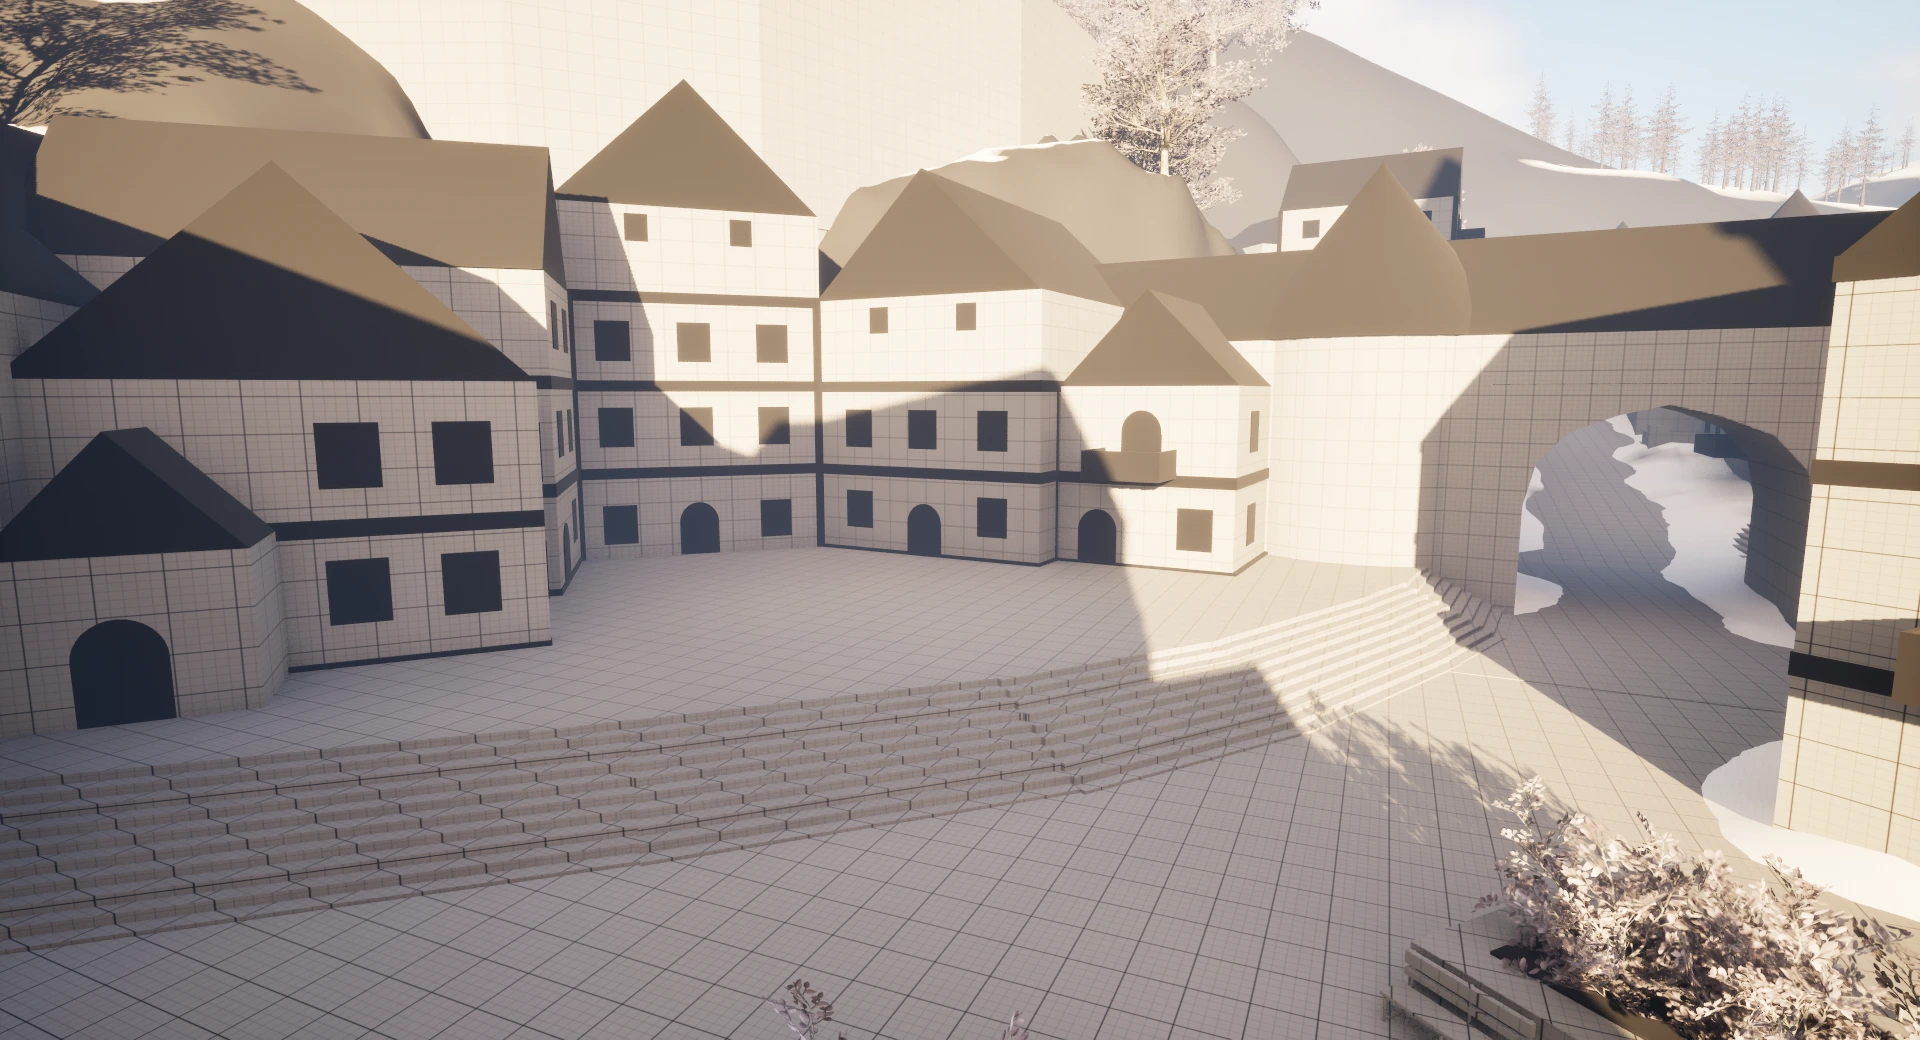
I noticed that towns of this style often include a clock tower and a defined central square, so I added both elements, the clock tower serving as a secondary focal point and the square providing a social and gameplay hub where players could access quests, vendors, and NPC dialogue.
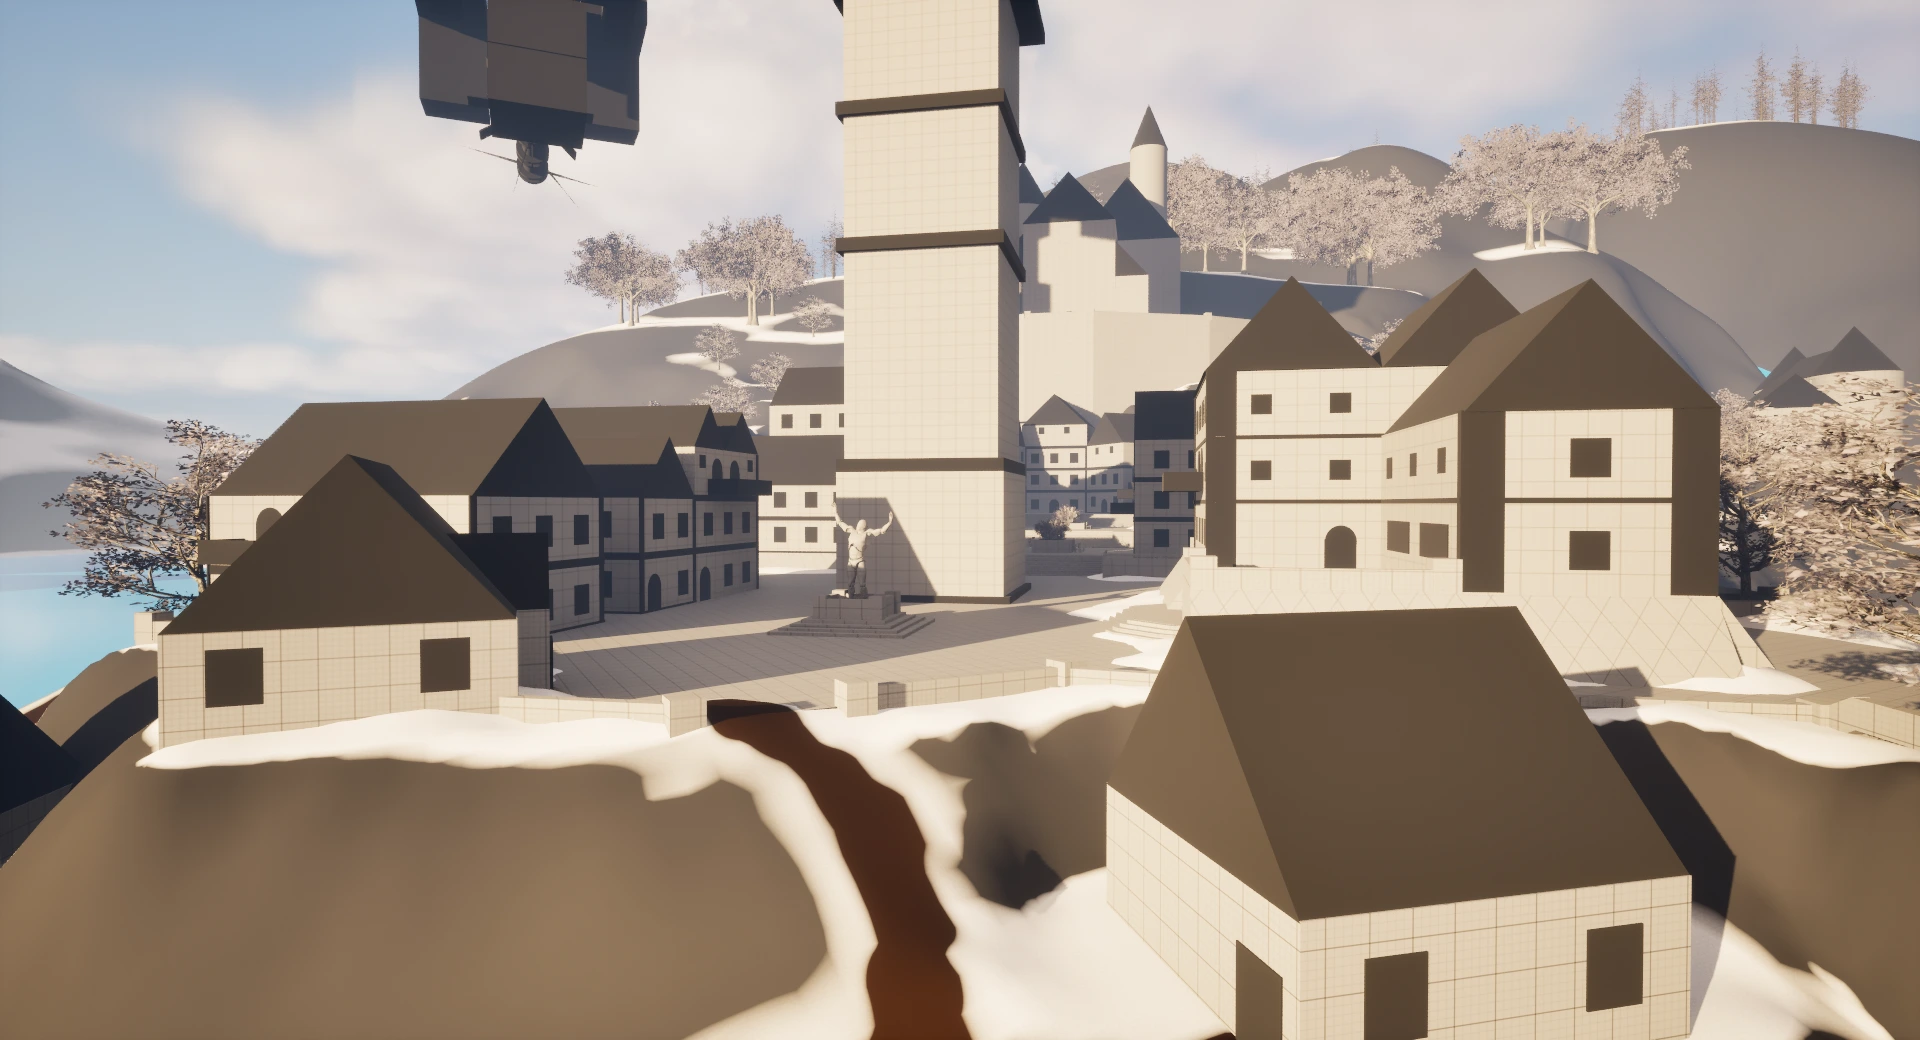
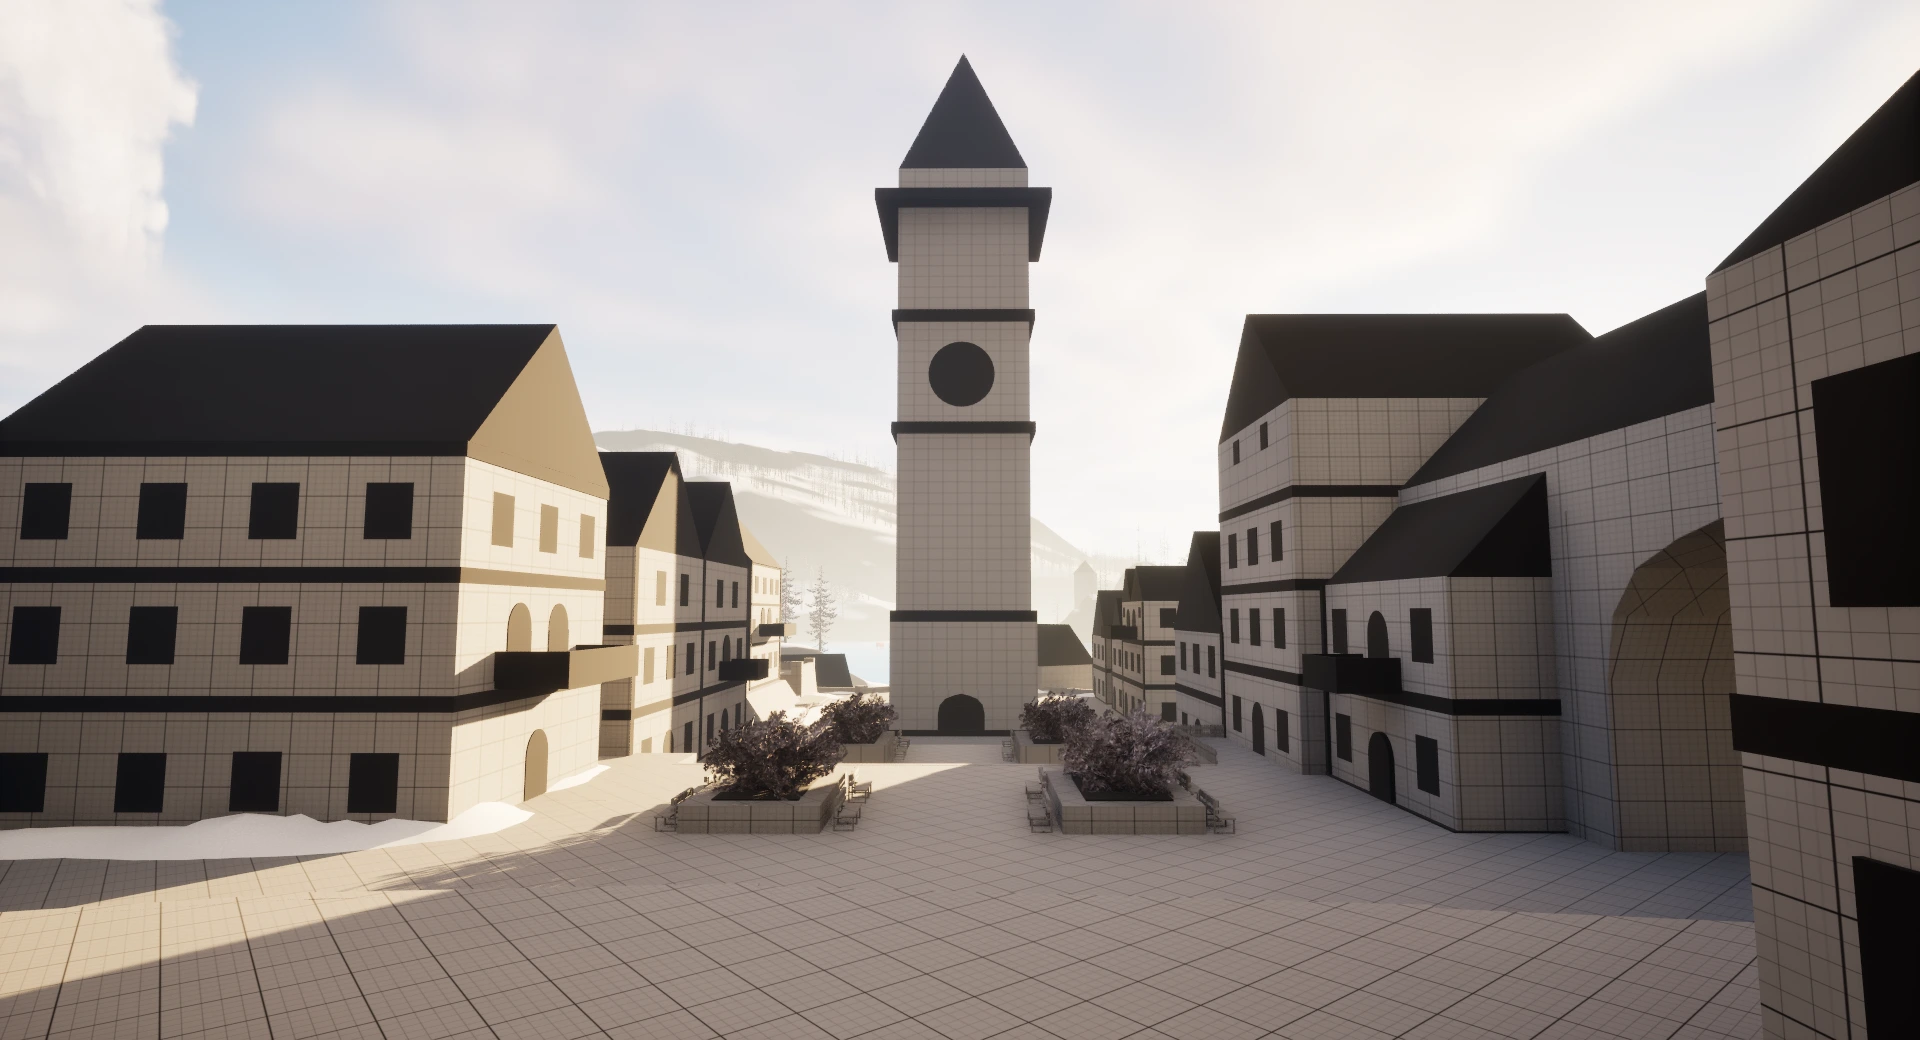
To achieve the intended architectural feel, I created custom assets in Blender, which allowed more flexibility while maintaining consistent proportions.
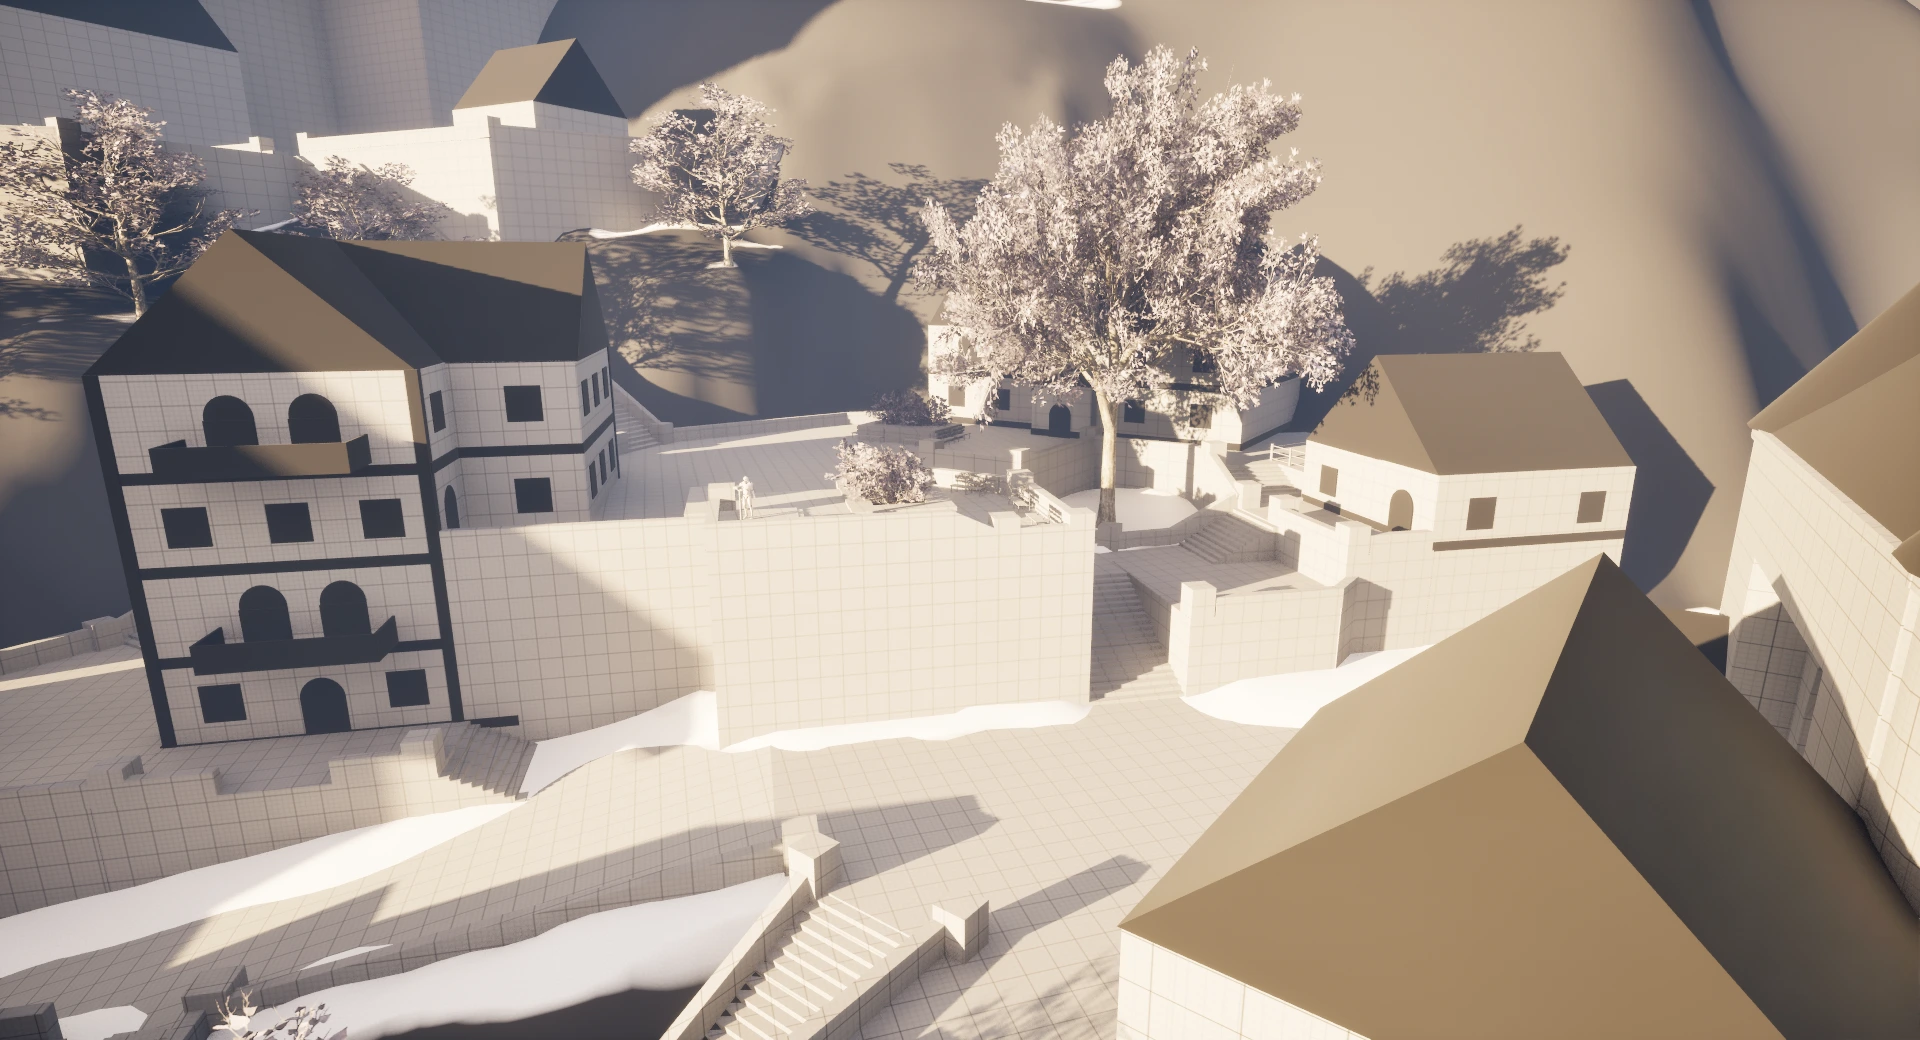
From an exterior viewpoint, I aimed to achieve a layered silhouette, ensuring that rooftops, towers, and vertical breaks created visual interest and guided the eye toward key landmarks.
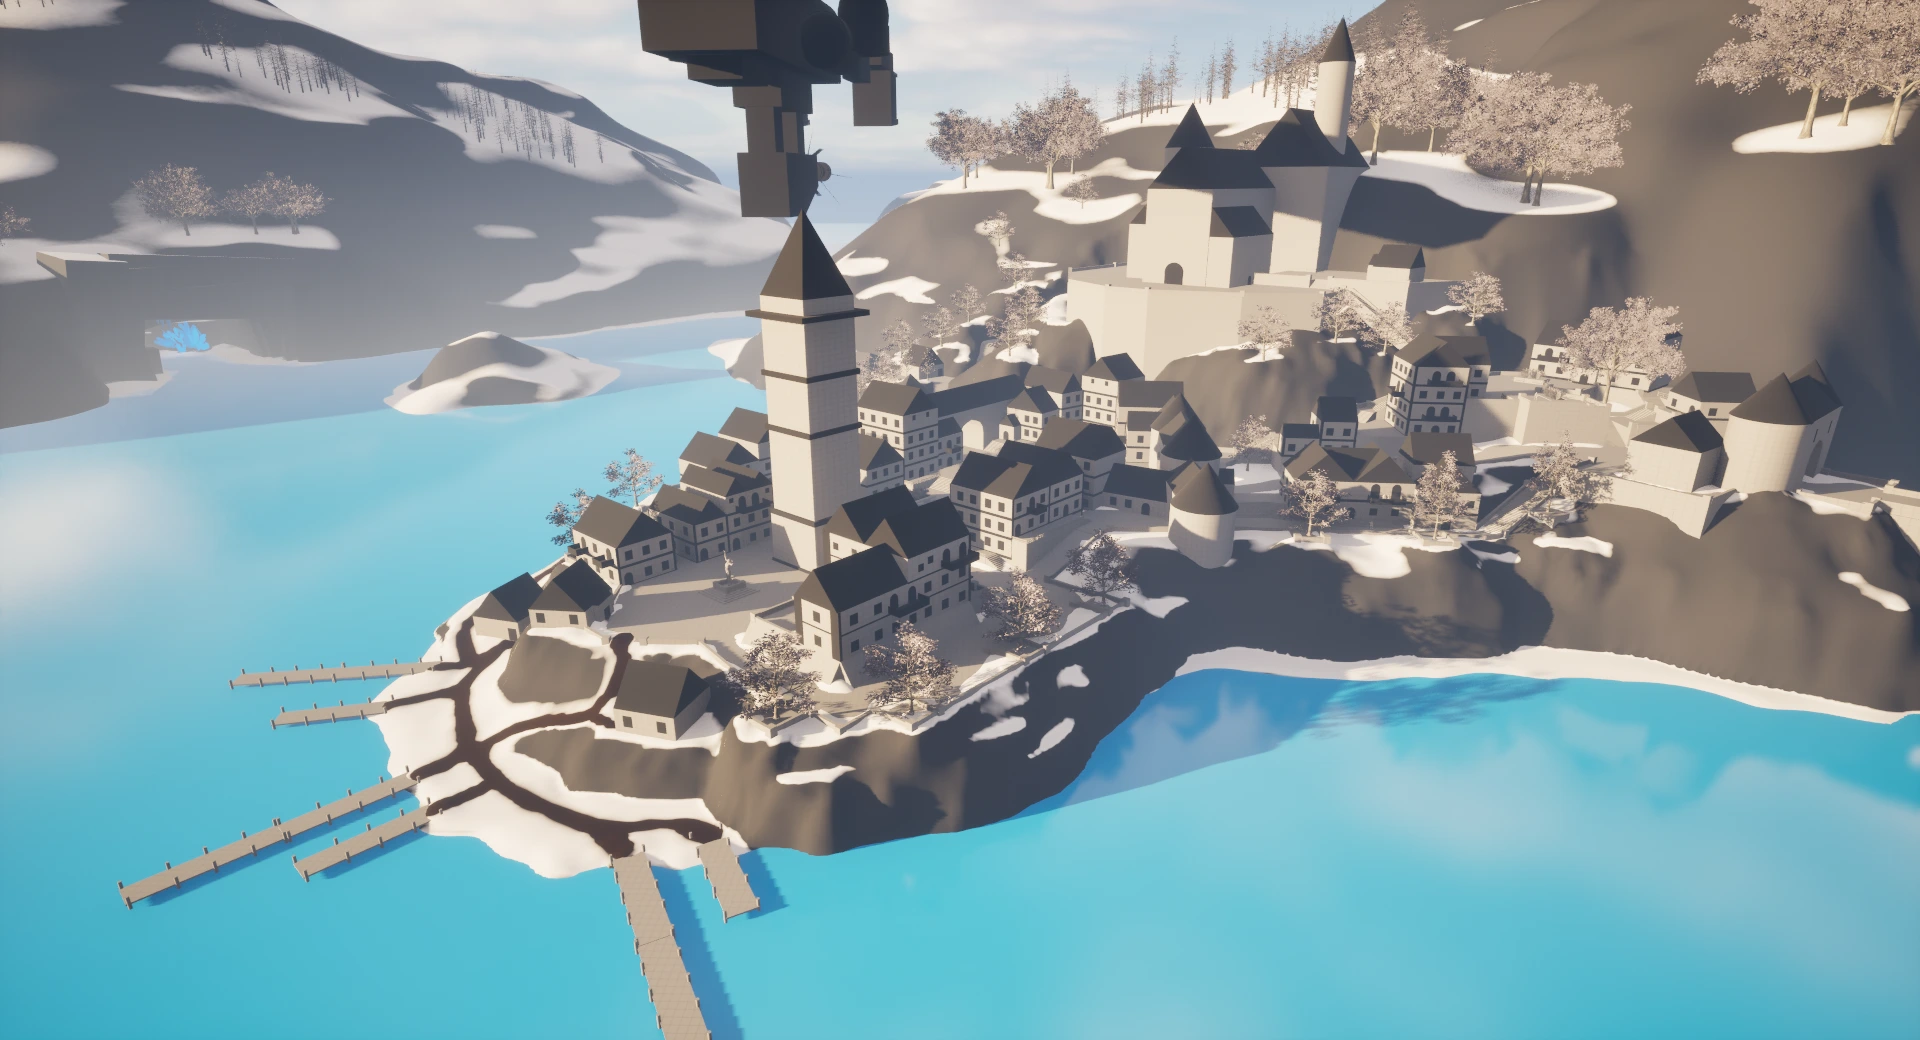
Although this iteration captured more of the essence of Hallstatt, I still found that strict adherence to metrics caused the layout to appear slightly too rigid and artificial. A bit more freedom in proportions and offsets would have helped retain the natural charm seen in real-world mountain towns.
Reflections
This section of the project taught me a lot about scope control, architectural composition, and navigational readability in vertical spaces.
If I were to revisit this area, I would:
Focus on a smaller slice of the town, allowing more time for polish and narrative/environmental detail.
Use metrics as a flexible guide rather than a hard rule to retain natural variation.
Plan more clear visual hierarchy early on, so landmarks, traversal paths, and key interactions read instantly from multiple perspectives.
Despite the challenges, I consider this part of the project one of the most rewarding, as it pushed my ability to balance aesthetic realism, gameplay clarity, and modular design logic within a single cohesive hub.
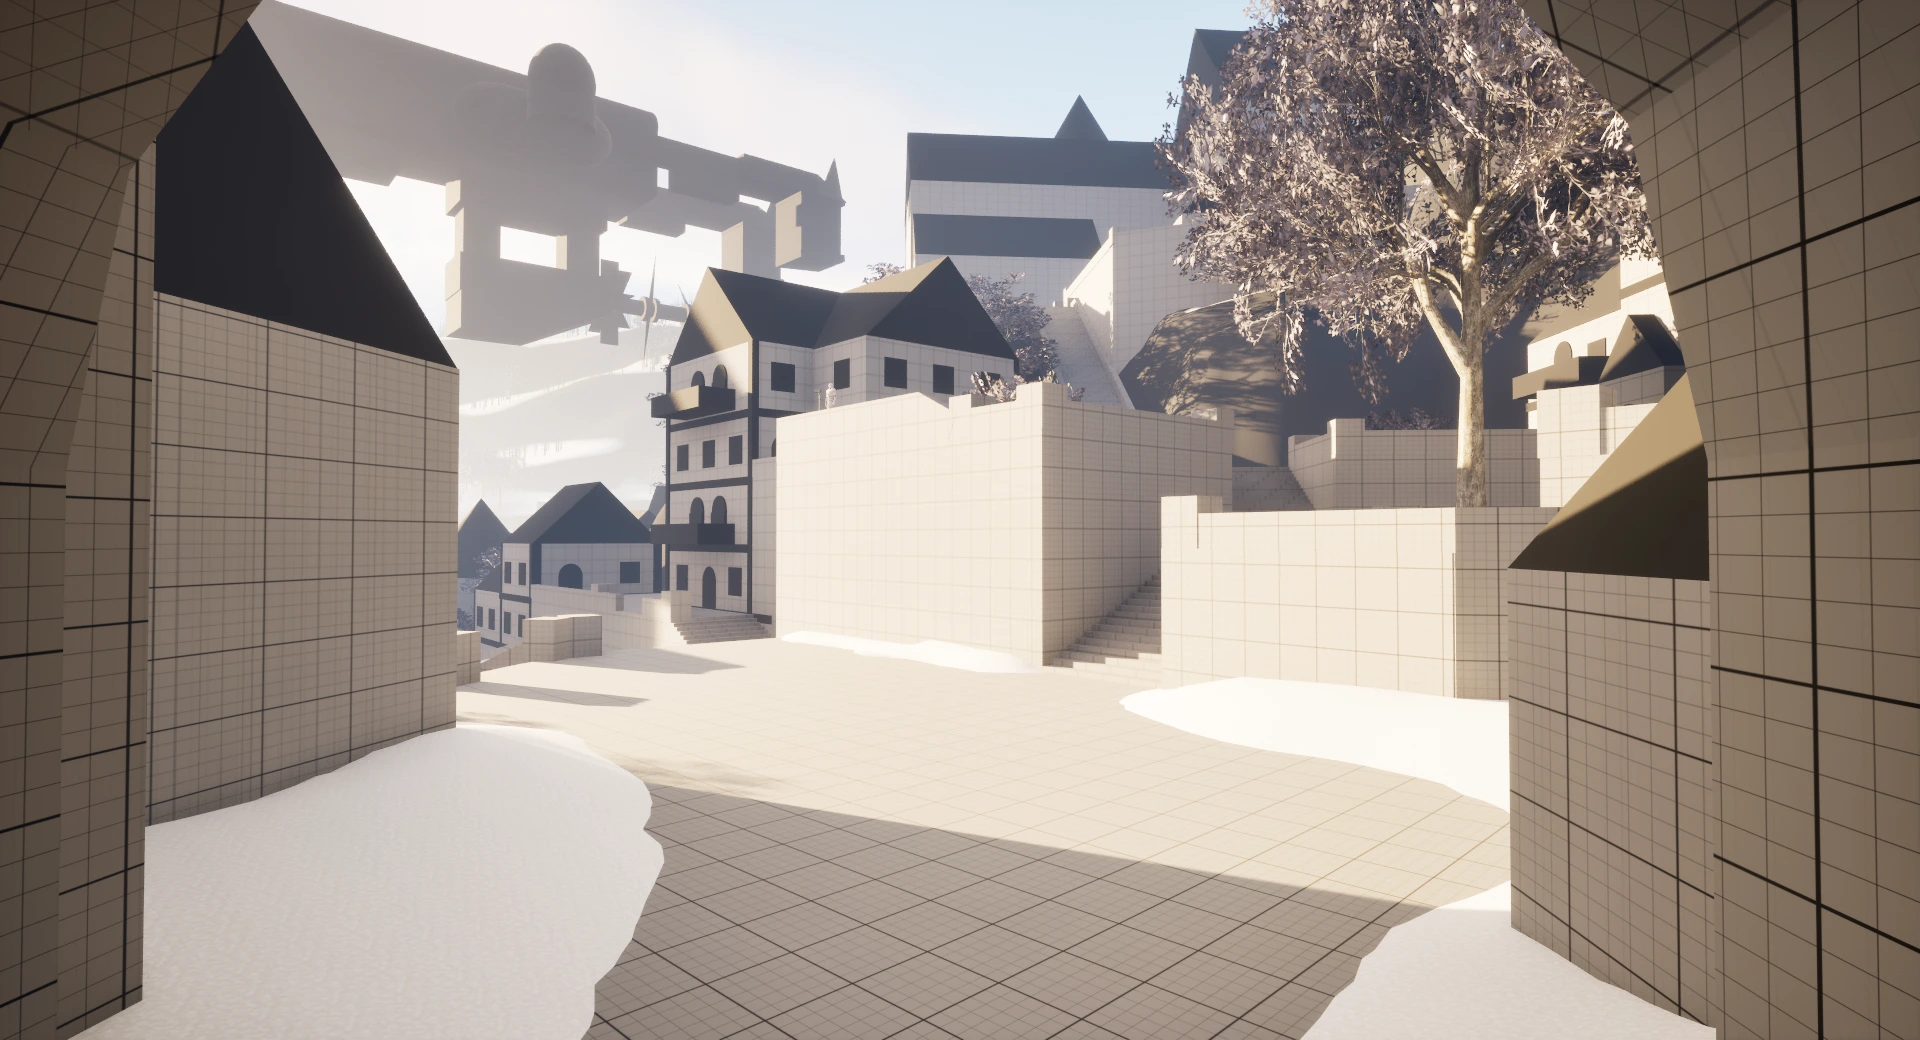
For fun…
You may see the giant ship flying over this town. This is a reference to the Highwind airship in FF7. (I don’t take credit for the design of it.)
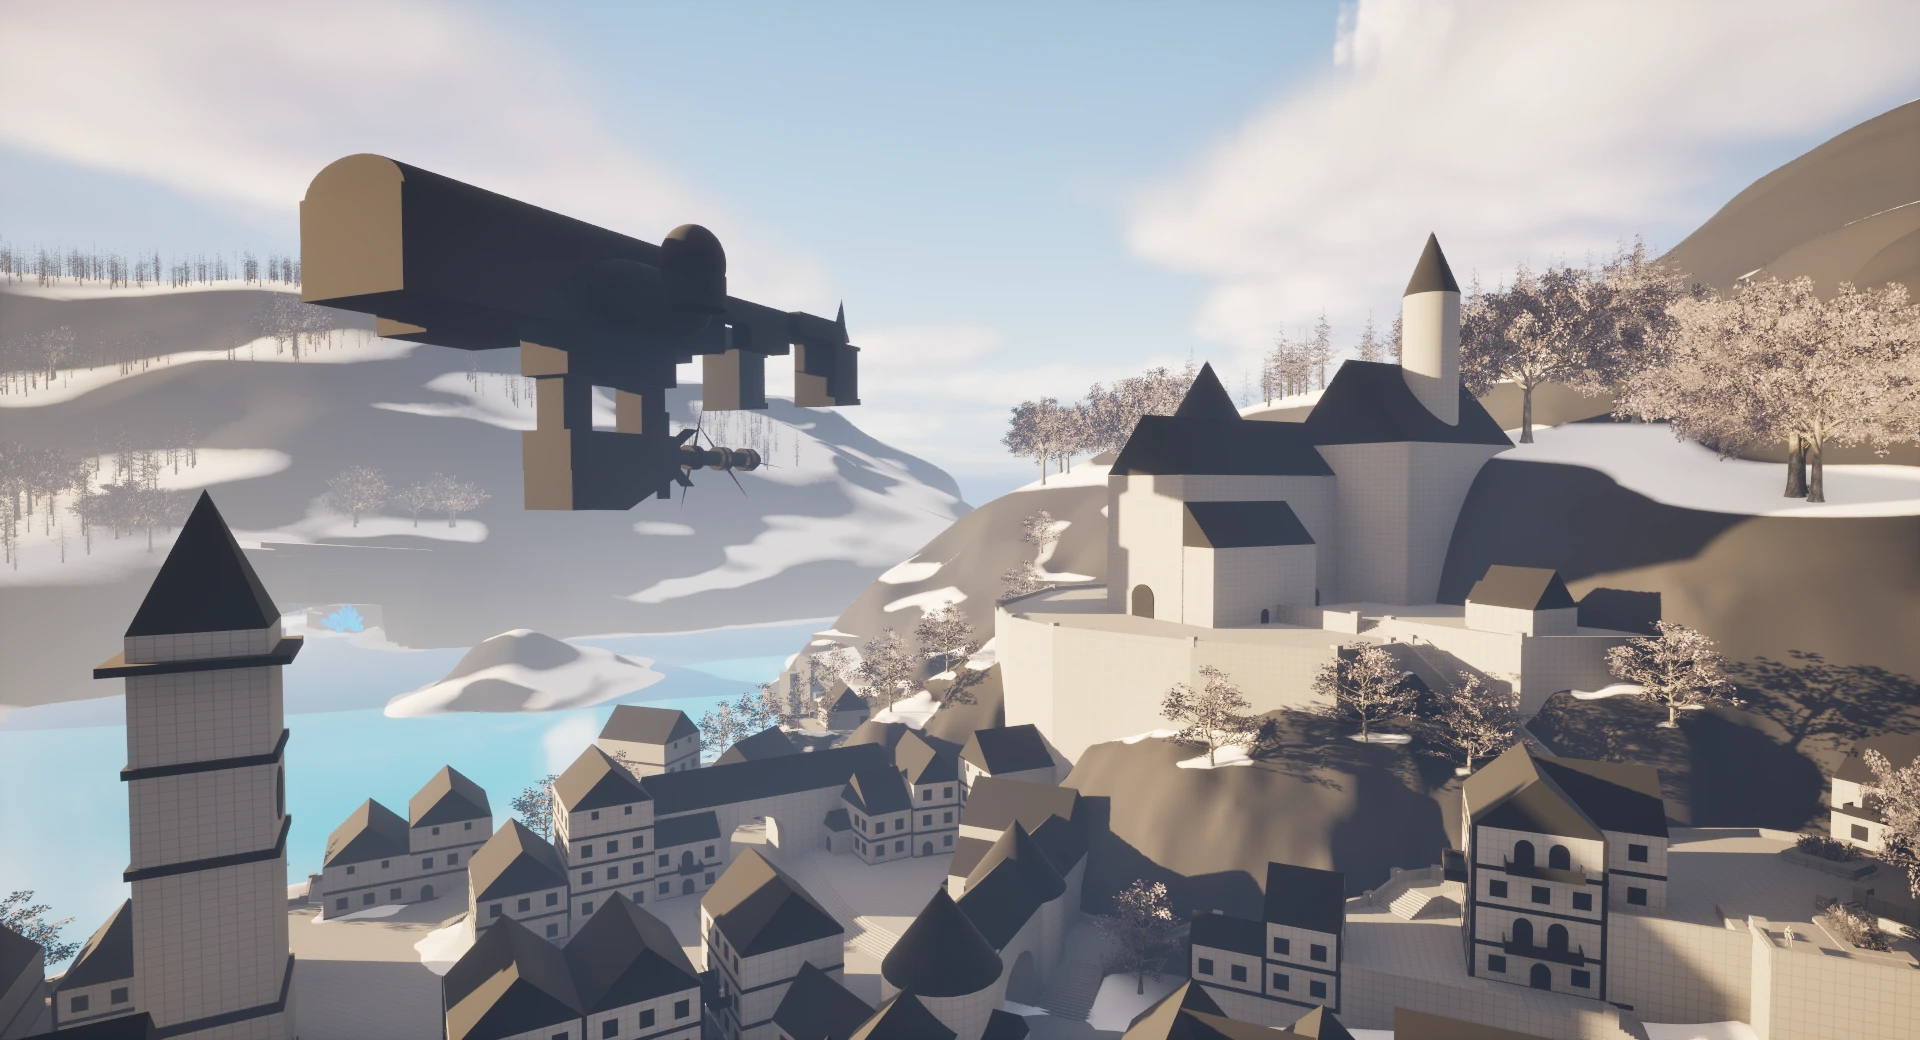
The idea to add this came in late and I wondered if I could add a platform for the ship to dock at - but I couldn’t realistically do it. Instead I had it flying above the town as a reference to the original in FF7.
To conclude the project..
What Went Well
Planning and Research:
I made significant improvements in this area compared to previous projects. Spending dedicated time on initial research and reference gathering gave the project a stronger foundation and clearer direction.Knowing When to Restart:
Recognising that the first blockout wasn’t working and deciding to start over, while carrying forward the strongest ideas, helped refine the overall layout and improved the final result.Fast Iteration and Blockout Workflow:
Using primitives, the UE5 landscape system, and custom Blender assets allowed for quick iteration and experimentation. This made it easier to test large-scale ideas before committing to final shapes.Prototyping and Tool Creation:
Building small tools in Blueprints (such as the POI distance visualizer) greatly improved workflow efficiency and provided immediate feedback during development.
What Didn’t Go So Well
Time and Project Management:
I struggled to balance time between different parts of the project. Too much focus was placed on the town, leaving other areas of the open world underdeveloped.Feature Creep:
I tried to include too many ideas and systems, which expanded the project scope beyond what was achievable within the timeframe.Neglecting Core Priorities:
Because of the attention given to the town, the open-world layout and gameplay loop received less iteration time than planned.
Summary
Overall, this project represents a mix of strong progress and valuable lessons learned. I’m proud of the improvements I made in pre-production discipline, planning, and research methodology areas I specifically set out to improve based on previous feedback. My workflow during blockout and prototyping was also much more efficient, showing growth in my technical and problem-solving skills.
However, the project also highlighted some recurring challenges in scope and time management. By overextending the project’s goals and focusing too long on specific elements, I limited my ability to polish and balance the experience as a whole.
Going forward, I plan to:
Set clearer project boundaries and stick to them.
Define smaller, more achievable deliverables within each development phase.
Establish hard deadlines to maintain momentum and avoid drawn-out production cycles.
Despite its flaws, this project was an invaluable learning experience in both world design thinking and production discipline — skills I’ll continue refining in my next pieces of work.
Gallery of all images:
Gallery